In this article
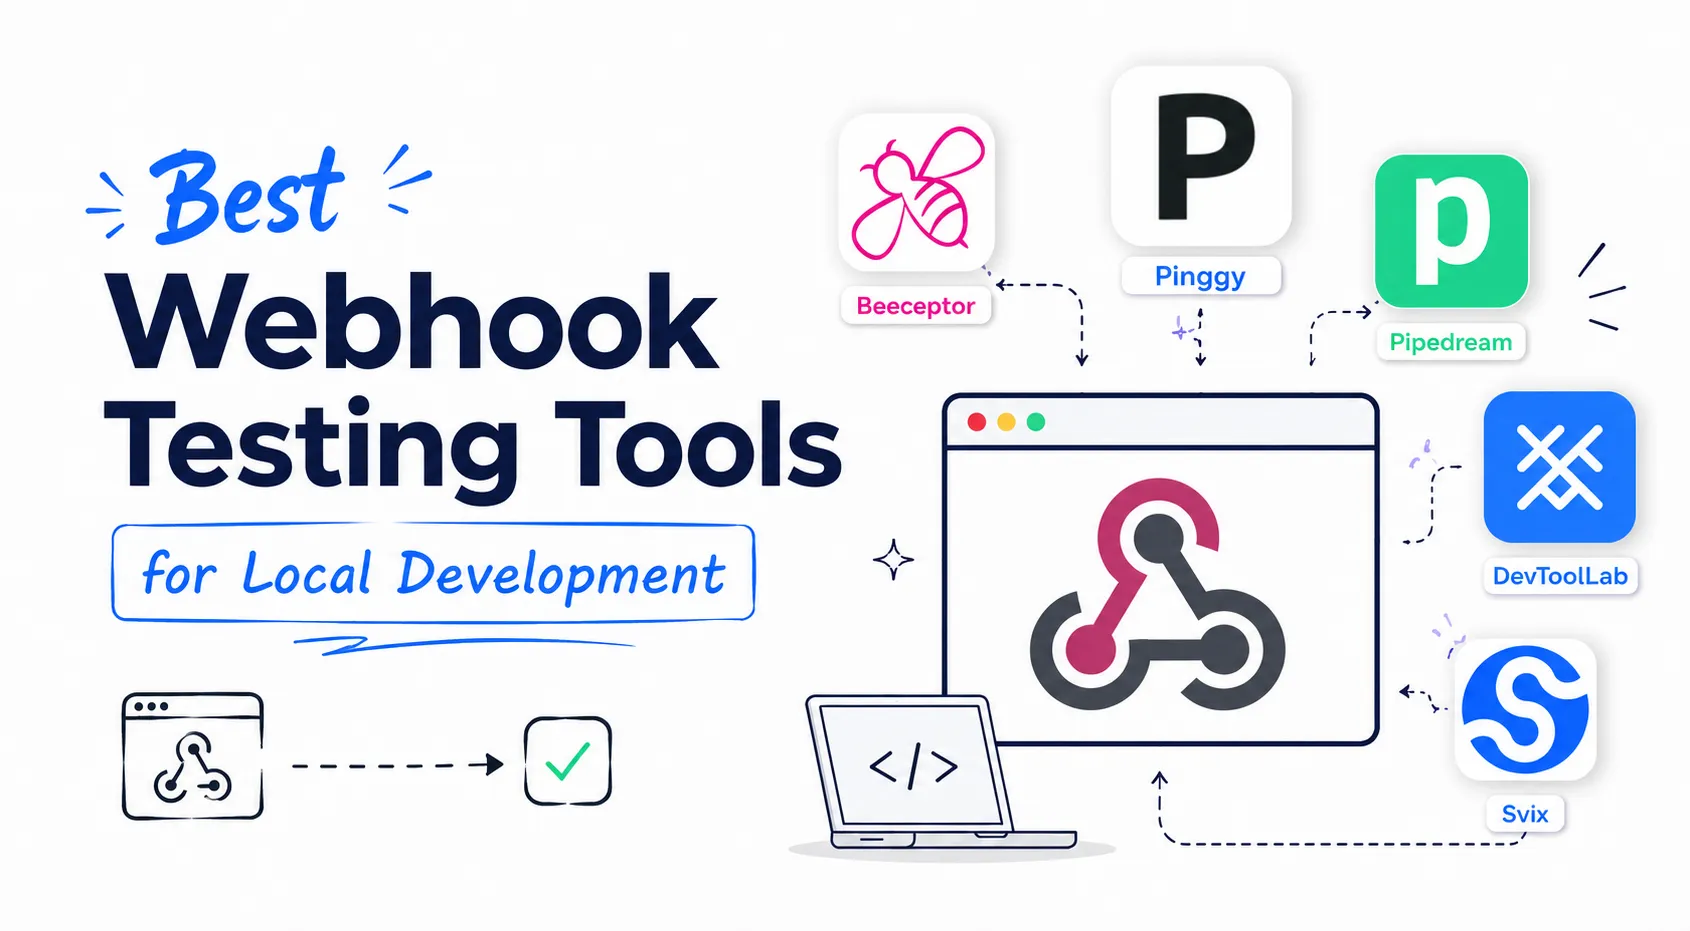
Stripe, GitHub, Slack, and Shopify all deliver webhooks by pushing an HTTP POST to a URL you registered in their dashboard. That’s fine in production, but on a laptop behind NAT, localhost:3000 isn’t reachable from the outside world - there’s no URL to give them. You either need a tunnel that makes your local port temporarily public, or a tool that captures the request somewhere else so you can inspect it before writing a single line of handler code.
Which one you reach for depends on what you’re actually doing. Just want to see the raw payload of an event you’ve never received before? A hosted capture URL is faster than standing up a server. Building a real integration against Stripe or GitHub? You want a tunnel plus a debugger that can replay and modify requests, so you’re not waiting on the provider to refire an event every time you fix a bug. This guide covers both categories, starting with Pinggy, which doesn’t require installing anything to get started, through to dedicated inspection tools like Webhook.site and Beeceptor, and event gateways like Hookdeck.
Summary
The problem: webhook providers need a public HTTPS URL, and your local dev server doesn’t have one. You need either a tunnel or a hosted capture endpoint.
Best overall - Pinggy: one SSH command with no download, a free built-in web debugger with live request inspection, Replay and Modify-and-Replay, and IP whitelisting to restrict who can reach the tunnel. Free tier available; Pro starts at $2.50/month (billed annually).
Best known-name alternative - ngrok: mature traffic inspector at
127.0.0.1:4040with replay and a replay editor, but requires a client download and account sign-up. Free tier capped at 1 endpoint; paid plans start at $8/month (annual).Best for a payload you’ve never seen - Webhook.site: paste-and-go capture URL, no signup, no tunnel. Free tier caps at 100 requests and a 7-day URL expiry; paid plans (from $7.50/month) add permanent URLs, request forwarding, and Custom Actions.
Best for mocking + webhooks together - Beeceptor: combines API mocking with webhook capture and an optional local tunnel. Free tier: 50 requests/day; paid plans start at $10/month.
Best for production-grade reliability - Hookdeck: an event gateway with a CLI (
hookdeck listen), retries, filtering, and a replay console. Free tier: 10,000 events/month; Team plan from $39/month.Best for GitHub Apps specifically - smee.io: a free, open-source relay purpose-built for GitHub’s webhook docs. No inspection UI beyond a raw event log.
Best if you’re already on Pipedream - RequestBin: the original request-bin tool, now folded into Pipedream’s workflow platform. Free, but requires a Pipedream account (no more instant, sign-up-free bins).
Best higher-volume free capture URL - DevToolLab Webhook Receiver: instant no-signup capture URL like Webhook.site, with a Pro tier ($2/month billed annually) that jumps to 50,000 requests/day and 10-day retention. Free tier: 500 requests/day, 3-day retention.
Different category - Svix: infrastructure for sending webhooks reliably to your own customers, not for receiving third-party ones. Worth knowing about if you’re on the other side of the wire.
Comparison table
| Tool | No-install tunnel | Live debugger | Replay / Modify & Replay | IP whitelist | Free tier | Entry paid price |
|---|---|---|---|---|---|---|
| Pinggy | Yes (SSH) | Yes, free | Yes / Yes | Yes | Yes | $2.50/mo (annual) |
| ngrok | No (client + account) | Yes | Yes / Yes (no re-signing) | Via OAuth/mTLS | Yes, limited | $8/mo (annual) |
| Webhook.site | No (hosted URL) | Yes | Forwarding (paid only) | No | Yes, 100 requests | $7.50/mo |
| Beeceptor | Paid feature | Yes | No dedicated replay UI | No | Yes, 50 req/day | $10/mo |
| Hookdeck | Yes (CLI) | Yes (Console) | Yes (persistent history) | No, but filtering/retries | Yes, 10k events | $39/mo |
| smee.io | Yes (SSE client) | Raw log only | No | No | Yes, unlimited | Free only |
| RequestBin | No (hosted URL) | Yes (via Pipedream) | Via workflow, not 1-click | No | Yes, account required | Free only |
| DevToolLab Webhook Receiver | No (hosted URL) | Yes | Not advertised | No | Yes, 500 req/day | $2/mo (annual) |
| Svix | N/A (sending, not receiving) | Yes (for outgoing) | Via Play | No | Yes | $490/mo |
What “webhook testing” actually requires
Before comparing tools, it’s worth being precise about what you need at each stage, because the tools in this list aren’t interchangeable.
A reachable URL. Every option here solves this one way or another: a tunnel that forwards a public URL back to your laptop (Pinggy, ngrok), or a hosted endpoint that just captures whatever hits it (Webhook.site, RequestBin).
Live inspection. Once traffic is flowing, you want to see headers, the raw body, and timing without adding console.log calls to your handler. This is table stakes for every tool below, but the depth varies - some show a live feed, others require an account before you get history.
Replay, and ideally modify-and-replay. Providers don’t like being asked to refire the same event repeatedly, and some events (a specific Stripe dispute, a GitHub PR merge) aren’t trivial to trigger twice. A debugger that resends the exact captured request, or lets you tweak a header or the body first, saves you from waiting on the provider every time you iterate on your handler.
Access control. A public tunnel URL is guessable-adjacent - if you’re testing something with real account data, or leaving a tunnel open longer than a demo, you want to restrict who can hit it. IP whitelisting is the most direct route: only the provider’s published webhook IP ranges get through, everything else is silently dropped.
Signature verification is on you either way. No tool in this list replaces validating the provider’s signature header in your own handler - see our guide to receiving and testing webhooks on localhost for the actual HMAC-verification code. If you’re new to the concept of webhooks entirely, our deep dive on what a webhook is and webhooks vs APIs are good starting points.
1. Pinggy
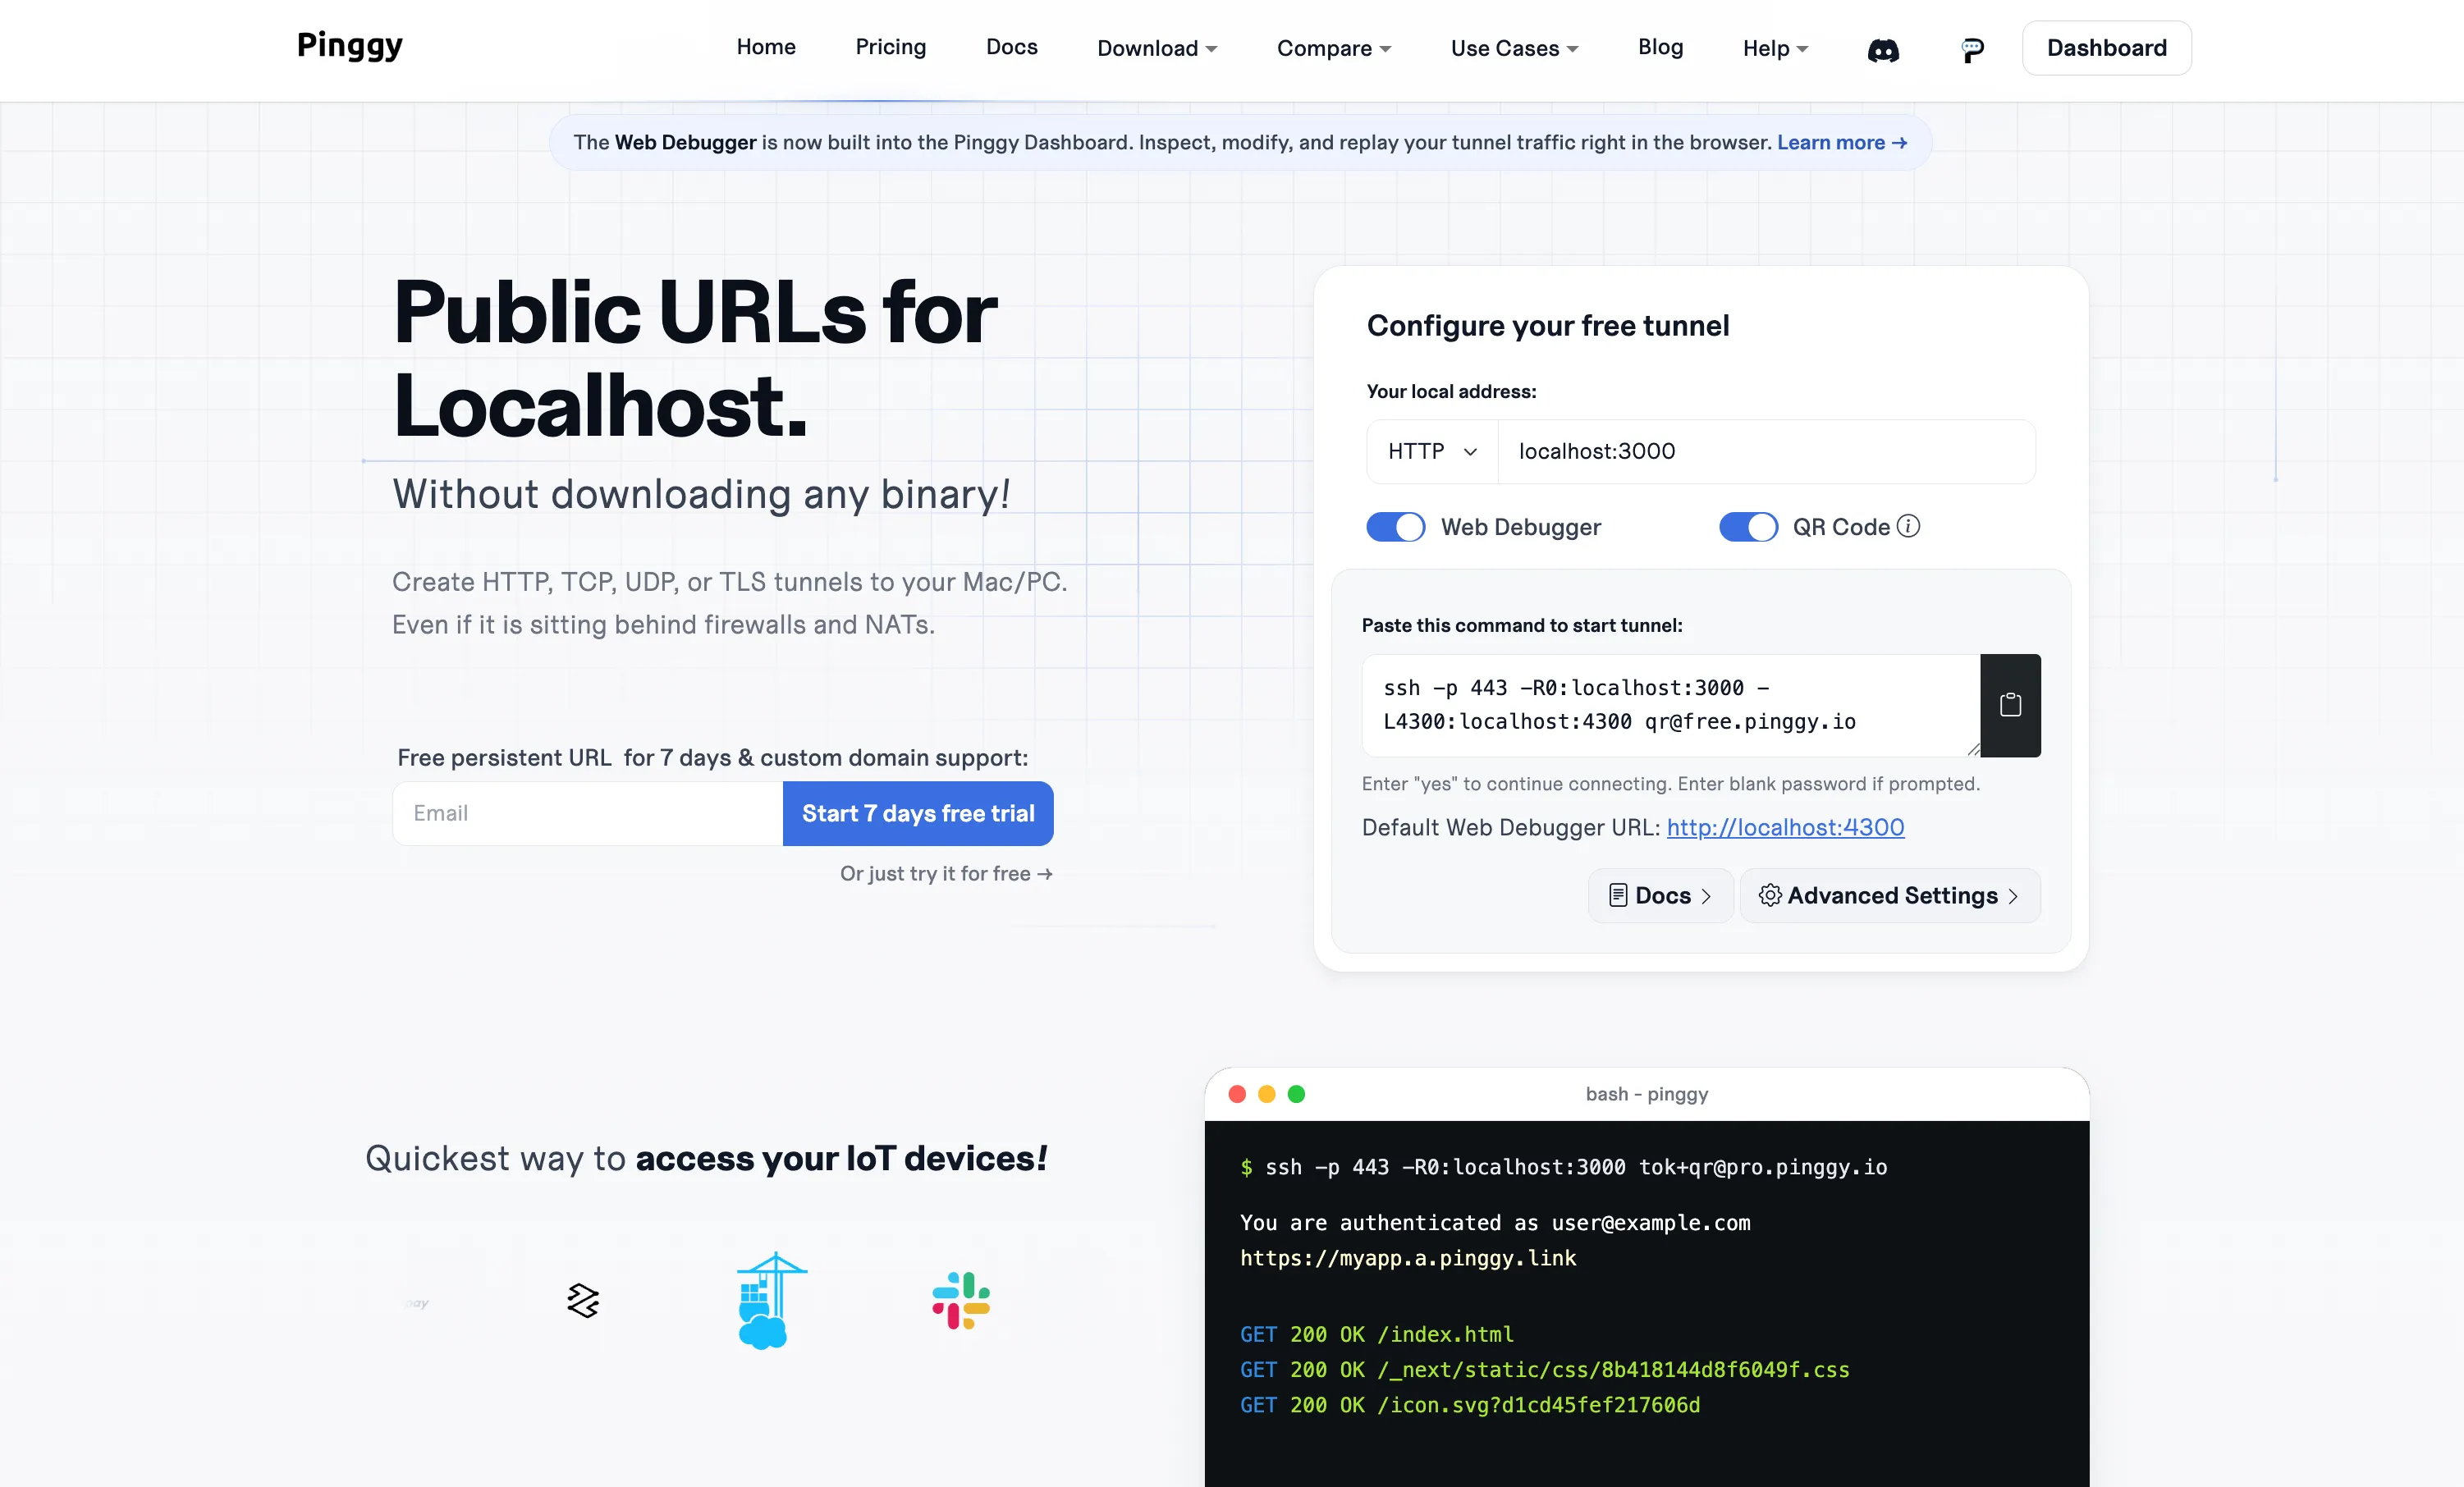
Pinggy is a good default for webhook testing because it collapses “expose my server” and “inspect what arrived” into the same command, and it doesn’t ask you to install a client or create an account before you can start.
No installation required: one SSH command
Since ssh ships with macOS, Linux, and modern Windows, there’s nothing to download. If your webhook handler is listening on localhost:3000:
That returns a public URL that looks like https://rnxxx-30-47-152-61.a.free.pinggy.link. Free sessions run for 60 minutes and hand out a random subdomain each time; if you’d rather not re-paste a new URL into a provider’s dashboard every hour, the Pro plan ($2.50/month billed annually) keeps a persistent subdomain.
Receiving webhooks
Once the tunnel is up, paste the HTTPS URL into whichever provider you’re integrating - Stripe’s webhook settings, a GitHub App’s webhook URL, a Slack app’s Event Subscriptions field, Shopify’s notification settings, and so on. The provider now delivers events straight to your local handler through the tunnel. We’ve covered several of these end-to-end, including PayPal, Telegram bots, Discord bots, and Slack, if you want a provider-specific walkthrough.
Try it yourself with the widget below - it builds the exact command for your port and streams requests into a debugger as they arrive:
Try it yourself now
The web debugger: inspect every request
Pinggy’s Web Debugger is a live HTTP request/response viewer, and it’s available on the free tier, not gated behind Pro.
The quickest way to use it needs no account and no token at all: forward the debugger to a local port when you start the tunnel, and it’s available at http://localhost:4300:
ssh -p 443 -R0:localhost:3000 -L4300:localhost:4300 free.pinggy.io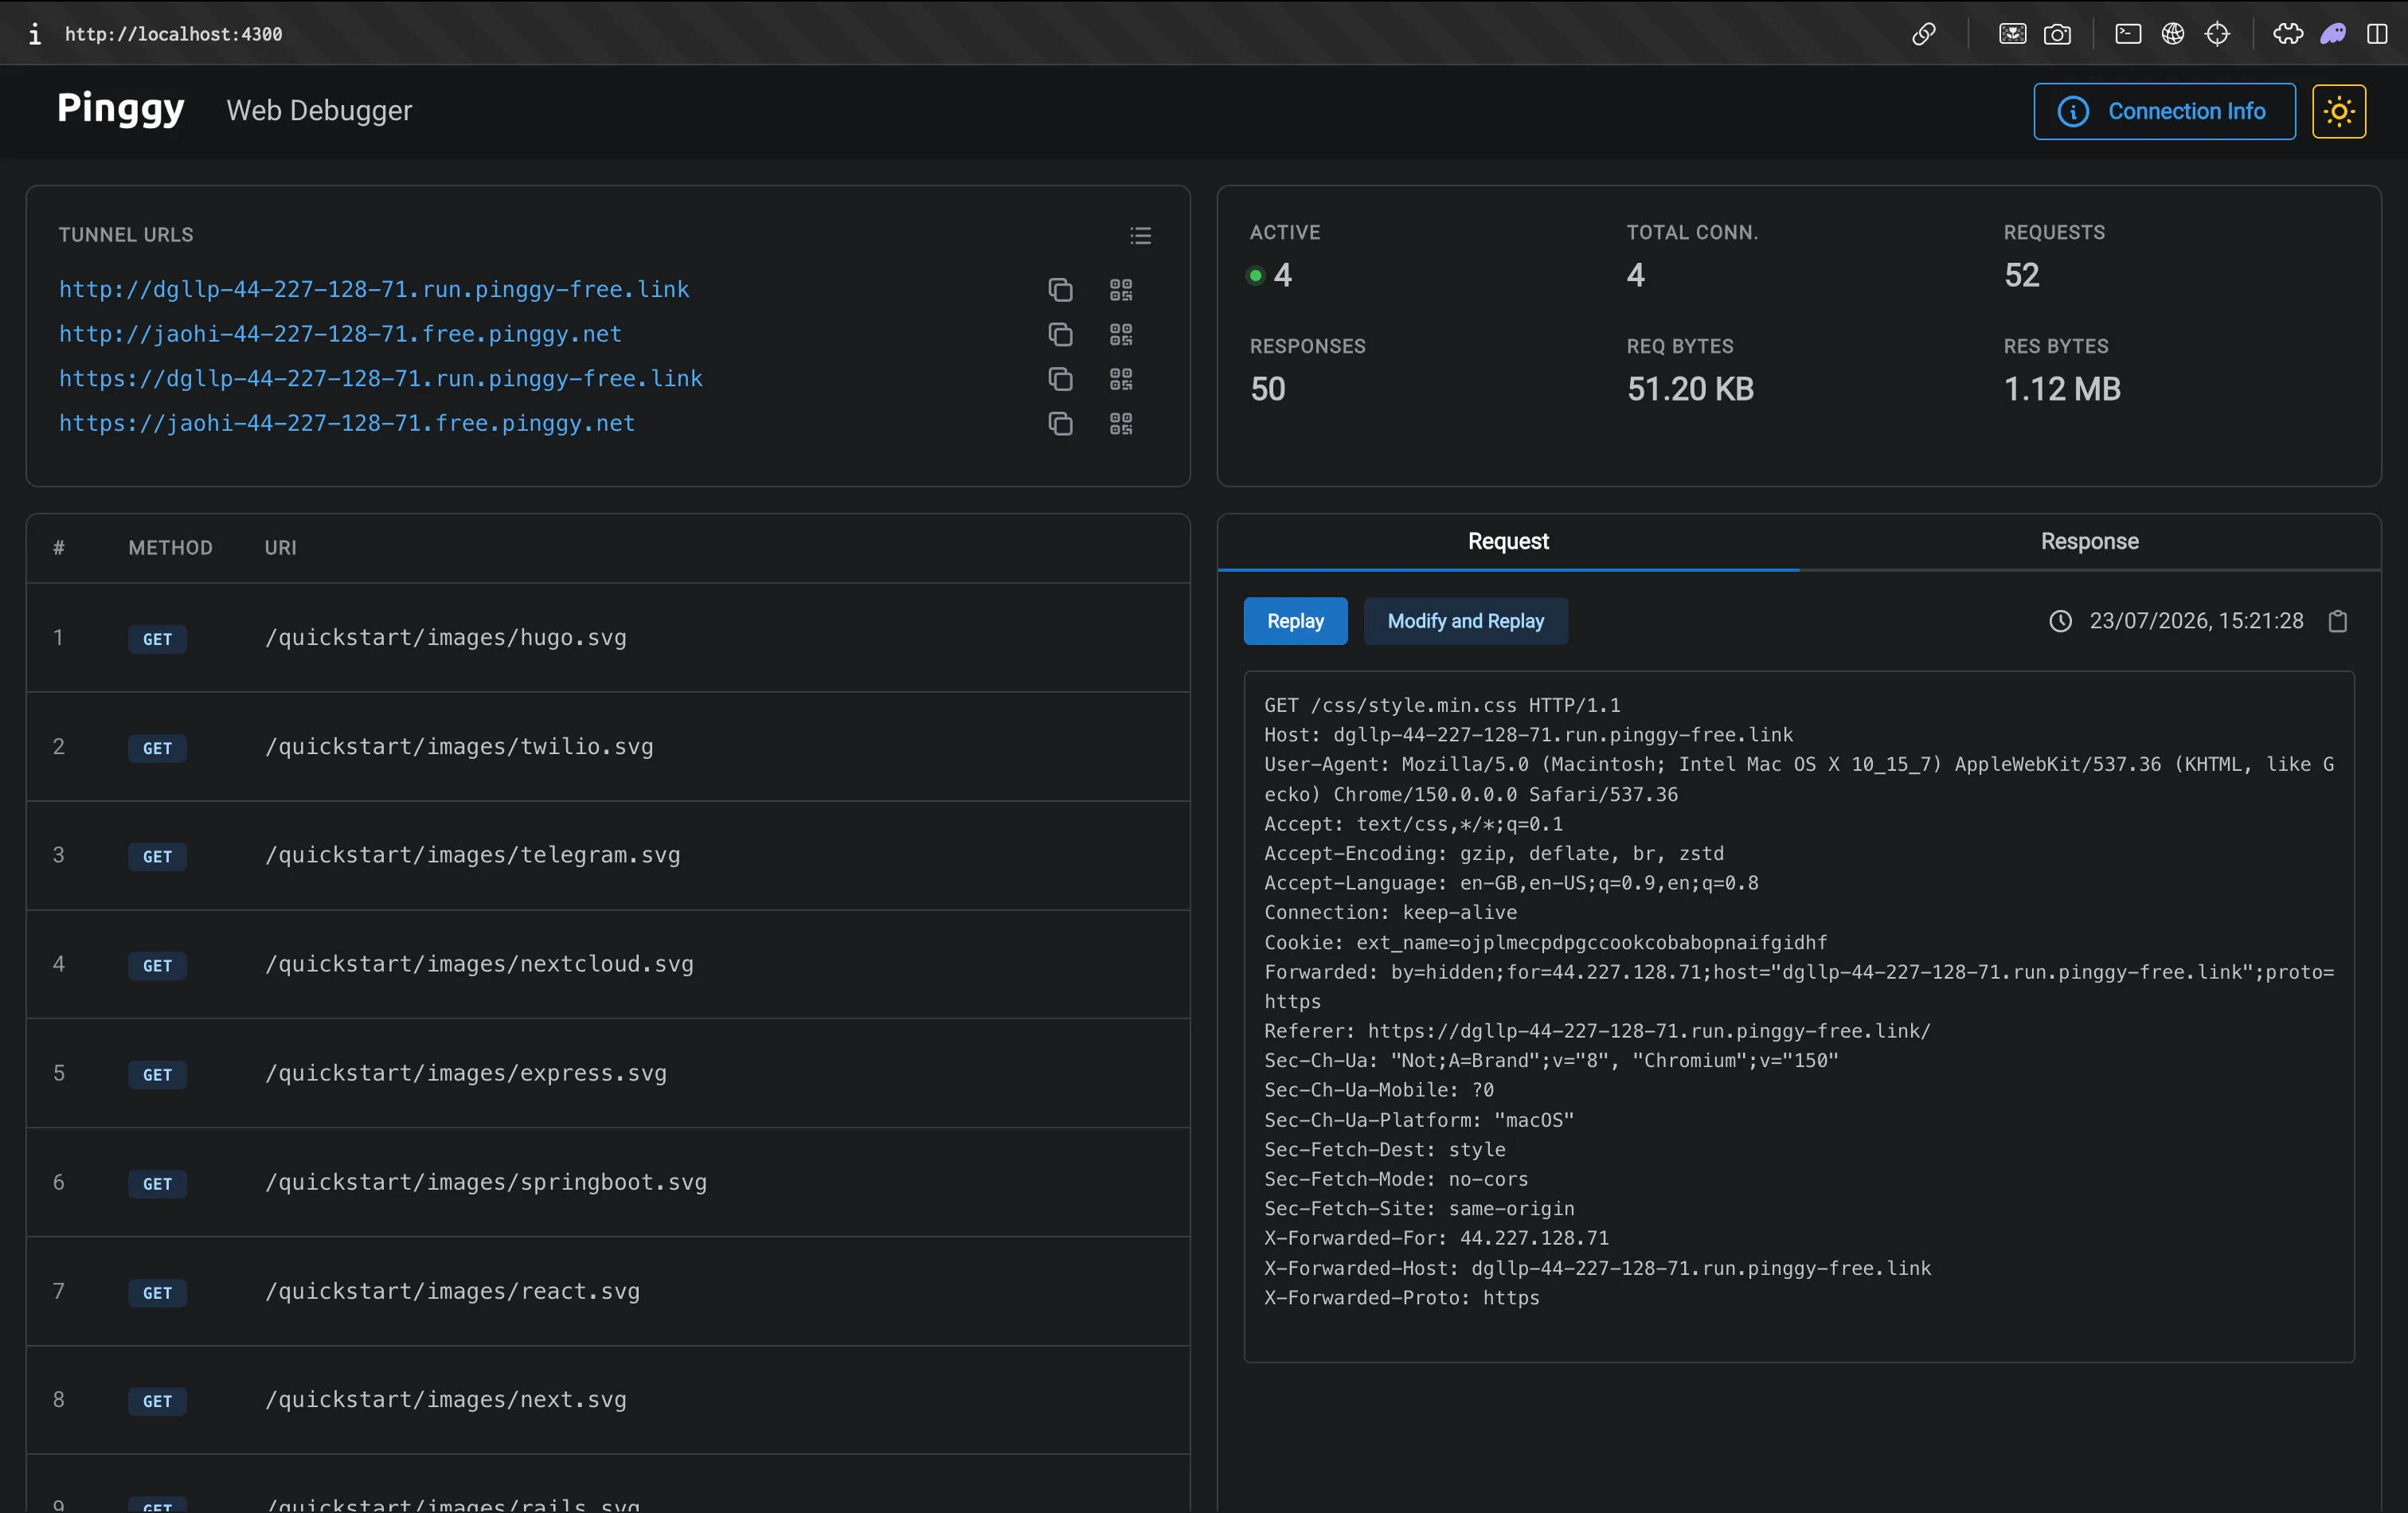
(Map it to a different local port with -L9999:localhost:4300 if 4300 is already taken.) The debugger also exposes a couple of simple endpoints if you want to script against it - GET http://localhost:4300/urls returns the active tunnel URLs, and GET http://localhost:4300/ipwhitelist returns the current whitelist.
If you’d rather view it from the dashboard instead:
- Start a tunnel with a token (free tokens work too - grab one from the Pinggy dashboard).
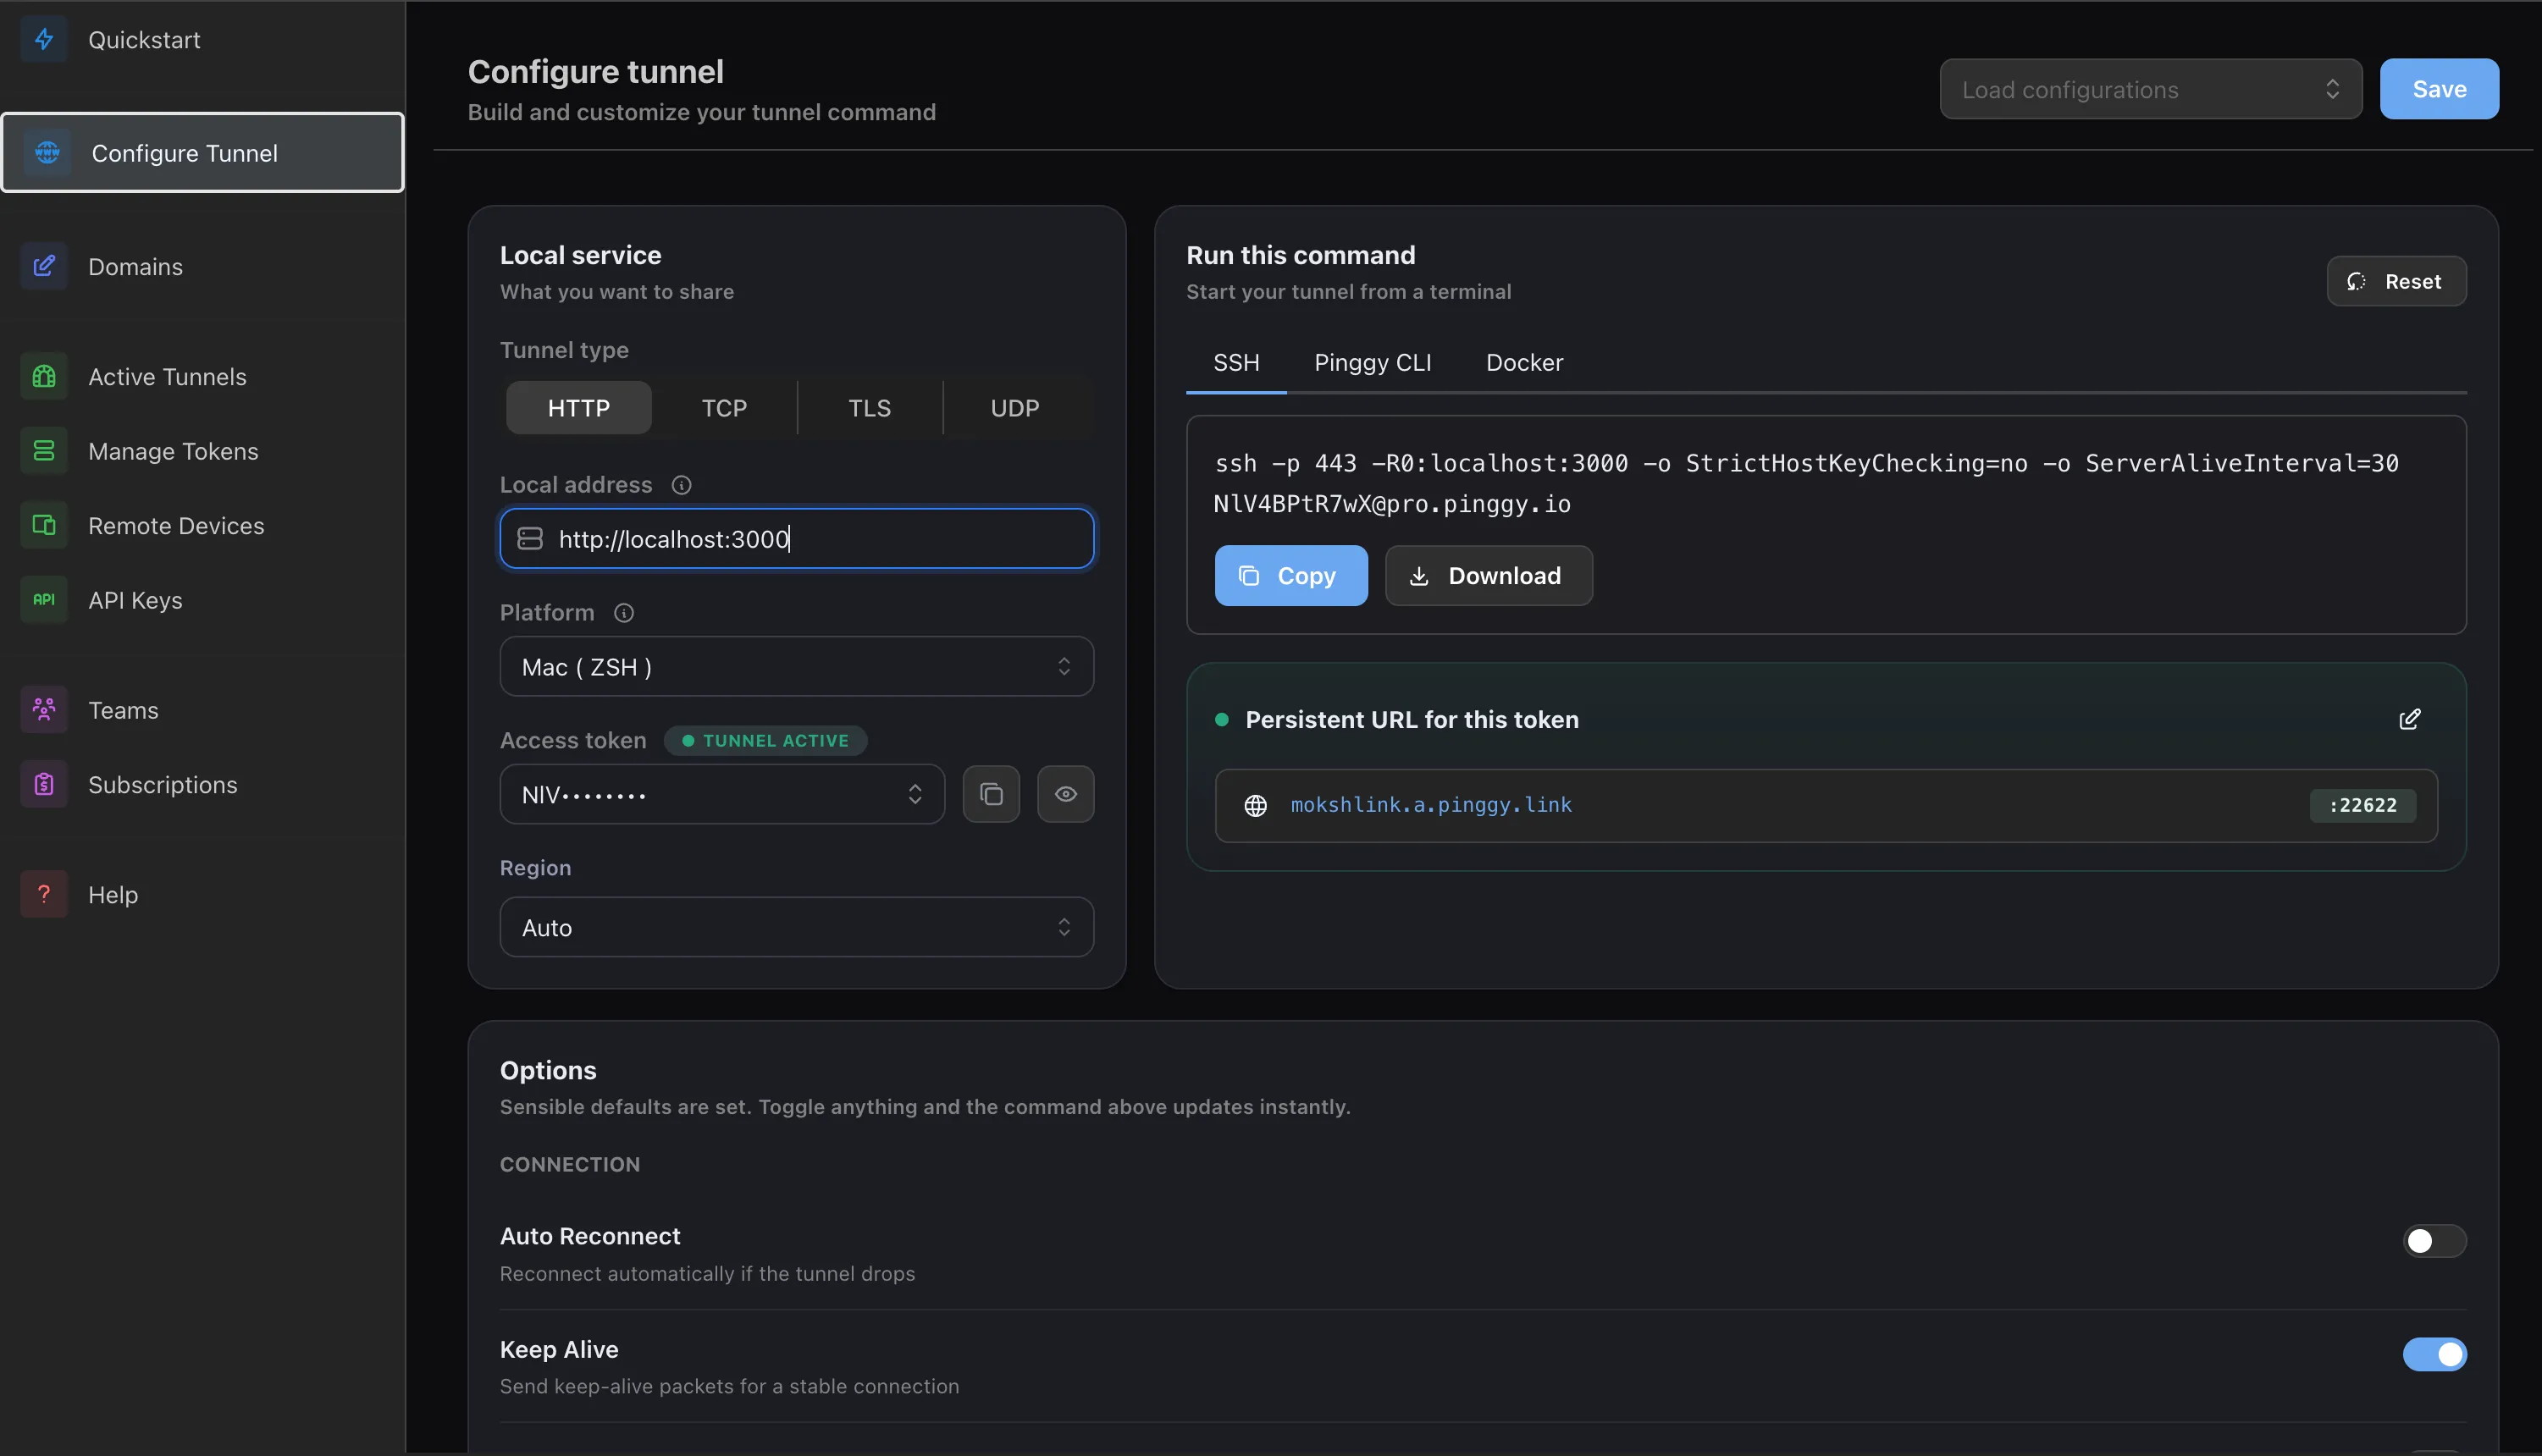
- Open the Active Tunnels page and click the debug icon next to your running tunnel.
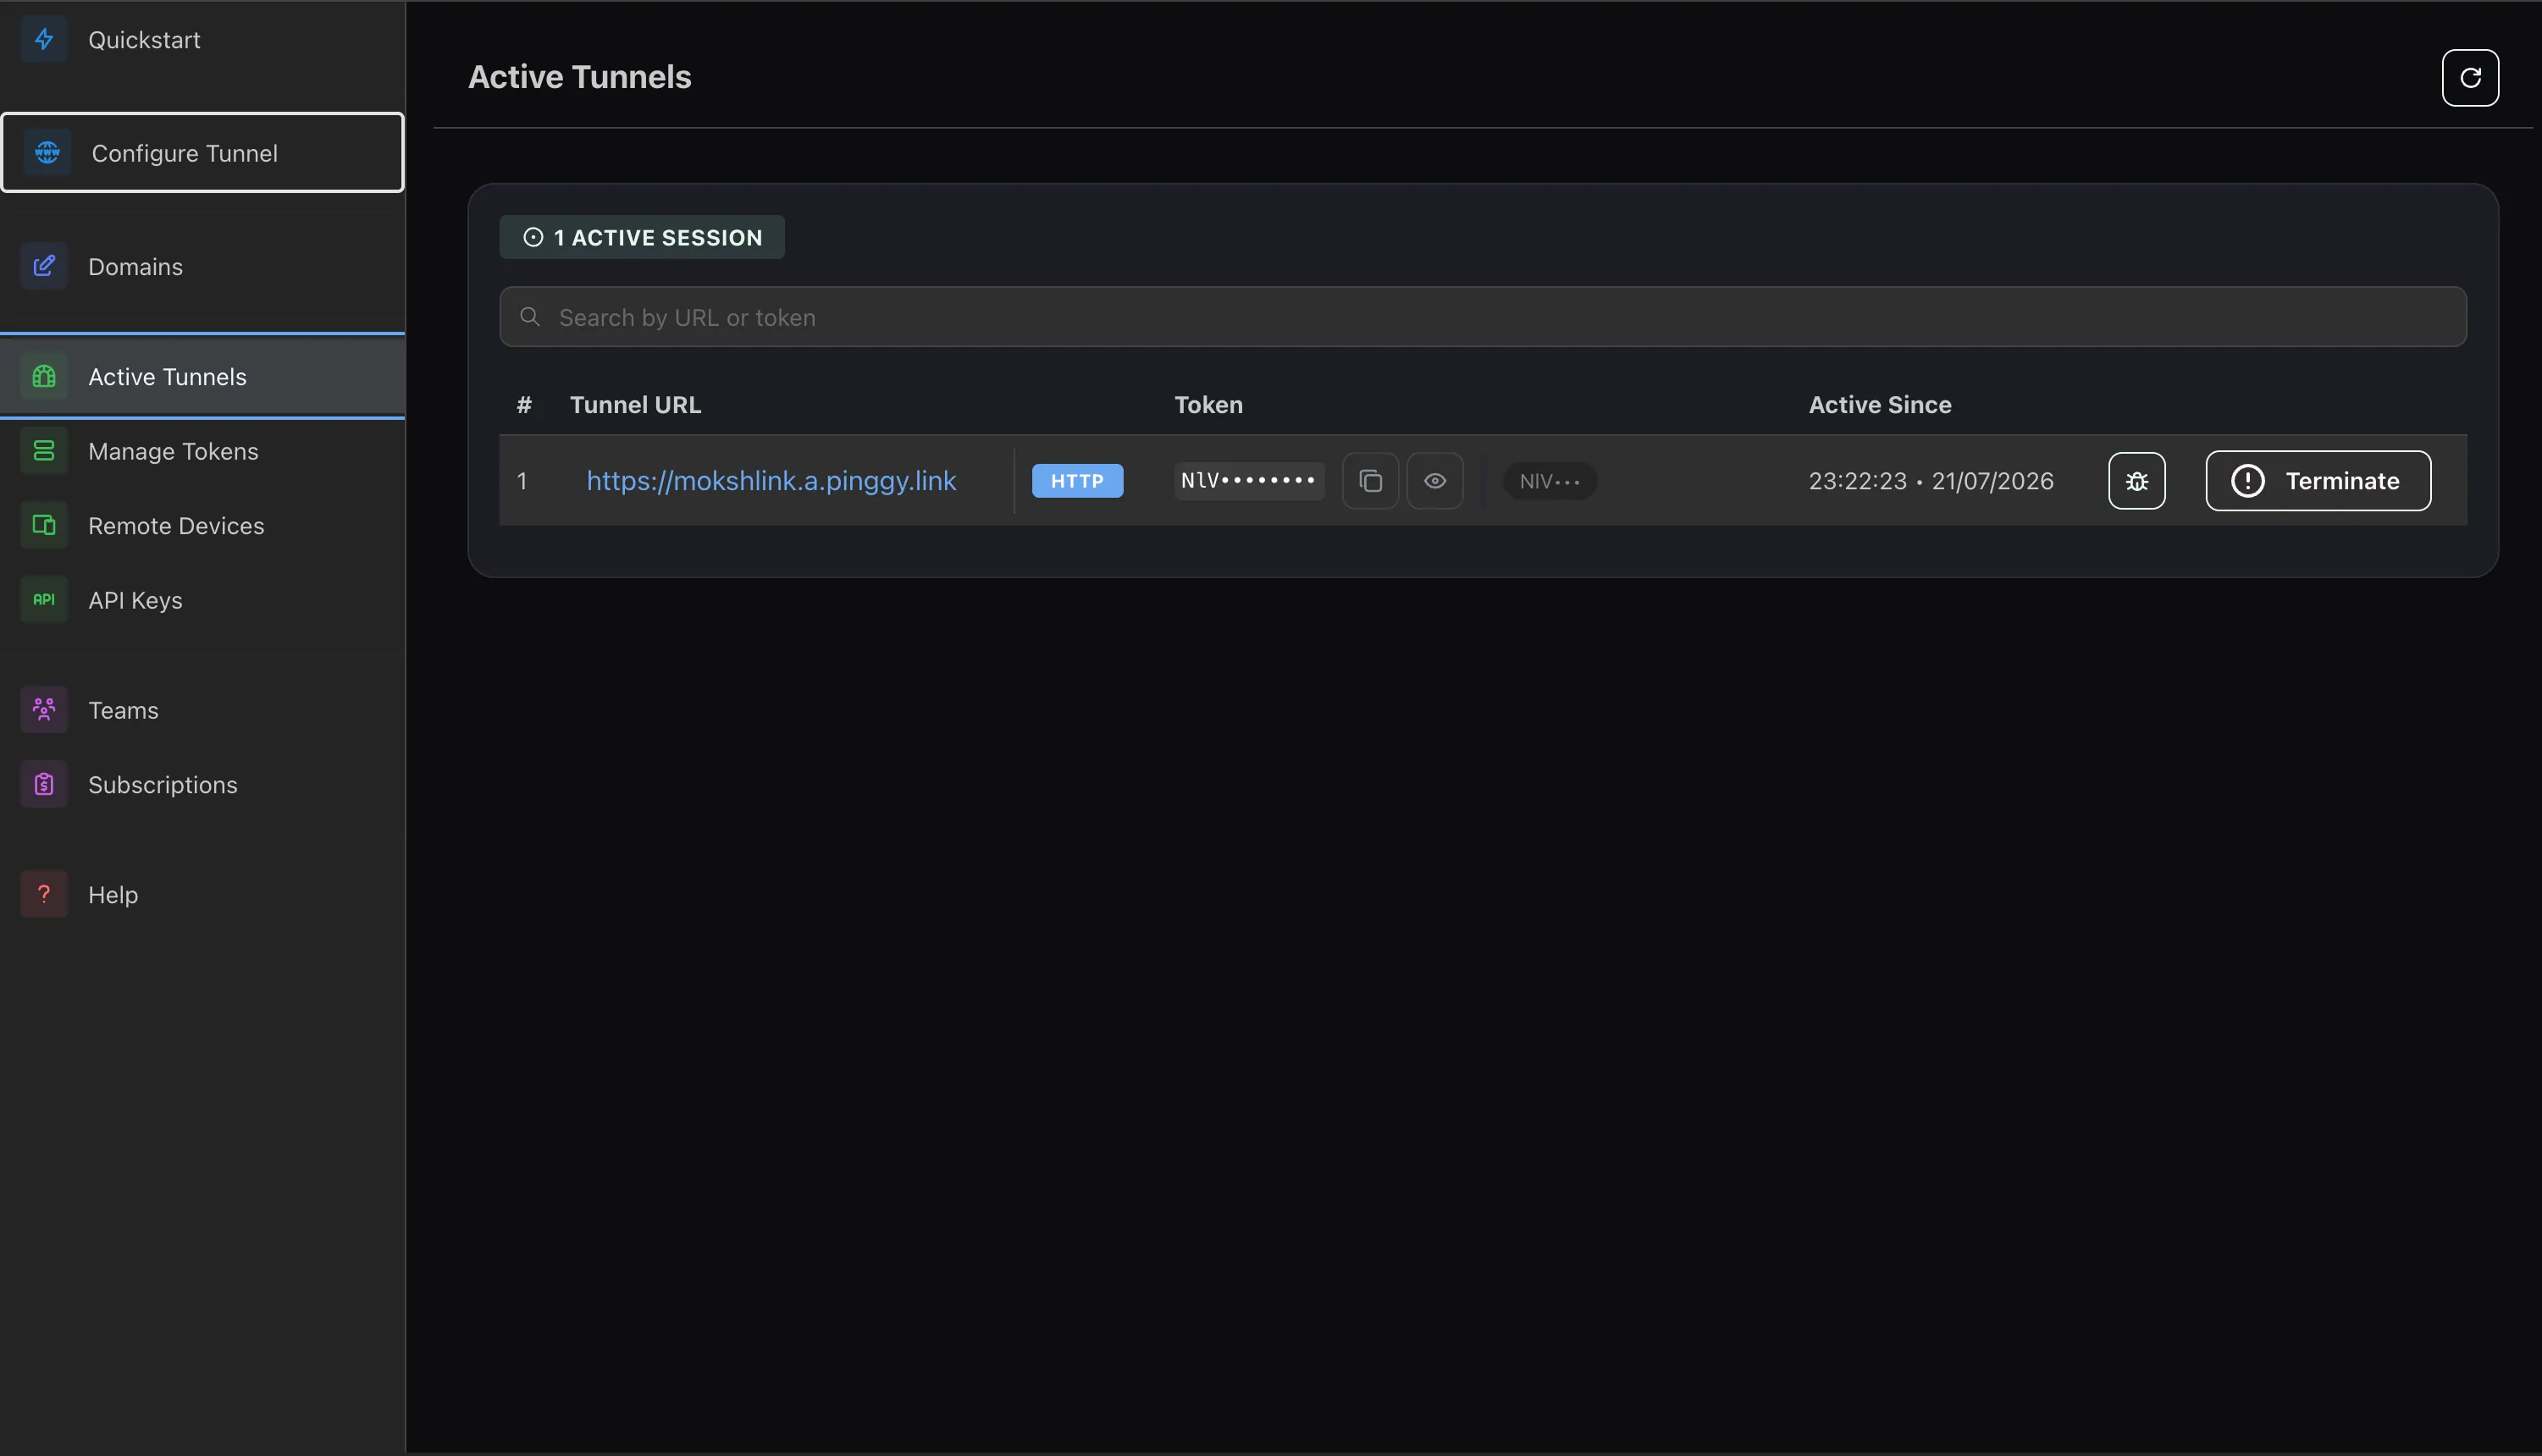
- Watch requests land in real time - connection stats, headers, and the full body for each one, with separate Request and Response tabs.
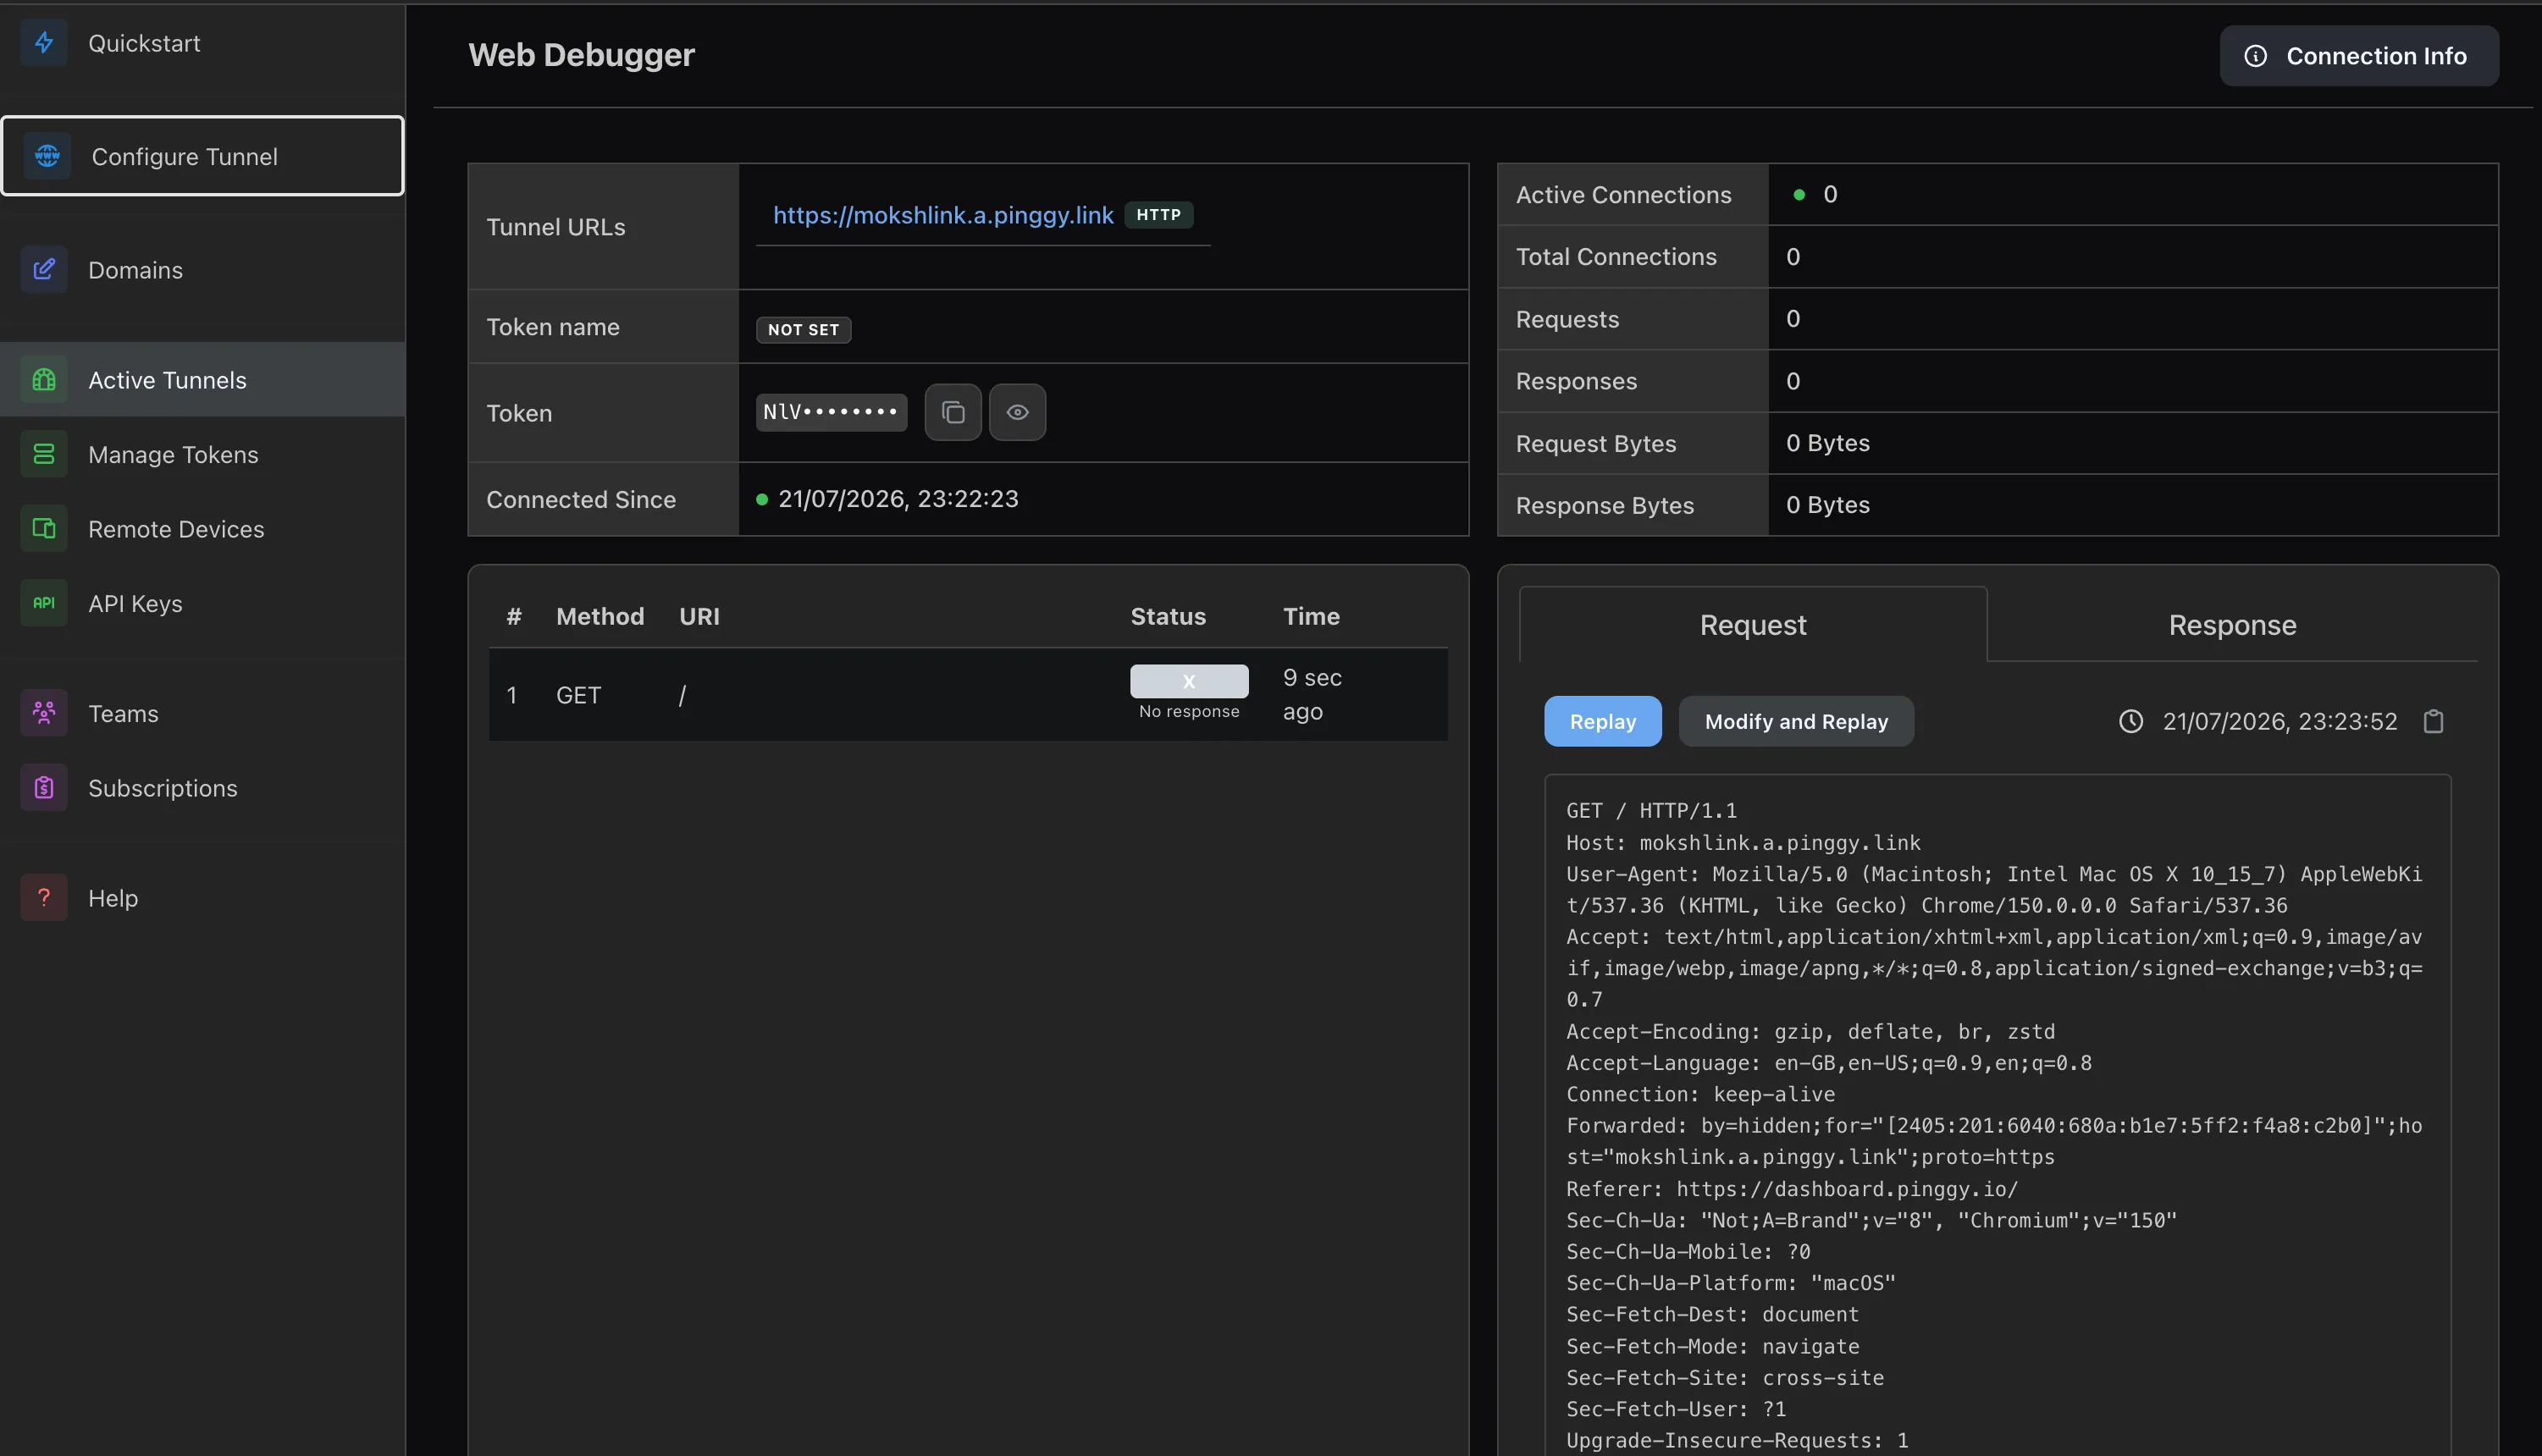
Replay, and Modify and Replay
This is the feature that actually saves time once you’re past “does this work at all.” Click any captured request in the debugger and you get two options:
- Replay resends the exact request again, byte for byte - useful for confirming a fix without waiting for the provider to redeliver.
- Modify and Replay opens an editable copy where you can change the HTTP method, the path, the HTTP version, or any header before resending. Handy for reproducing a bug that only shows up with a missing header, a malformed content type, or a specific field value, without needing the provider to send that exact edge case.
Both work against the same live request feed, so there’s no separate “capture mode” to switch into first.
Locking the tunnel down with IP whitelisting
A webhook tunnel is a public URL for as long as it’s open, which is fine for a quick test but worth tightening once you’re testing with anything resembling real data. Pinggy’s IP whitelist restricts the tunnel to specific addresses or CIDR ranges - every other request is dropped with no response at all, not even an error page:
ssh -p 443 -R0:localhost:3000 free.pinggy.io -- w:203.0.113.10Multiple ranges (for example, a provider’s published webhook IP block plus your office network) are comma-separated:
ssh -p 443 -R0:localhost:3000 free.pinggy.io -- w:203.0.113.0/24,198.51.100.5This works across HTTP, TCP, UDP, and TLS tunnels, and it composes with basic auth (b:user:pass) or bearer-token auth (k:key) if you want both a shared secret and an address restriction. See Pinggy's IP whitelist docs for the full flag reference.
Pros of Pinggy
Nothing to install to get started, a web debugger that’s free (not Pro-gated), Replay and Modify-and-Replay in the same interface, IP whitelisting on every tunnel type, unlimited bandwidth, and a TLS tunnel mode where Pinggy itself cannot read your traffic if you want end-to-end encryption for sensitive payloads.
Cons of Pinggy
Free sessions time out after 60 minutes and rotate subdomains, so long-running integration work benefits from a paid token. Pinggy also doesn’t provide OAuth 2.0 authentication for tunnel visitors the way ngrok does.
Price of Pinggy
Free tier available. Pro starts at $2.50/month (billed annually) or $3/month, and includes persistent subdomains, custom domains, and persistent TCP/UDP ports on top of everything in the free tier.
2. ngrok
ngrok is the tool most developers already have muscle memory for, and its traffic inspector is genuinely mature. After starting a tunnel, the inspector runs locally at http://127.0.0.1:4040, showing every request and response that passed through.
Its Replay feature resends the entire captured request, headers and body intact, and the replay editor lets you change the method, path, headers, trailers, or body before resending - functionally similar to Pinggy’s Modify and Replay. One real caveat worth knowing: ngrok’s replay does not recreate the original signing information or spoof the source IP, so if your handler validates a provider’s signature header strictly, a replayed request can fail that check even though the payload is identical to what was originally delivered. That’s expected behavior, not a bug, but it catches people off guard the first time.
Getting started requires downloading the ngrok agent and creating an account, which is the main friction point compared with an SSH-only tunnel.
Pros of ngrok
A polished, long-standing inspector UI, built-in webhook signature verification tooling, OAuth 2.0/JWT/mTLS authentication options for who can reach your tunnel, and broad platform support.
Cons of ngrok
Requires a client download and account sign-up before the first tunnel. No UDP tunnel support. The free tier is capped to a single endpoint with a random subdomain and limited monthly data transfer.
Price of ngrok
The Hobbyist plan starts at $8/month (billed annually) or $10/month, with 5GB of data transfer and 100k HTTP/S requests included. Pay-as-you-go is $20/month with unlimited endpoints and custom domains.
3. Webhook.site
Webhook.site solves a narrower problem than a tunnel: you don’t need your own server running at all to see what a provider sends. Open the site, get a unique URL immediately, and point your webhook at it. Every request that arrives shows up in the browser with full headers, body, and query string, in real time, with no signup required.
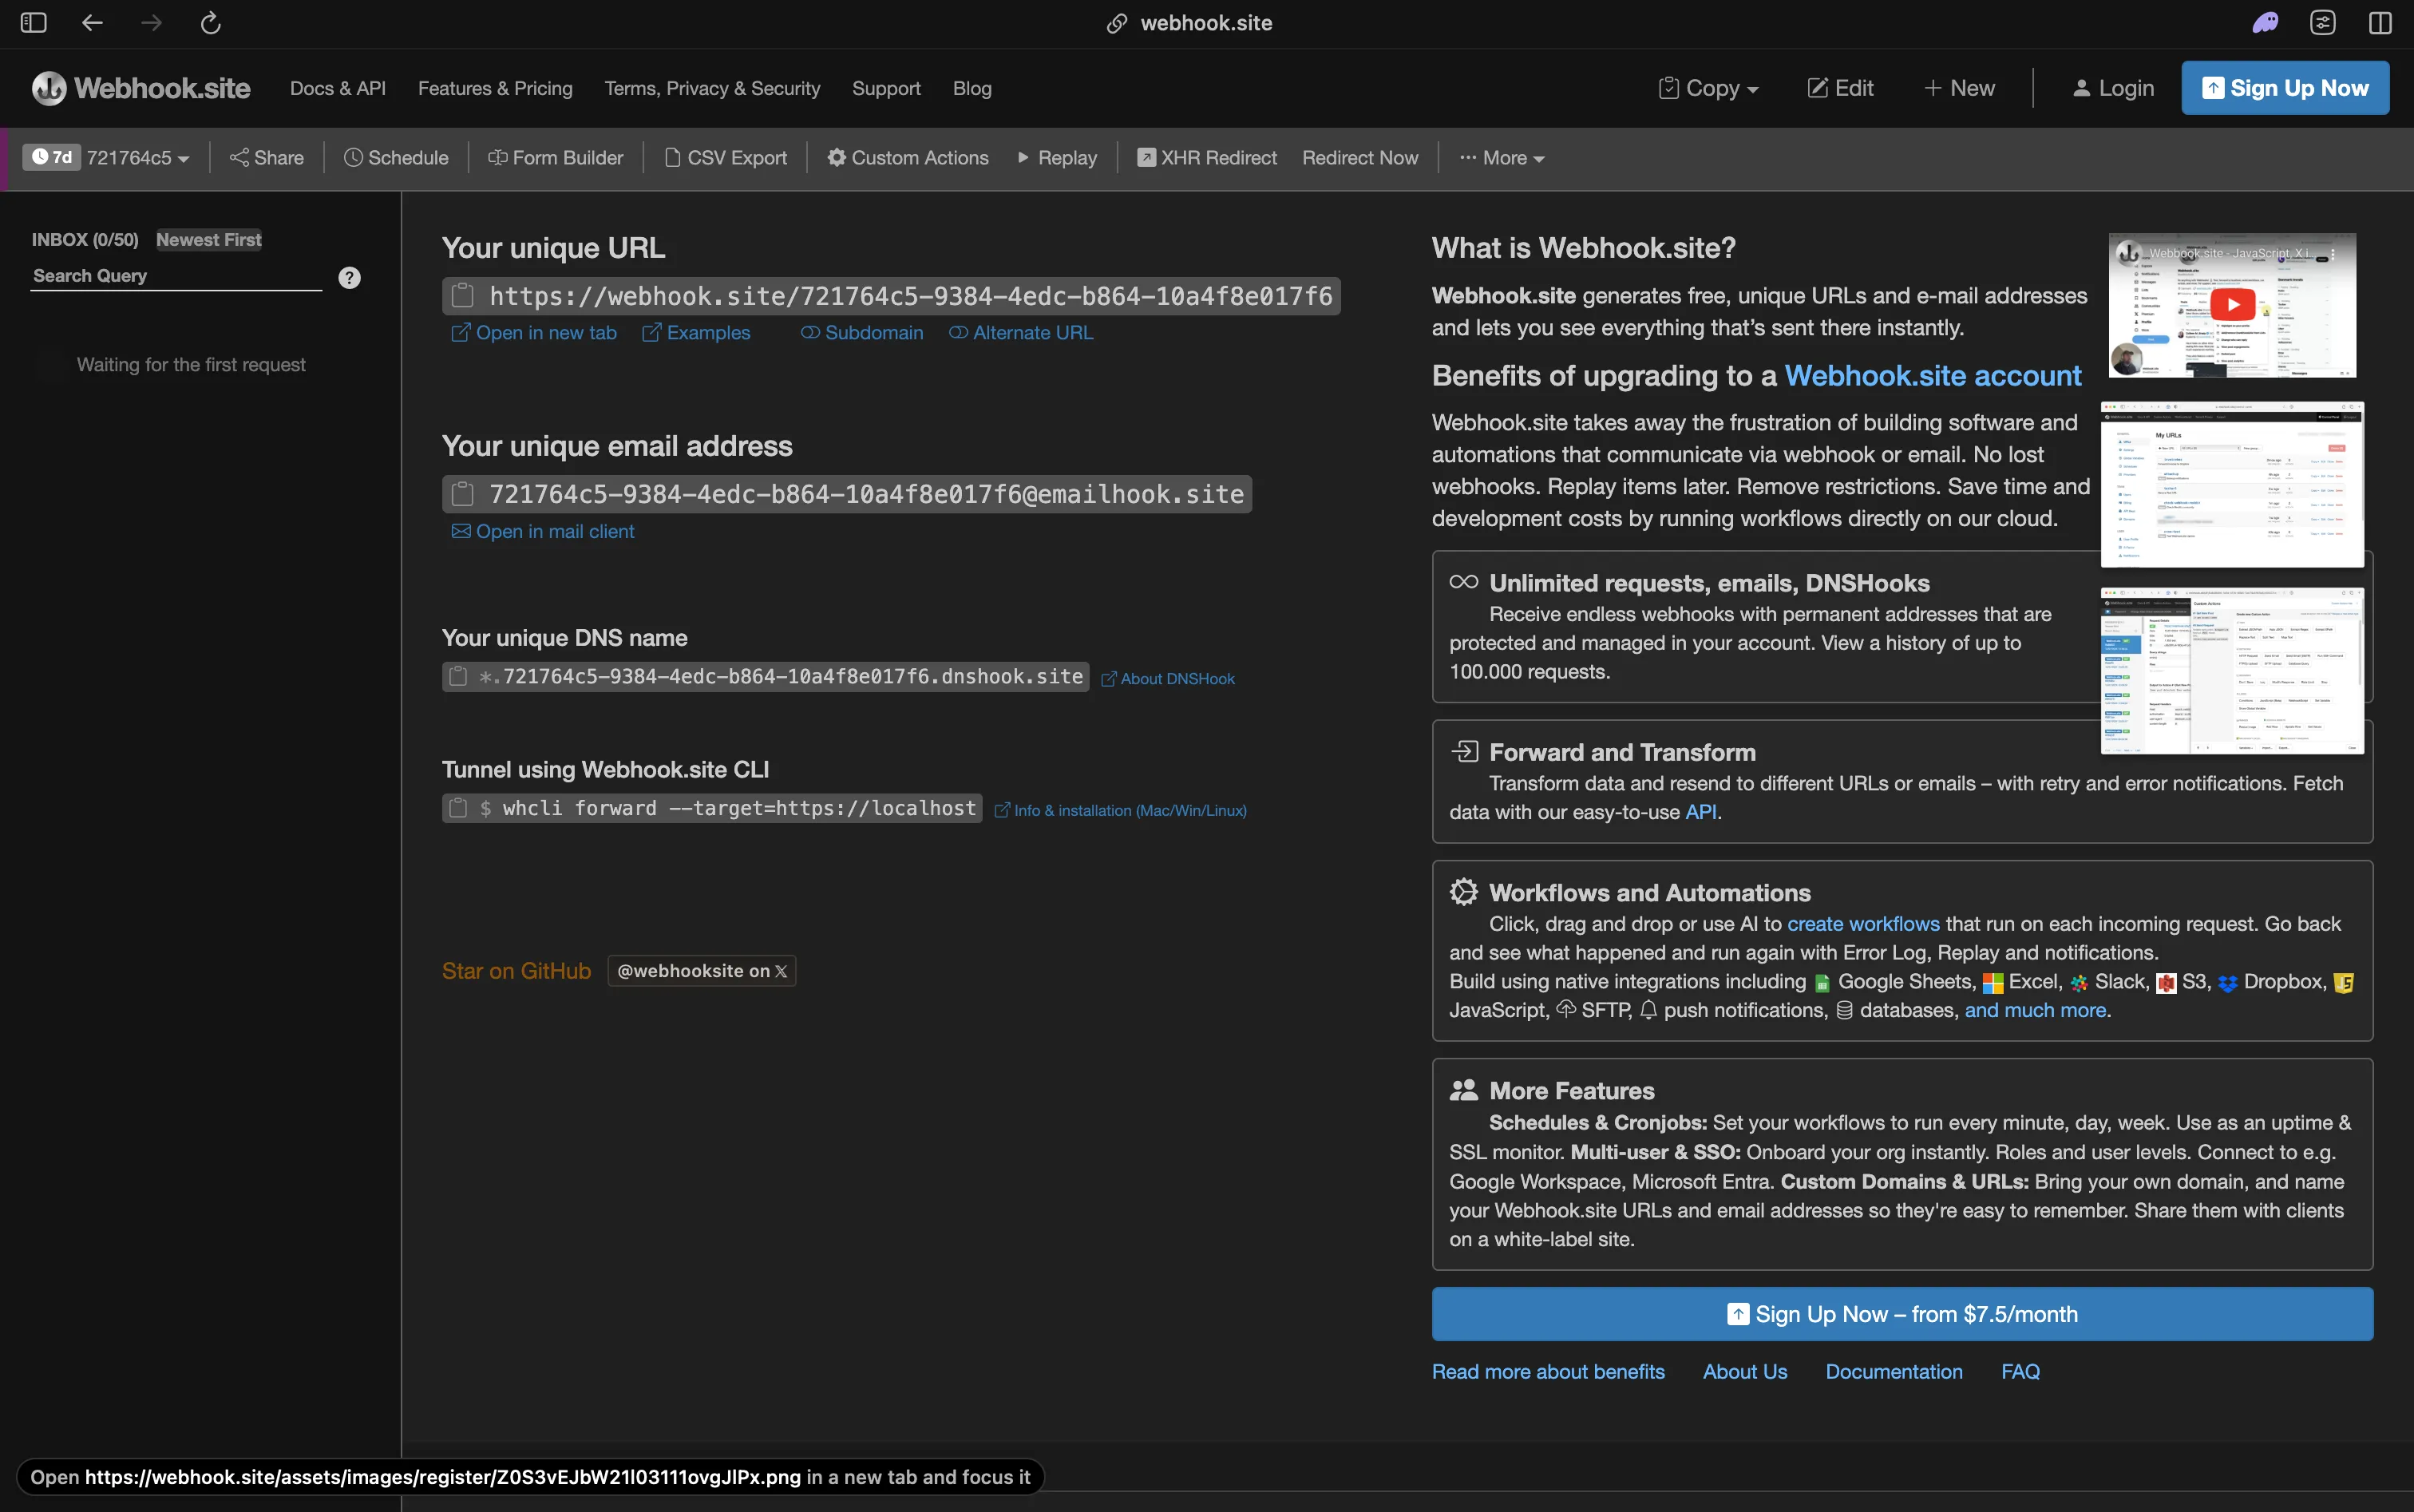
The free tier is genuinely temporary: URLs expire after 7 days and are capped at 100 requests, and everything is publicly viewable by anyone who has the URL, so it’s not the place to point a webhook carrying real customer data. Creating an account and upgrading (plans start at $7.50/month) gets you permanent URLs, request history up to 100,000 requests, and Custom Actions - visual or code-based workflows that can forward, transform, or react to incoming requests (piping them to Slack, S3, a database, or your own JavaScript), plus scheduled cron-style checks.
Pros of Webhook.site
Instant, no-signup capture URL that’s genuinely the fastest way to see a raw payload you’ve never received before. Paid tier adds forwarding-with-retry, Custom Actions, and multi-user access with SSO.
Cons of Webhook.site
Free-tier data is public to anyone with the link, and URLs expire after a week. It’s a capture-and-inspect tool first, not a full tunnel - forwarding to your own running app is a paid feature, not the default flow.
Price of Webhook.site
Free tier: no signup, 100 requests, 7-day URL expiry. Paid plans start at $7.50/month for permanent URLs and the features above.
4. Beeceptor
Beeceptor sits between an API mocking tool and a webhook inspector, which makes sense if your workflow involves both: mocking a third-party API’s responses for frontend work, and capturing webhooks that same API sends you.
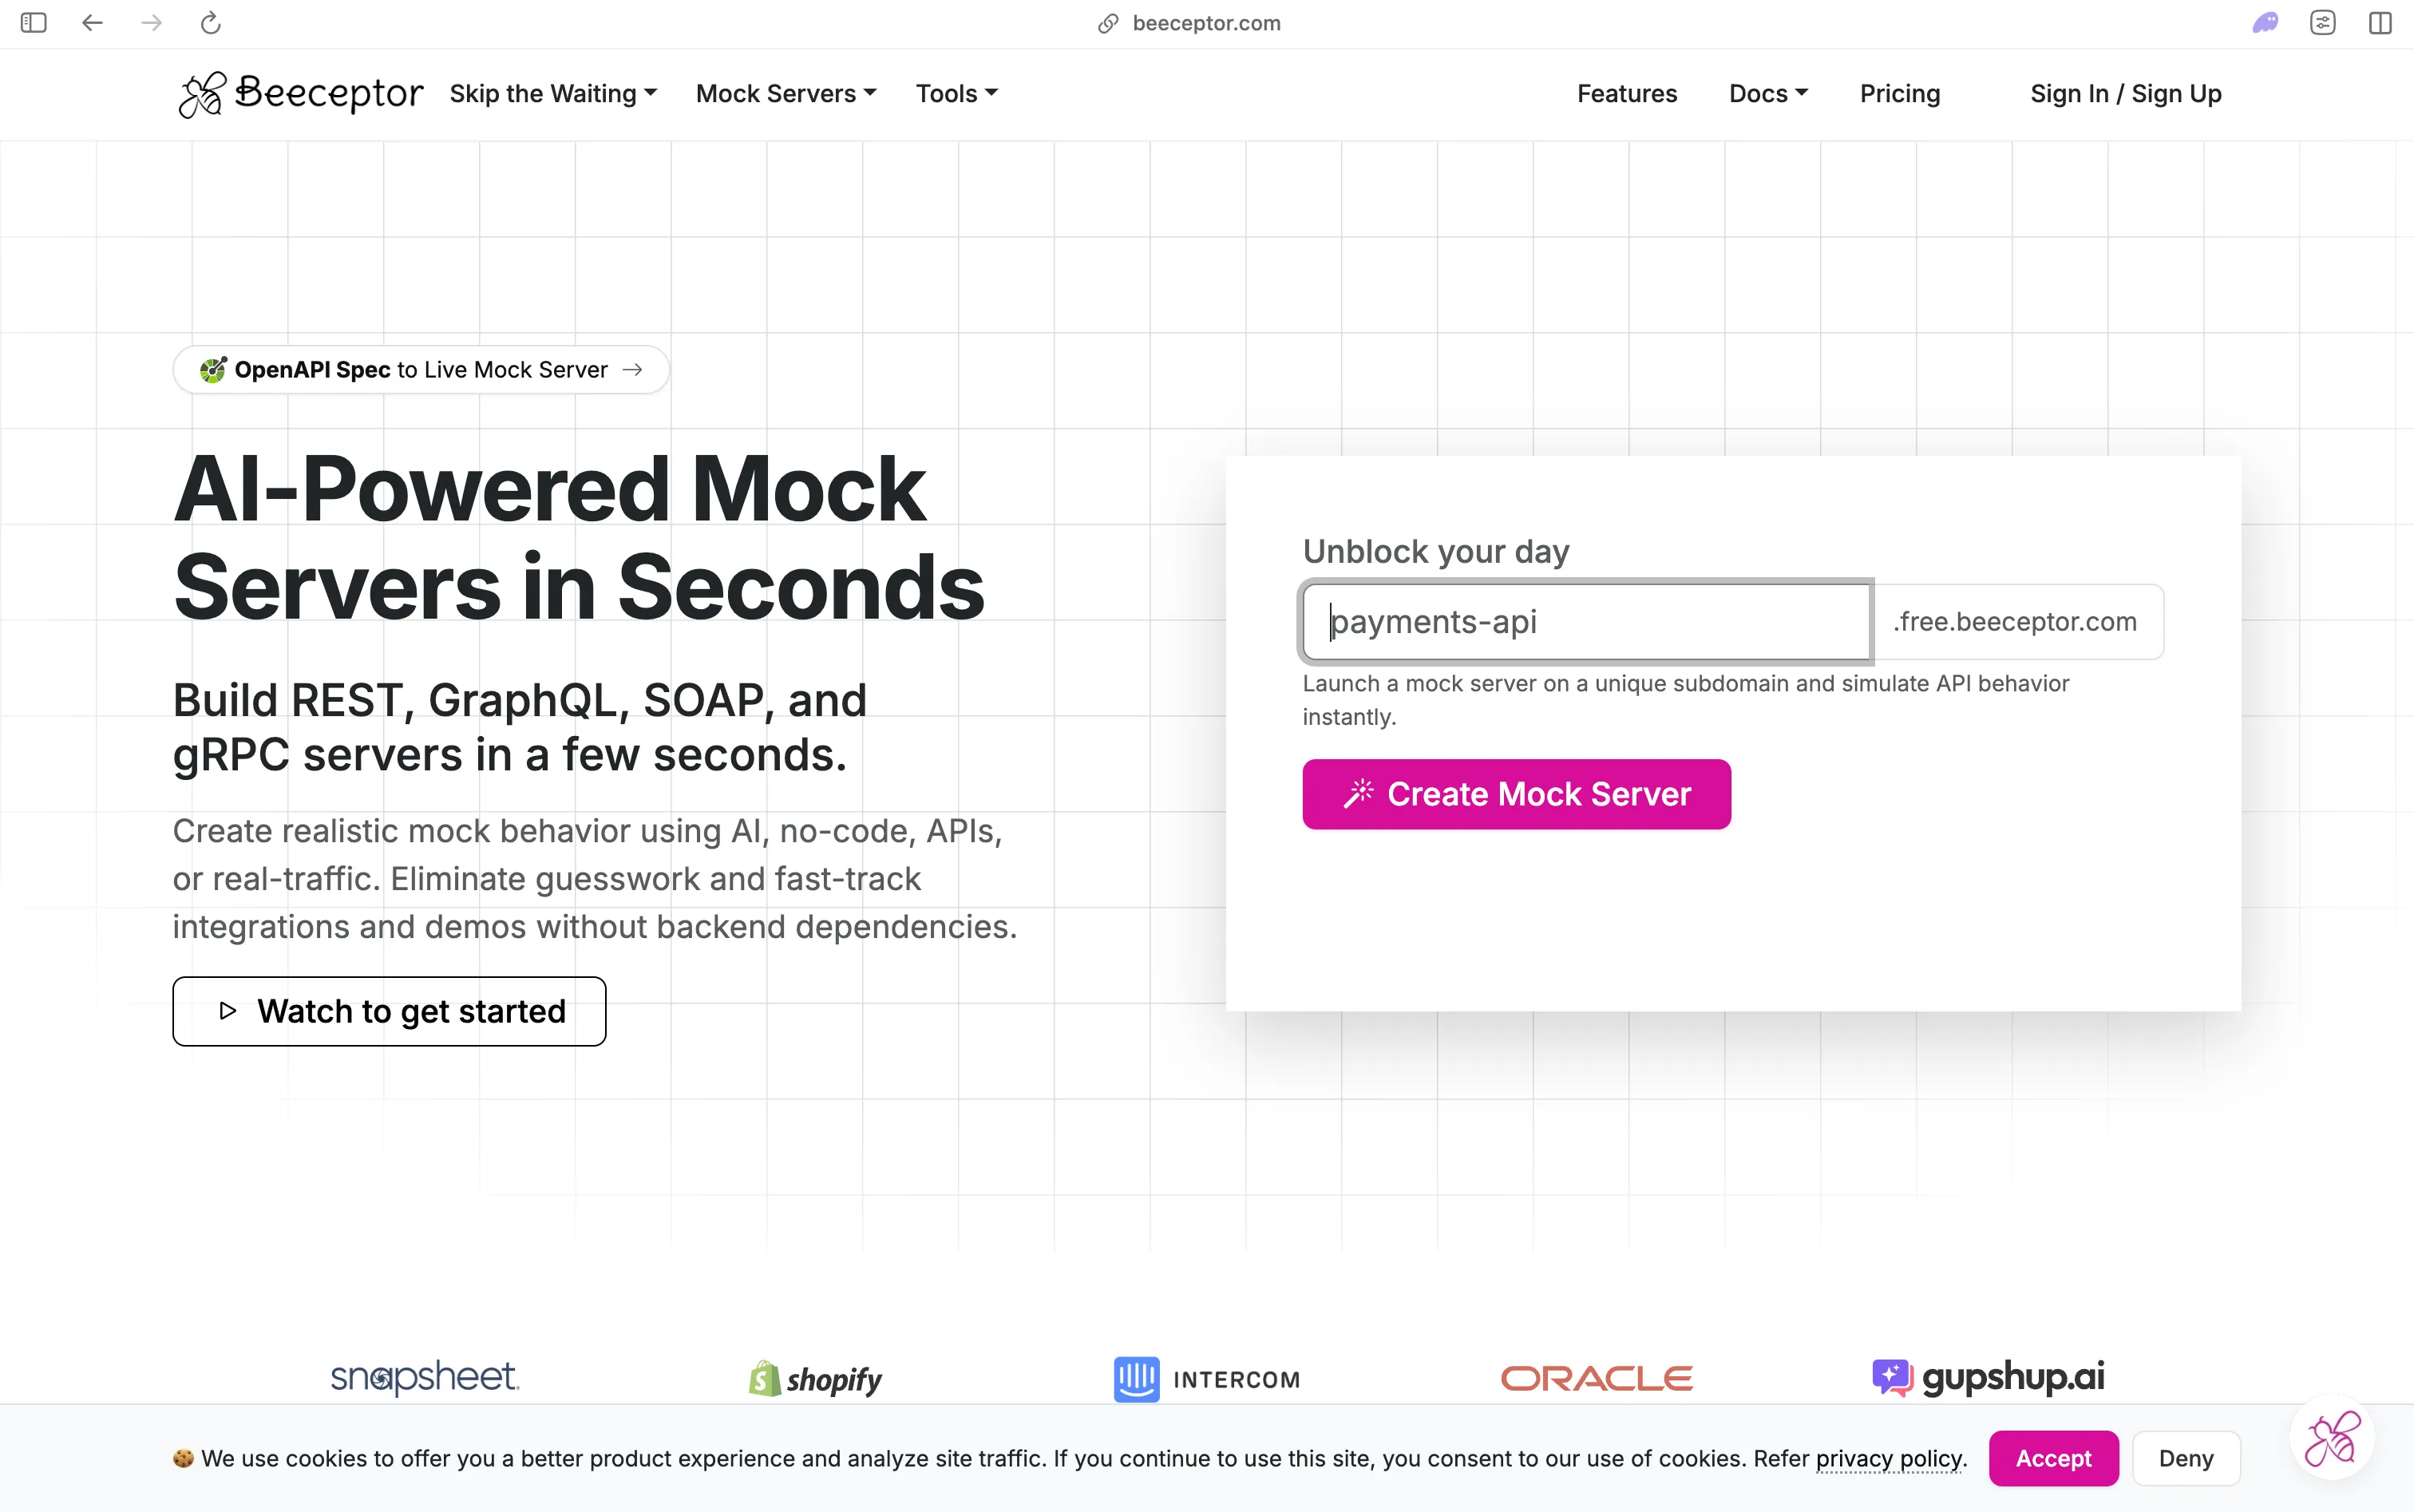
Every Beeceptor endpoint gives you live request inspection out of the box. Paid tiers add a persistent local tunnel (so you can point the same Beeceptor endpoint at your actual running app instead of just capturing and discarding), historical traffic (not just the live feed), and AI-assisted mock rule creation. The Team tier adds custom domains and mTLS, which is a more enterprise-flavored feature than most tools on this list bother with.
Pros of Beeceptor
Combines mocking and webhook capture in one tool, live inspection on every plan including free, a persistent local tunnel option on paid plans, and mTLS support for teams that need it.
Cons of Beeceptor
The free tier is capped tightly at 50 requests/day per endpoint, and features like historical traffic and a persistent tunnel require at least the Individual plan.
Price of Beeceptor
Free: $0/month, 50 requests/day, 3 mock rules, public endpoint. Individual: $10/month, 15,000 requests/month, private endpoint, persistent local tunnel. Team: $25/month, 100,000 requests/month, live + historical traffic, custom domains, mTLS. Scale: $99/month, 1M+ requests/month.
5. Hookdeck
Hookdeck is built for the point where “make it work locally” turns into “don’t lose events.” It’s an event gateway rather than a plain tunnel: the CLI (hookdeck listen 3000) forwards events to your local port the same way a tunnel does, but everything passing through is also queued, retried on failure, and filterable by header, body, path, or query before it ever reaches your code.
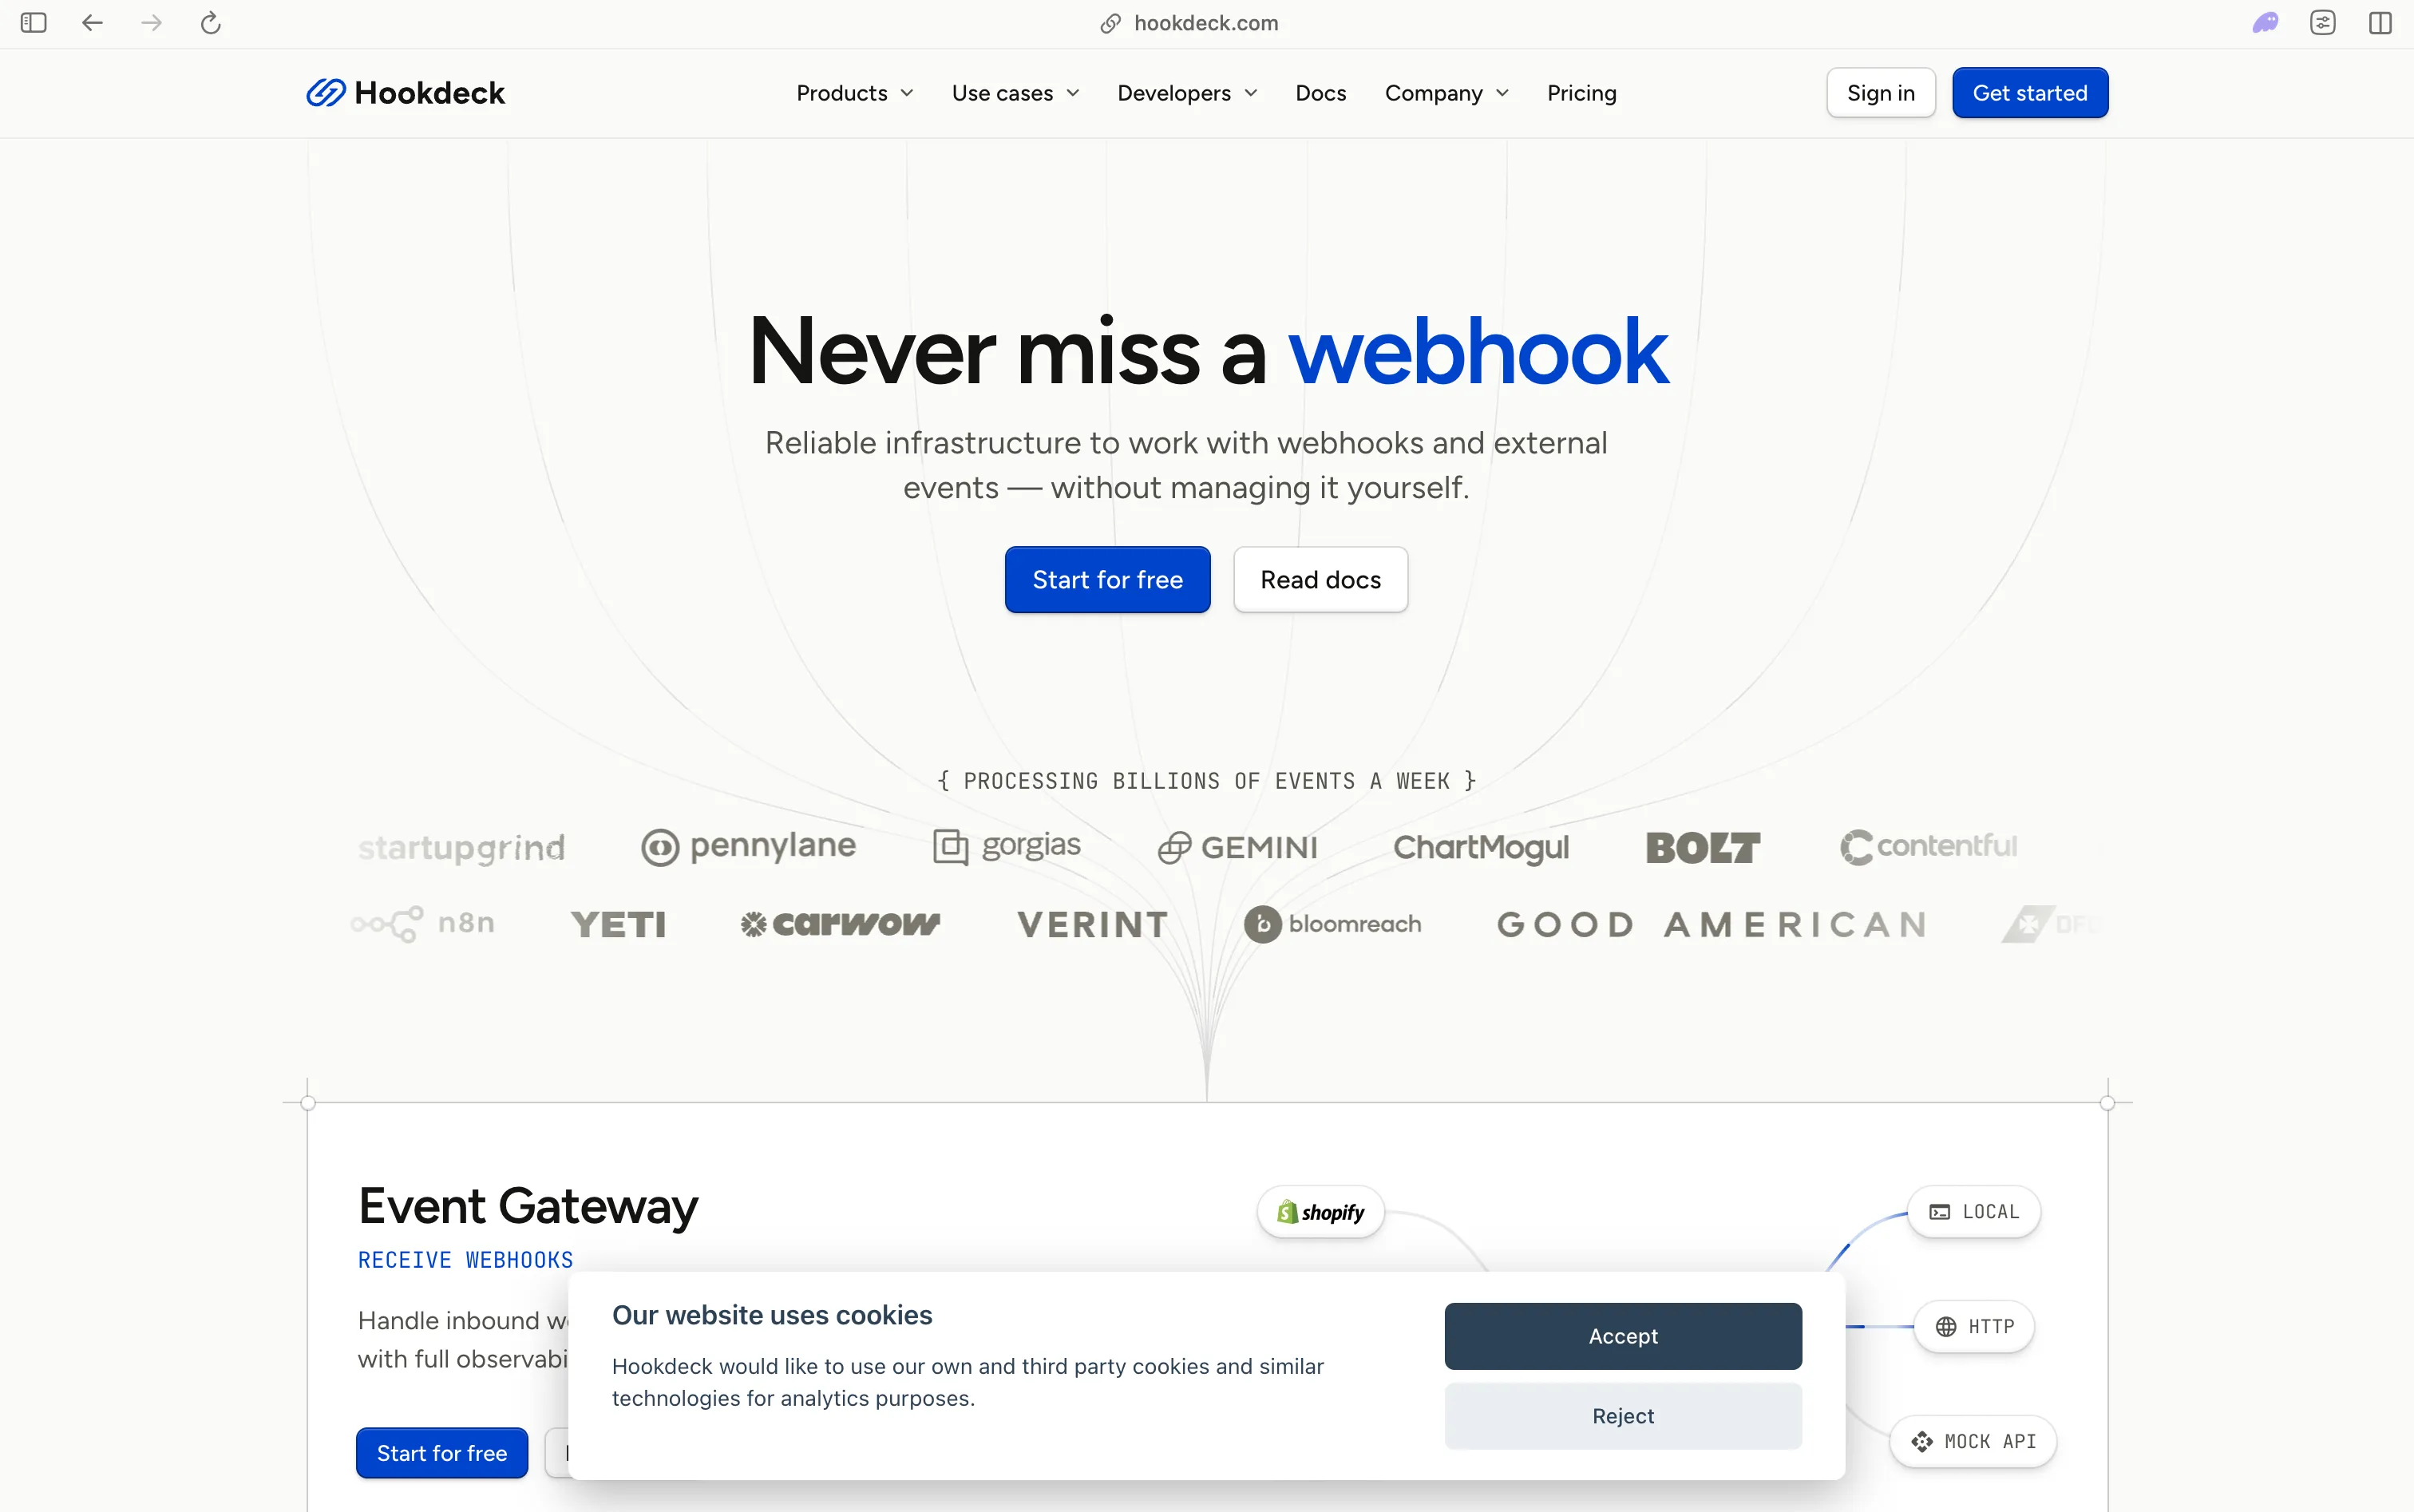
The Console gives you a searchable history and a Replay button per event, which is the same idea as Pinggy’s or ngrok’s replay but backed by persistent storage rather than a live-only feed, so you can go back to an event from days ago. Retention is what scales with price here: 3 days on the free plan, 7 days on Team, 30 days on Growth.
Pros of Hookdeck
Retries and filtering built in, not just inspection. A CLI that mirrors the “point a tunnel at localhost” workflow developers already know. Persistent event history and replay, not just a live feed. SOC2 compliance even on the free tier.
Cons of Hookdeck
Overkill if you only need to glance at a payload once. Paid tiers price by event volume with metered overages, which needs watching if traffic is spiky. No CLI-specific pricing tier - it’s bundled with the same plans as the full gateway.
Price of Hookdeck
Free (Developer): $0/month, up to 10,000 events, 3-day retention, single user. Team: from $39/month, 7-day retention, unlimited team members. Growth: from $499/month, 30-day retention, 99.999% uptime SLA, SSO. Enterprise: custom.
6. smee.io
smee.io is narrower in scope than everything else on this list, and that’s the point: it’s what GitHub’s own documentation recommends for testing GitHub App and repository webhooks locally. It’s a small, open-source service that uses Server-Sent Events to proxy payloads from GitHub to your machine.
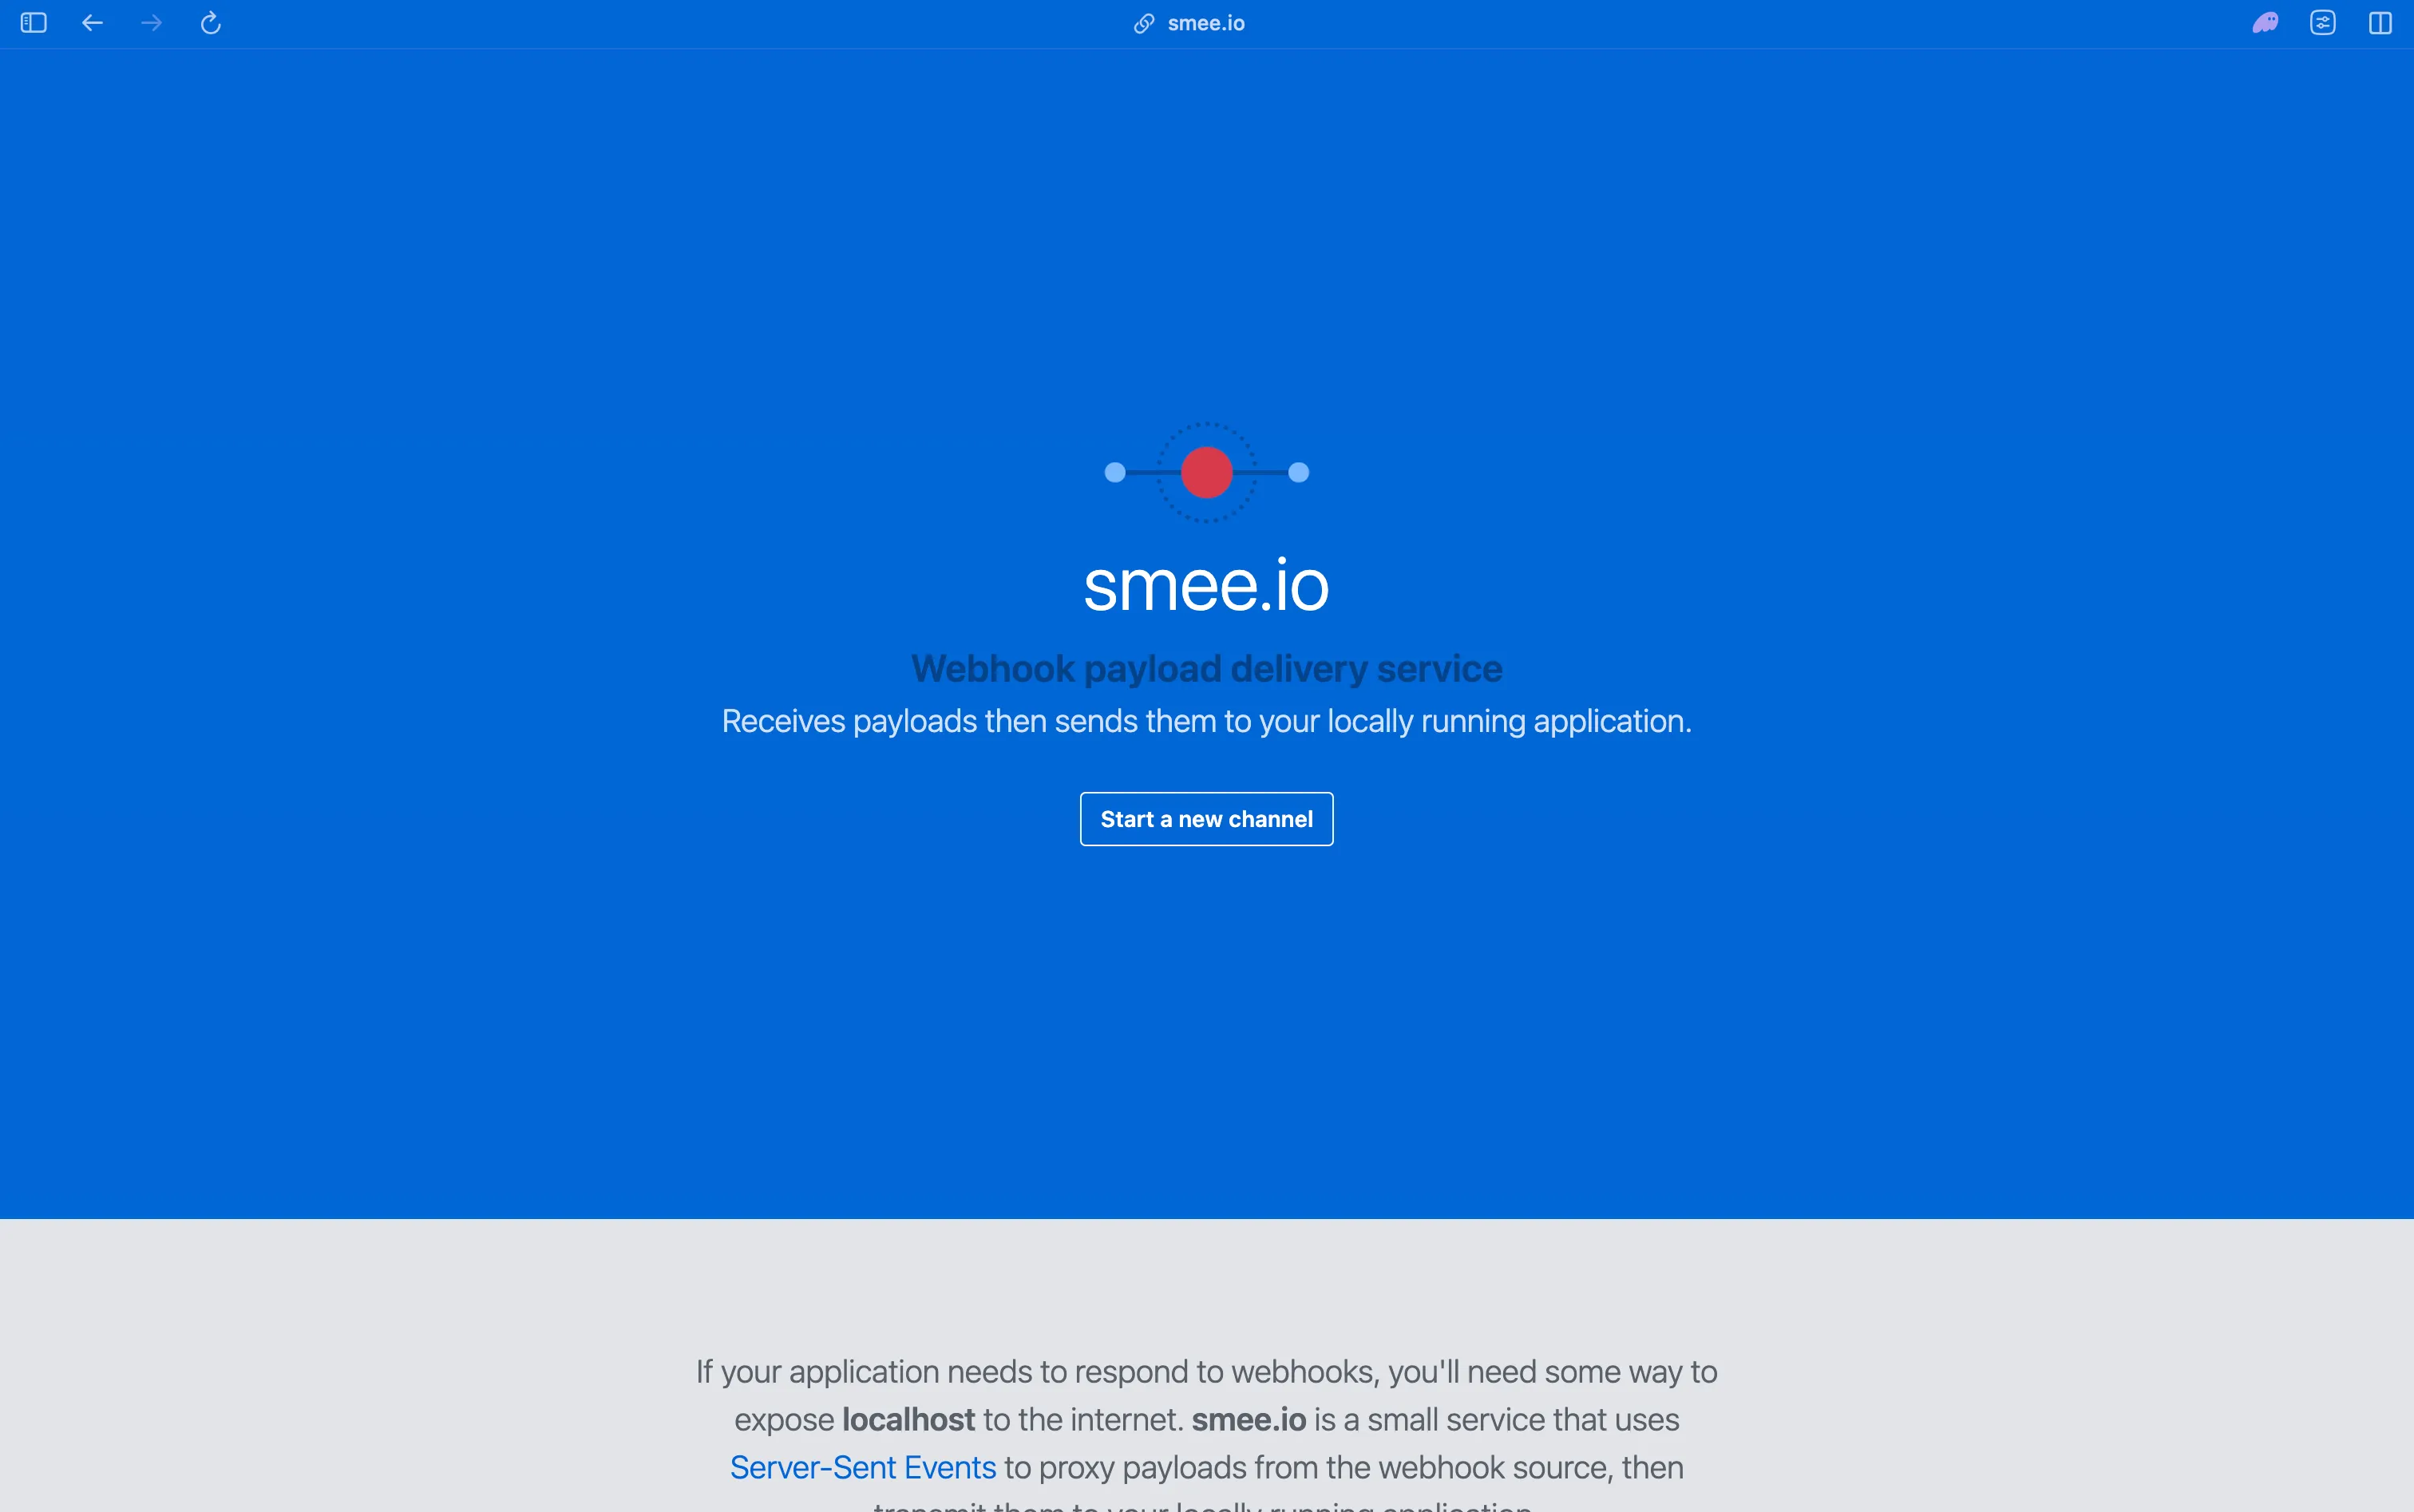
Create a channel on the site, run the client (npm i -g smee-client, then smee --url https://smee.io/abc123 --target http://localhost:3000/webhook), and point your GitHub webhook configuration at the channel URL. There’s no inbound port to open on your end - it’s an outbound SSE connection, similar in spirit to how the Stripe and Shopify CLIs work. One caveat: channels are unauthenticated, so anyone with the URL can see the traffic flowing through it, which matters if your GitHub App payloads include anything sensitive.
Pros of smee.io
Free, open source, purpose-built for GitHub’s documented webhook-testing flow, and requires no inbound tunnel at all.
Cons of smee.io
No live web debugger or replay UI beyond a raw event log. Channels are public to anyone who has the URL. Effectively single-purpose (GitHub-flavored webhook proxying).
Price of smee.io
Free, with no paid tier.
7. RequestBin (Pipedream)
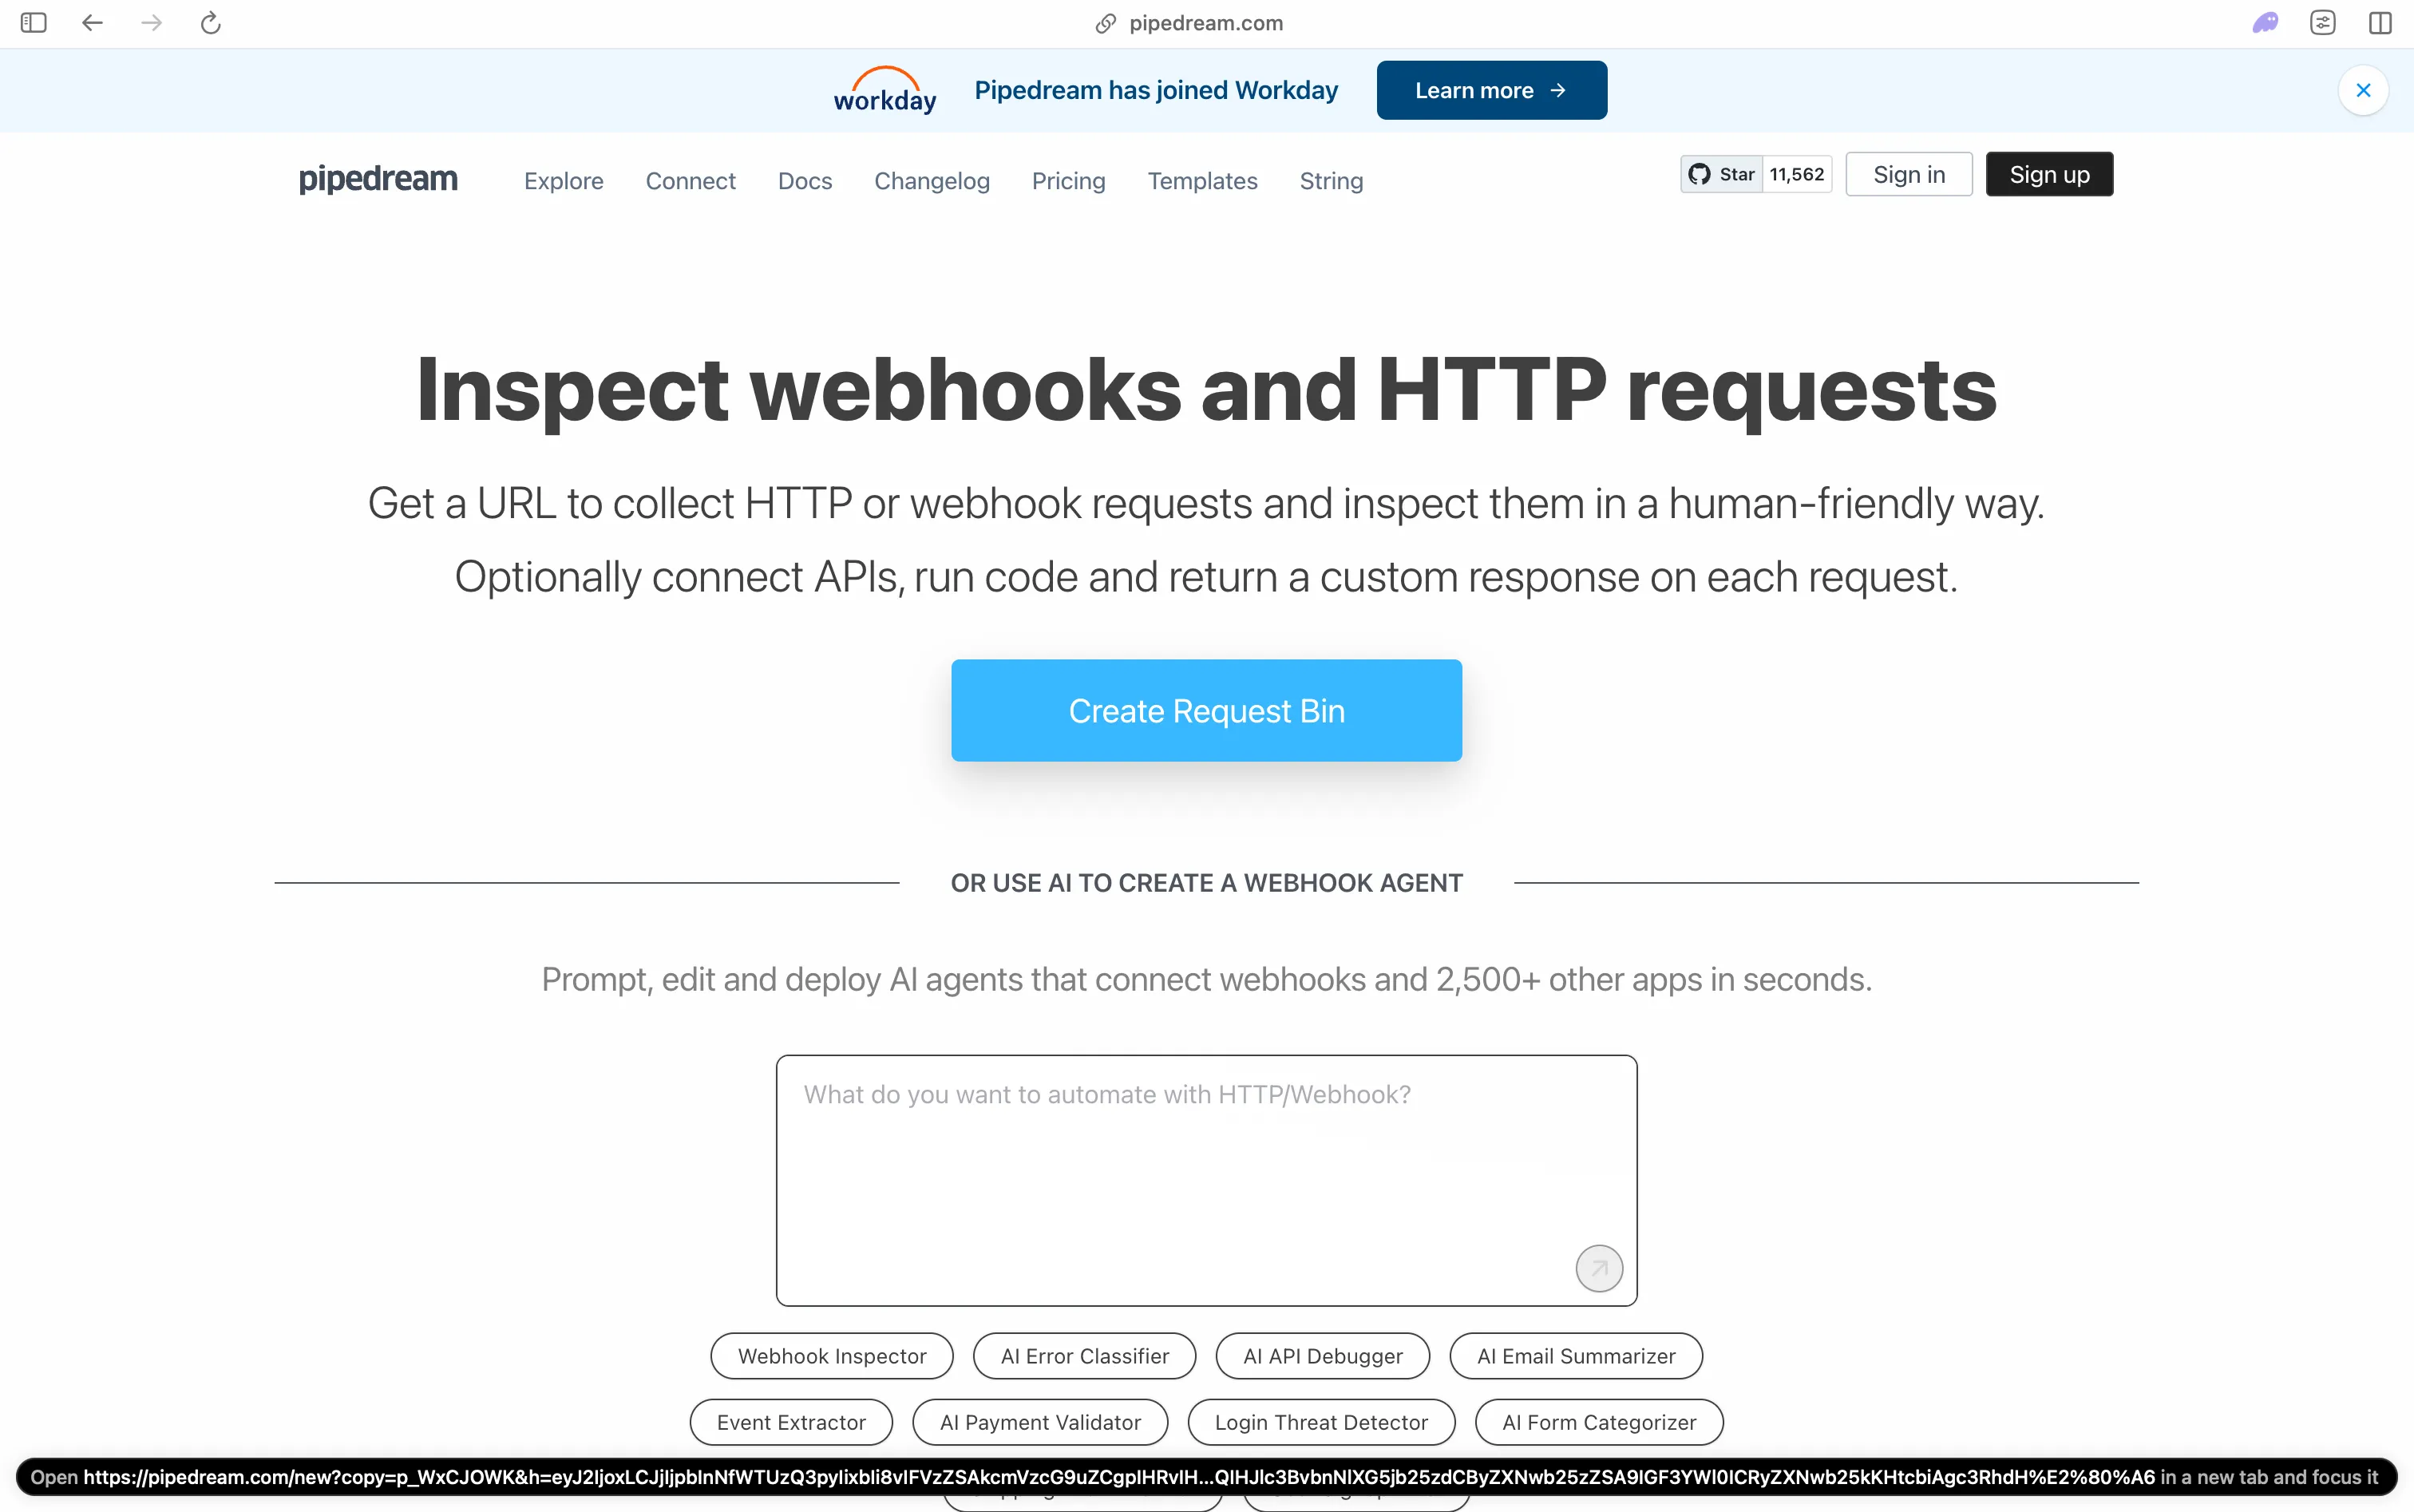
RequestBin was the original “give me a URL, show me what hits it” tool, and it’s worth knowing its current state has changed. The standalone service was folded into Pipedream’s workflow platform, so a modern RequestBin endpoint looks like https://xxxxxxxxxxxxxxx.m.pipedream.net and creating one now requires a free Pipedream account rather than the old zero-signup experience. Once you have a bin, requests show up in Pipedream’s event explorer, and because it’s backed by a full workflow engine, you can wire the same endpoint into an actual automation (forward to Slack, write to a database, trigger a script) instead of just eyeballing the payload.
Pros of RequestBin
Free, and if you’re capturing a webhook only to immediately do something with it, Pipedream’s workflow engine is right there rather than being a separate tool you’d reach for next.
Cons of RequestBin
No longer the instant, no-account tool it used to be - you need a Pipedream account before you get a bin URL, which is one more step than Webhook.site for a quick one-off inspection.
Price of RequestBin
Free, requires a Pipedream account.
8. DevToolLab Webhook Receiver
DevToolLab's Webhook Receiver is a newer entrant cut from the same “paste a URL, watch what arrives” cloth as Webhook.site: open the page, get an instant unique URL, and see incoming headers, query parameters, and JSON payloads in real time, no signup needed for the free tier. It’s part of DevToolLab’s broader lineup of small developer utilities (JSON formatters, XML converters, and similar), several of which lean on client-side processing rather than shipping data to a server.
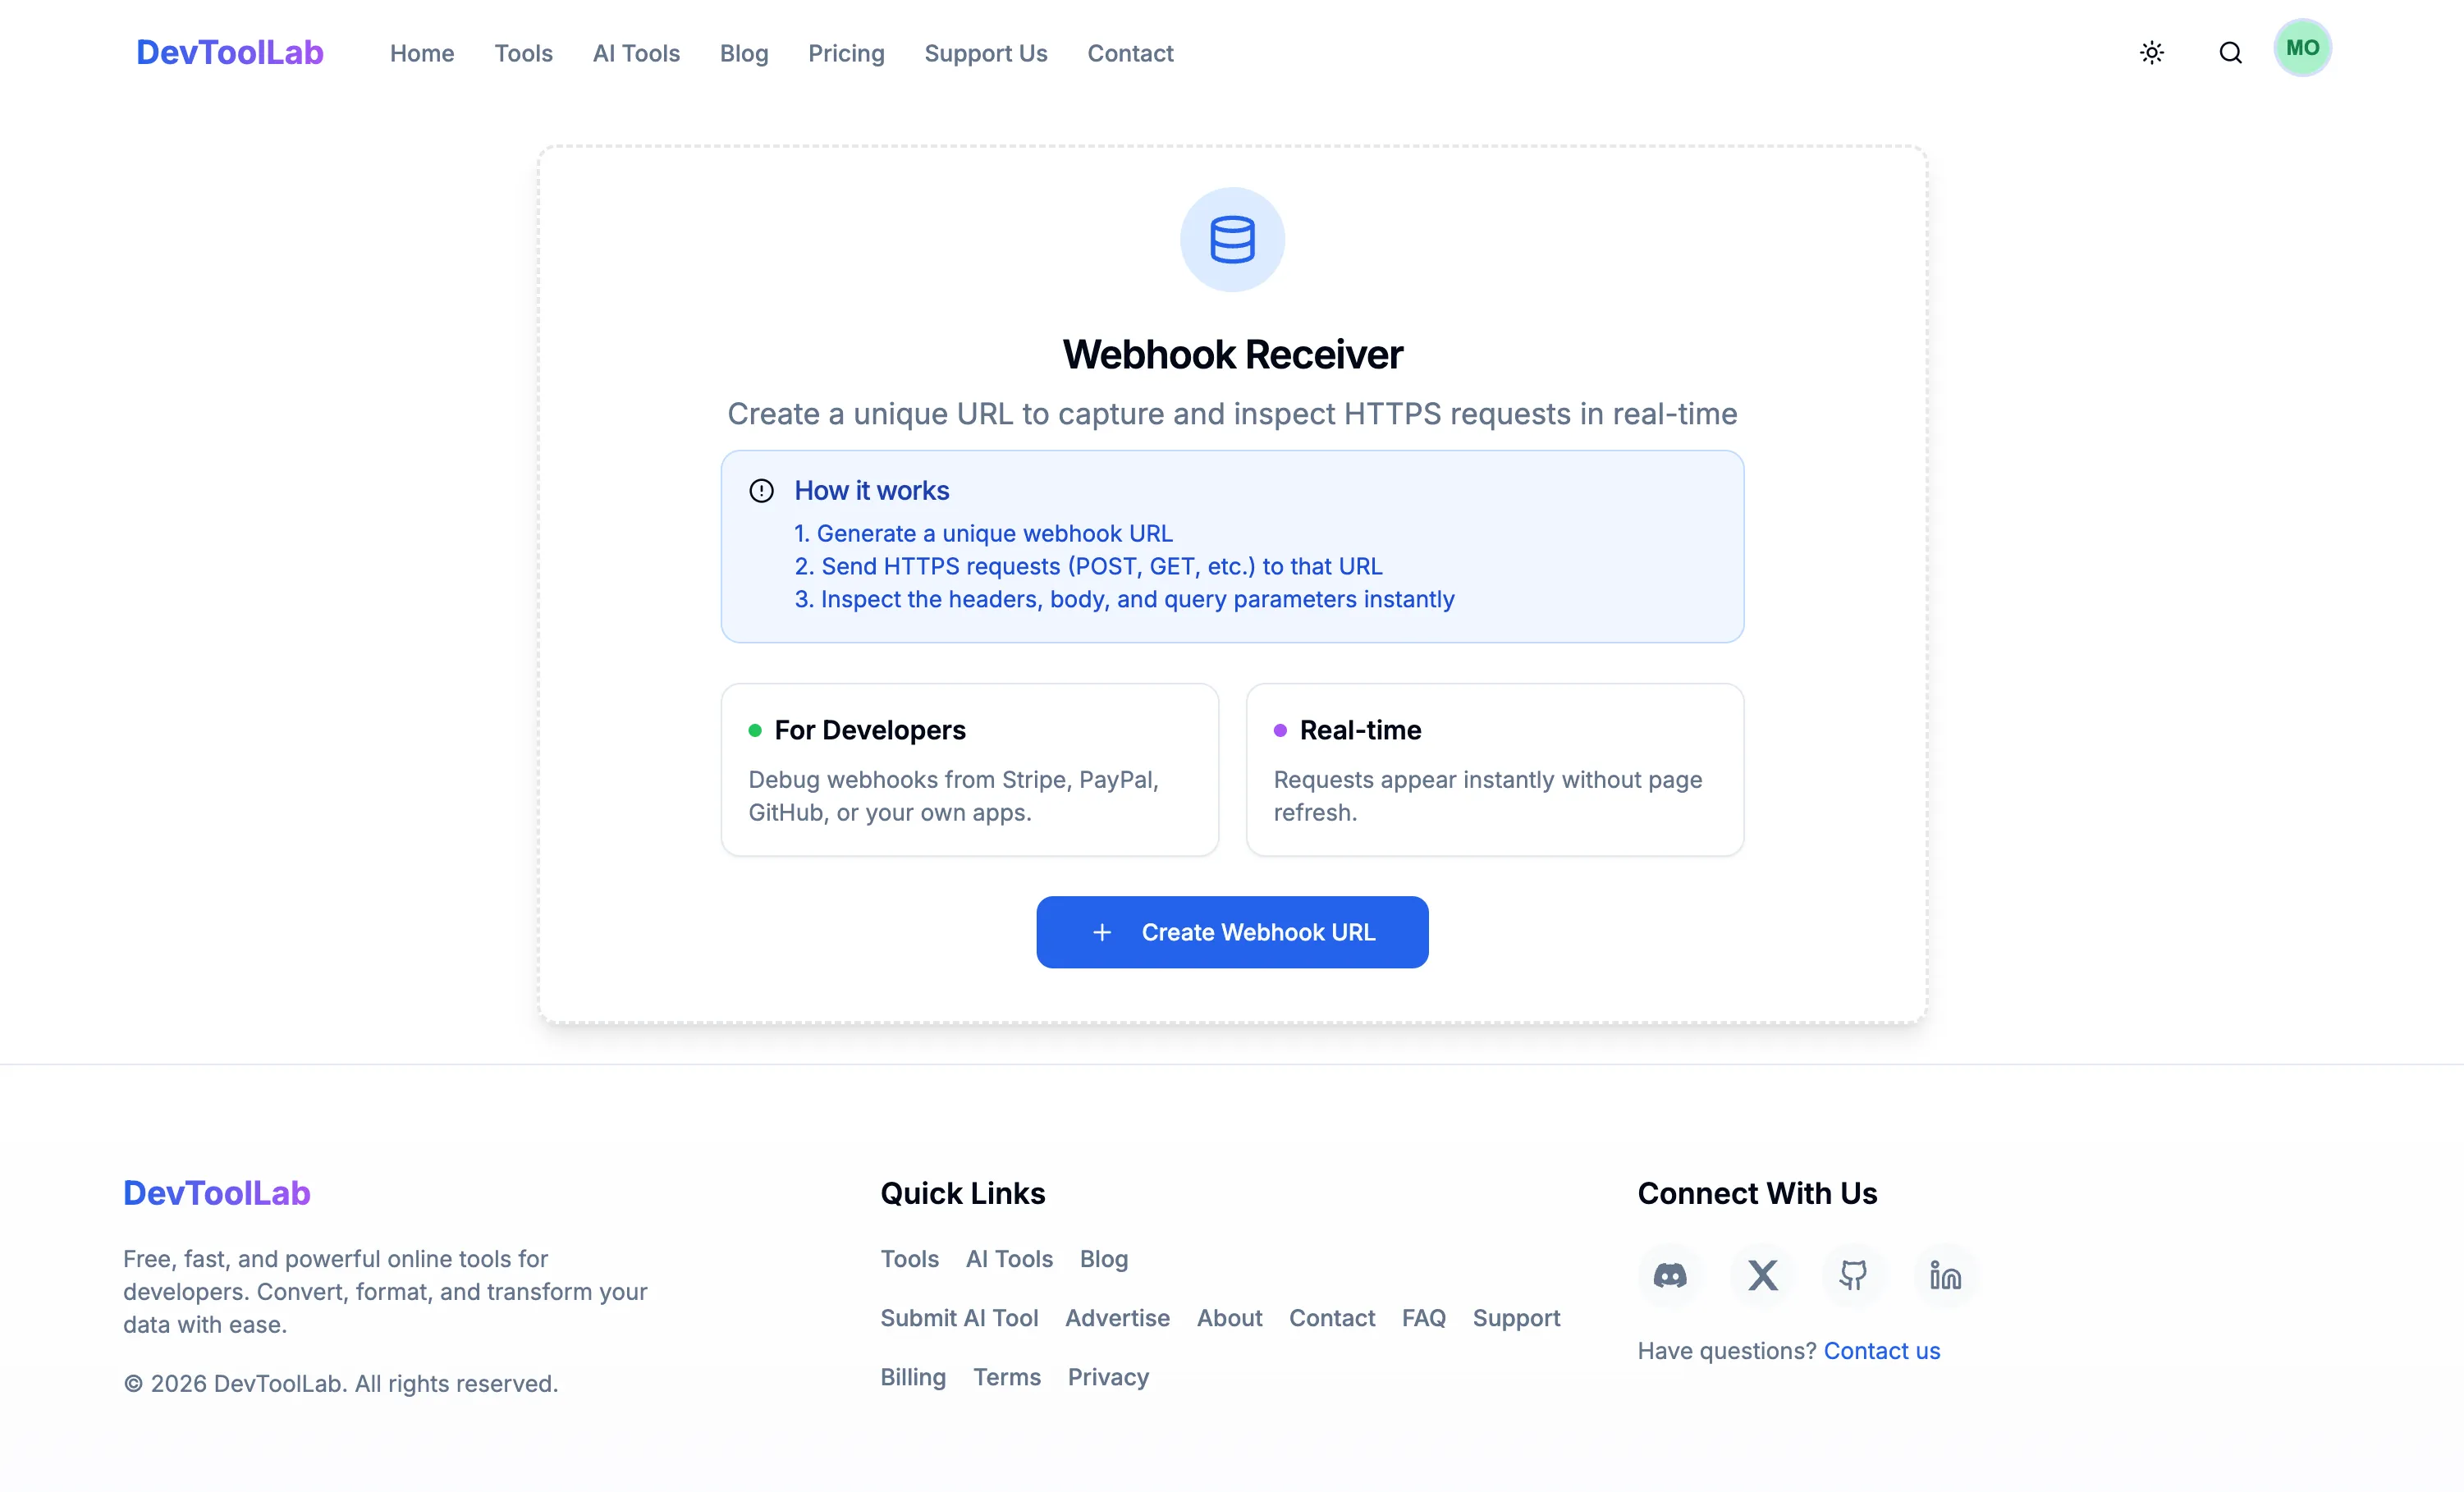
The free tier caps out at 500 requests/day with 3-day retention, similar in spirit to Webhook.site’s expiring URLs. The Pro tier, at $2/month billed annually, swaps that for a permanent URL, up to 50,000 requests/day, and 10-day retention, a considerably higher request ceiling than Webhook.site’s free tier offers.
Pros of DevToolLab Webhook Receiver
Fast, no-signup capture URL for a quick look at a payload, a much higher request ceiling on Pro than most lightweight capture tools, and bundled access to DevToolLab’s other developer utilities if you’re already using those.
Cons of DevToolLab Webhook Receiver
Newer and smaller than the rest of this list with less independent track record, and no advertised replay or IP whitelisting features.
Price of DevToolLab Webhook Receiver
Free: $0/month, 500 requests/day, 3-day retention. Pro: $2/month (billed annually), permanent URL, 50,000 requests/day, 10-day retention.
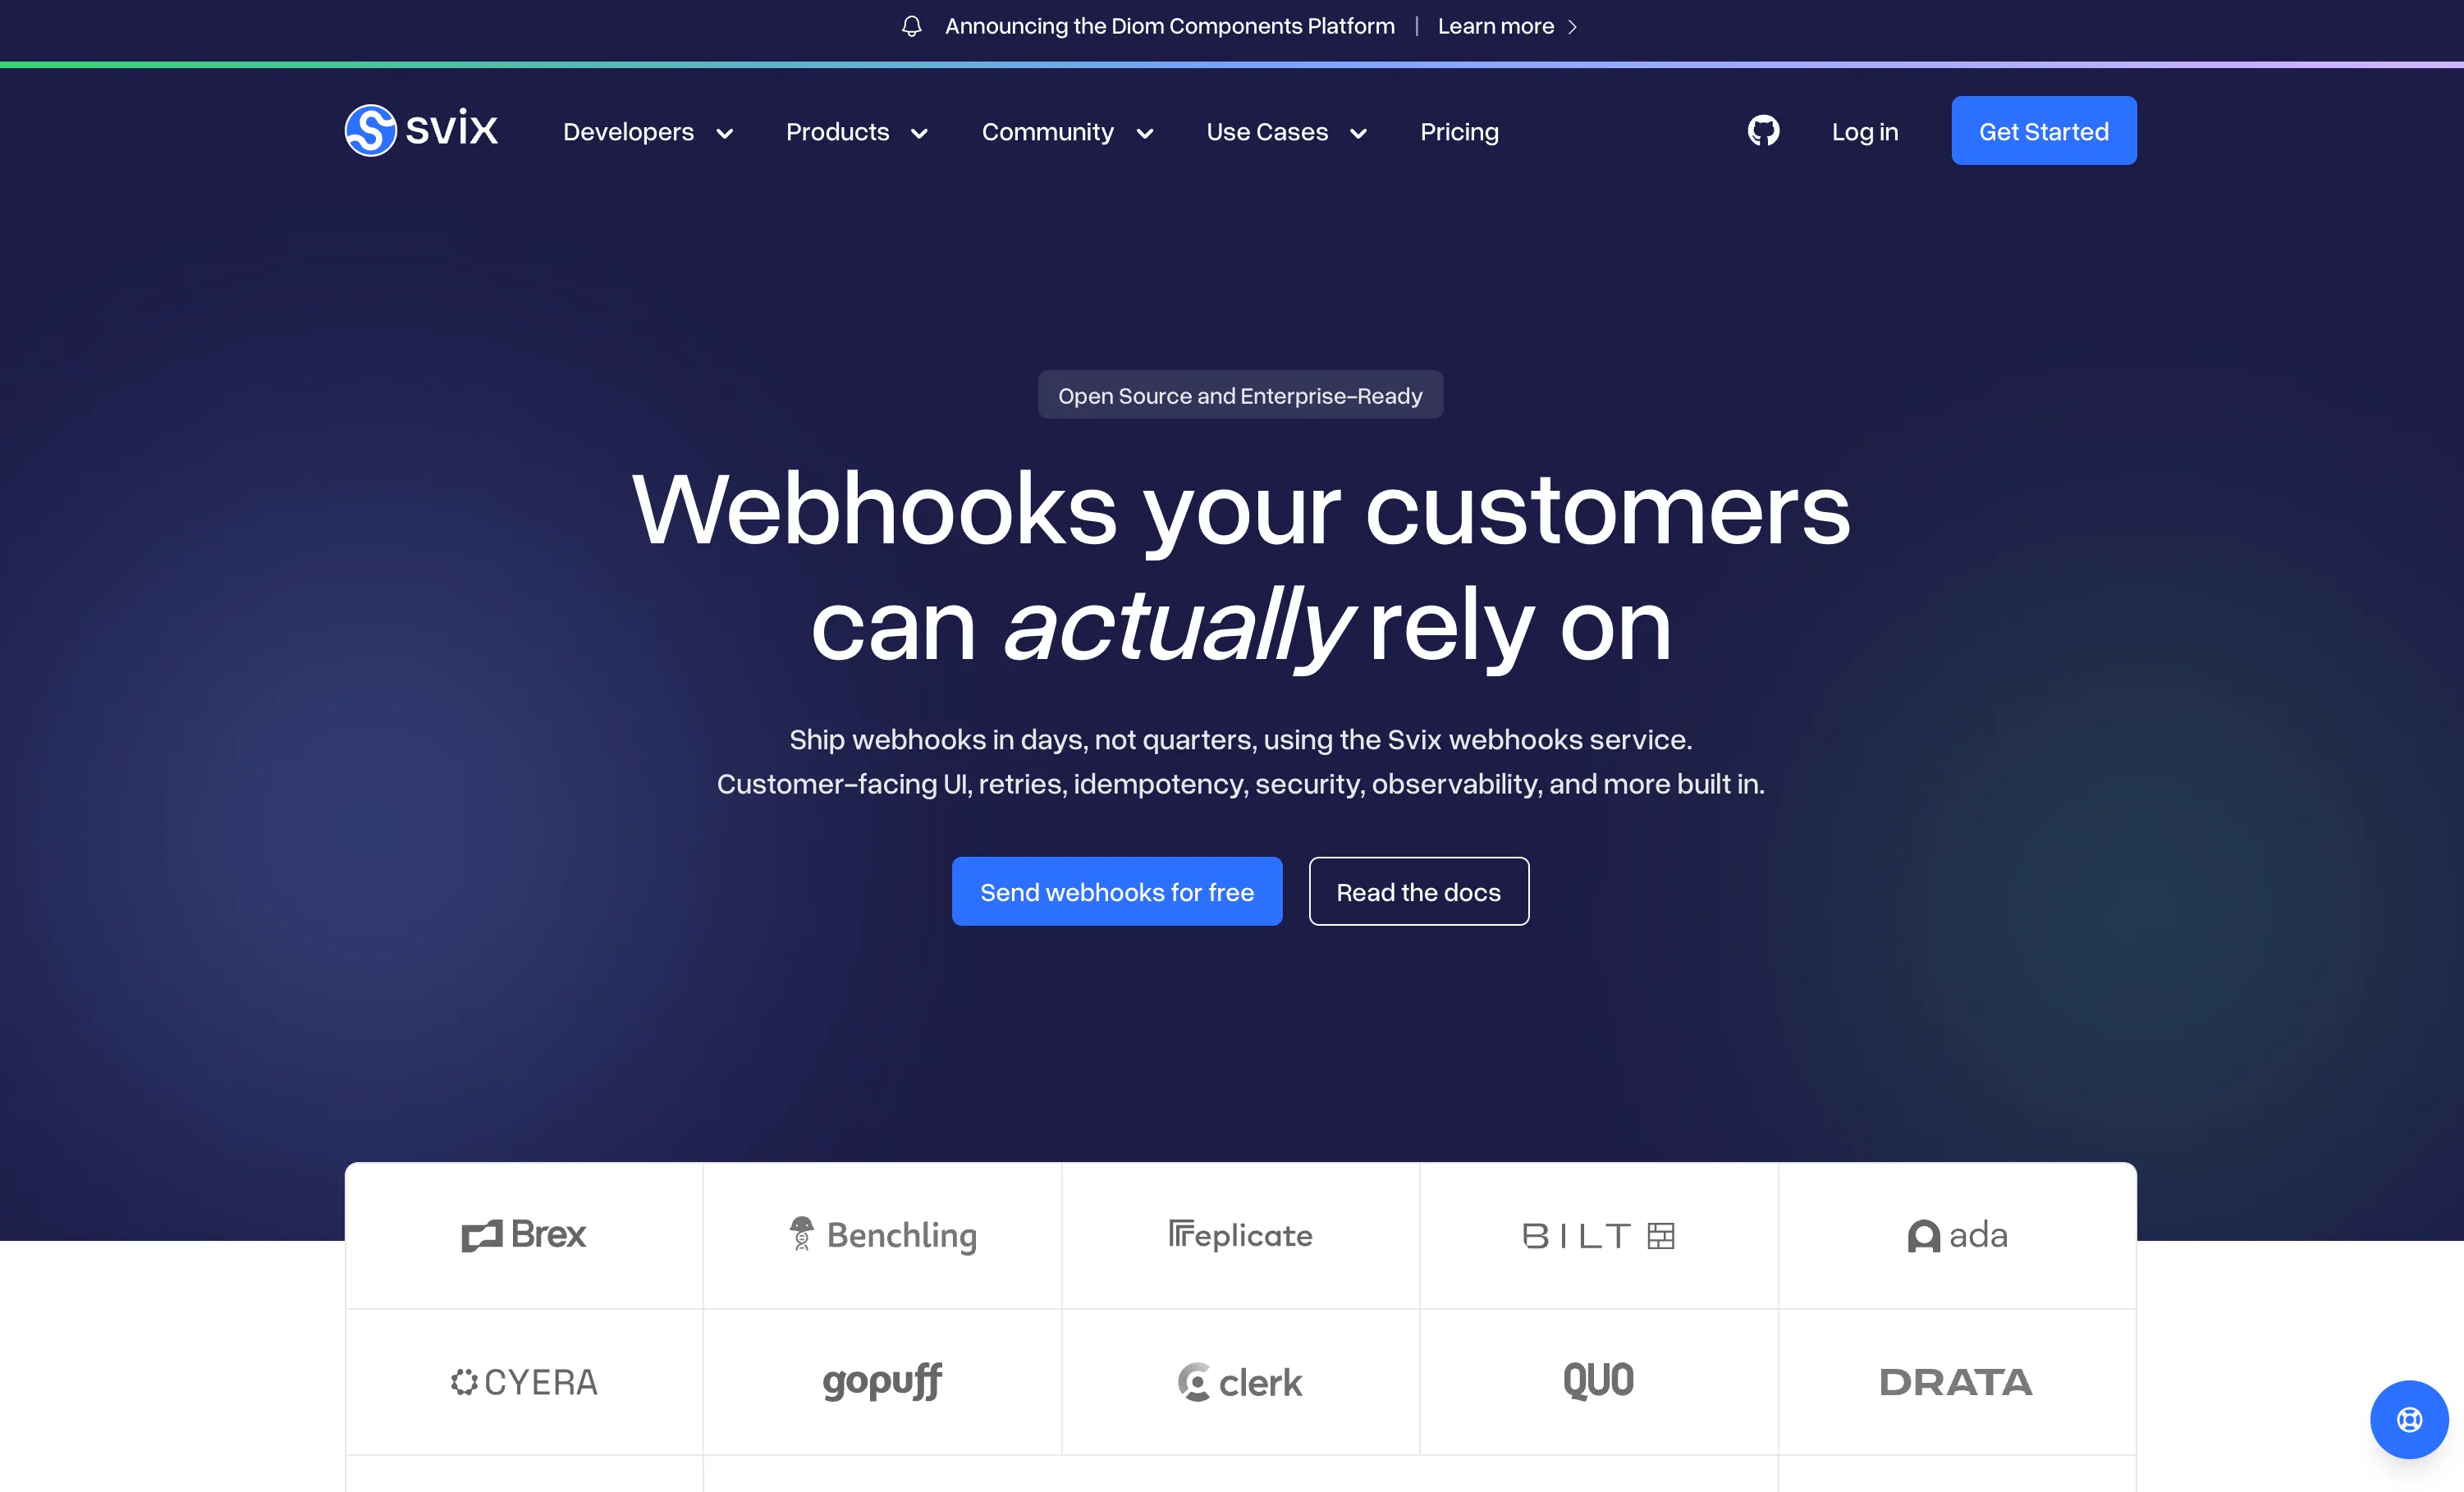
9. Svix (a different category: sending, not receiving)
Every tool above helps you receive someone else’s webhooks. Svix solves the mirror-image problem: if your own product sends webhooks out to customers, Svix is delivery infrastructure - retries, a management portal your customers can use, and signing so your customers can verify events came from you. It’s worth a mention here because “webhook testing” searches often turn up Svix, and it’s easy to grab the wrong tool if you’re only testing an integration with someone else’s API rather than building your own webhook sender. Svix’s Play feature is specifically for testing outgoing webhook payloads, which is a different job than anything else in this list.
Price of Svix
Free: $0/month, 200 messages/second, 30-day retention. Professional: from $490/month, 99.99% uptime SLA, 90-day retention. Enterprise: custom.
How to choose
If you just want to see a payload you’ve never received before, Webhook.site is faster than anything requiring a running server - paste, copy the URL, done.
If you’re actively building and iterating on a webhook handler, you want a tunnel plus a debugger with replay, not a one-shot capture URL. Pinggy gets you there with the least setup since there’s no client to install; ngrok is the mature alternative if you’re already inside its ecosystem or need OAuth-gated tunnel access.
If you’re specifically building a GitHub App, smee.io is what GitHub’s own docs point to, and there’s little reason to reach for anything heavier.
If missing an event would actually cost you something - a payment confirmation, an inventory update - graduate to an event gateway like Hookdeck once local testing is solid. Retries and persistent history are the point there, not just inspection.
If you’re on the sending side of webhooks (your product notifies customers, rather than you receiving from a provider), none of the receiving-focused tools above are the right fit - that’s what Svix, or a self-hosted option like Convoy, is for.
How to test and debug webhooks locally: step by step
- Expose your local server. With Pinggy, that’s
ssh -p 443 -R0:localhost:3000 free.pinggy.io- no install, no account needed for a first test. - Register the public URL with your provider. Paste the HTTPS URL into Stripe, GitHub, Slack, Shopify, or whichever dashboard is sending you events.
- Watch requests arrive live. Open the web debugger (
http://localhost:4300if you forwarded it locally, no account needed, or the dashboard’s Active Tunnels page) to see headers and payloads as they land. - Replay or modify-and-replay to iterate. Fix a bug, then hit Replay to confirm it without waiting for the provider to redeliver, or Modify and Replay to test an edge case the provider hasn’t actually sent you yet.
- Whitelist before you leave it running. Once the flow works, restrict the tunnel with
-- w:<CIDR>so only the provider’s published IP ranges (or your own) can reach it.
Conclusion
For most day-to-day webhook work, the choice comes down to how much friction you’re willing to accept before you see your first request. Pinggy and localhost.run-style SSH tunnels have the least friction of anything that also runs your real handler. Webhook.site and Beeceptor’s free tiers are faster still if you don’t need your own server in the loop at all. ngrok remains a solid, well-documented choice if you value its longer track record and don’t mind the download and sign-up. And once “does it work” turns into “can we afford to miss one,” Hookdeck’s retries and persistent replay history earn their price. Start with whichever tool matches where you are in that spectrum - you can always add a heavier one later without changing your webhook handler at all.