Remote Access to Home Assistant and Self-Hosted Smart Home Apps Behind CGNAT
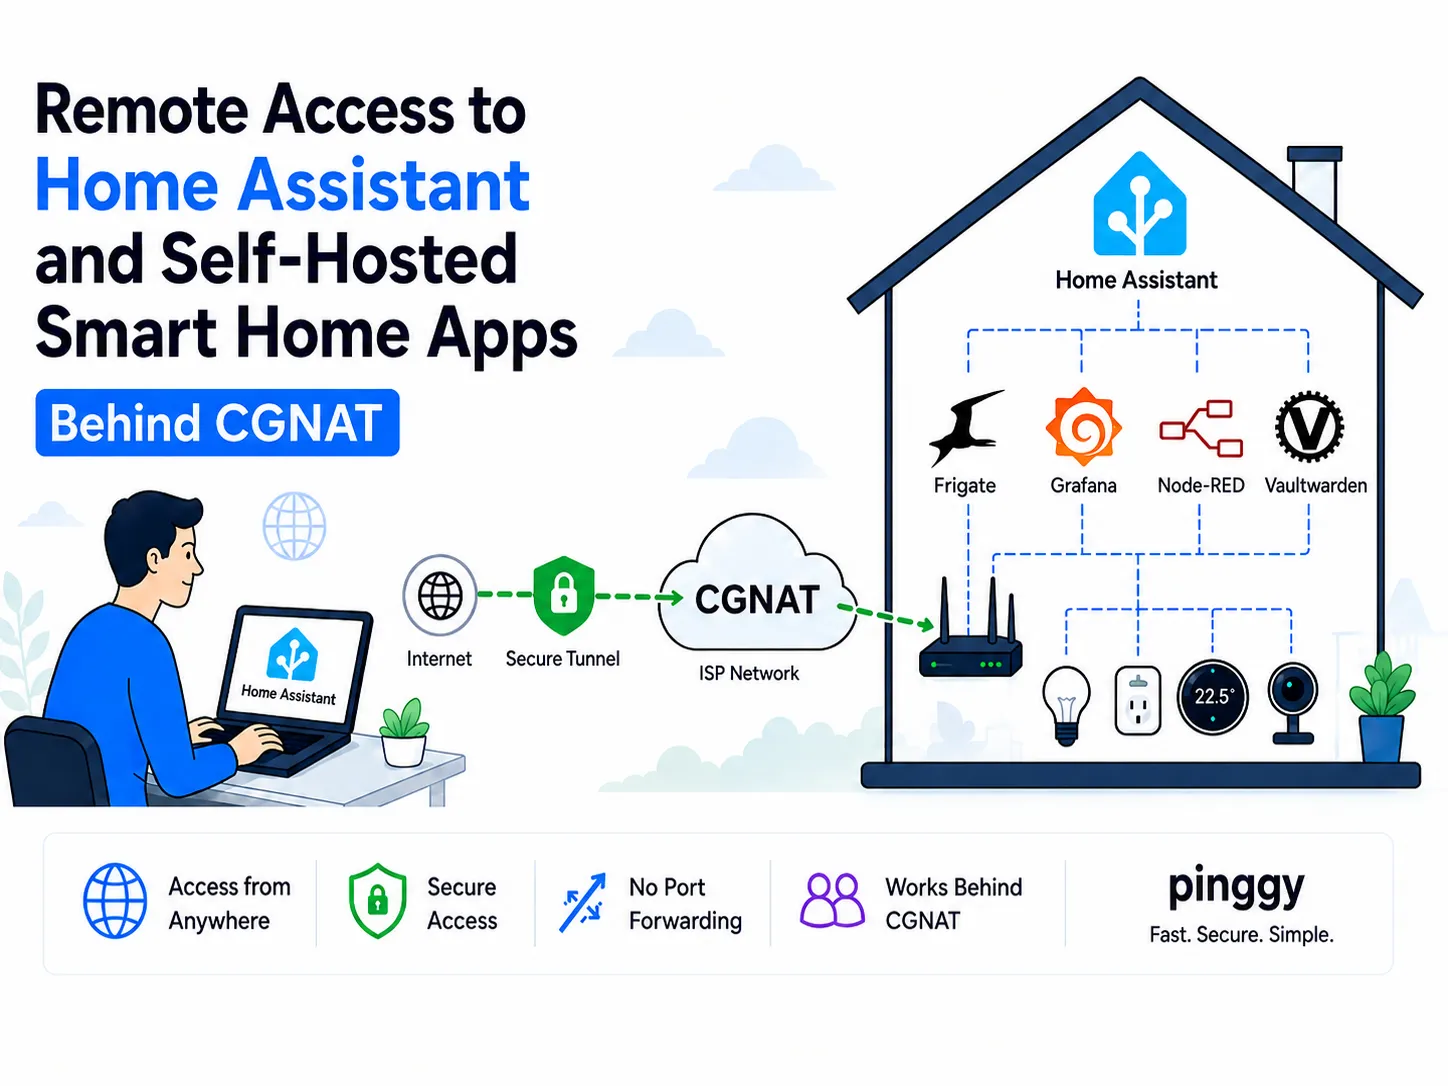
A self-hosted smart home is only as useful as your ability to reach it, and nearly every setup guide assumes your house has an address on the internet. That assumption stopped being safe years ago: if your router’s WAN address sits inside 100.64.0.0/10, you are sharing one public IPv4 address with hundreds of subscribers, and the port-forwarding rule you just saved will never receive a packet.
Home Assistant’s own documentation calls Carrier-Grade NAT “becoming fairly common” and notes ISPs often charge extra for a dedicated IPv4. The fix is to stop waiting for inbound connections; every command below was run against a live tunnel.
Summary
The problem: behind CGNAT your router’s WAN address is in 100.64.0.0/10 (RFC 6598 shared space), so port forwarding, dynamic DNS and UPnP all fail.
Check it: curl -4 -s https://ipv4.icanhazip.com - if that differs from your router’s WAN IP, or starts 100.64 through 100.127, you are behind CGNAT.
The fix, from the machine running the app:
ssh -p 443 -R0:127.0.0.1:8123 free.pinggy.io8123 is Home Assistant. Swap in 8581 (Homebridge), 8080 (openHAB, Zigbee2MQTT), 6052 (ESPHome), 1880 (Node-RED), 8091 (Z-Wave JS UI) or 8971 (Frigate).
Add auth first: append b:youruser:yourpassword to the command. Verified 401 without credentials, 200 with.
Alternatives: Home Assistant Cloud ($6.50/month) covers Home Assistant only; Tailscale’s free plan needs a client on every viewer; Cloudflare Tunnel is free but still restricts self-hosted video, ruling out Frigate.
Why port forwarding cannot work
Standard NAT translates your LAN’s private addresses to the public address on your router’s WAN interface. You control that router, so you can punch a hole in it. Carrier-Grade NAT adds a second layer you do not control: your router’s WAN address is itself private, drawn from the 100.64.0.0/10 block RFC 6598 reserved in 2012 for exactly this purpose, and your traffic is translated again at the carrier’s NAT. We go deeper in how NAT traversal works.
Each consequence looks like a different bug. Port forwarding silently does nothing: the rule saves, the status page says active, UPnP may even report success, but the ISP has no rule sending port 8123 to you. Dynamic DNS resolves to an address that is not yours: DuckDNS works fine, it just publishes the carrier’s shared address. And while many CGNAT deployments hand out a real IPv6 prefix, the coffee-shop Wi-Fi you are reaching home from is often IPv4-only, so an AAAA-only setup fails exactly where you need it.
Confirm the diagnosis
Note your router’s WAN IPv4, then run:
curl -4 -s https://ipv4.icanhazip.comIf the two differ, something is translating you. If the router’s WAN address is in 100.64.0.0/10 (second octet 64 to 127), that something is your ISP. A traceroute -n -m 4 1.1.1.1 showing an RFC 6598 address in the first few hops is close to conclusive. If curl -4 returns nothing you are on an IPv6-only or 464XLAT connection, which behaves identically for inbound IPv4.
If your ISP has a documented escape hatch, try it first: we have write-ups for T-Mobile Home Internet and Virgin Media.
Know which port you are exposing
Getting this wrong is how people publish an admin panel by accident.
| App | Port | Auth built in? | Notes |
|---|---|---|---|
| Home Assistant | 8123 | Yes, plus optional MFA | 2026.8+ Home Assistant OS installs default to 80 |
| Homebridge UI | 8581 | Yes | HomeKit pairing is LAN-only, so it will not traverse a tunnel |
| Zigbee2MQTT | 8080 | No, opt in via auth_token | The token is cleartext; add edge auth too |
| ESPHome | 6052 | No, standalone | Flashes firmware; treat as fully privileged |
| Node-RED | 1880 | No by default | Function nodes run arbitrary JS; set adminAuth |
| Frigate | 8971 | Yes on 8971, none on 5000 | Tunnel 8971 only; WebRTC needs 8555 TCP+UDP |
Frigate’s port 5000 deserves emphasis: roles are not enforced there, so every request is anonymous with admin-equivalent access. Tunnel 8971. Confirm what is listening with curl -I http://localhost:8123 first; a 200, 302 or 401 all mean something is answering.
Reach it with an outbound tunnel
Your ISP blocks inbound connections but not outbound ones. If a machine inside your network opens a connection to a public relay and holds it open, traffic flows back down it both ways. Pinggy does this over plain SSH, nothing to install:
ssh -p 443 -R0:127.0.0.1:8123 free.pinggy.ioAllocated port 7 for remote forward to 127.0.0.1:8123
Your tunnel will expire in 60 minutes. Upgrade to Pinggy Pro to get unrestricted tunnels.
https://rpuwm-44-227-128-71.free.pinggy.netOpen that URL from your phone on mobile data and Home Assistant’s login page loads with a valid certificate, over a connection that cannot accept inbound traffic. No router change, no dynamic DNS, no certificate to renew. See SSH reverse tunnelling for the mechanism.
Use 127.0.0.1, not localhost. On a dual-stack host -R0:localhost:8123 resolves to ::1 first, so requests reach your app from IPv6 loopback instead. That matters next, because the address your app sees is the address you must trust. If you prefer localhost, trust both.
An app on another machine works too, since the forward destination is resolved by the SSH client: point it at a LAN address with -R0:192.168.1.50:8123. This is the practical answer for Home Assistant OS. Verified against a live tunnel, the app then sees the connection arriving from the tunnel host’s LAN address, so that is what you trust rather than loopback.
Make Home Assistant accept the tunnel
Open the URL and there is a good chance you get 400: Bad Request, with this in the log:
A request from a reverse proxy was received from 127.0.0.1, but your HTTP integration is not set-up for reverse proxiesNothing is broken; Home Assistant is refusing to guess. Pinggy acts as a reverse proxy for HTTP tunnels, adding forwarding headers (plus an RFC 7239 Forwarded: equivalent). Here is the request a local app actually receives, captured from a header-echo server behind a live tunnel:
--- peer: ('127.0.0.1', 63337)
Host: ymggt-44-227-128-71.free.pinggy.net
X-Forwarded-For: 44.227.128.71
X-Forwarded-Host: ymggt-44-227-128-71.free.pinggy.net
X-Forwarded-Proto: https
Notice Host too: Pinggy forwards its own public hostname, not localhost:8123. Home Assistant does not check it, but an app that validates Host or builds absolute URLs from it can reject the request or emit broken links. If a tunneled app misbehaves this way, append u:Host:localhost:8123 to rewrite Host back to what it expects:
ssh -p 443 -R0:127.0.0.1:8123 free.pinggy.io u:Host:localhost:8123Verified: the app then sees Host: localhost:8123, while X-Forwarded-Host still carries the real tunnel address.
X-Forwarded-For carries the real visitor IP, which is what Home Assistant’s IP banning keys on, and X-Forwarded-Proto: https sets the request scheme so the app builds https:// URLs instead of http://. But an untrusted proxy gets to set neither: Home Assistant rejects the request with 400 rather than believing it.
On 2026.8 and later, go to Settings > System > Network > HTTP server, turn on Trust X-Forwarded-For, and add the address from the log message to Trusted proxies. On older installs the same thing lives in configuration.yaml:
http:
  use_x_forwarded_for: true
  trusted_proxies:
    - 127.0.0.1
    - ::1
If you upgraded, your old http: block was imported automatically and a repair issue raised asking you to delete it. Check the imported values first.
Do not widen the trust to 0.0.0.0/0 to silence the error: trusted_proxies lists who is allowed to tell Home Assistant the client’s IP, so trusting everything lets any caller forge it, poisoning your logs and defeating IP banning. With a CIDR, the docs require the network address (192.168.1.0/24), not a host address.
Then set the Internet field to your tunnel URL, keeping Local Network on plain HTTP, since HTTPS there can break casting to media devices. A public HTTPS URL is also what unlocks integrations that must reach you from outside: Withings, for one, requires a publicly reachable instance, HTTPS on port 443, and a certificate signed by a recognised CA.
On WebSockets: the frontend does almost everything over a single socket at /api/websocket, so the tunnel has to carry upgrade requests. It does: through a live tunnel the handshake returns HTTP/1.1 101 Switching Protocols, frames pass both ways, and X-Forwarded-For is present on the upgrade request, so the trusted-proxy setting above applies to it too.
Lock it down before you share the URL
The URL is unguessable, but that is not an access control: it leaks through history, referrers and screenshots. The cheapest real gate is basic auth applied by Pinggy before traffic reaches your network:
ssh -p 443 -R0:127.0.0.1:8123 free.pinggy.io b:homeassistant:s3cretVerified: no credentials 401, wrong credentials 401, correct 200. Rejected requests never touch your network. For scripts, k:your-secret-key expects an Authorization: Bearer header, and w:203.0.113.0/24 restricts the tunnel to one network.
Edge auth is a wrapper, not a replacement. Inside Home Assistant, turn on multi-factor authentication and enable IP banning; bans land in ip_bans.yaml. This is why the trusted_proxies work pays off: without it every request looks like 127.0.0.1, so IP banning would either lock out everyone or do nothing.
The other apps
Only the port and caveats change. Frigate needs its authenticated port plus basic auth, and its WebRTC path wants UDP on 8555, which no HTTP tunnel carries; the UI falls back to MSE or HLS, a second or two behind live but fine for reviewing events. Keep it patched: CVE-2026-25643 was a remote command execution issue in the go2rtc stream config before 0.16.4. Zigbee2MQTT needs auth_token set and the basic auth. ESPHome and Node-RED ship without authentication and both amount to code execution on the host, so add an IP allowlist at minimum; our Node-RED guide covers them.
When what you need is not HTTP, prefix the hostname for a raw TCP tunnel:
ssh -p 443 -R0:127.0.0.1:22 tcp@free.pinggy.ioThat returns a host and port rather than a URL, and it is byte-transparent. Verified: requests arrive with no forwarding headers and the original Host intact. That is a tradeoff: Home Assistant never throws the reverse-proxy 400 over TCP, but your app cannot see the real client IP either, so IP banning stops being meaningful. Use HTTP for web UIs and TCP for SSH or MQTT; see accessing a Raspberry Pi remotely.
Keeping the tunnel up
A free tunnel expires after 60 minutes and hands out a new hostname each restart. A Pro token removes the limit and pins the subdomain, which matters because the companion app, external_url and any registered webhook break when it changes. The Pinggy CLI reconnects on its own:
npm install -g pinggy
pinggy -p 443 -R0:127.0.0.1:8123 YOUR_TOKEN@pro.pinggy.io
To stay on plain SSH, run it under systemd; -N holds the forward open without a shell:
[Unit]
Description=Pinggy tunnel for Home Assistant
After=network.target

[Service]
User=pinggy
ExecStart=/usr/bin/ssh -p 443 -N -o ServerAliveInterval=60 -o ExitOnForwardFailure=yes -o StrictHostKeyChecking=accept-new -R0:127.0.0.1:8123 YOUR_TOKEN@pro.pinggy.io
Restart=always
RestartSec=10s

[Install]
WantedBy=multi-user.target
Home Assistant OS has no general-purpose shell, so either use the Advanced SSH & Web Terminal add-on, whose init_commands option runs commands on start, or better, run the tunnel on a separate always-on LAN machine pointed at Home Assistant’s LAN address. That keeps tunnel restarts independent of Home Assistant’s, and one box can carry tunnels for several apps.
How this compares
| Approach | Behind CGNAT | Cost | The catch |
|---|---|---|---|
| Port forwarding | No | Free | Fails silently, and exposes the port to scanners |
| Home Assistant Cloud | Yes | $6.50/mo, $65/yr | Home Assistant only, nothing else |
| Tailscale / WireGuard | Yes | Free tier / VPS | A client on every viewer; no shareable link |
| Cloudflare Tunnel | Yes | Free | Needs your own domain; no self-hosted video |
| Pinggy tunnel | Yes | Free tier, ~$2.50/mo | Free tunnels expire hourly; you own the auth |
Home Assistant Cloud is the right default if Home Assistant is all you need: one toggle, and it registers cloudhooks automatically. Tailscale folded Personal Plus into its free tier in April 2026 at up to 6 users and unlimited devices, and it gets you the whole LAN rather than one app - but it is the wrong tool for handing someone a link. The combination is often best: a mesh VPN for your own access, a tunnel for whatever needs a public URL. See Tailscale alternatives and port forwarding behind CGNAT.
What a tunnel does not fix
UDP does not ride an HTTP tunnel, so Frigate’s WebRTC view falls back to MSE or HLS. Local discovery stays local: mDNS, HomeKit pairing and Matter commissioning are link-local by design, so commission devices at home and use the tunnel for the dashboard. Every request round-trips through a relay, so the local URL is always faster, which is why setting both URLs matters. Camera streams are bandwidth, and your home upload is the ceiling. The tunnel is a dependency, so keep a second path in. And a URL is a credential - rotate it if it leaks.
Wrapping up
CGNAT is not a misconfiguration to be fixed, it is your ISP’s architecture. What changes is the direction of the connection: once the machine inside your house is the one dialling out, the carrier NAT is not involved.
The mechanical part is one command. What is worth getting right is everything around it: trusted_proxies set to the address your app actually sees, 127.0.0.1 in the forward, edge auth in place before the URL exists, and a fixed subdomain under a service manager. The Pinggy documentation covers custom domains and the remaining tunnel types.