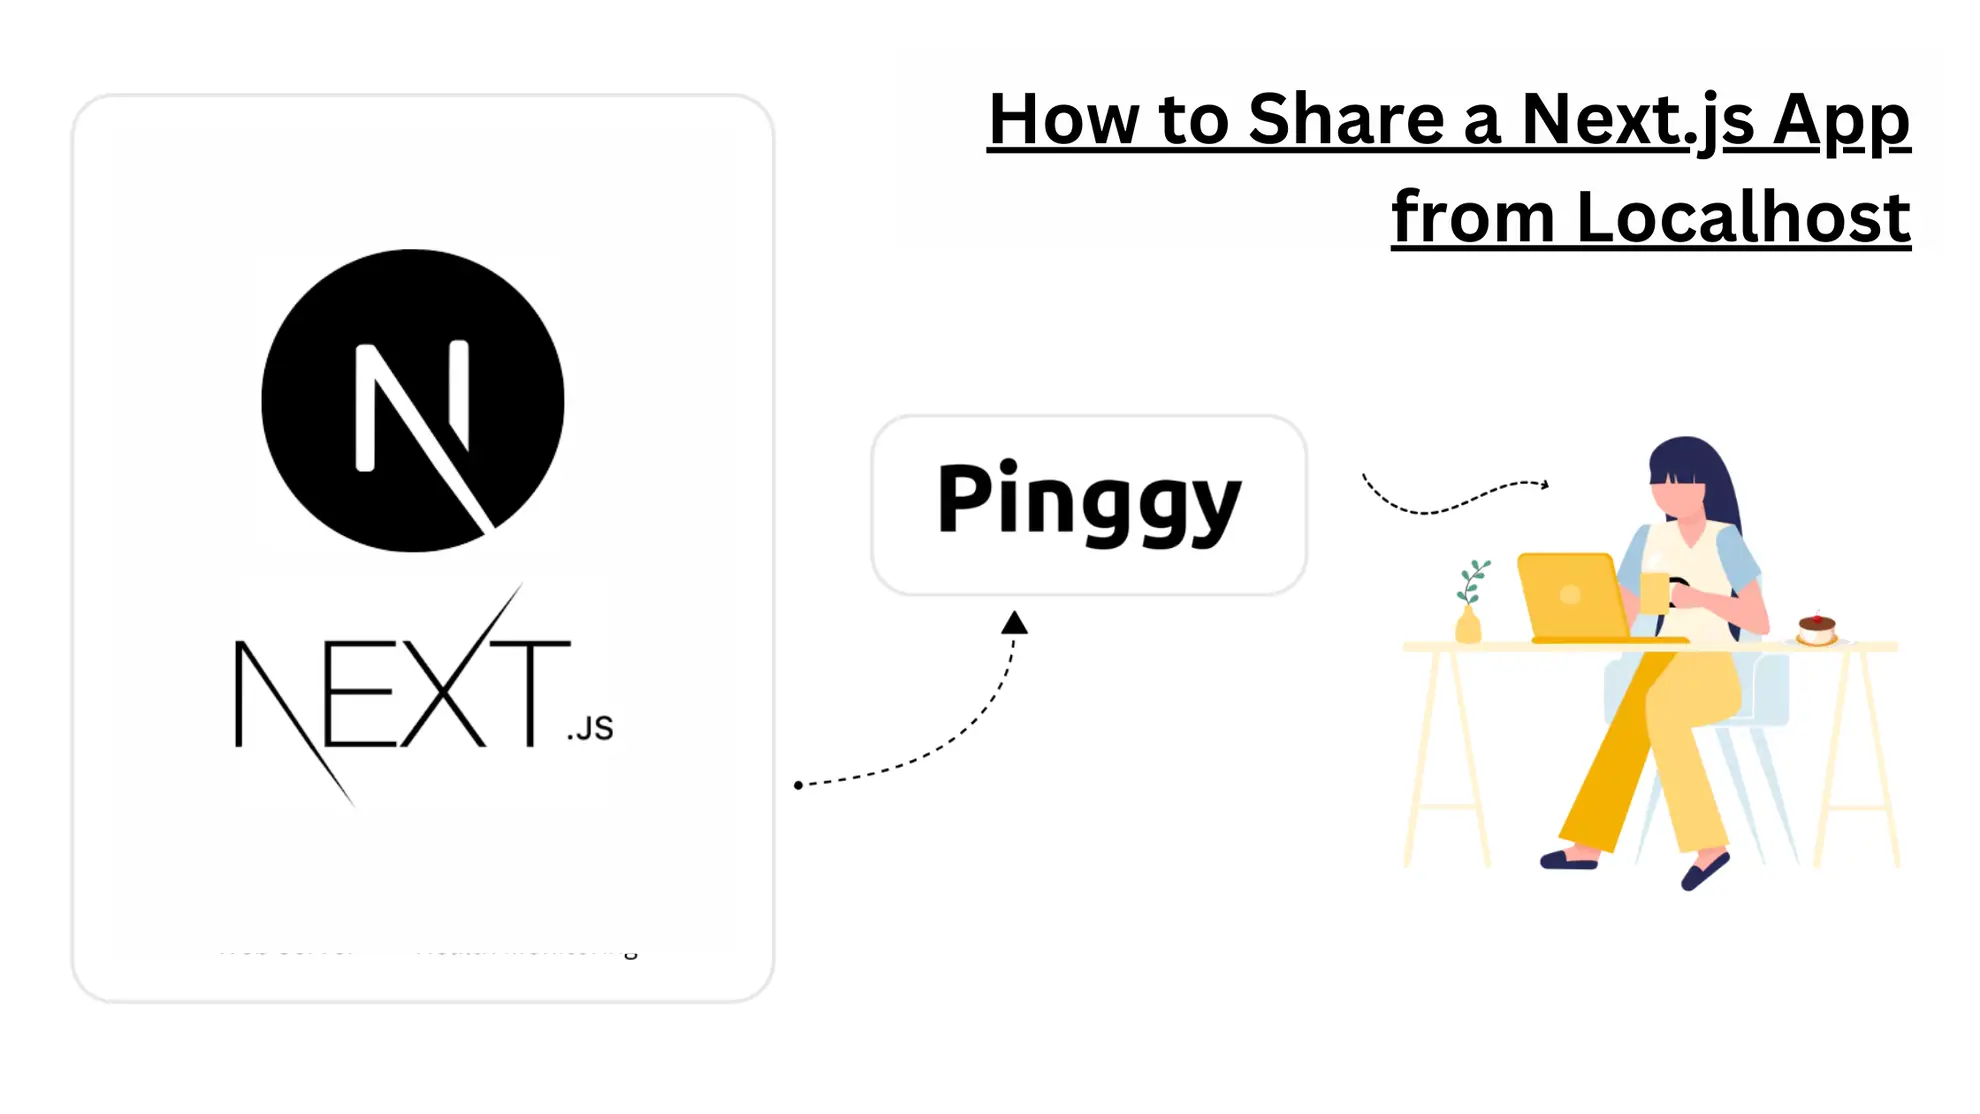
You’re building a Next.js app and want to show someone on another machine - a client, a teammate, a reviewer - without pushing to a staging environment. Pinggy makes that a one-command operation. This guide walks through the full setup: running your Next.js dev server locally and punching it through a secure SSH tunnel so anyone can reach it from a public URL in minutes.
Summary
- Run Next.js App
- Create and start your Next.js app locally:
npx create-next-app@latest my-app cd my-app npm run dev - Your app is now live at
http://localhost:3000.
- Create and start your Next.js app locally:
- Expose It with Pinggy
- Open a new terminal and run:
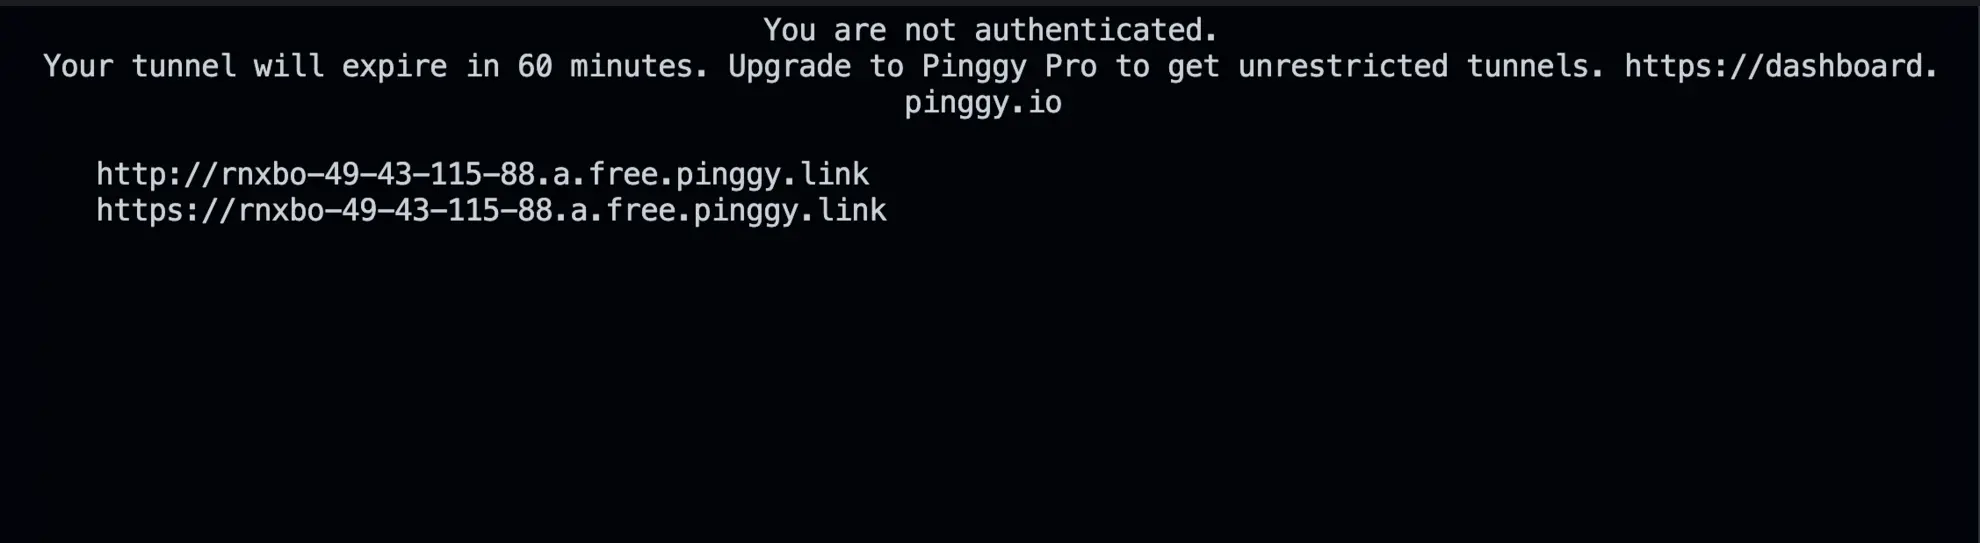
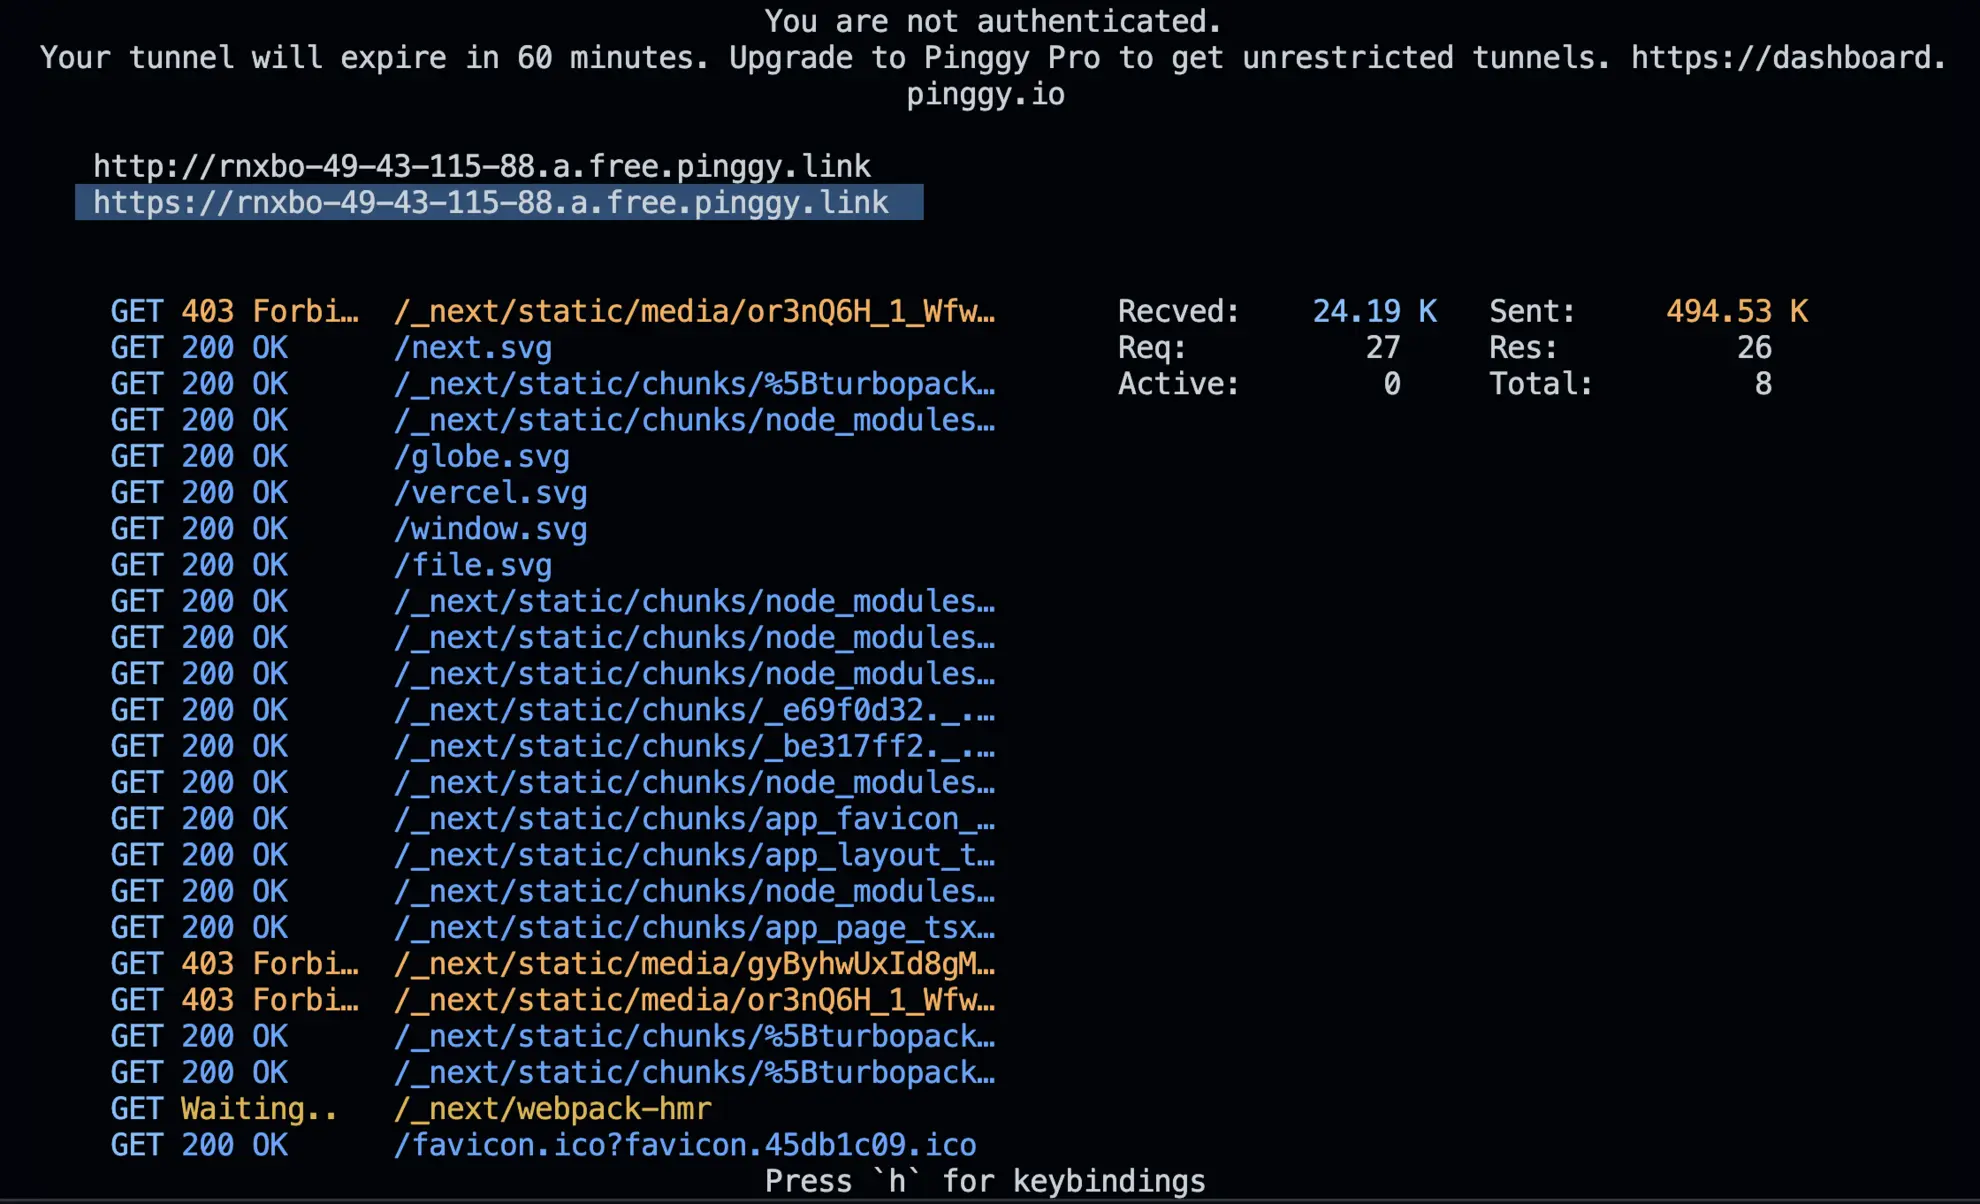
ssh -p 443 -R0:localhost:3000 free.pinggy.io - Pinggy prints a public URL (e.g.,
https://your-app.pinggy.link). Share it with anyone - no firewall rules or server setup required.
- Open a new terminal and run:
What Is Next.js?
Next.js is an open‑source React framework maintained by Vercel. As of Next.js 15, the App Router is the recommended default, bringing React Server Components, Server Actions, and streaming layouts out of the box. The Pages Router still works if you’re on an older codebase.
Key things Next.js handles for you:
- App Router + React Server Components - server-rendered by default, client components opt-in
- Server Actions for form handling and data mutations without a separate API layer
- Static, Dynamic, and Incremental rendering - mix strategies per route
- Turbopack (default dev bundler in Next.js 15) for noticeably faster cold starts and HMR
- Built-in routing, image optimization, and font loading - no extra config
The npm run dev command starts on port 3000 in all current versions, which is what Pinggy will forward.
Sharing Your Local Next.js App
Your Next.js dev server listens on localhost:3000, which only your machine can reach.
CGNAT, home router NAT, and corporate firewalls all block direct inbound connections - so there’s no way to just hand someone your IP.
The usual workaround is a deployment: push to Vercel, wait for the build, share the preview URL. That works fine for code reviews, but it’s heavy for a quick demo or a five-minute feedback loop. You also can’t easily demo features that depend on localhost environment variables, local databases, or localhost-only OAuth redirect URIs.
Pinggy solves this with a reverse SSH tunnel. One command forwards a public HTTPS URL to your local port - no firewall rules, no server setup, no deploy pipeline. The tunnel stays alive as long as the SSH connection does.
Prerequisites
- Node.js and npm: Installed on your system. You can download it from Node.js official website.
- SSH client (macOS/Linux built‑in; Windows via Git Bash or OpenSSH)
- Pinggy account (Optional): if you wish to use custom domains or other advanced features.
- Basic Terminal Knowledge: Familiarity with running commands.
Step 1: Create & Run Your Next.js App
npx create-next-app@latest my-app
cd my-app
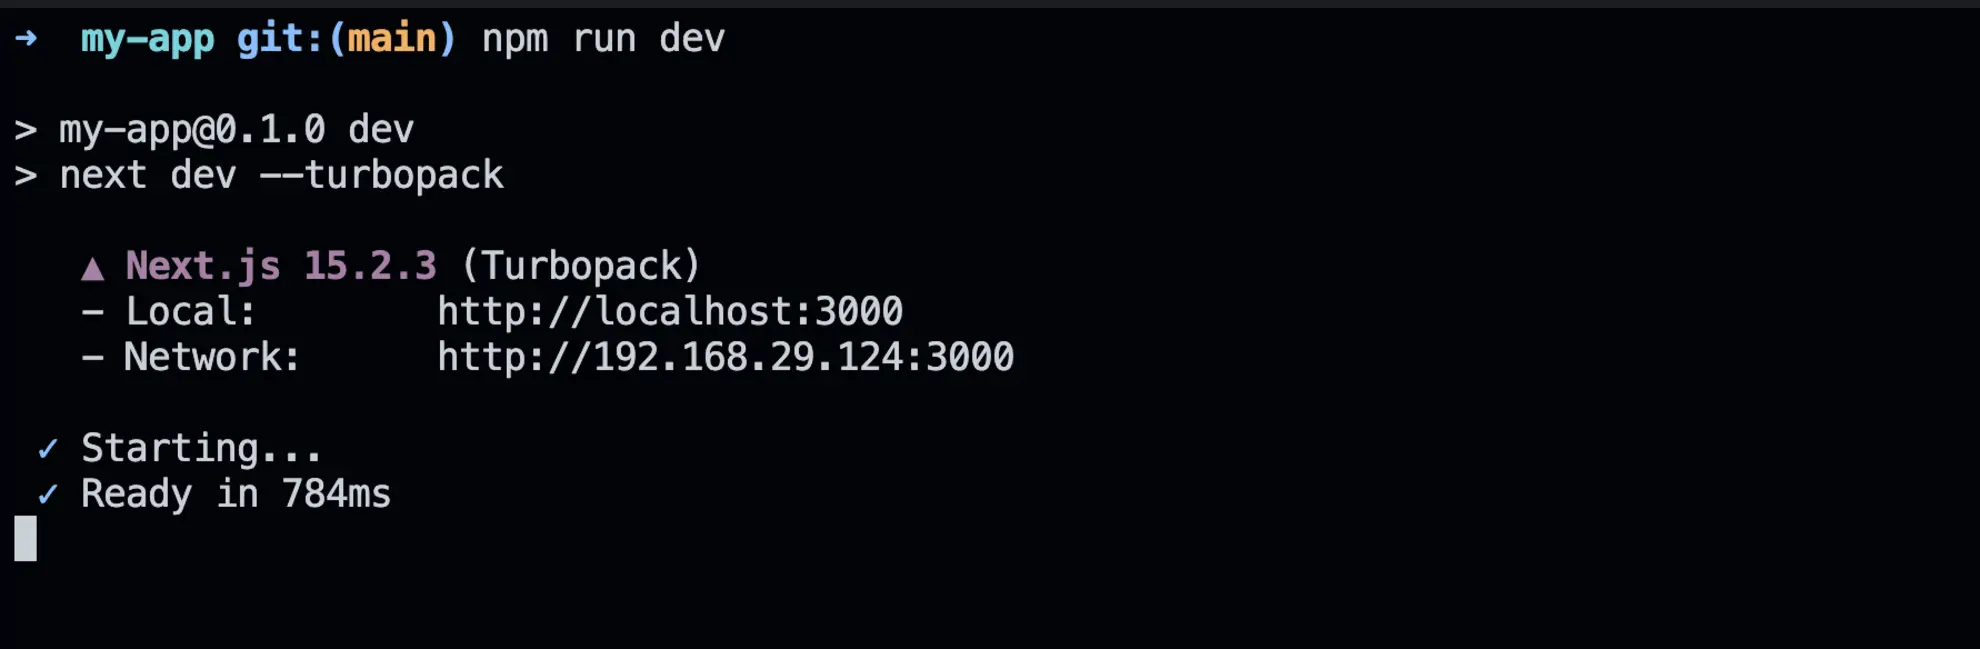
npm run dev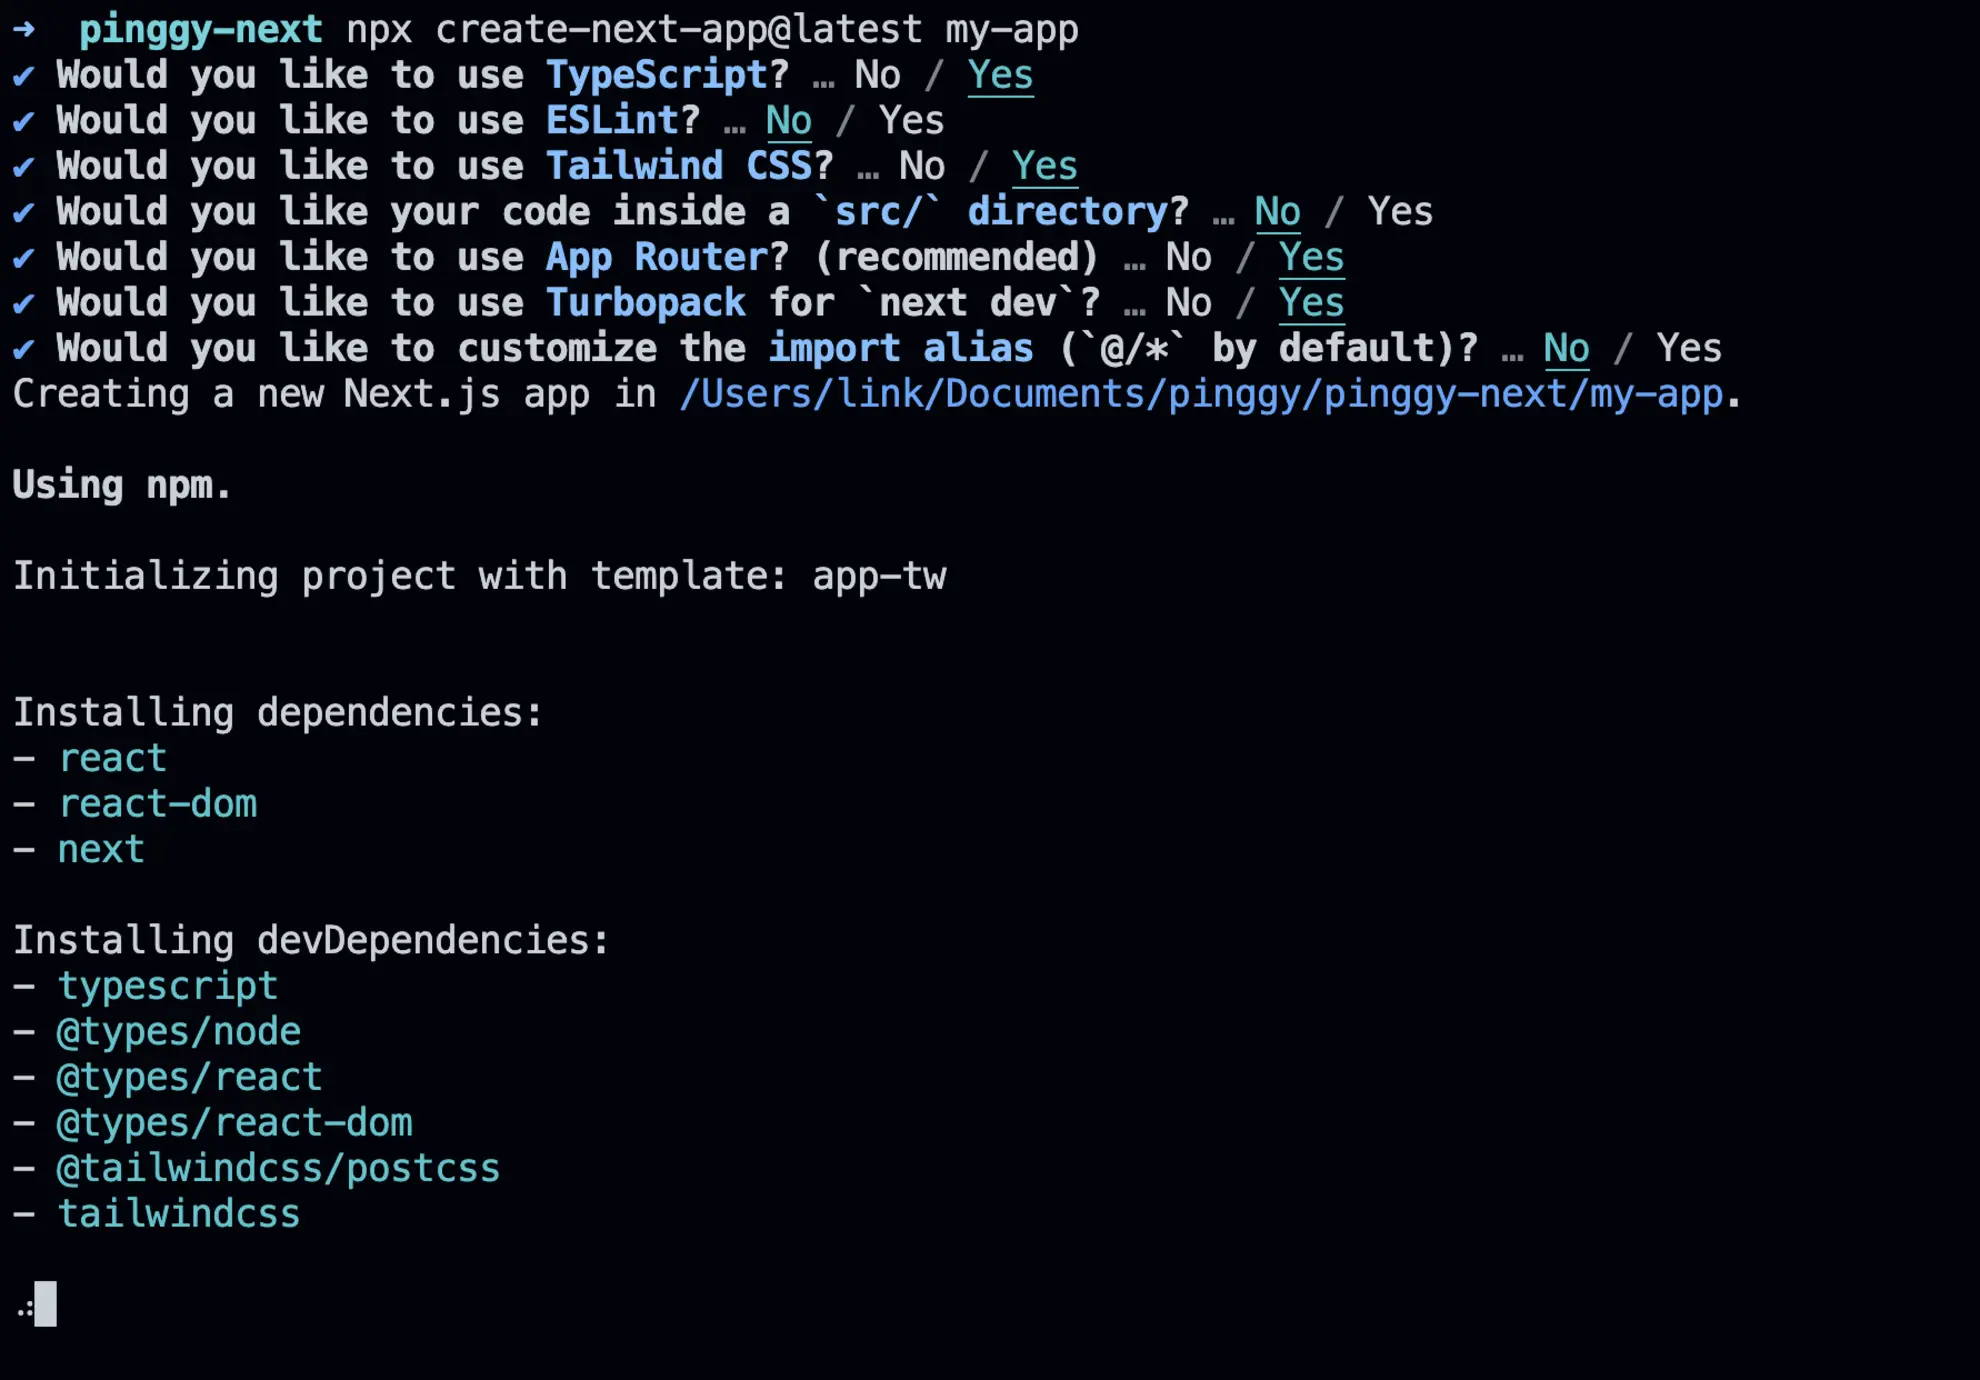
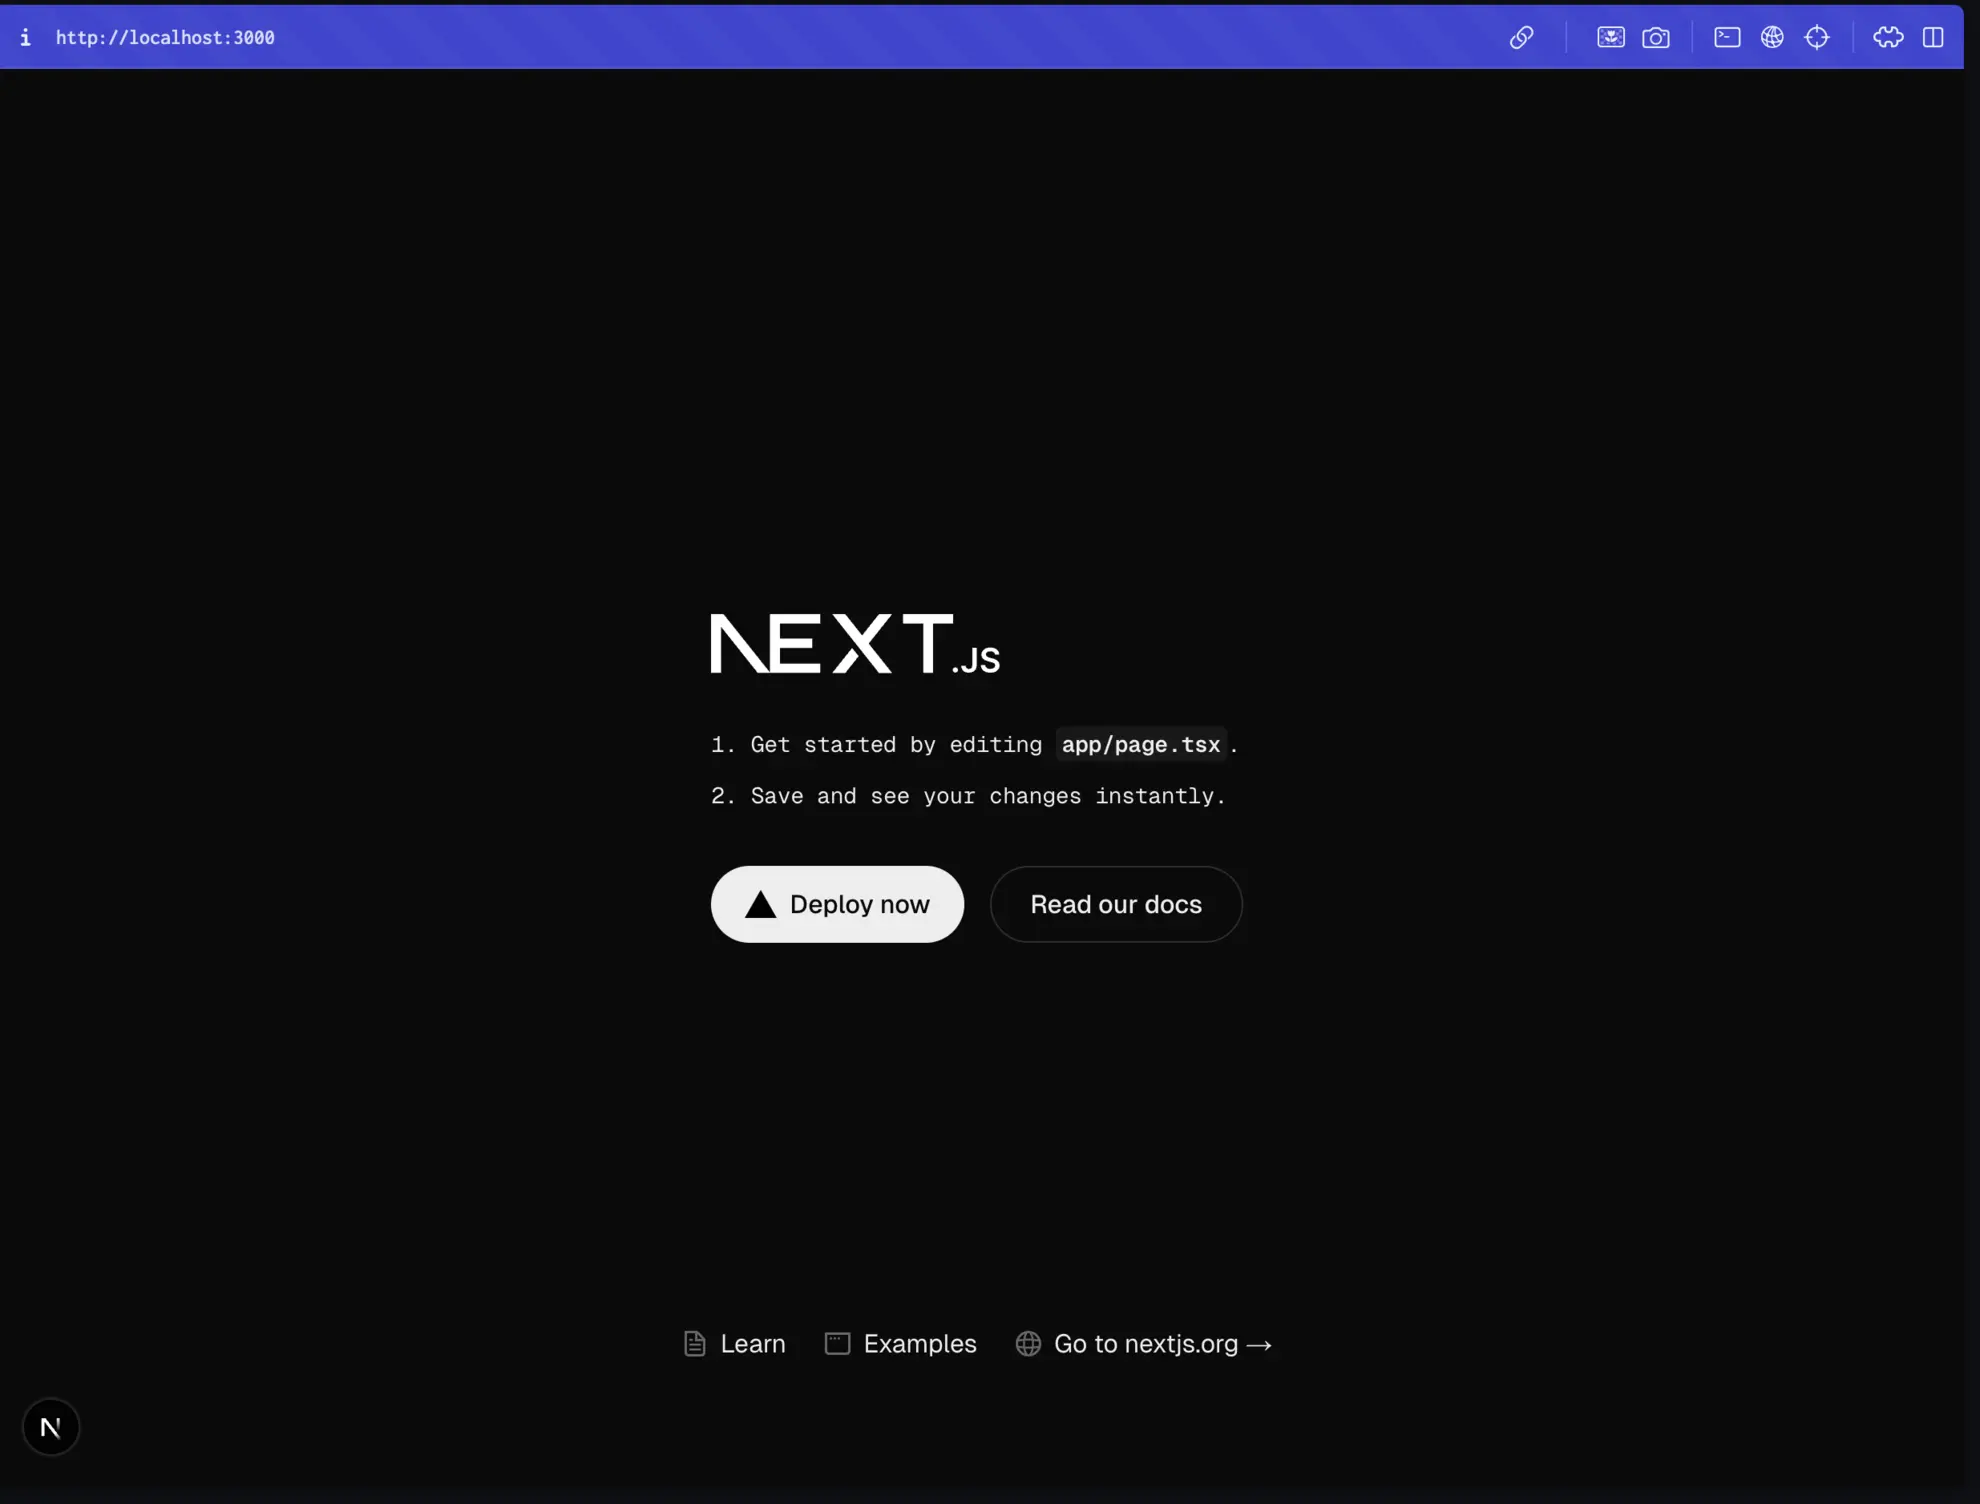
Visit http://localhost:3000 to confirm your app is live locally.
Step 2: Expose Your App via Pinggy
Open a new terminal window and run:
ssh -p 443 -R0:localhost:3000 free.pinggy.ioCommand Breakdown:
ssh -p 443: Establishes a secure connection to Pinggy’s server.-R0:localhost:3000: Maps your local Next.js app (running on port 3000) to Pinggy’s public URL.free.pinggy.io: Specifies the Pinggy server.

Pinggy will output a secure public URL (e.g., https://your-app.pinggy.link). Paste that URL in your browser - your Next.js app is now accessible from anywhere.

Step 3: Customize Your Pinggy Tunnel
Pinggy offers advanced customization options to improve functionality and security.
Custom Domains
- You can use a personalized or branded domain name for your tunnel instead of the default Pinggy-generated link.
- This is especially useful for professional deployments, making links memorable and aligned with your branding.
Password Protection
- Add an extra layer of security by setting up password protection for your tunnel.
- Only those with the password can access your app, keeping it secure from unauthorized users.
To learn more about these features, refer to Pinggy’s official documentation.
Benefits of Hosting Next.js Apps with Pinggy
- No Server Required: Simplify hosting by eliminating the need for a traditional server.
- Fast and Secure: Establish secure connections instantly.
- Ideal for Testing and Demos: Share your app with clients or team members during development.
Troubleshooting
- Port Conflict
- Symptom: Tunnel fails because port is already in use.
- Fix: Confirm your
Next.js dev server is running on port 3000 (or update
-R0:localhost:<your_port>to match).
- SSH Blocked by Firewall
- Symptom: Connection times out or is refused.
- Fix: Temporarily whitelist outbound port 443 in your firewall settings or switch to a less restrictive network.
- “Command Not Found” Error
- Symptom: Terminal returns “ssh: command not found.”
- Fix:
- macOS/Linux: SSH is pre‑installed.
- Windows: Install OpenSSH via Settings → Apps → Optional Features, or use Git Bash.
Conclusion
The whole setup takes under two minutes: create-next-app, npm run dev, one ssh command. You get a public HTTPS URL that proxies straight to your local machine - no build step, no cloud account, no waiting. It’s the fastest way to get eyes on a Next.js feature mid-development.
When you’re ready to go to production, the path to Vercel, Netlify, or AWS Amplify is straightforward - Next.js is designed around those targets. But for everything before that point, a Pinggy tunnel is hard to beat for speed and simplicity.