How to Easily Share OpenLLM API Online
Updated on Jun 30, 2025 · 3 mins read
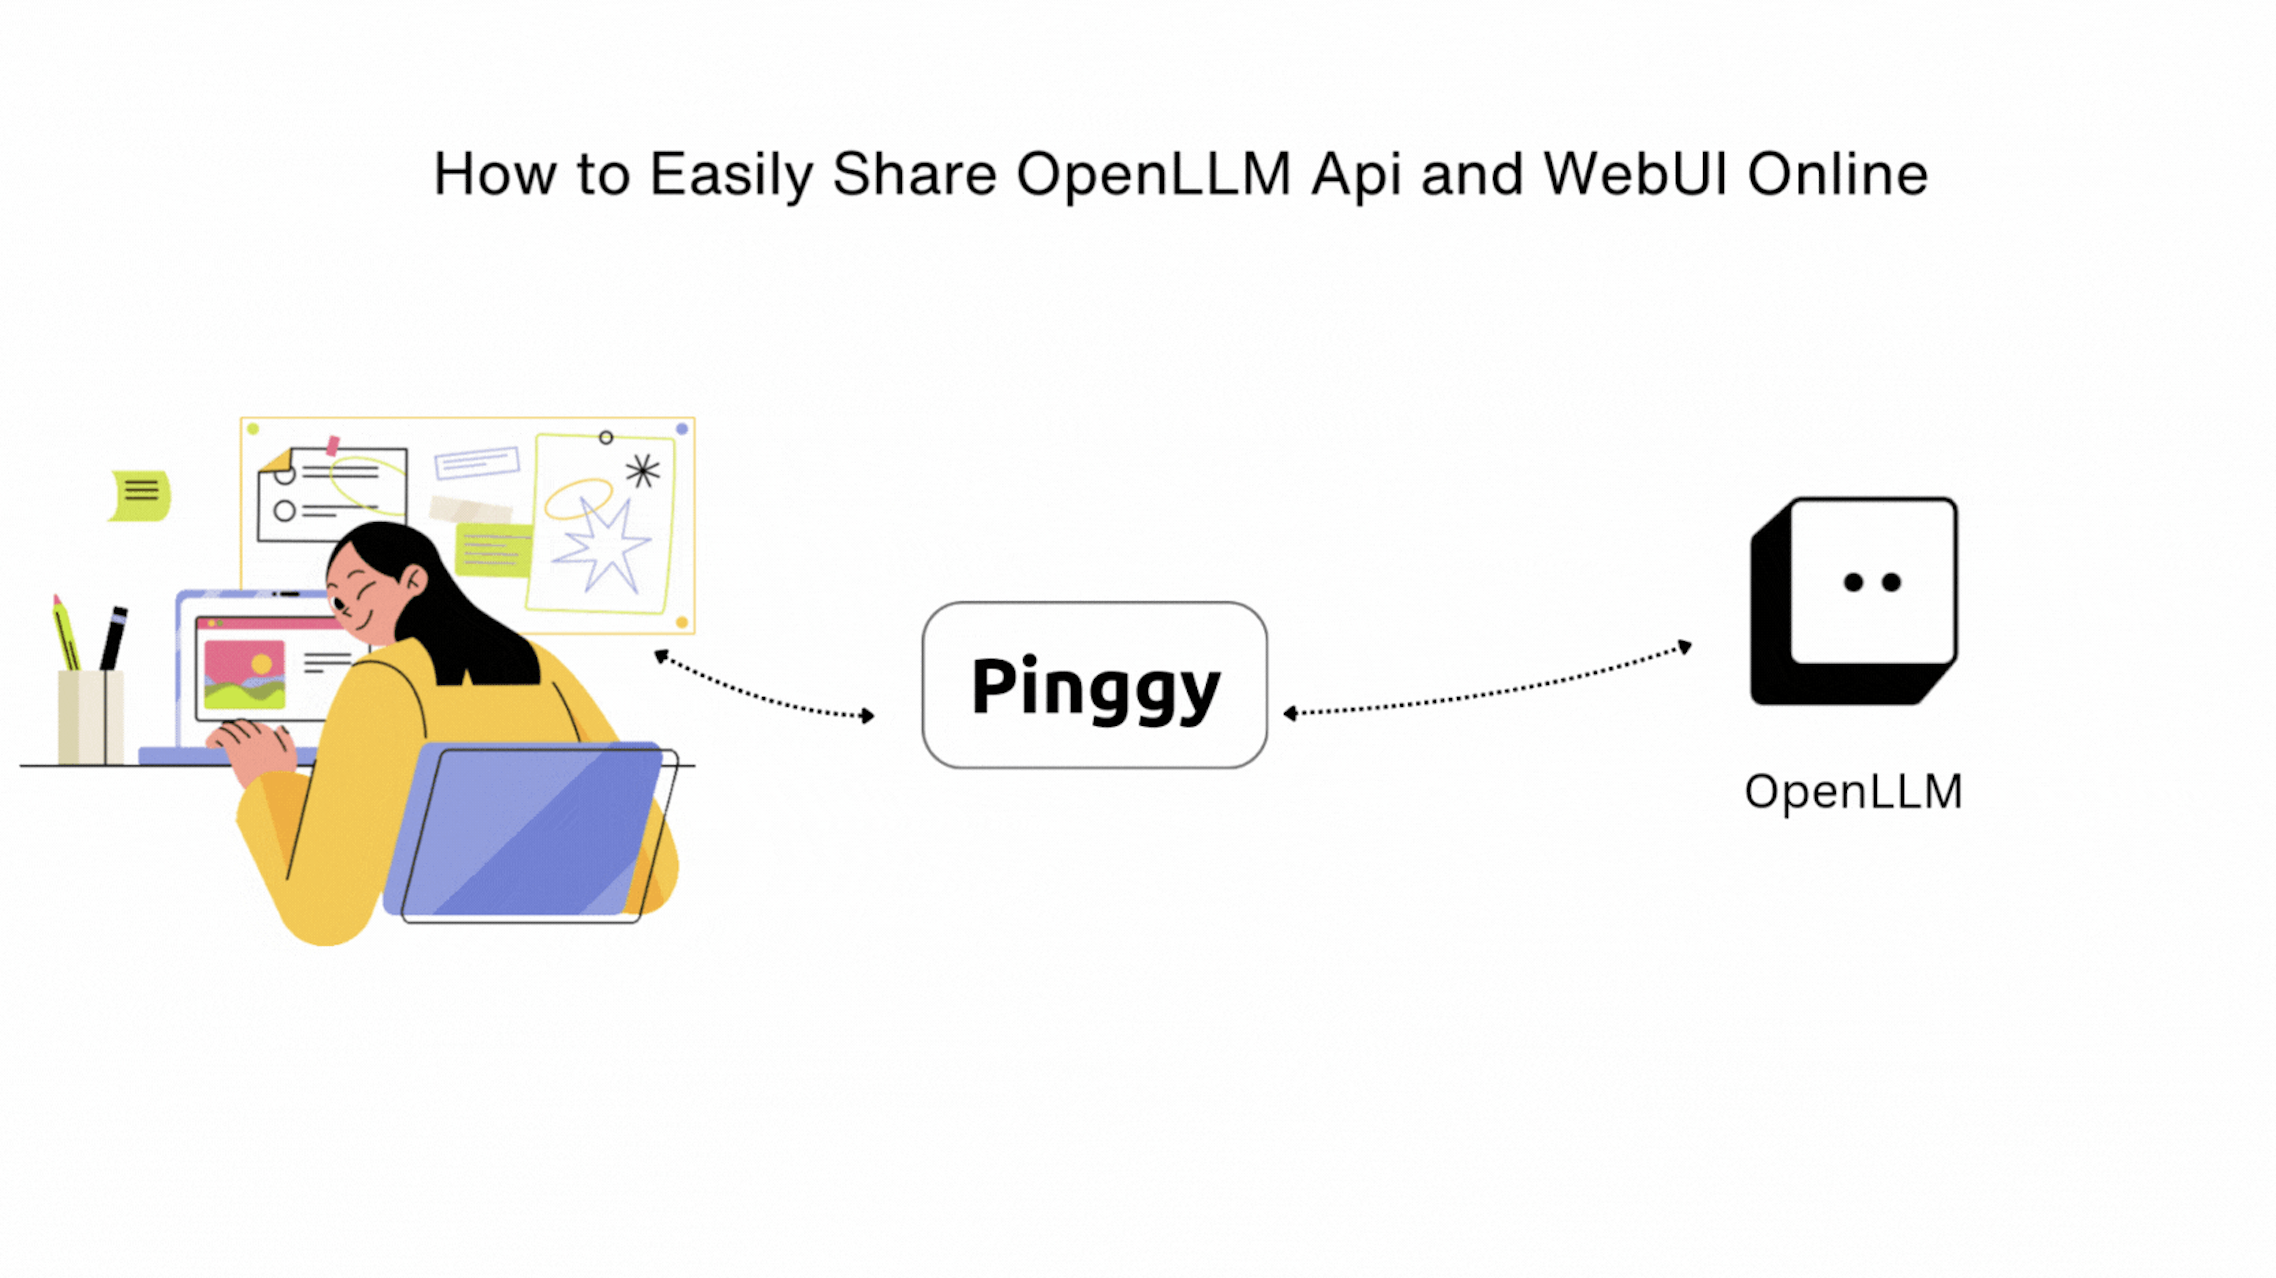
In the era of generative AI, self-hosting large language models (LLMs) gives developers full control over data privacy and model customization. OpenLLM emerges as a powerful toolkit for deploying models like Llama 3 or Mistral locally, while Pinggy enables secure internet exposure without complex infrastructure. This guide walks you through self-hosting an LLM endpoint with a public URL, making it accessible and shareable in minutes.
Summary
Install OpenLLM & Deploy a Model
pip install openllm
openllm serve llama3.2:1b-instruct-ggml-fp16-linux
Change
llama3.2:1b-instruct-ggml-fp16-linuxto the model you want to execute.Expose API via Pinggy
Tunnel port3000:ssh -p 443 -R0:localhost:3000 a.pinggy.io- Share the generated URL for ChatGPT-like access to your LLMs.
Why Self-Host LLMs with OpenLLM?
The Rise of Local AI Deployment
With growing concerns about data privacy and API costs, tools like OpenLLM have become essential for running LLMs locally. However, limiting access to your local network restricts their utility. By sharing them online, you can:
- Collaborate remotely with team members or clients.
- Integrate AI into web/mobile apps via OpenLLM’s API.
- Demo projects without deploying to the cloud.
- Reduce latency by keeping inference local while enabling remote access.
Why Choose Pinggy for Tunneling?
Pinggy simplifies port forwarding by creating secure tunnels. Unlike alternatives like ngrok, it offers:
- Free HTTPS URLs with no installation required.
- No rate limits on the free tier.
- No bandwidth limit with the Pinggy Pro plan.
- Web Debugger Observe and monitor requests coming to your server.
Step-by-Step Guide to Sharing OpenLLM
Step 1: Install OpenLLM & Deploy Models
Prerequisites
- Python
- pip package manager
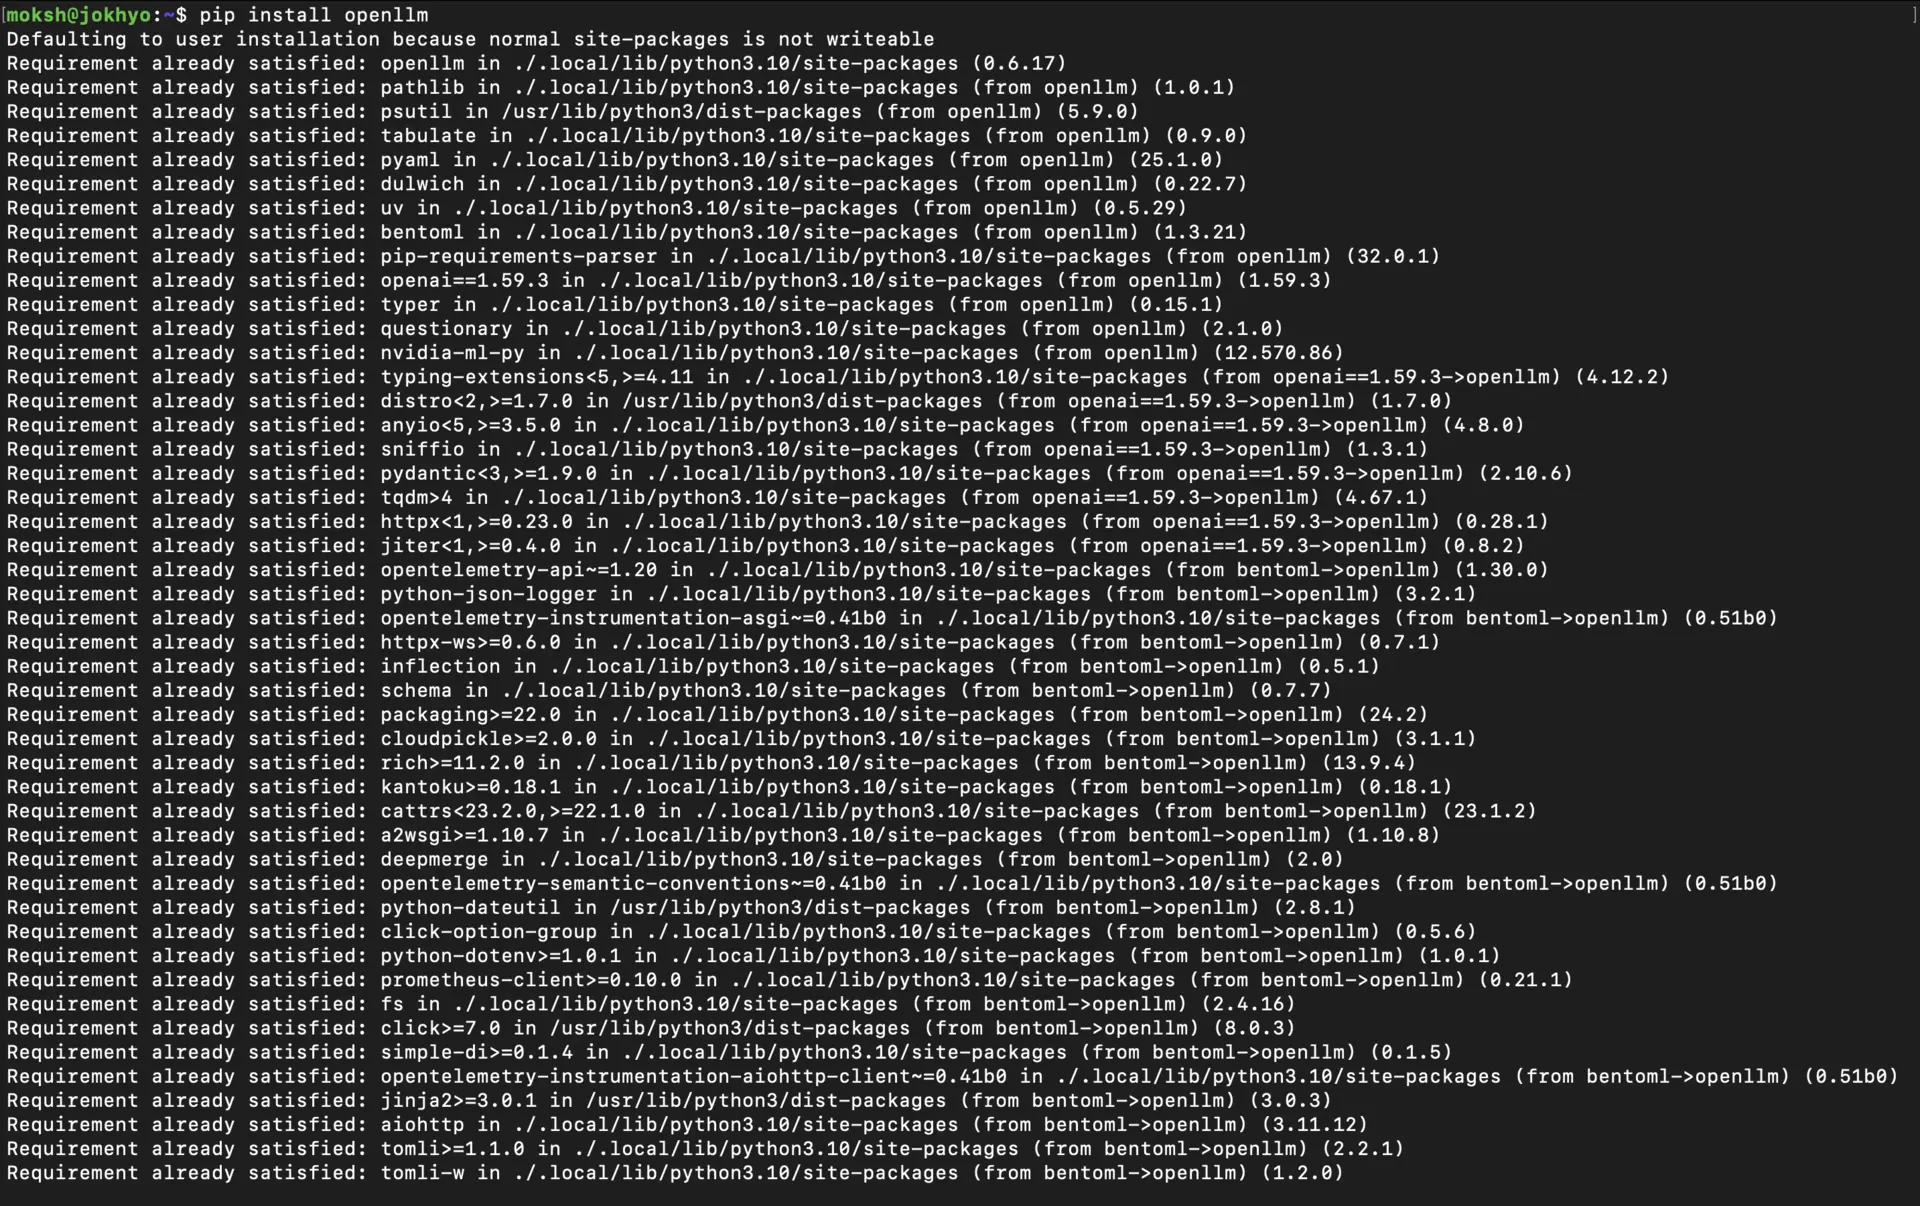
Install openllm
pip install openllm
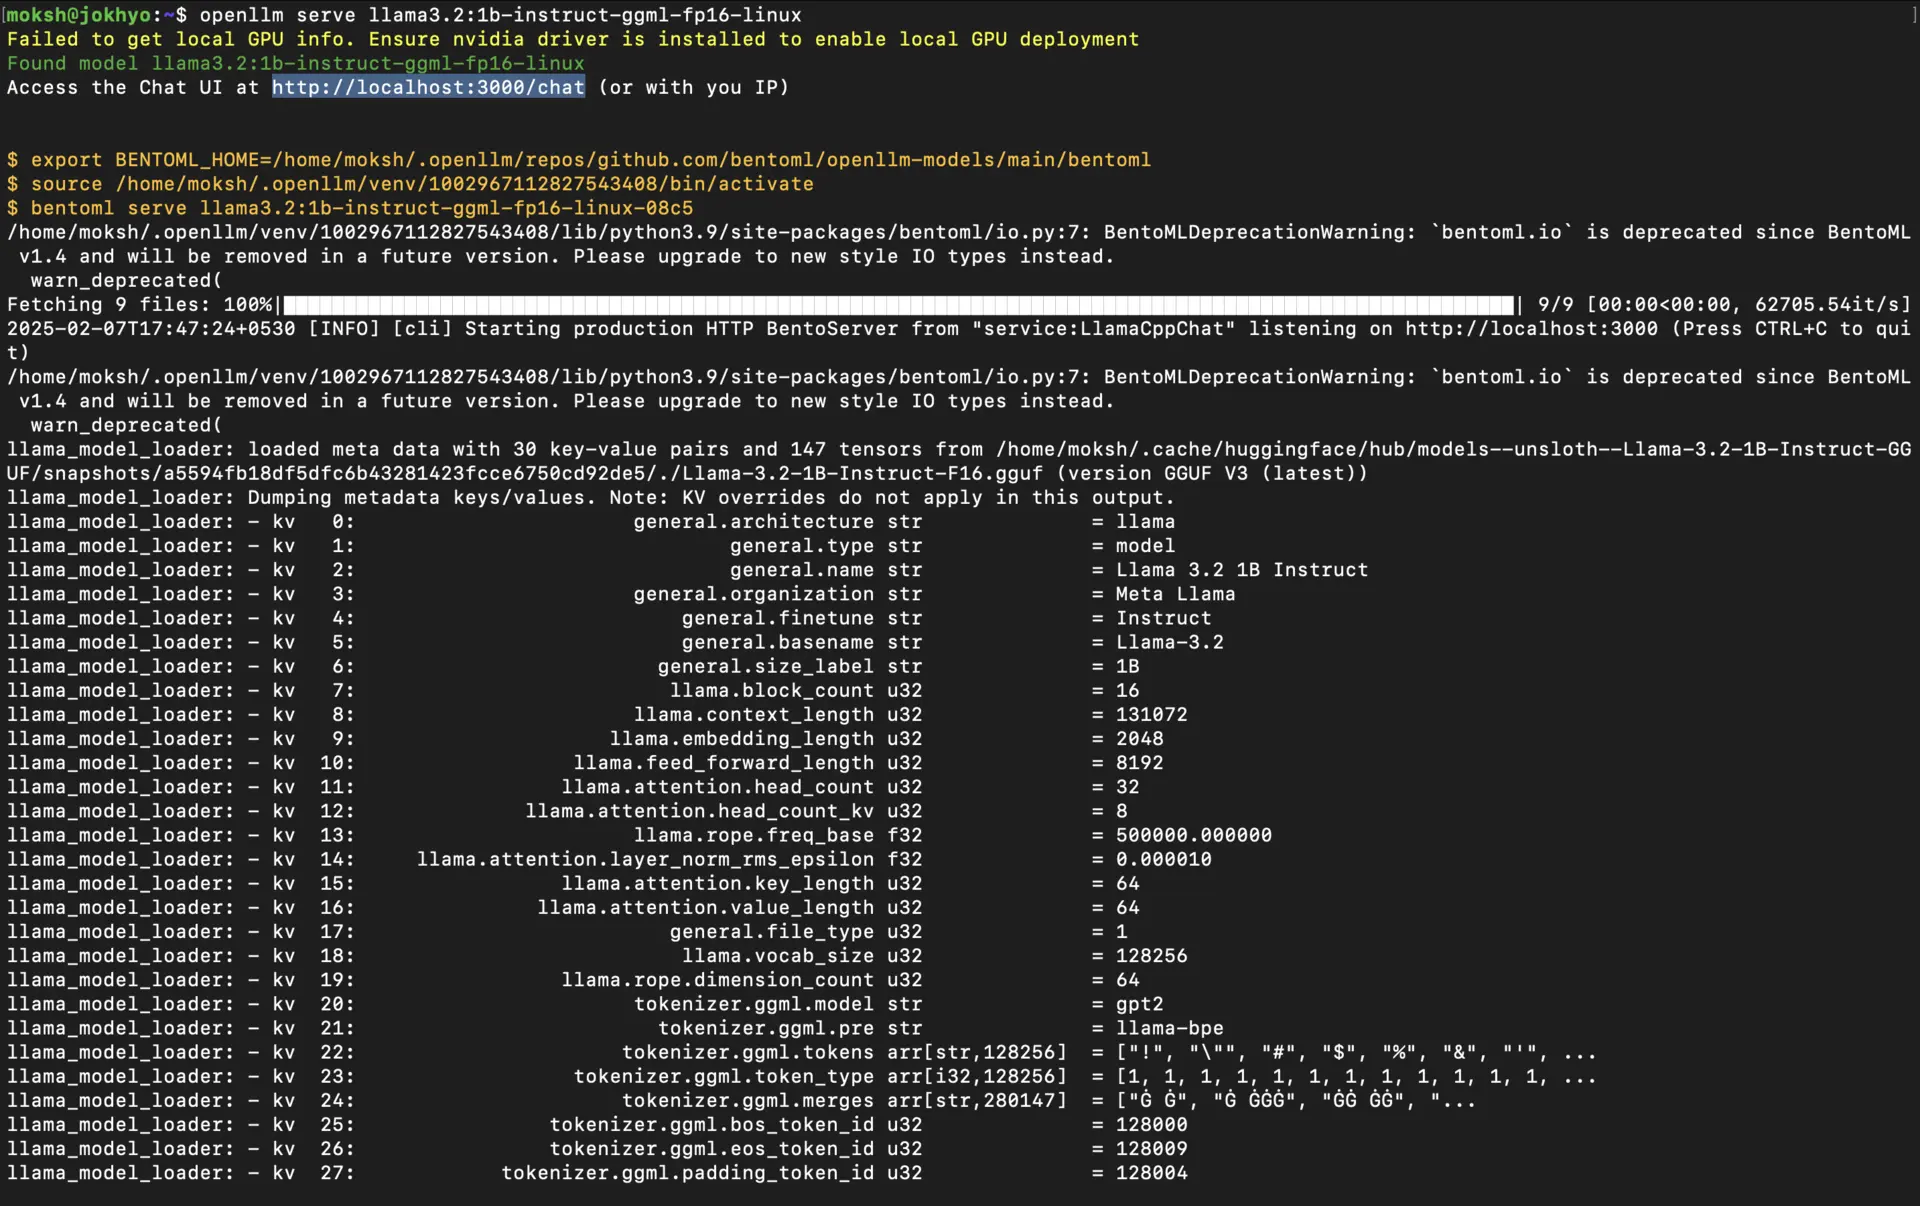
Start a Model Server
Launch llama3.2:1b-instruct-ggml-fp16-linux. You can also choose a different model from this list.
openllm serve llama3.2:1b-instruct-ggml-fp16-linux
Available models include:
mistralfalconqwendolly-v2
Step 2: Expose OpenLLM API via Pinggy
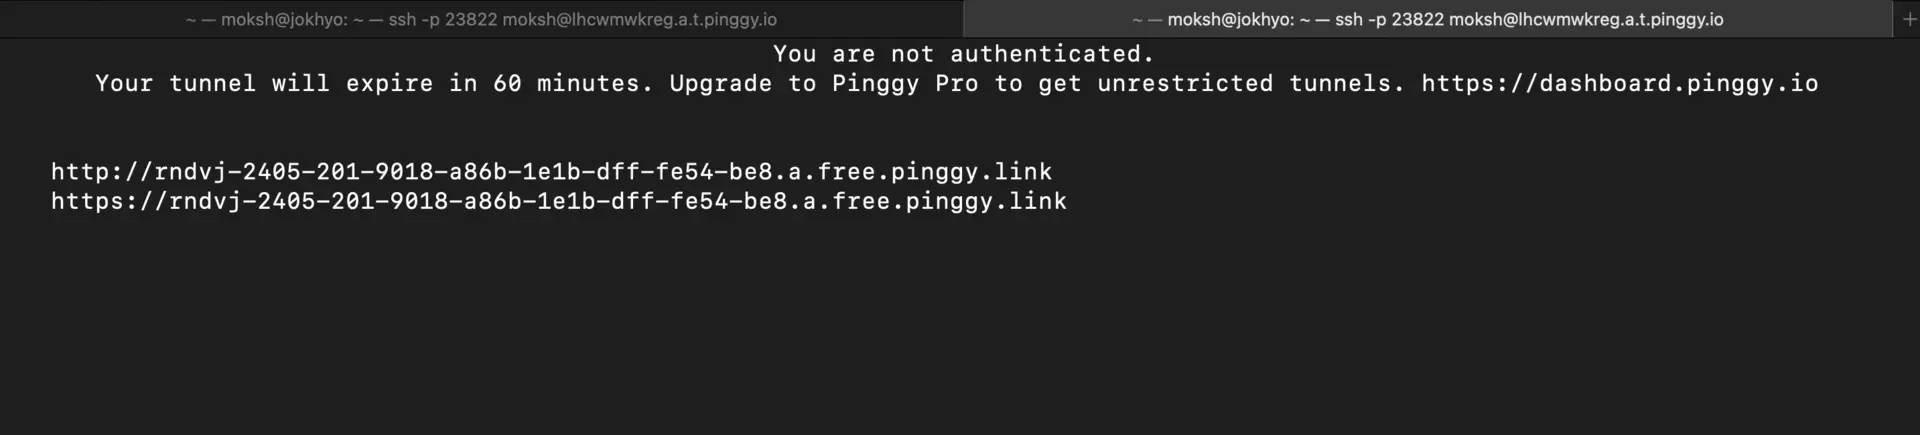
Create Secure Tunnel
While OpenLLM runs on port 3000:
ssh -p 443 -R0:localhost:3000 a.pinggy.io
ssh -p 443 -R0:localhost:3000 a.pinggy.io
Command Breakdown:
-p 443: Connects via HTTPS for firewall compatibility.-R0:localhost:3000: Forwards Ollama’s port to Pinggy.qr@a.pinggy.io: Pinggy’s tunneling endpoint.

You’ll receive a public URL like https://xyz123.pinggy.link.
API Endpoints
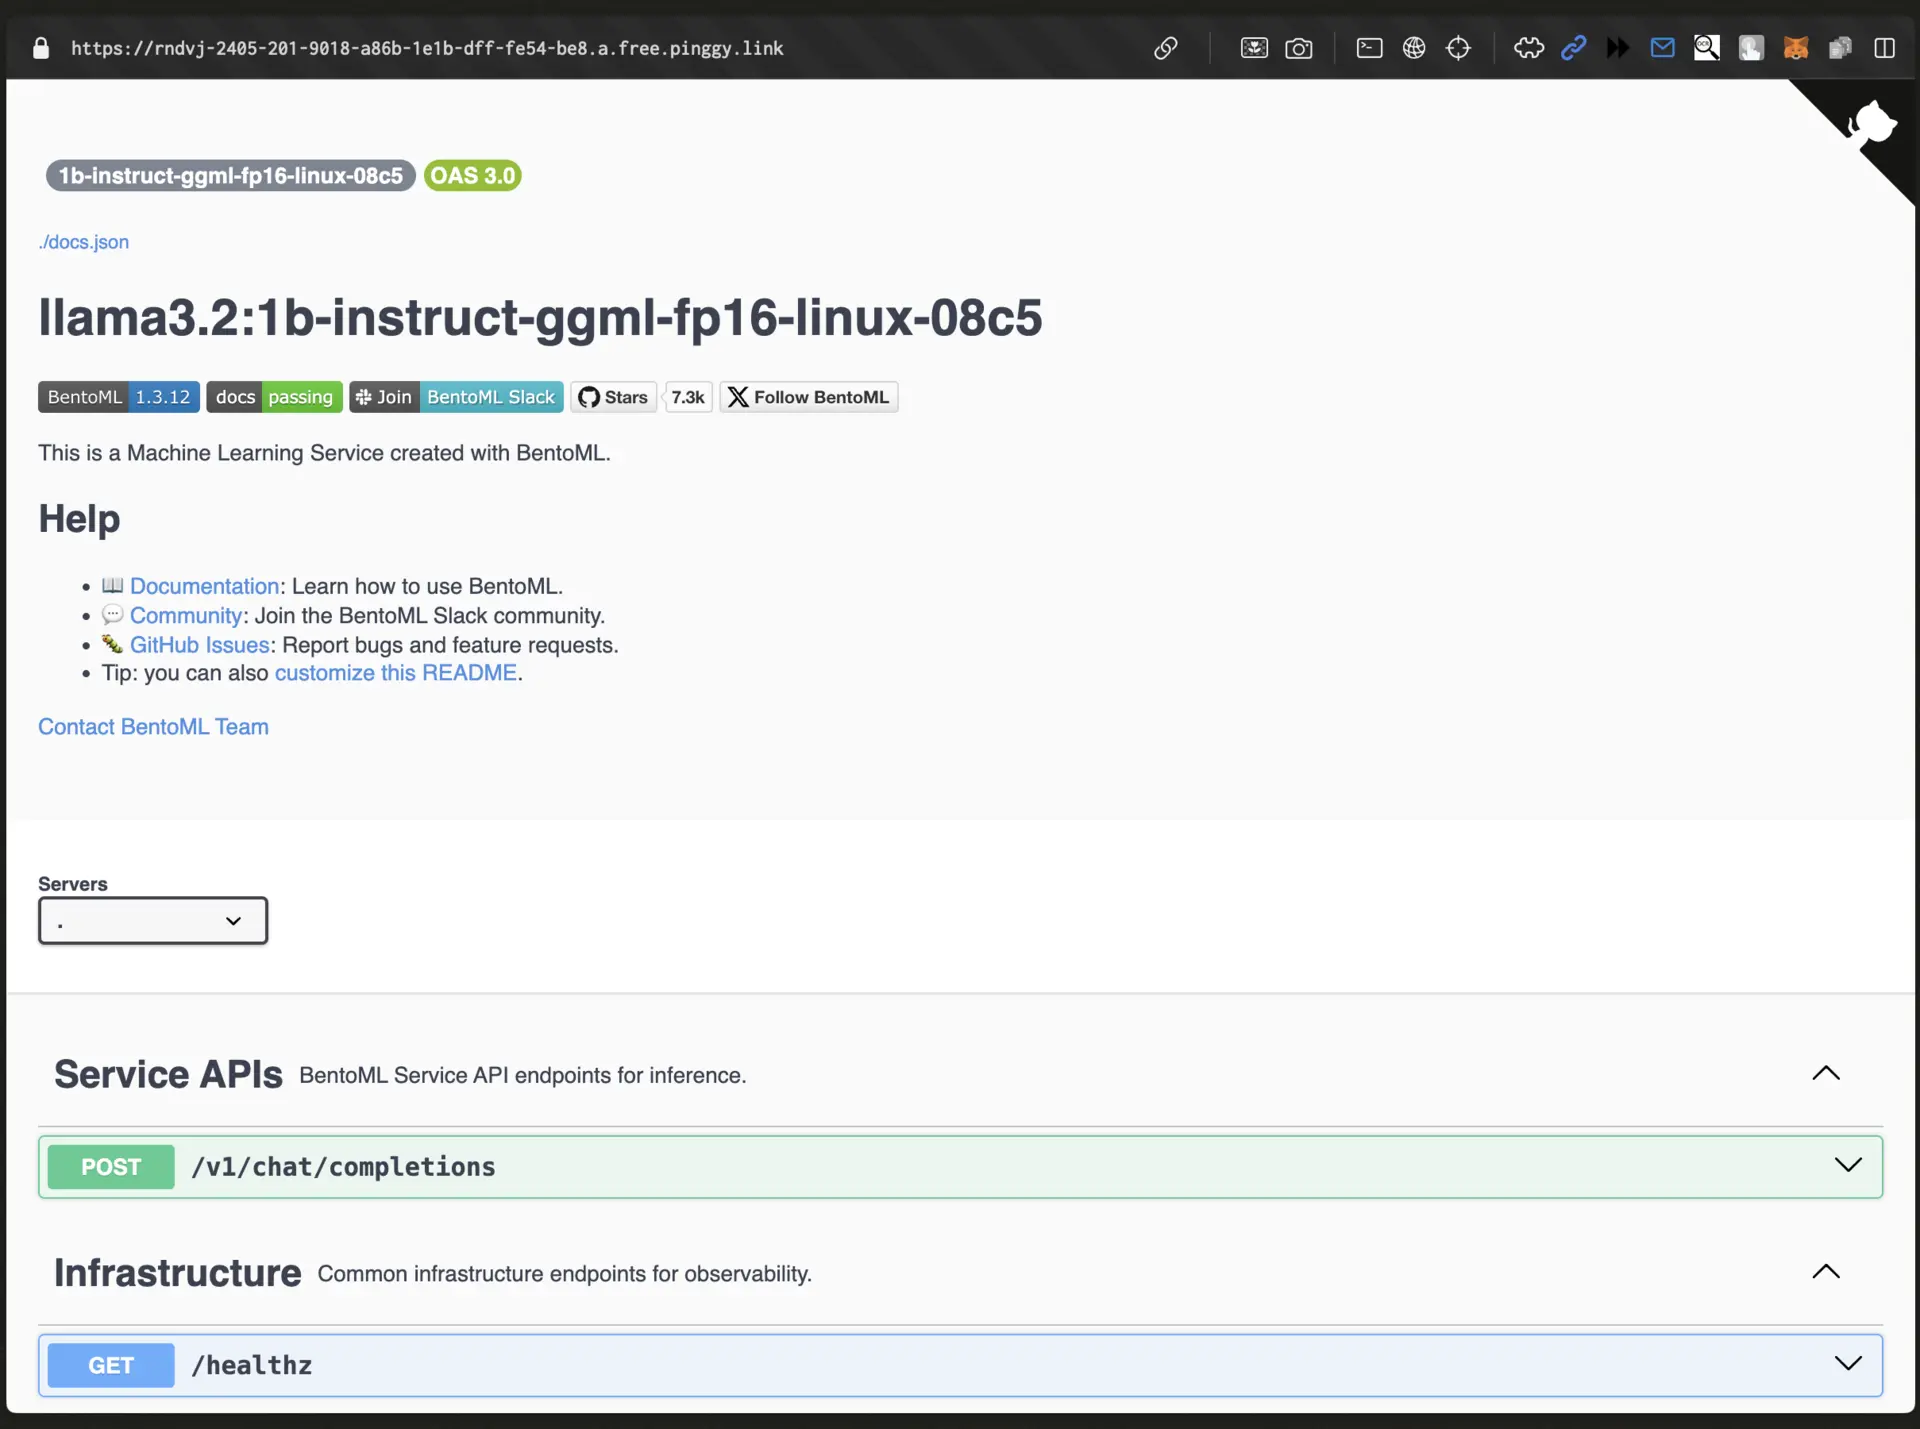
- OpenLLM Swagger Docs:
curl https://xyz123.pinggy.link/
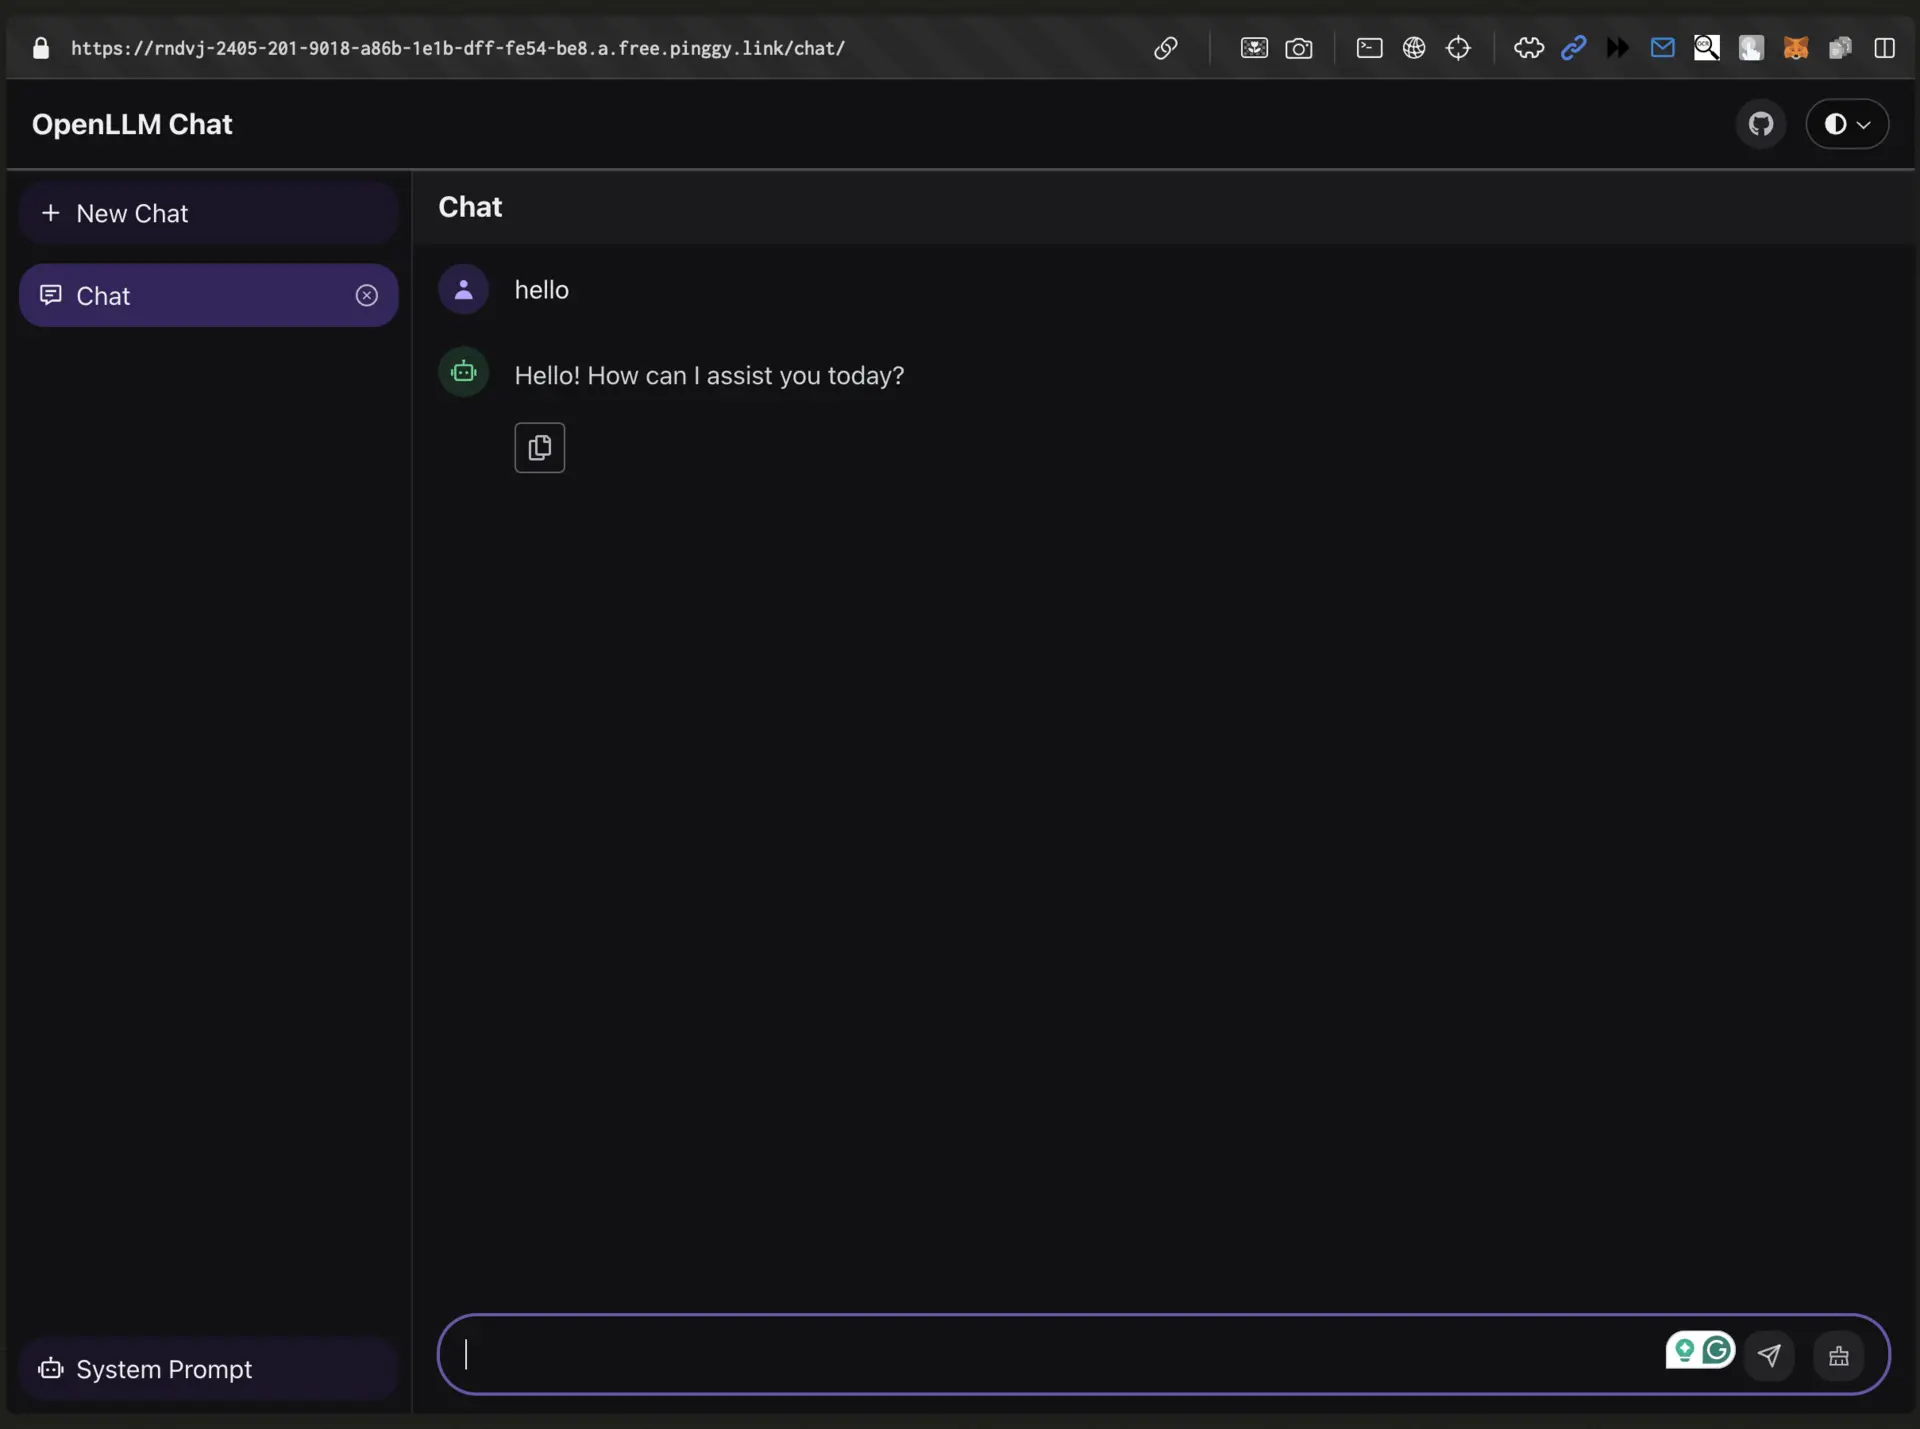
- OpenLLM WebUI:
curl https://xyz123.pinggy.link/chat
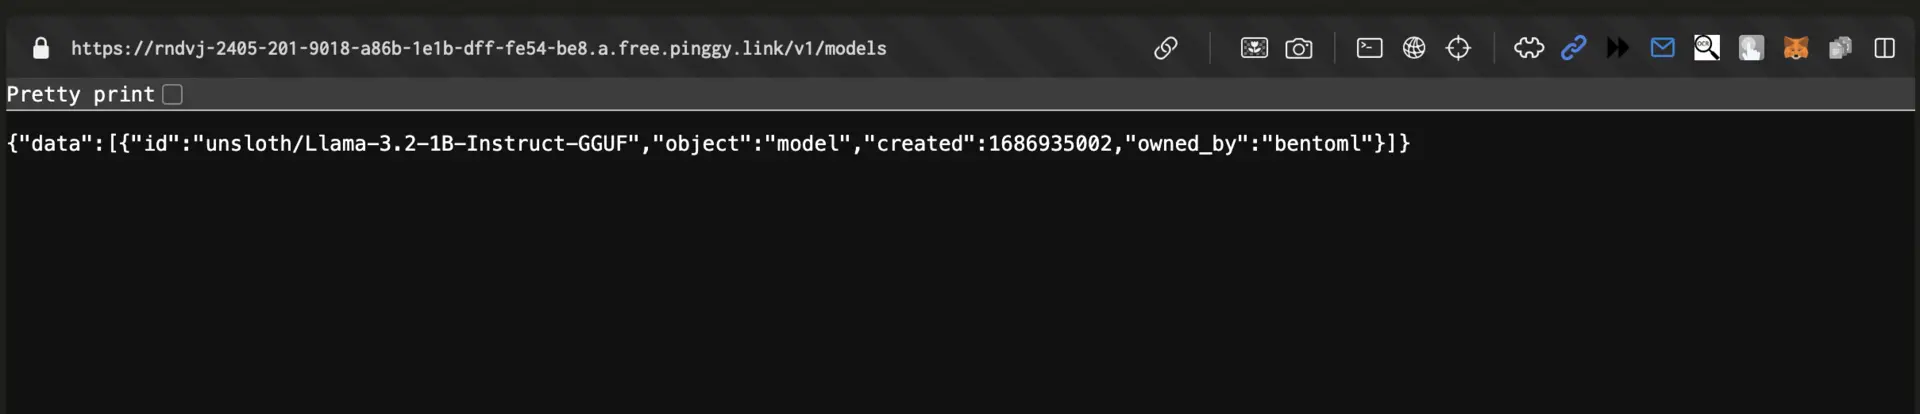
- List Models:
curl https://xyz123.pinggy.link/v1/models
Advanced Configuration and Security Best Practices
Secure Your Deployment
Enable Basic Authentication in Pinggy:
Secure your tunnel by appending a username and password to your SSH command:ssh -p 443 -R0:localhost:3000 -t a.pinggy.io b:username:password
You can also configure multiple username-password pairs for enhanced access control. For more details, refer to the official documentation.
Custom Domains and Performance Optimization
With Pinggy Pro ((3 USD/month)/month), you can set up a custom domain for your tunnels. This enhances branding and improves accessibility.
For a step-by-step guide on setting up a custom domain, refer to the Pinggy Custom Domain Documentation.
Real-World Use Cases for Remote AI Access
Collaborative Development
Distributed teams can:
- Share a single Ollama instance for code review and documentation generation.
- Train custom models collaboratively using Open WebUI’s RAG features.
Customer-Facing Applications
Expose OpenLLM’s API to power: b
- AI chatbots for 24/7 customer support.
- Content generation tools for blogs, social media, or product descriptions.
Academic and Research Workflows
Researchers can securely share access to proprietary models with peers without exposing internal infrastructure.
Troubleshooting
Model Fails to Load
- Verify hardware requirements (RAM/GPU)
- Check quantization compatibility:
openllm run llama3.2:1b-instruct-ggml-fp16-linux --quantize int4
Connection Timeouts
- Use Pinggy’s TCP mode for unstable networks:Note: This command requires Pinggy Pro.
while true; do
  ssh -p 443 -o StrictHostKeyChecking=no -R0:localhost:3000 a.pinggy.io;
sleep 10; done
Conclusion
Combining OpenLLM’s flexible model serving with Pinggy’s secure tunneling provides a quick and easy way to deploy AI models accessible from anywhere. Whether you’re prototyping chatbots or testing NLP pipelines, this stack simplifies remote access without the complexity of traditional deployments.
- Complete data ownership
- Cost-effective scaling
- Developer-friendly tooling
Ready to deploy? Start with:
pip install openllm && openllm run llama3.2:1b-instruct-ggml-fp16-linux
For advanced configurations, explore OpenLLM Documentation and Pinggy Features.