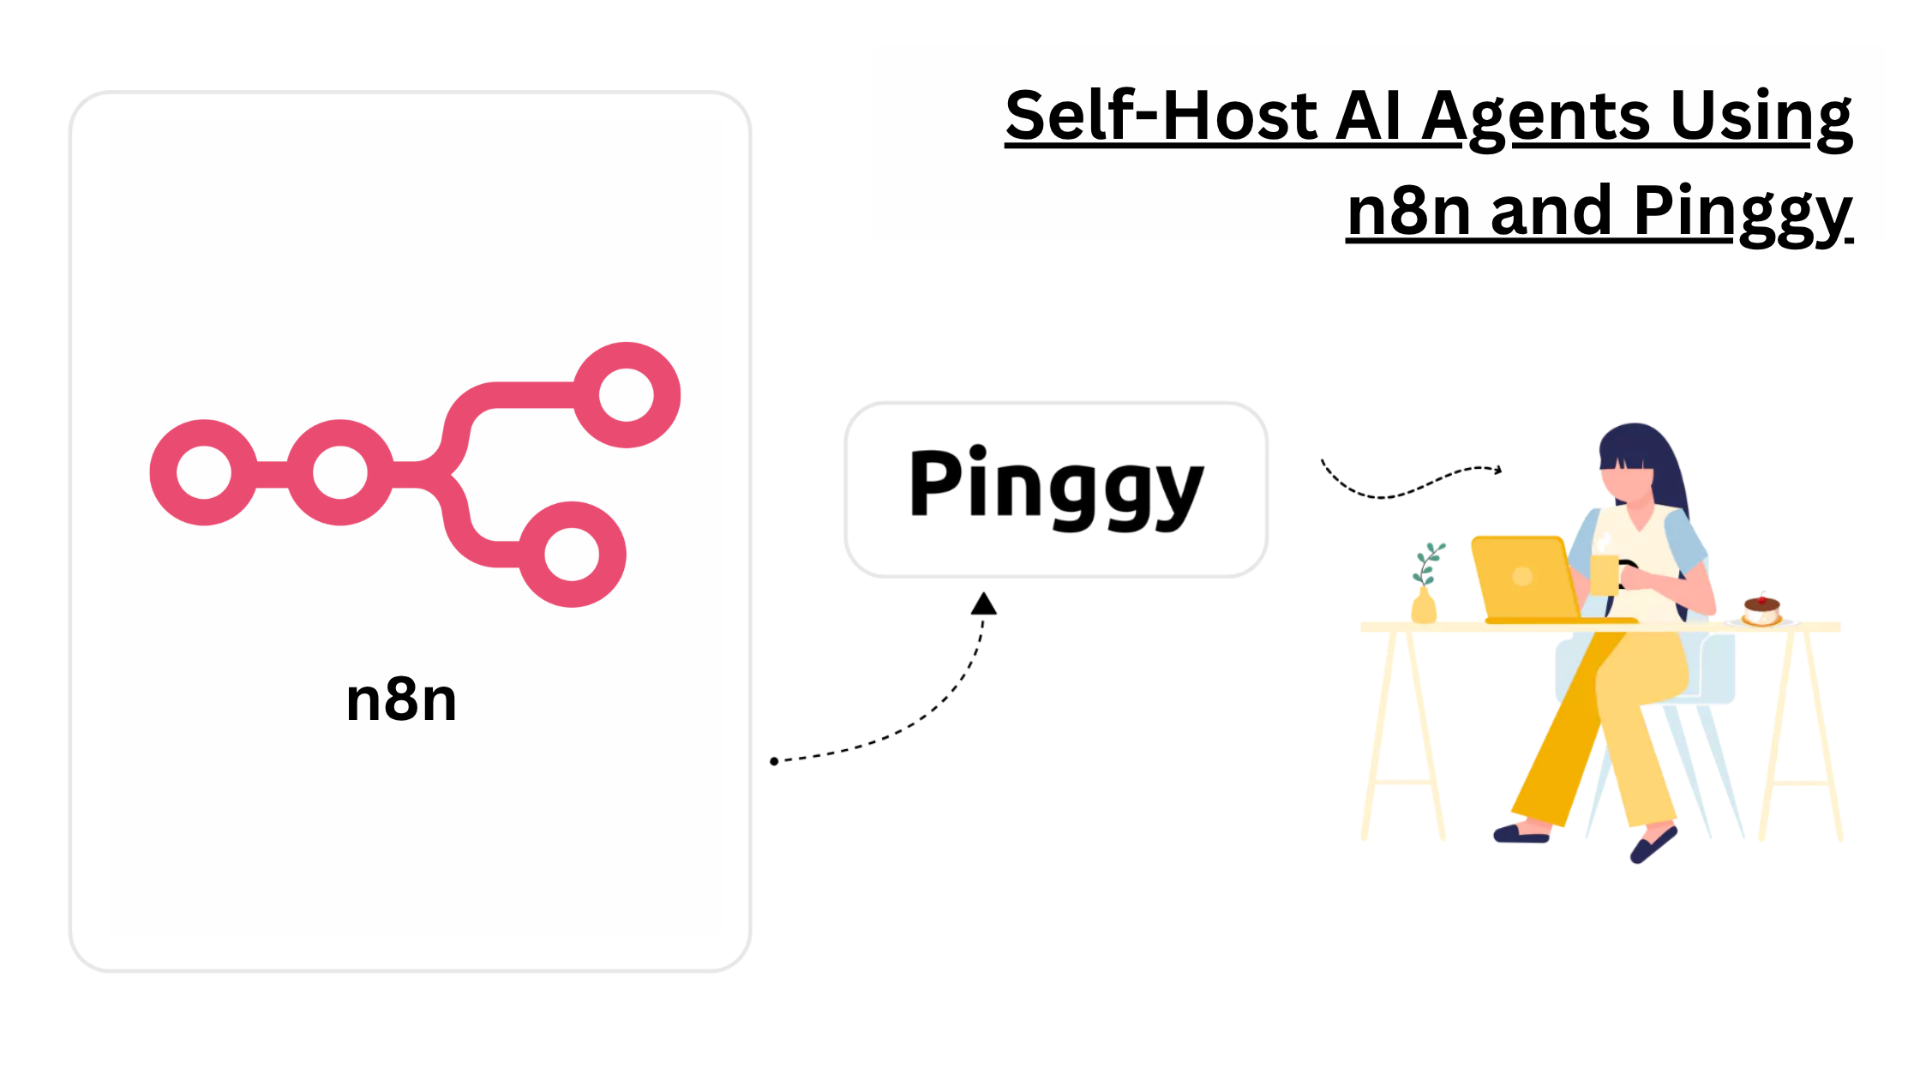
Self-Host AI Agents Using n8n and Pinggy
Updated on Jun 30, 2025 · 5 mins read
In today’s AI landscape, running powerful AI agents locally offers significant advantages in terms of privacy, cost, and control. Combining n8n’s powerful workflow automation platform with local Large Language Models (LLMs) creates a compelling solution for businesses and developers seeking to build AI-powered applications without relying on cloud APIs. This comprehensive guide will walk you through setting up the n8n Self-hosted AI Starter Kit and exposing it securely online using Pinggy.
Summary
Self-host n8n AI Starter Kit
Install Docker and Docker Compose
Clone the repository:
git clone https://github.com/n8n-io/self-hosted-ai-starter-kit.gitStart the containers:
docker compose --profile cpu up(or use GPU profiles if available)
Access n8n at:
http://localhost:5678/
Configure Your AI Environment
- Set up n8n with the included workflow
- Verify Ollama is working by checking for the Llama3 model download
- Connect to Qdrant for vector storage capabilities
Expose with Pinggy for Remote Access
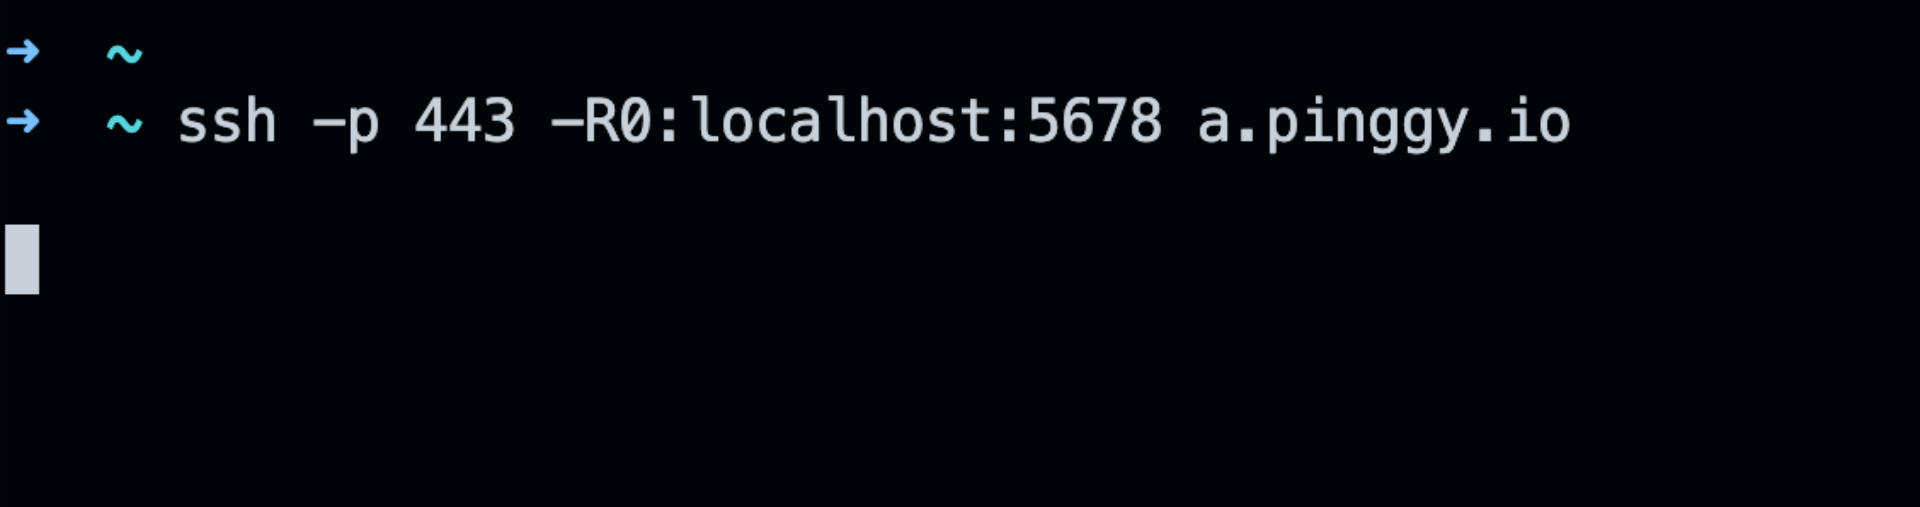
Basic HTTP tunnel:
ssh -p 443 -R0:localhost:5678 a.pinggy.ioWith authentication:
ssh -p 443 -R0:localhost:5678 -t a.pinggy.io b:username:passwordAccess your AI workflows remotely via the generated Pinggy URL
Build AI Applications
- Create AI chatbots with memory
- Develop document analysis workflows
- Build automation for data processing with AI capabilities
- All while keeping data private and secure
Why Self-Host AI Agents?
The rise of Large Language Models (LLMs) has transformed what’s possible with AI, but relying on cloud APIs comes with challenges:
- Privacy Concerns: Sensitive data sent to third-party services may introduce compliance and confidentiality risks
- Unpredictable Costs: API usage can quickly become expensive with high volumes
- Limited Control: You’re dependent on providers’ model choices, pricing changes, and service availability
- Latency Issues: Network delays can impact real-time applications
Self-hosting AI agents addresses these challenges by keeping data and processing on your own infrastructure. Combined with n8n’s workflow automation capabilities, you can create sophisticated AI applications tailored to your specific needs.
What is n8n’s Self-hosted AI Starter Kit?
The n8n Self-hosted AI Starter Kit is an open-source Docker Compose template that bootstraps a complete local AI development environment. It integrates:
- n8n: A powerful low-code workflow automation platform with 400+ integrations
- Ollama: A platform for running local LLMs like Llama3, Mistral, and more
- Qdrant: An open-source vector database for storing and retrieving embeddings
- PostgreSQL: A robust database for persistent storage
This combination provides everything needed for building advanced AI workflows without cloud dependencies.
Prerequisites
Before starting, ensure you have:
- A computer with sufficient resources (recommended: 16GB+ RAM, preferably with a GPU)
- Docker and Docker Compose installed
- Basic familiarity with terminal/command line
- Optional: NVIDIA GPU with CUDA support (for faster model inference)
Step-by-Step Installation Guide
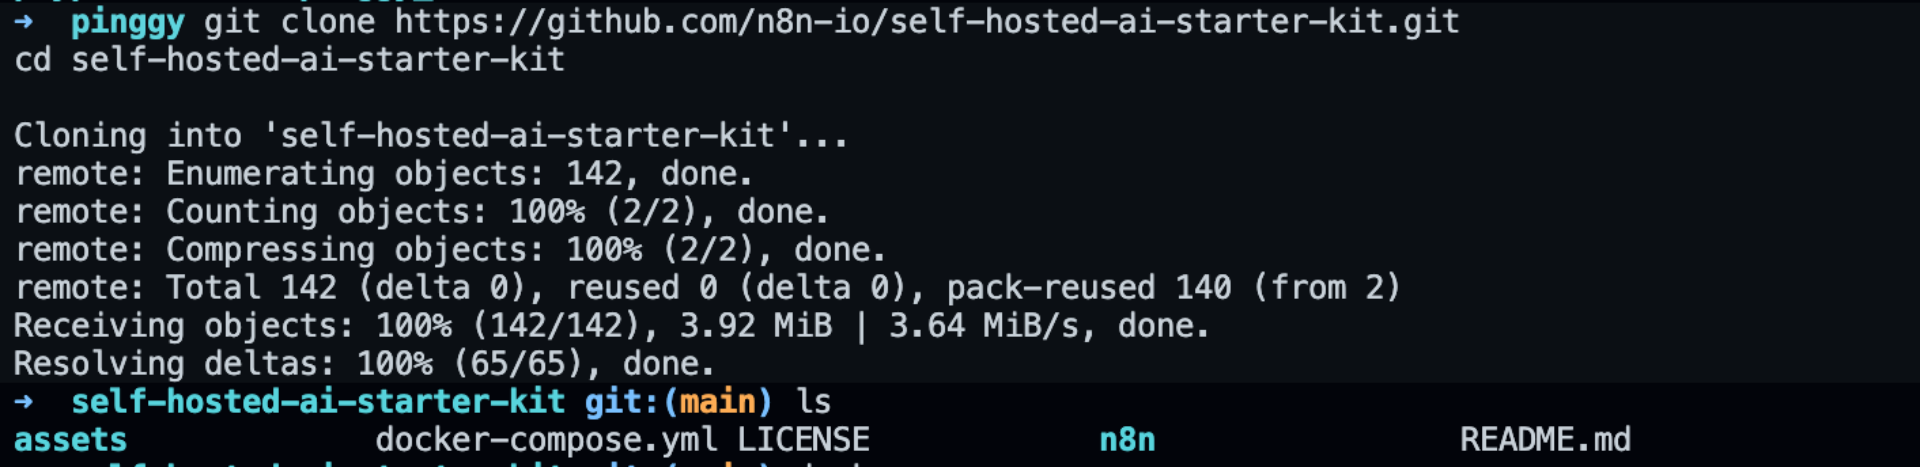
1. Clone the Repository
Open your terminal and run:
git clone https://github.com/n8n-io/self-hosted-ai-starter-kit.git
cd self-hosted-ai-starter-kit
2. Choose Your Setup Profile
The starter kit offers different profiles based on your hardware:
For CPU-only systems:
docker compose --profile cpu upFor NVIDIA GPU users:
docker compose --profile gpu-nvidia upFor AMD GPU users on Linux:
docker compose --profile gpu-amd upFor Mac/Apple Silicon users:
docker compose up

3. Access n8n and Set Up Your Environment
Once the containers are running, access the n8n interface at:
http://localhost:5678/
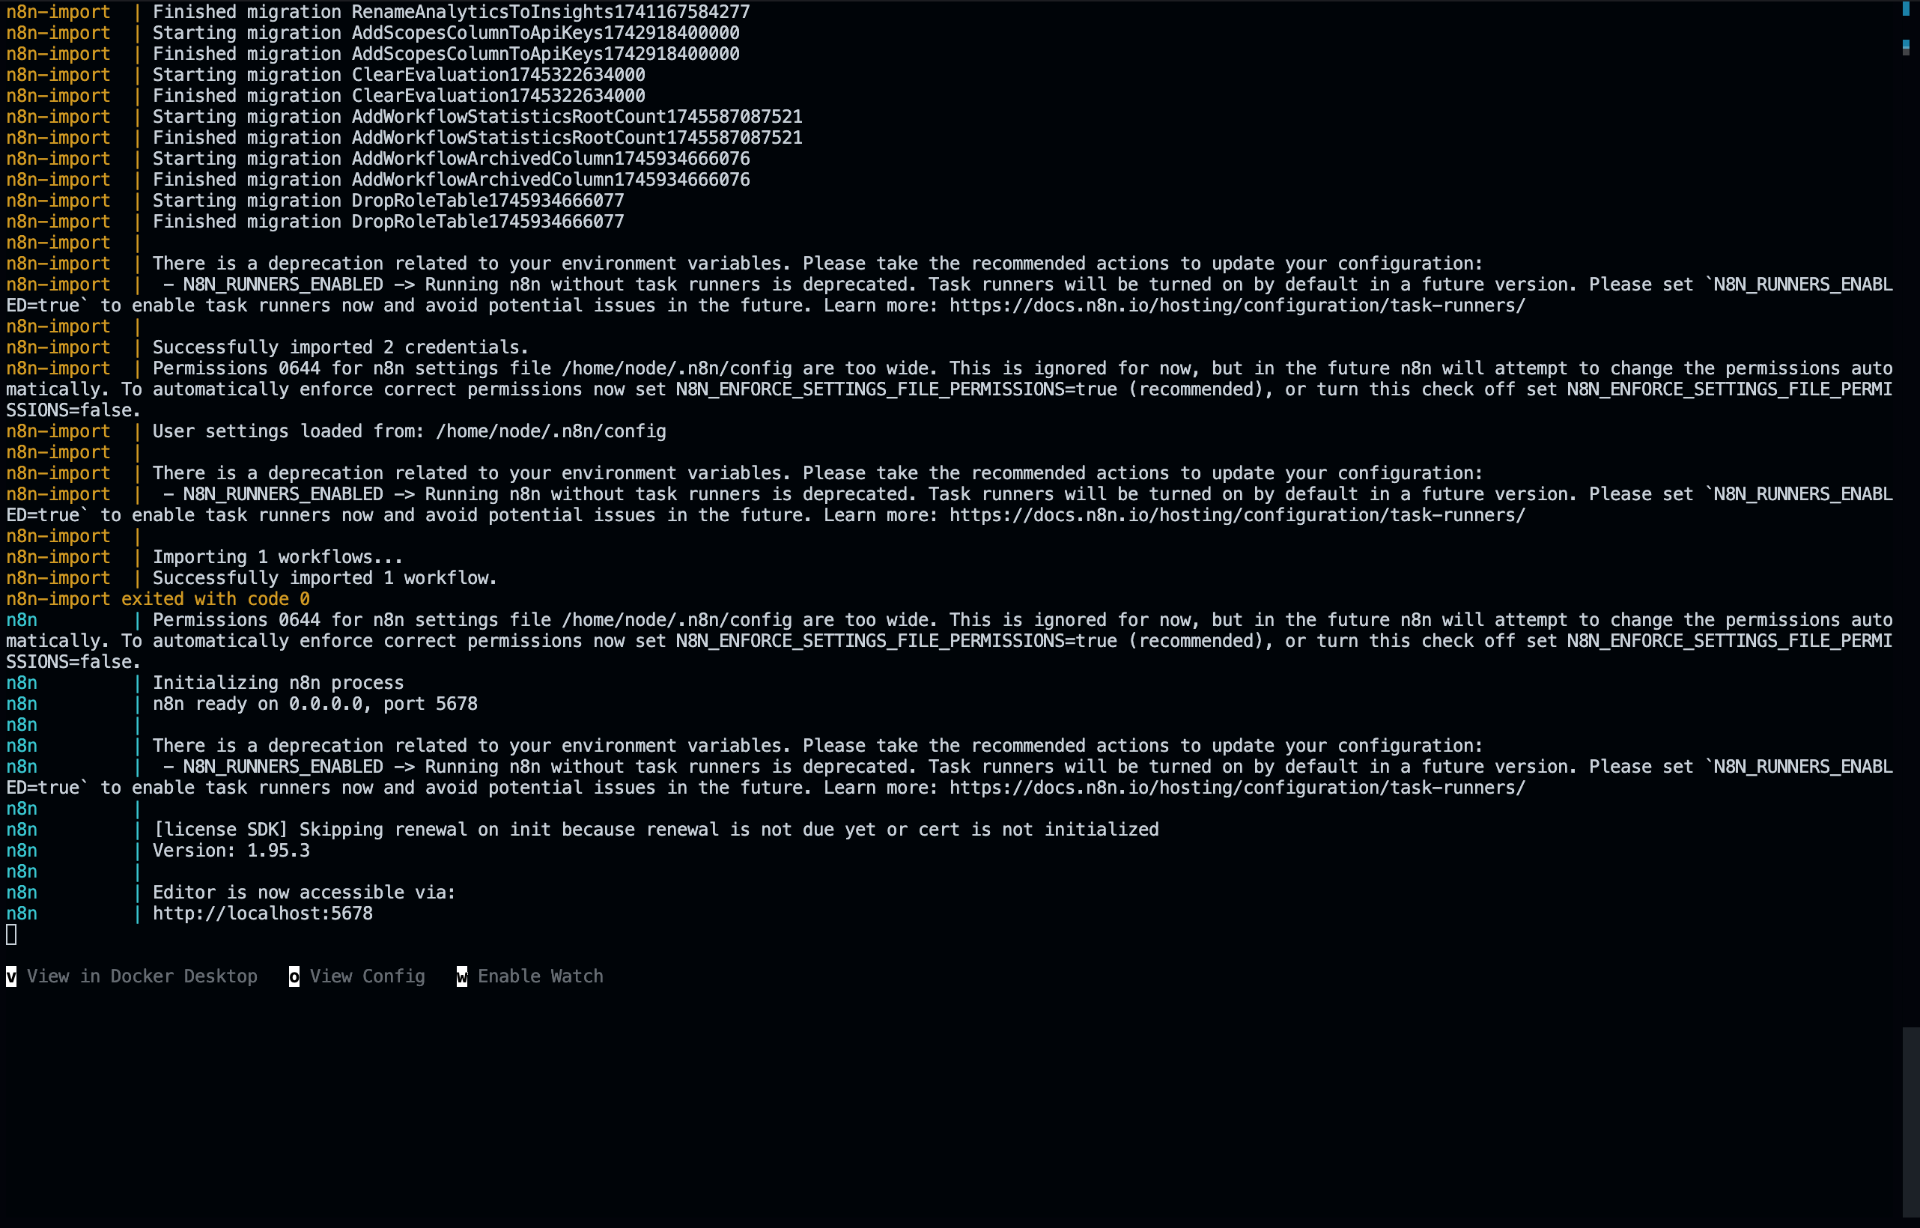
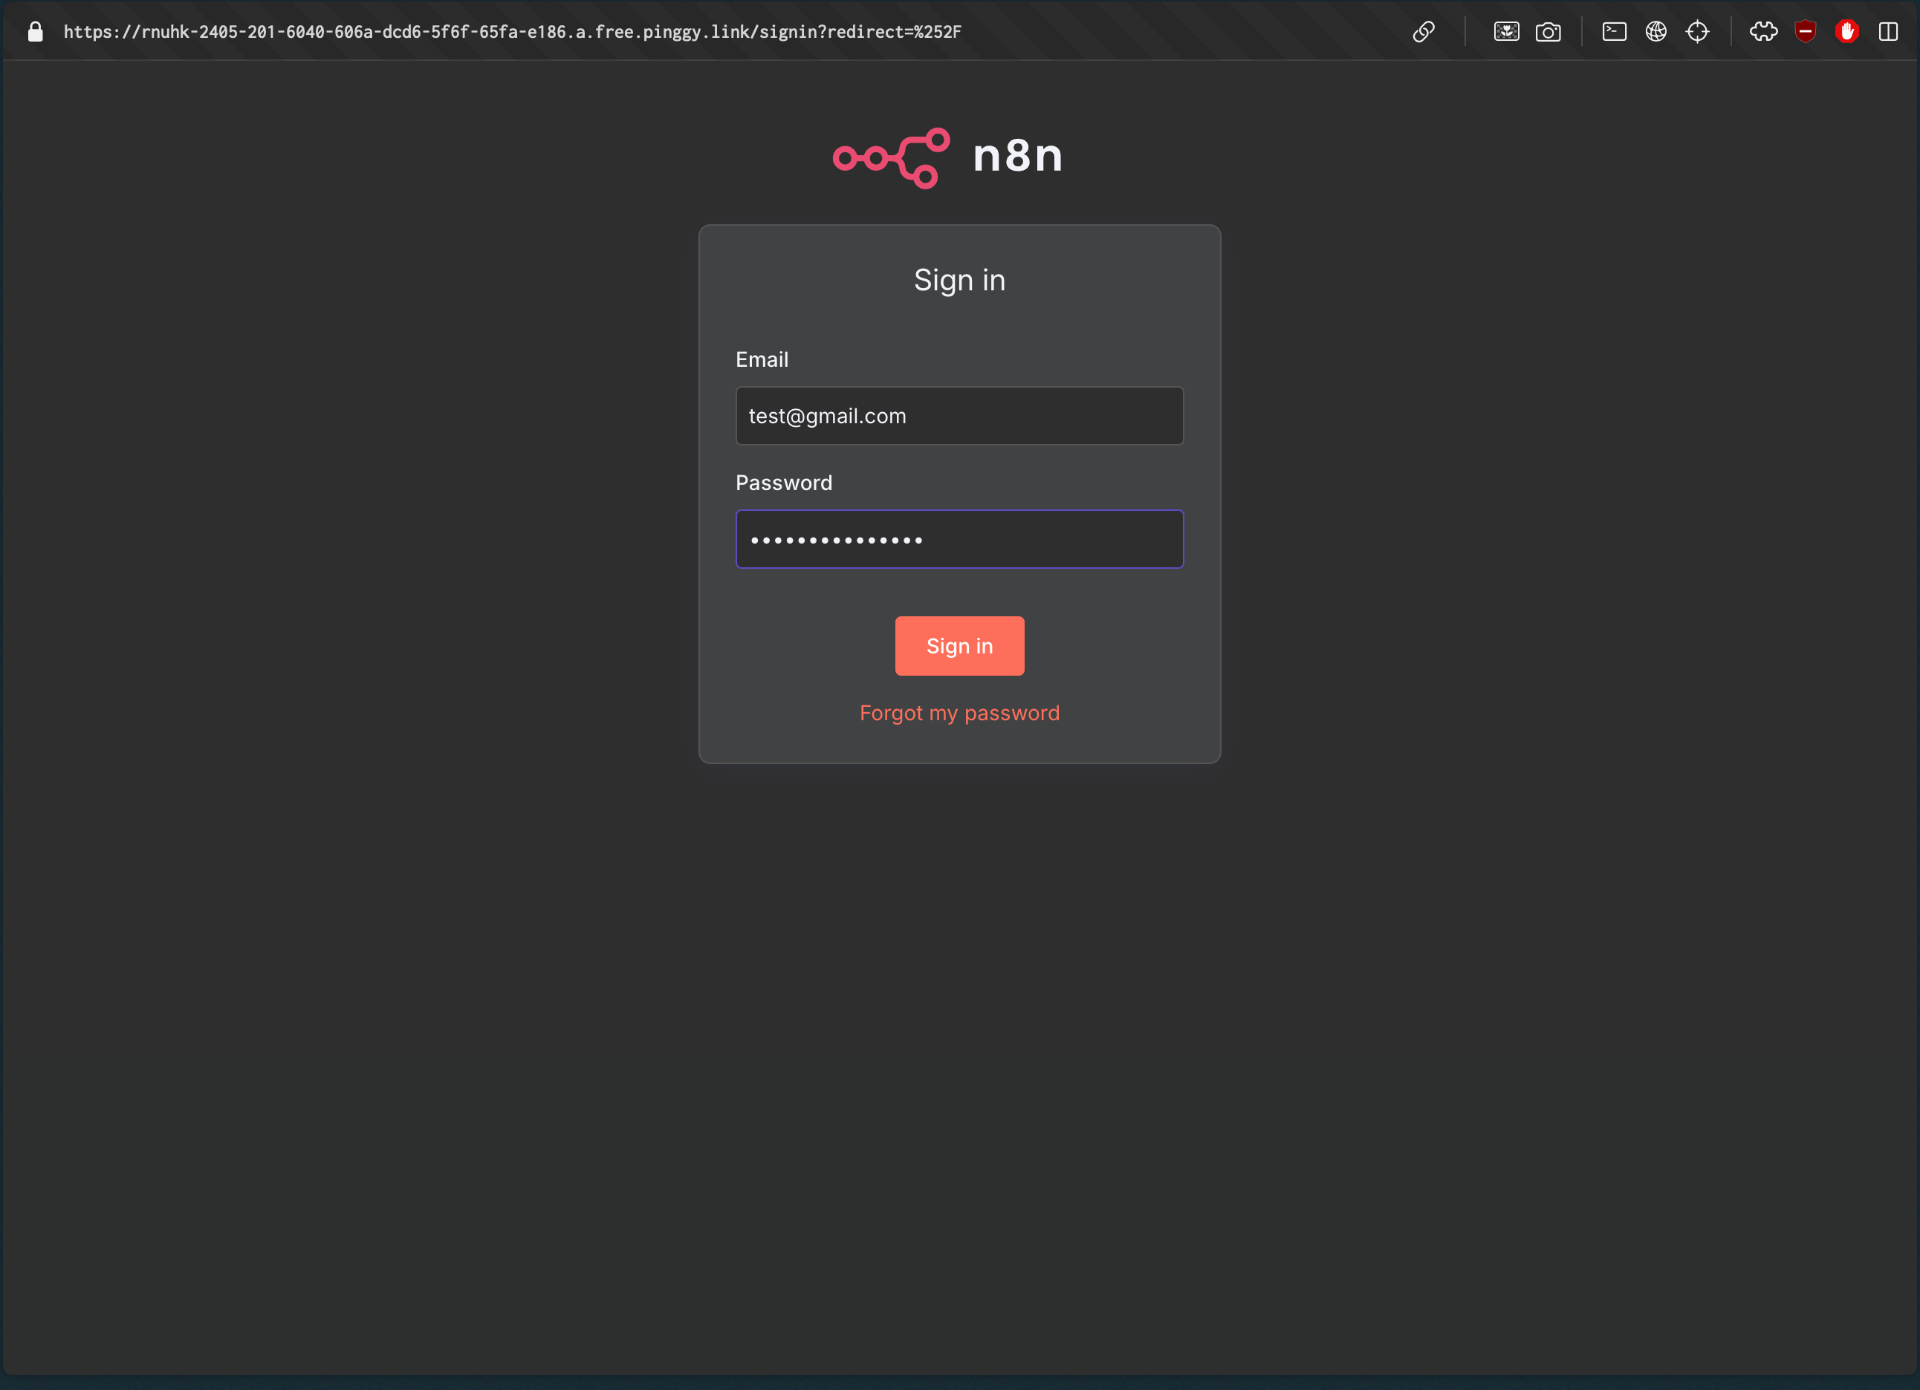
You’ll be prompted to create an account during the first login. After completing the setup:

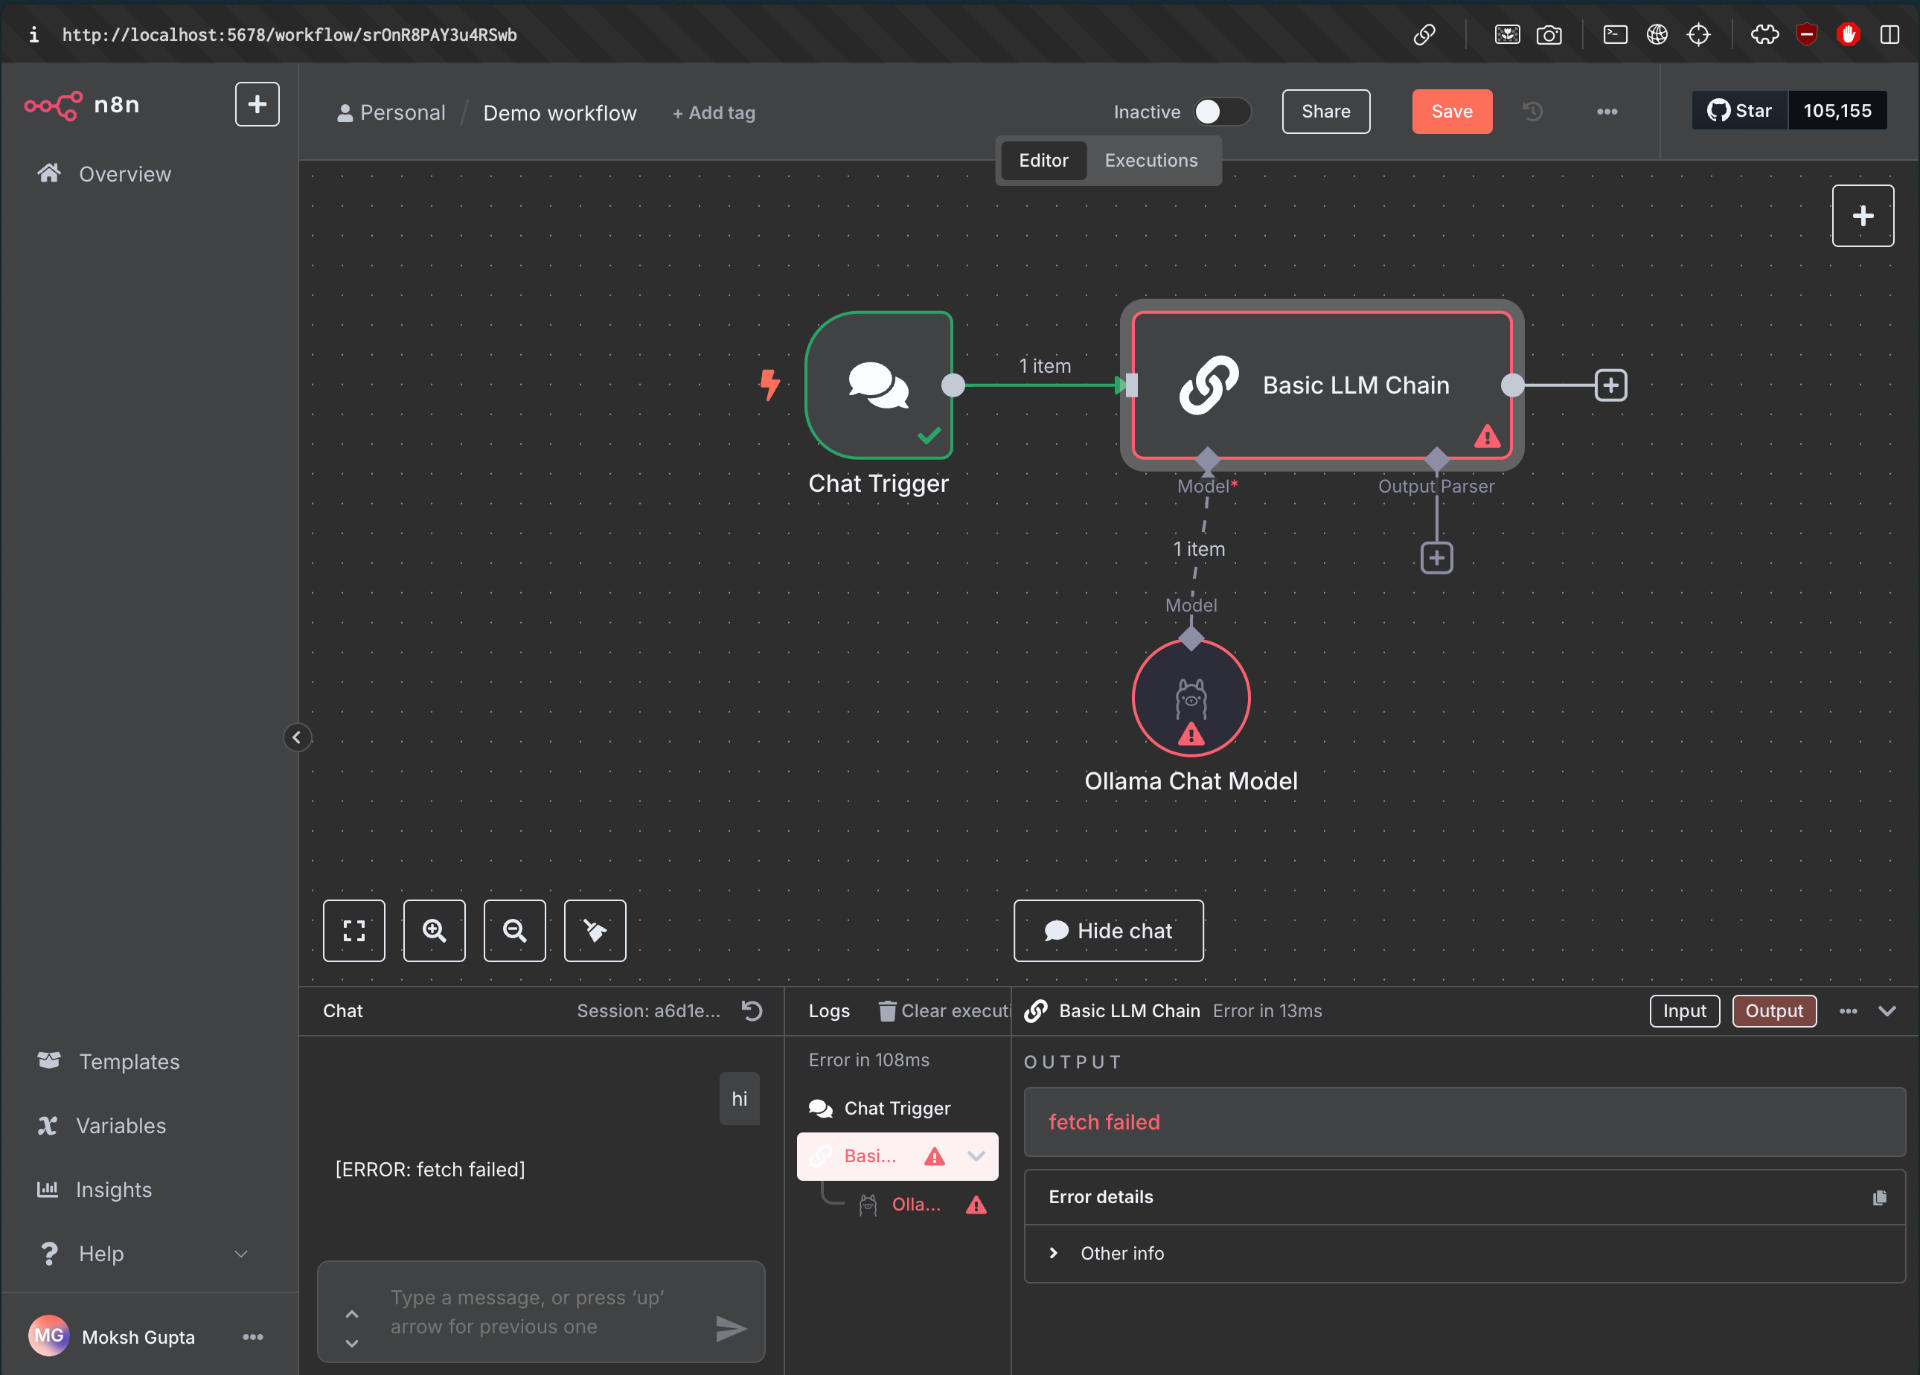
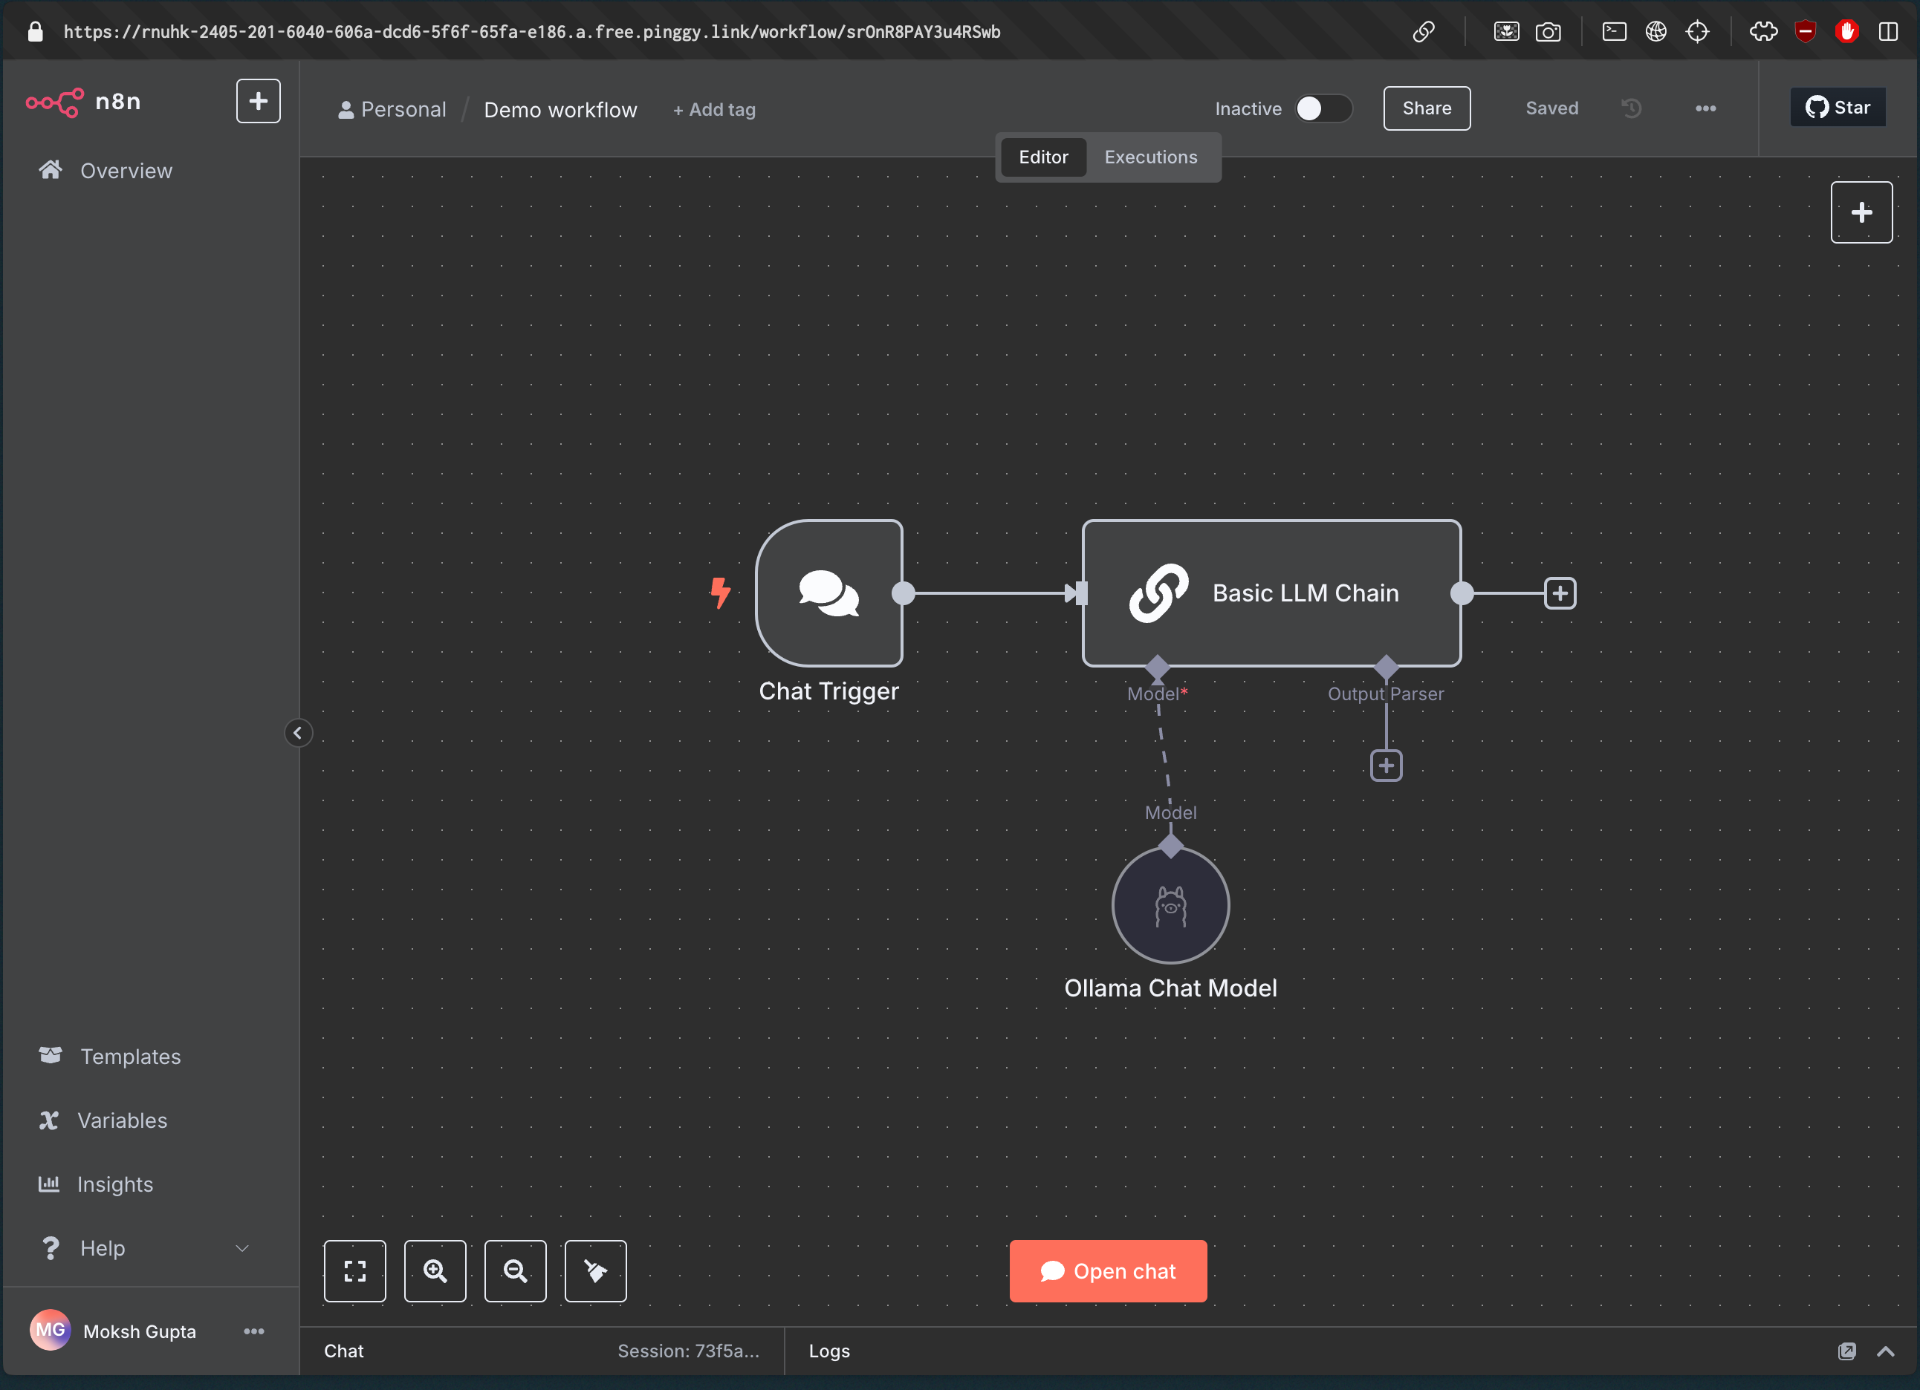
- Navigate to the included workflow:
http://localhost:5678/workflow/srOnR8PAY3u4RSwb - Click the Chat button at the bottom of the canvas to start the workflow
- The first run will download the necessary model (Llama3.2), which may take some time depending on your internet connection
Accessing Your n8n Instance Remotely with Pinggy
While your n8n instance works perfectly on your local network, you might want to access it remotely or share it with collaborators. This is where Pinggy comes in, allowing you to create secure tunnels to your localhost.
Basic HTTP Tunnel
To expose your n8n instance with a simple HTTP tunnel, run:
ssh -p 443 -R0:localhost:5678 a.pinggy.io
ssh -p 443 -R0:localhost:5678 a.pinggy.io
This command will create a tunnel and provide you with a public URL (e.g., https://abc123.pinggy.link) that redirects to your local n8n instance.

Adding Authentication
For better security, add basic authentication to your tunnel:
ssh -p 443 -R0:localhost:5678 -t a.pinggy.io b:username:password
This adds an extra layer of protection, requiring users to enter credentials before accessing your n8n instance.
Building Powerful AI Workflows with n8n
Now that your self-hosted AI environment is up and running, you can start building powerful workflows. Here are some ideas to get you started:
1. AI Chatbot with Memory
Create a conversational agent that remembers past interactions using:
- Chat Trigger node to receive user messages
- AI Agent node connected to Ollama
- Postgres Chat Memory for persistent conversation history
2. Document Analysis and Summarization
Build a workflow that can process and extract insights from documents:
- Read/Write Files from Disk node to access PDFs or text files
- Text splitter nodes to chunk the content
- Ollama for embedding generation
- Qdrant to store and retrieve semantically similar content
- Summarization Chain for generating concise summaries
3. AI-Powered Data Processing
Automate data processing tasks with AI assistance:
- HTTP Request node to fetch data from APIs or databases
- Code node for data transformation
- AI Transform node to enhance or classify data
- Send Email or Webhook nodes to deliver processed results
Security Considerations
When exposing your self-hosted AI environment, consider these security measures:
- Always use authentication for your Pinggy tunnels
- Enable IP whitelisting to restrict access to specific IPs
- Use n8n’s built-in authentication for an additional security layer
- Regularly update all components (n8n, Ollama, Docker containers)
- Be cautious with sensitive data in your workflows
Troubleshooting Common Issues
Ollama Model Download Issues
If Llama3 isn’t downloading:
# Check Ollama logs
docker logs ollama
# Manually trigger a model download
docker exec -it ollama ollama pull llama3:8b
n8n Connection to Ollama
If n8n can’t connect to Ollama, verify the service configuration:
- Navigate to n8n credentials:
http://localhost:5678/home/credentials - Check “Local Ollama service” configuration
- Ensure the base URL is set to
http://ollama:11434/(orhttp://host.docker.internal:11434/for Mac users running Ollama locally)
Conclusion
Self-hosting AI agents with n8n and Pinggy gives you full control over your workflows, data, and infrastructure without relying on cloud APIs. With just Docker and a few simple commands, you can build secure, private, and scalable AI applications tailored to your needs. Whether you’re building chatbots, document analysis tools, or data automation pipelines, this setup empowers you to harness the power of local LLMs with ease.