Run Claude Code Remotely from Any Browser with Pinggy
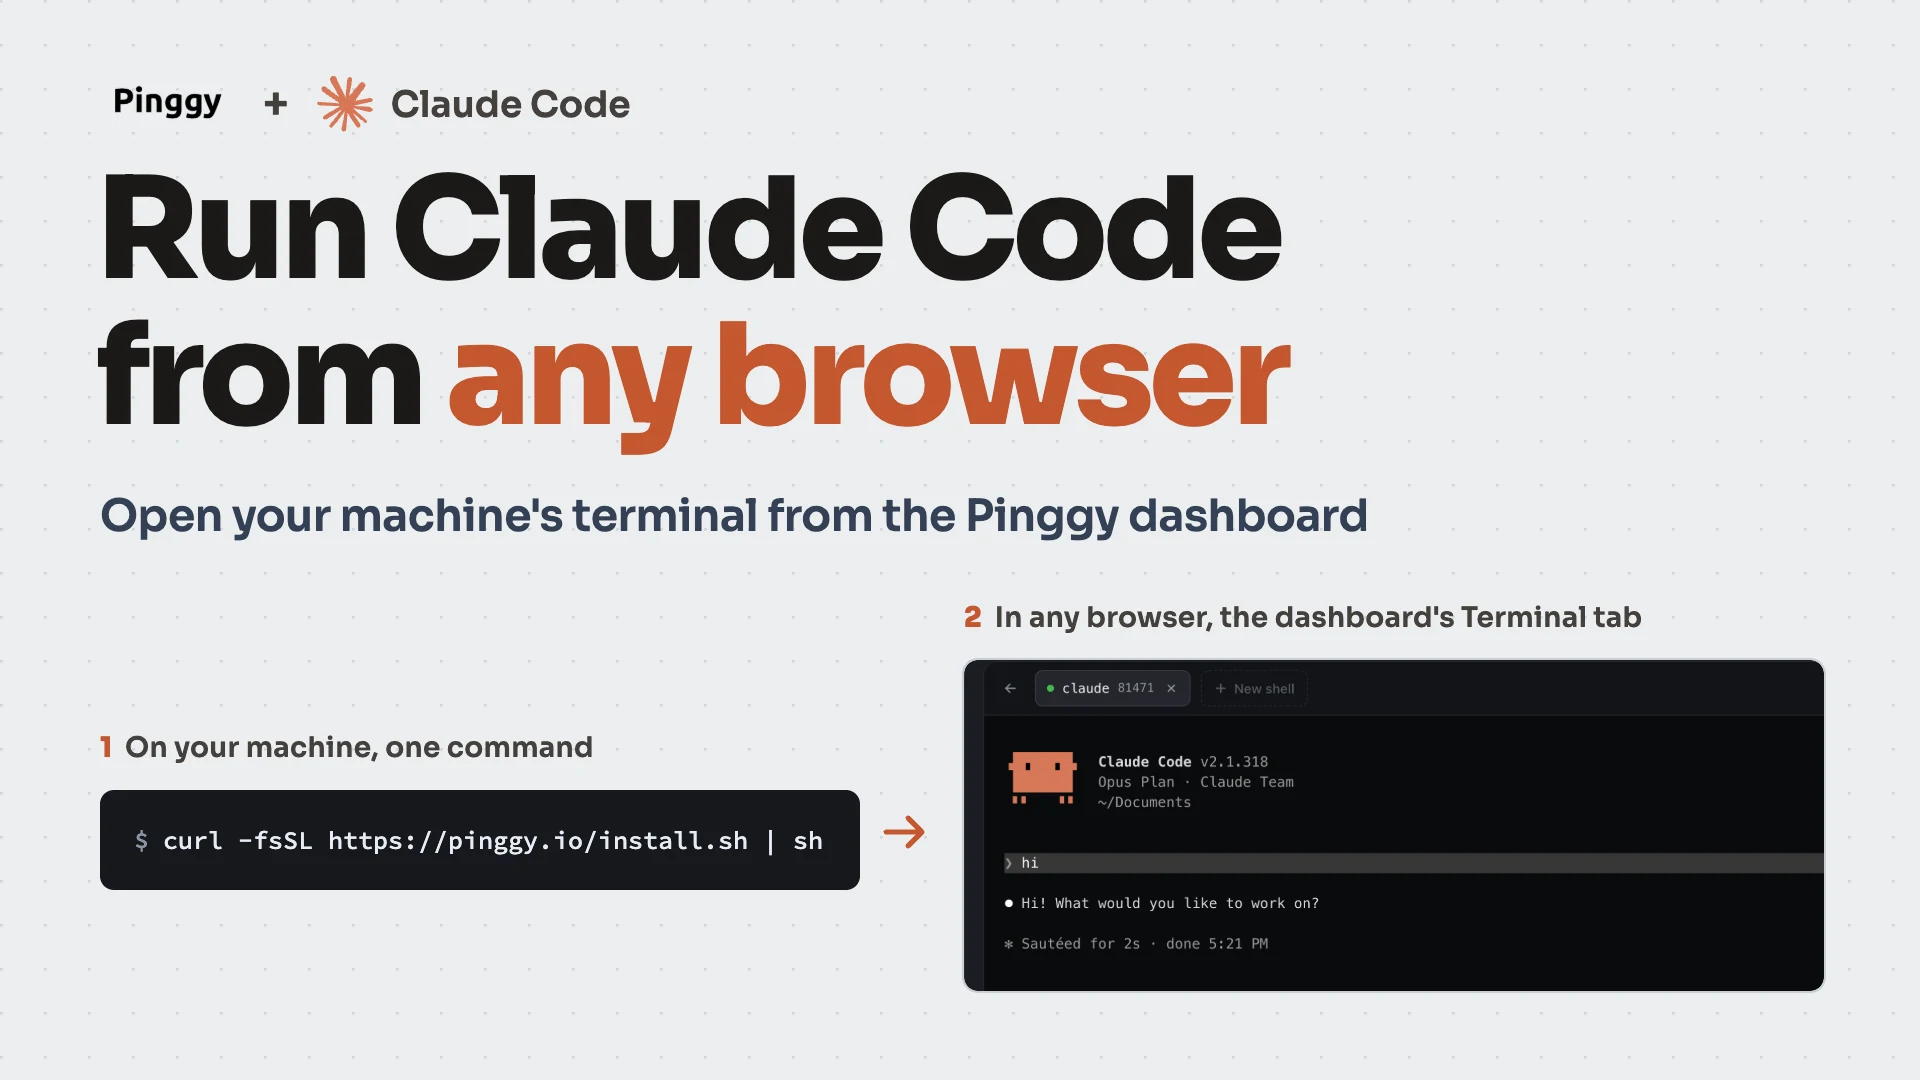
Access your terminal from anywhere, right in your browser, with Pinggy.
Install the Pinggy CLI on a machine, then open that machine’s terminal from the Pinggy dashboard on any browser. Run Claude Code in it, or anything else. The machine only makes an outbound connection, so there is no SSH server, open port or public IP to set up.
Summary
- Install and sign in:
curl -fsSL https://pinggy.io/install.sh | sh(Windows:irm https://pinggy.io/install.ps1 | iex). Enter your email and the 6-digit code. - Open the terminal: go to the Pinggy Devices page, click your device, open Terminal, and click New shell.
- Run Claude Code:
claude
How it works
This feature is called Pinggy Devices, and it arrived in Pinggy CLI v0.6.2 on November 2, 2026. The CLI runs on your machine as an agent and keeps one outbound connection open to the dashboard. Your browser talks to the dashboard, and the dashboard passes your keystrokes down that connection into a shell on the machine. Nothing connects inbound, so it works behind NAT, CGNAT and firewalls.
The shell runs as the user who ran pinggy, so claude in it uses the files, git config and Claude login that user already has. I ran the whole flow on an Apple Silicon MacBook with Pinggy CLI 0.6.3 and Claude Code 2.1.318. The screenshots come from that run, with emails, tokens and device IDs swapped for placeholders. Limits and plan numbers come from the Pinggy Devices docs.
Step 1: Install the Pinggy CLI and sign in
On the machine you want to reach, run:
curl -fsSL https://pinggy.io/install.sh | shOn Windows, run this in PowerShell instead:
irm https://pinggy.io/install.ps1 | iexThe script installs the CLI without sudo, then runs pinggy device login. You don’t need a Pinggy account first. Enter your email and type the 6-digit code it sends. You can also click Approve sign-in in the email, but only if the page shows the same code your terminal printed. An unknown email gets a new free account, and the machine is added as a device named after its hostname. On Alpine and other musl-based systems, use npm install -g pinggy instead.
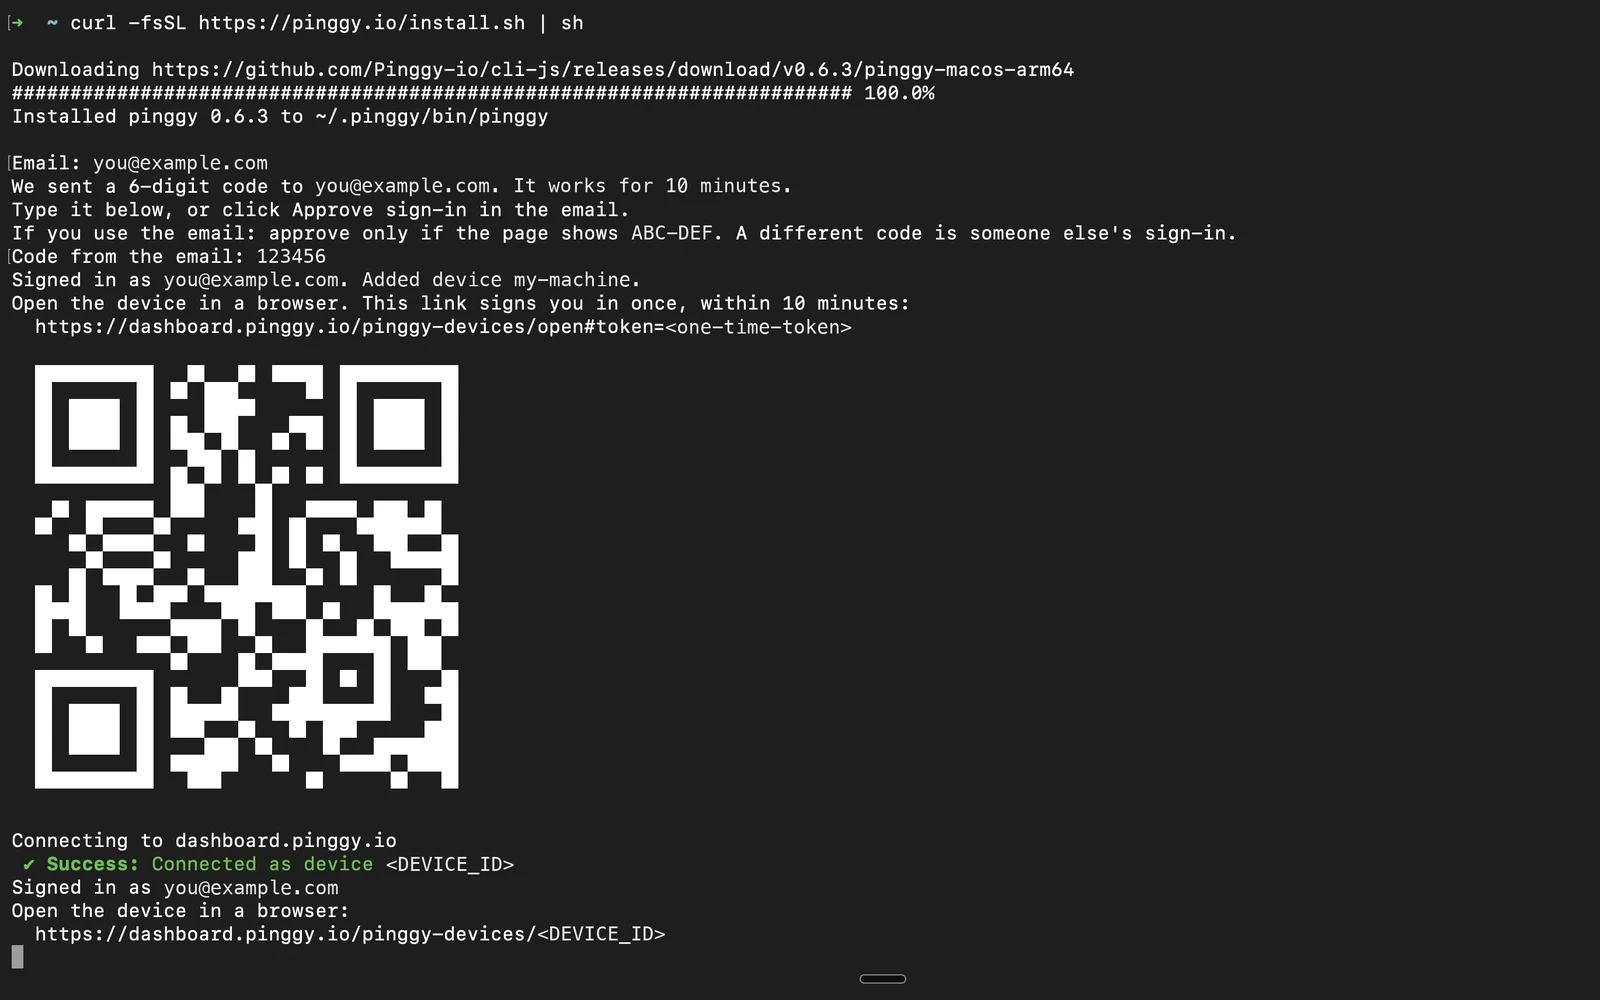
Screenshot: the install script on macOS, November 2026. Email, code, link and IDs are placeholders.
Already have the device in the dashboard? Its Overview tab has a Connect this device card with two commands that already contain the device token:
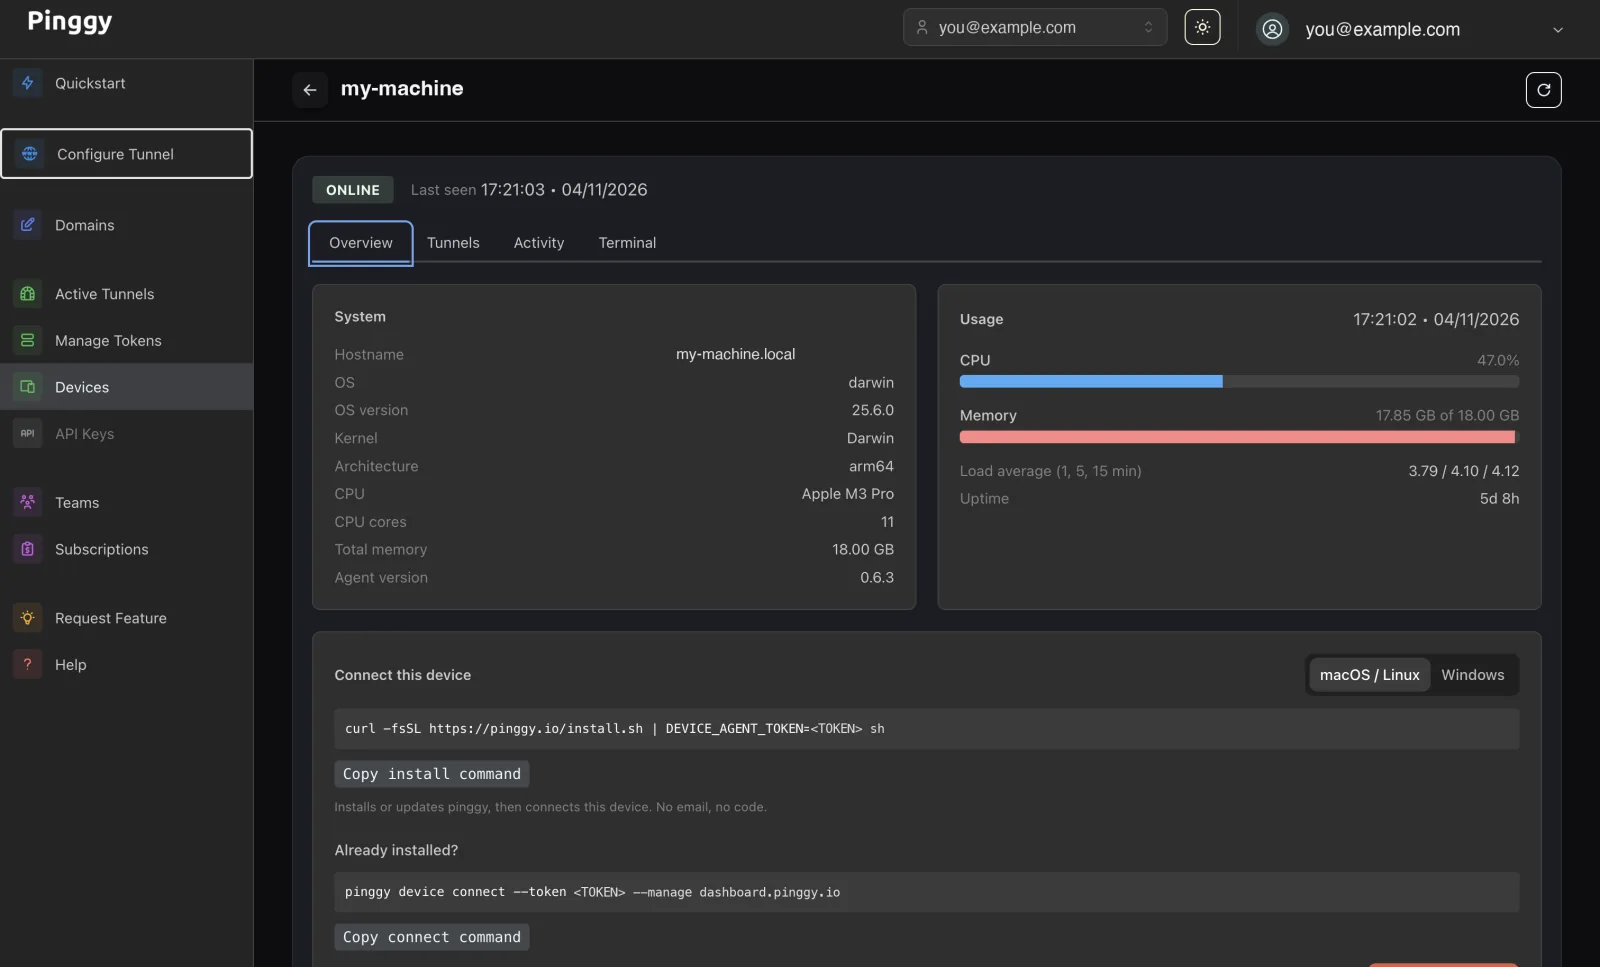
Screenshot: dashboard.pinggy.io, November 2026. Account, hostname and tokens are placeholders.
The first, curl -fsSL https://pinggy.io/install.sh | DEVICE_AGENT_TOKEN=<TOKEN> sh, installs the CLI and connects the machine with no email and no code, so it works with no keyboard attached. If the CLI is already installed, use the second: pinggy device connect --token <TOKEN> --manage dashboard.pinggy.io. The --manage option names the dashboard host, and the docs list the same command without it.

Screenshot: terminal on macOS, November 2026. Token, email and ID are placeholders.
The first successful connect saves the token on the machine, so later runs need only pinggy device connect.
Step 2: Keep the device running in the background
After sign-in the agent stays in the foreground until you press Ctrl+C. Stop it and reconnect in teh background with -b:
pinggy device connect -bOn a machine with no saved token, add it: pinggy device connect --token <TOKEN> -b.
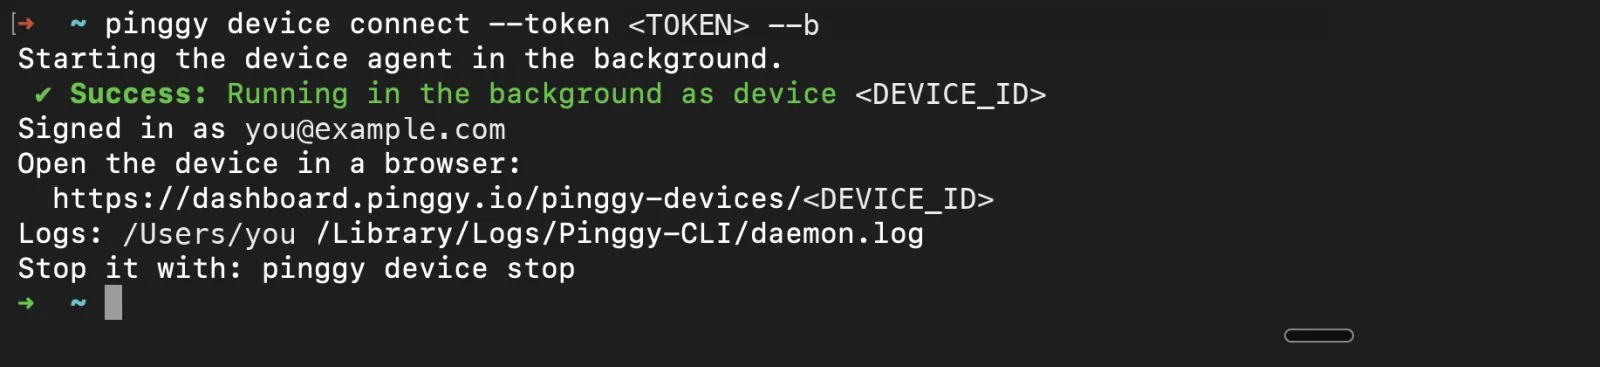
Screenshot: macOS terminal. The CLI also accepted --b, as shown; the docs use -b. Token, email, ID and username are placeholders.
The agent runs in the Pinggy daemon, so it outlives the terminal but not a reboot. After a reboot, run pinggy device connect -b again. To stop it, run pinggy device stop, or pinggy daemon stop to stop the whole daemon. The dashboard then shows the device offline.

Screenshot: terminal on macOS, November 2026.
Step 3: Open the terminal and run Claude Code
Open the Pinggy Devices page and click your device. The Overview tab shows its hostname, OS, CPU and memory, with live usage.
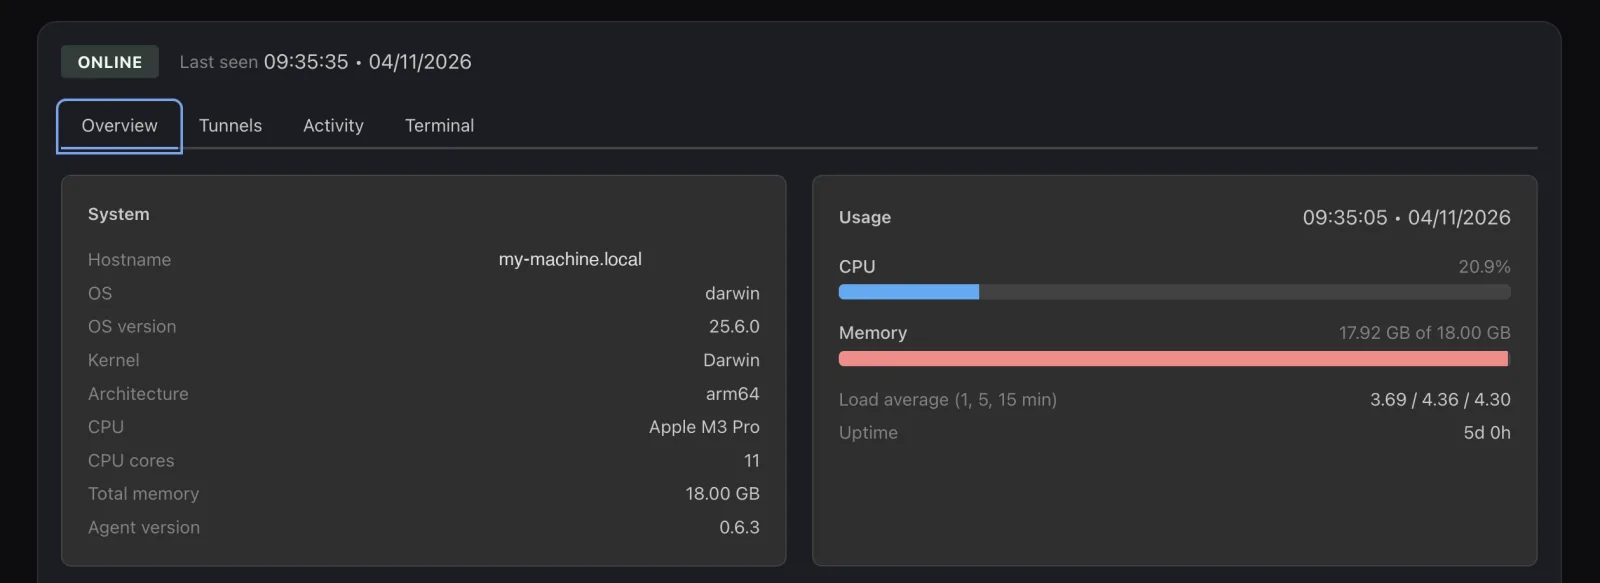
Screenshot: dashboard.pinggy.io, November 2026. The hostname is a placeholder.
Open the Terminal tab and click New shell. Each shell gets its own tab. From there it’s an ordinary terminal:
cd ~/code/storefront   # your own project folder
claude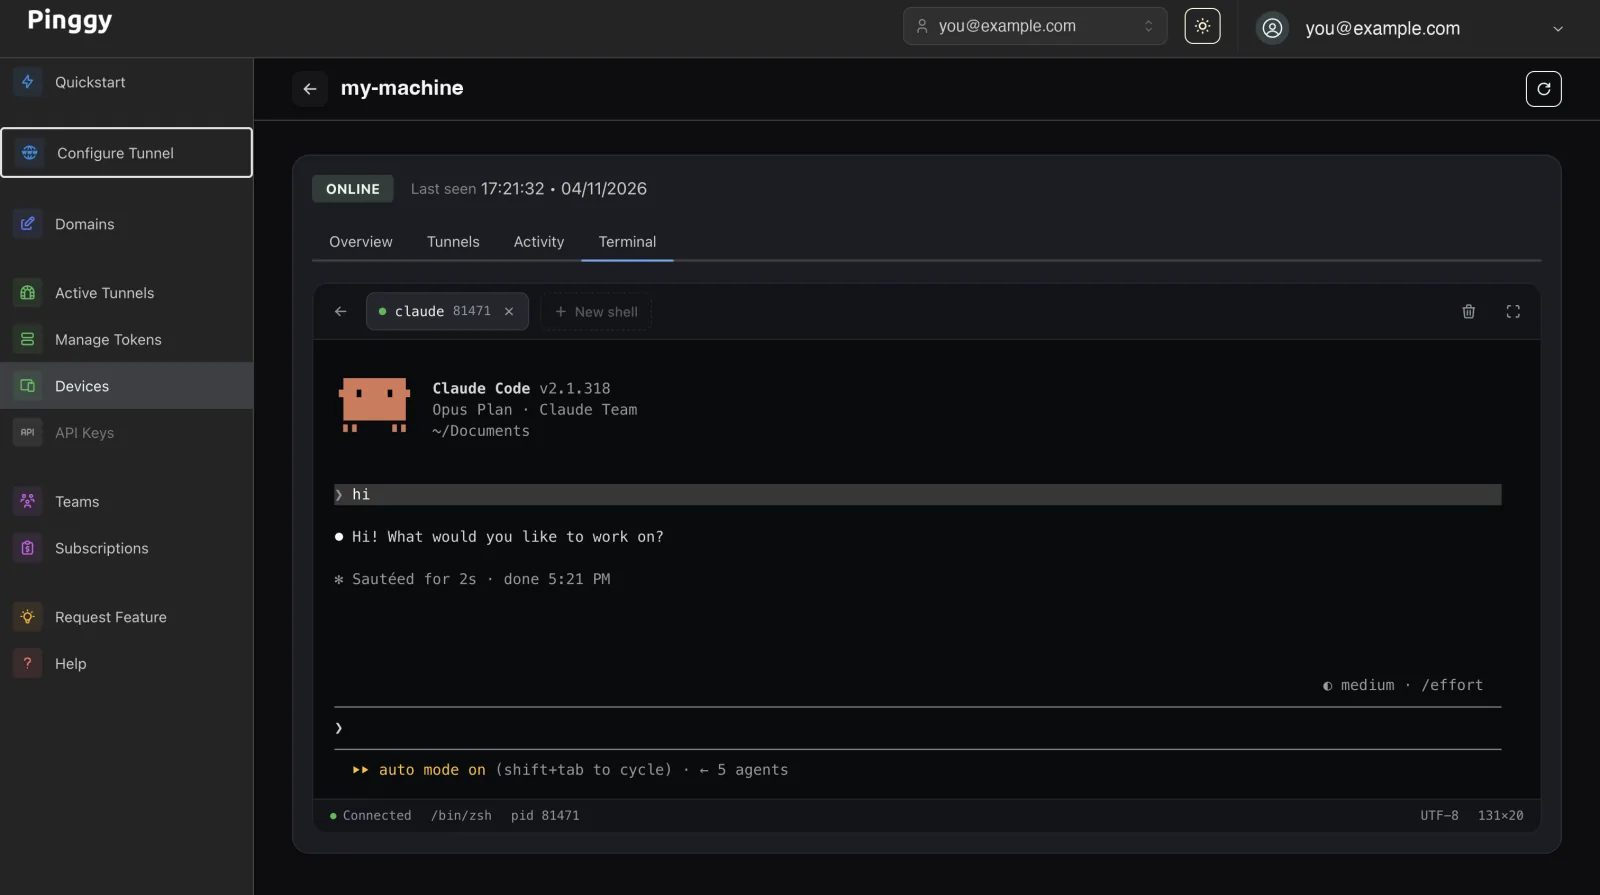
Screenshot: dashboard.pinggy.io, November 2026. The shell runs on the machine; the browser only draws it.
If Claude Code isn’t installed yet, install it from this shell with curl -fsSL https://claude.ai/install.sh | bash, but log in while you’re still at the machine, because the first launch opens a browser window there. Claude Code has a fallback (press c to copy the login URL), but I haven’t tried it through the dashboard terminal.
Closing the browser tab doesn’t end the shell. Reopen the Terminal tab and the screen is redrawn as you left it.
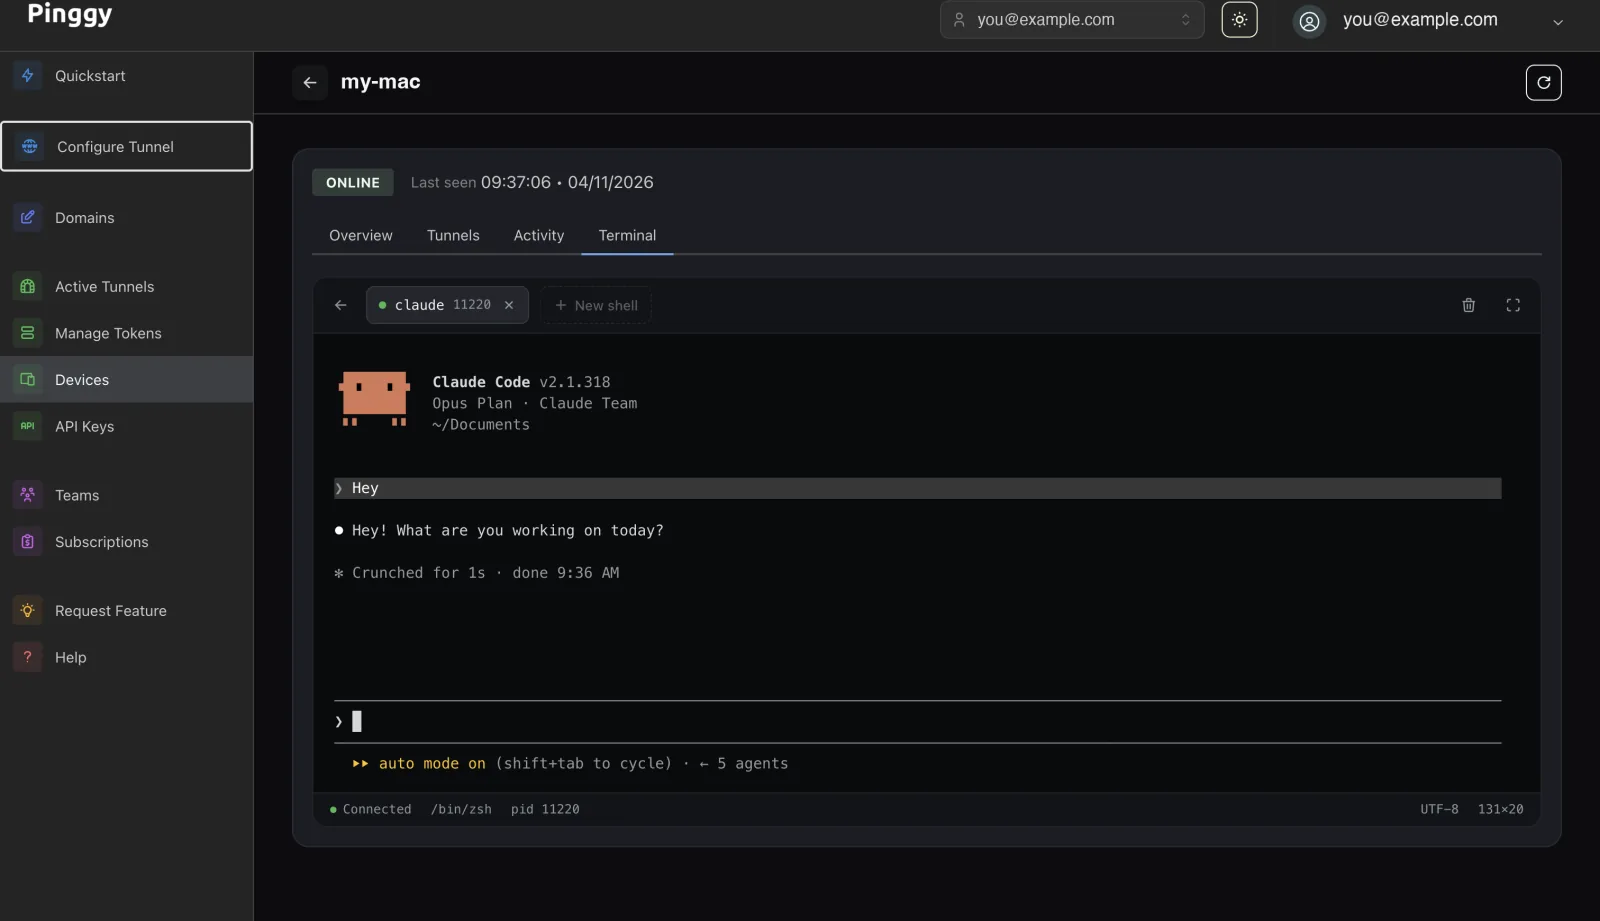
Screenshot: dashboard.pinggy.io, November 2026, on the first device I enrolled. Device name and account are placeholders.
Step 4: Run long tasks in the background
A dashboard shell ends after 30 minutes with no activity, or after 8 hours regardless. A session started with plain claude ends with it. For a long task, start a background session instead. A seperate supervisor process runs it, so it keeps working with no terminal attached:
claude --bg "run the test suite and fix the failing tests in src/billing"On Claude Code 2.1.317, a short test prompt returned at once and printed:
Starting background service…
backgrounded · 5dc70293
  claude agents             list sessions
  claude attach 5dc70293    open in this terminal
  claude logs 5dc70293      show recent output
  claude stop 5dc70293      stop this session
From any later shell, claude agents lists your sessions, claude attach 5dc70293 reopens one, and claude logs 5dc70293 prints its recent output. To detach, press the left arrow key on an empty prompt, or Ctrl+Z. A --bg session works in its own git worktree under .claude/worktrees/. It survives sleep but stops if the machine shuts down.
Free vs Pro
Every plan, Free included, gets the browser terminal. Prices are from the Pinggy pricing page and limits from the devices docs, checked on November 3, 2026.
| Plan | Price | Devices | Terminals per device | Terminals open across all devices |
|---|---|---|---|---|
| Free | $0 | 1 | 1 | 1 |
| Pro | $2.50/month billed annually, $3/month billed monthly | 25 | 3 | 10 per seat |
Free is enough for one home machine. Pro’s three shells per device is where it gets comfortable: one for Claude, one for the dev server, one for git. Pro also adds persistent tunnels, custom domains and teams, with a 7-day free trial. Enterprise has custom pricing (contact@pinggy.io), and its pricing card lists unlimited devices and terminals.
How this compares with Remote Control and SSH
Claude Code Remote Control needs a Pro, Max, Ultra, Team or Enterprise subscription (no API keys), and it only reaches a claude process that’s already running, so someone has to start claude remote-control at the machine. SSH needs a server listening and, behind NAT, a tunnel such as ssh -p 443 -R0:localhost:22 tcp@free.pinggy.io, whose address changes every 60 minutes on the free tier.
A Pinggy Devices shell has neither limit. Start Claude from scratch, restart a dev server, run git pull, or use Codex instead, with any Claude login, API keys included. Our guide to Claude Code and Codex on a VM covers the other two routes in detail.
Security
The device token sits in device.json under ~/.config/pinggy/, readable only by your user. Per the docs, the agent never logs what you type, and the Activity tab lists the device’s events with source IP addresses.
Anyone signed in to your Pinggy account can open a shell on your devices, as your user, and run claude with your Anthropic login. Turn on 2-factor authentication first, and keep the dashboard’s connect commands out of screenshots and chats, since they contain the token. To cut a machine off, delete the device or rotate its token in the dashboard. pinggy device remove only forgets the token locally.
Troubleshooting
- Terminal tab is greyed out. The CLI on that machine is too old. Run the install command again.
This machine already runs as device <id> in the background. Stop it first: pinggy device stop. A background agent already holds the connection. Stop it before runningloginorconnectin the foreground.
Recap
Three commands cover it:
curl -fsSL https://pinggy.io/install.sh | sh   # install and sign in
pinggy device connect -b                       # keep the machine connected
claude --bg "<your task>"                      # in the browser terminal: a task that outlives the shell
Then open the device’s Terminal tab on the Pinggy Devices page, click New shell, and start working.