Forward Ollama Port 11434 for Online Access: Complete Guide
Updated on Jun 1, 2026 · 5 mins read
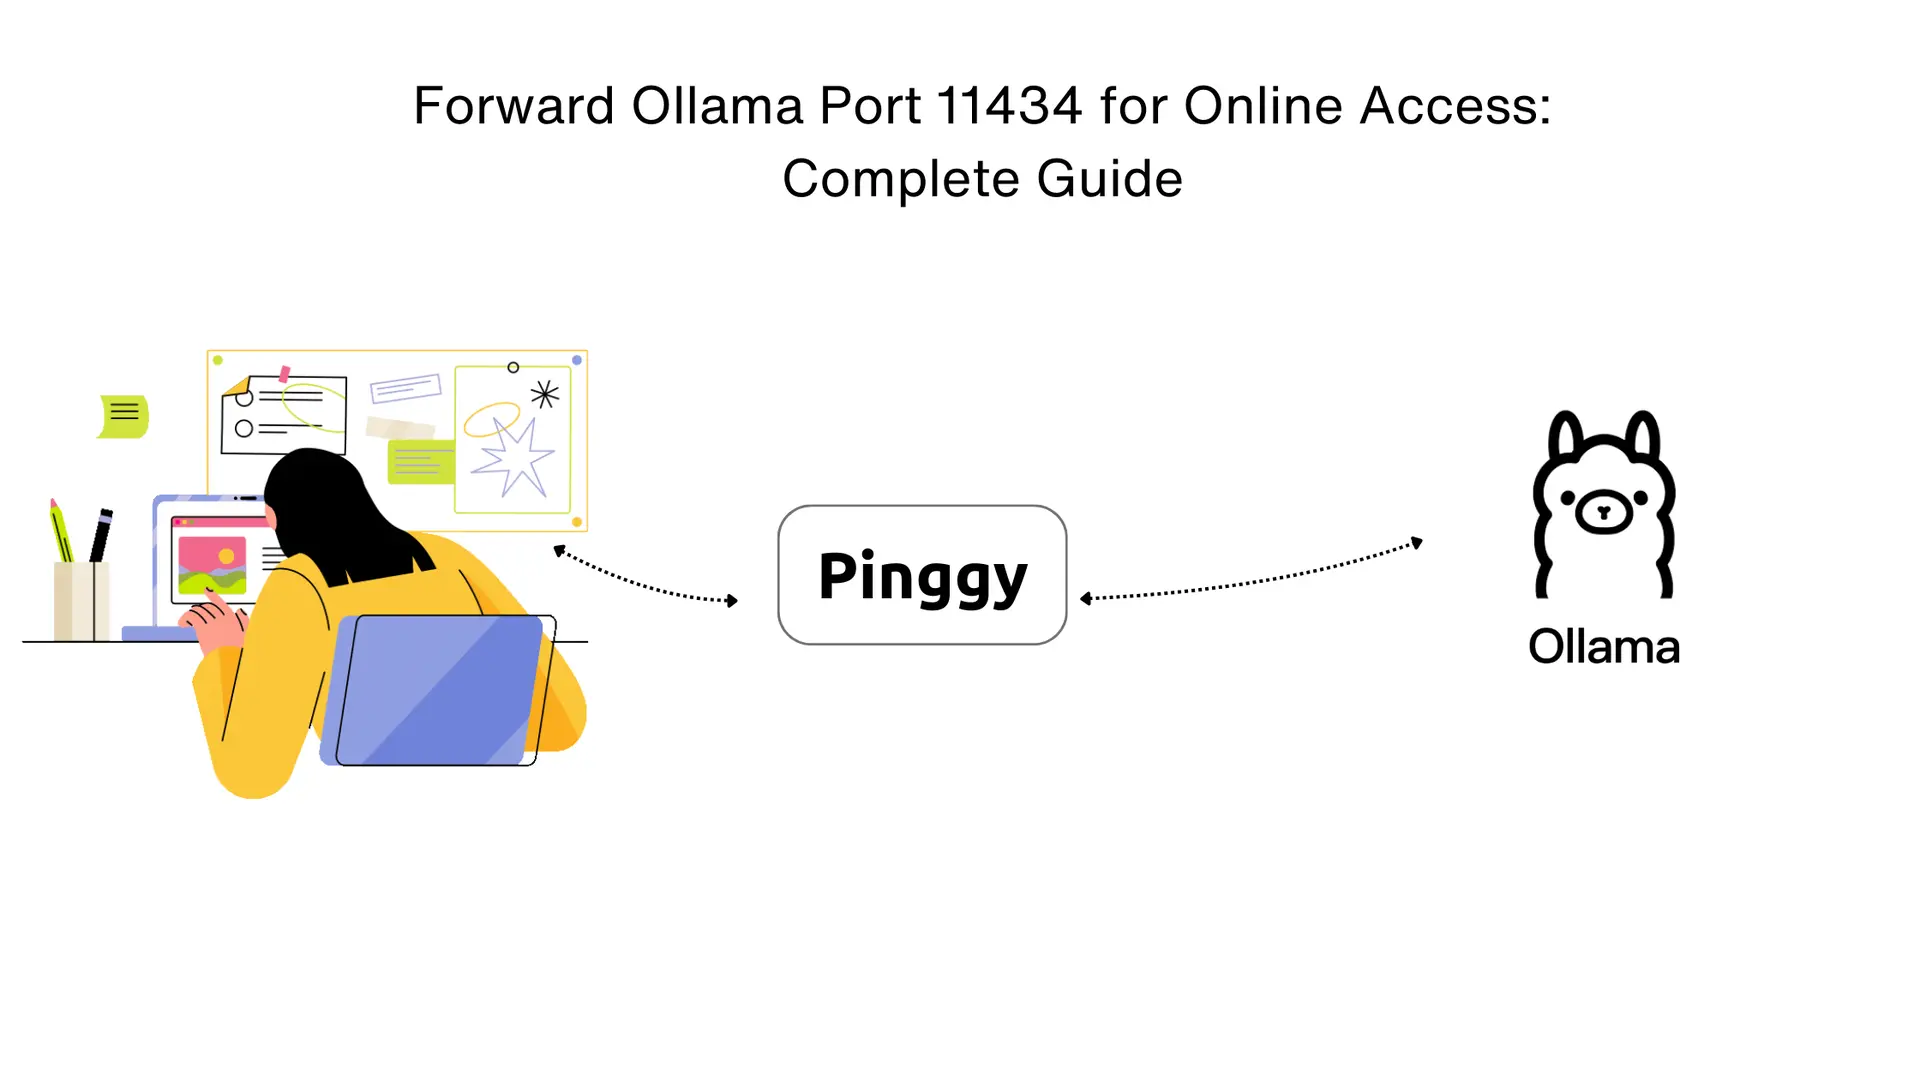
Ollama binds to port 11434 on localhost by default. That’s fine for local use, but it means nothing outside your machine can reach it - not a teammate on a different device, not a web app on another server, not a mobile client. Forwarding port 11434 through a tunnel fixes that without touching your router or firewall.
Summary
Start Ollama Server
- Ollama runs on port
11434by default:ollama serve
- Ollama runs on port
Forward Port 11434 with Pinggy
- Create secure tunnel for remote access:
ssh -p 443 -R0:localhost:11434 -t qr@free.pinggy.io "u:Host:localhost:11434"
- Create secure tunnel for remote access:
Get Public URL
- Access your Ollama API via generated URL (e.g.,
https://abc123.pinggy.link).
- Access your Ollama API via generated URL (e.g.,
Test Remote Access
- Verify API works remotely:
curl https://abc123.pinggy.link/api/tags
- Verify API works remotely:
Why Forward Ollama Port 11434?
Ollama’s localhost-only default is a reasonable security choice - you don’t want an LLM API open to the internet without thinking about it first. But it becomes an obstacle the moment you need to call the API from somewhere else: a CI job, a collaborator’s machine, a web app in staging, or a mobile prototype.
Forwarding via a tunnel keeps your data local. The model runs on your hardware, inference happens on your machine, and nothing is sent to a cloud GPU provider. Compared to deploying to a hosted service, you also avoid per-token costs and model availability restrictions - run whatever you’ve pulled with ollama pull, not just what the platform supports.
Prerequisites for Forwarding Ollama Port 11434
Install and Configure Ollama
First, ensure Ollama is properly installed and configured:
- Download Ollama: Visit ollama.com and install for your operating system
- Verify Installation:
ollama --version
Download Your First Model
Before forwarding the port, download a model to test with:
ollama run qwen:0.5b
For more powerful models, try:
ollama run llama3:8b
# or for multimodal capabilities
ollama run llava:13b
Step-by-Step Guide: Forward Ollama Port 11434
Step 1: Start Ollama Server
Ensure Ollama is running on its default port:
ollama serveKeep this terminal window open - Ollama needs to stay running to handle API requests.
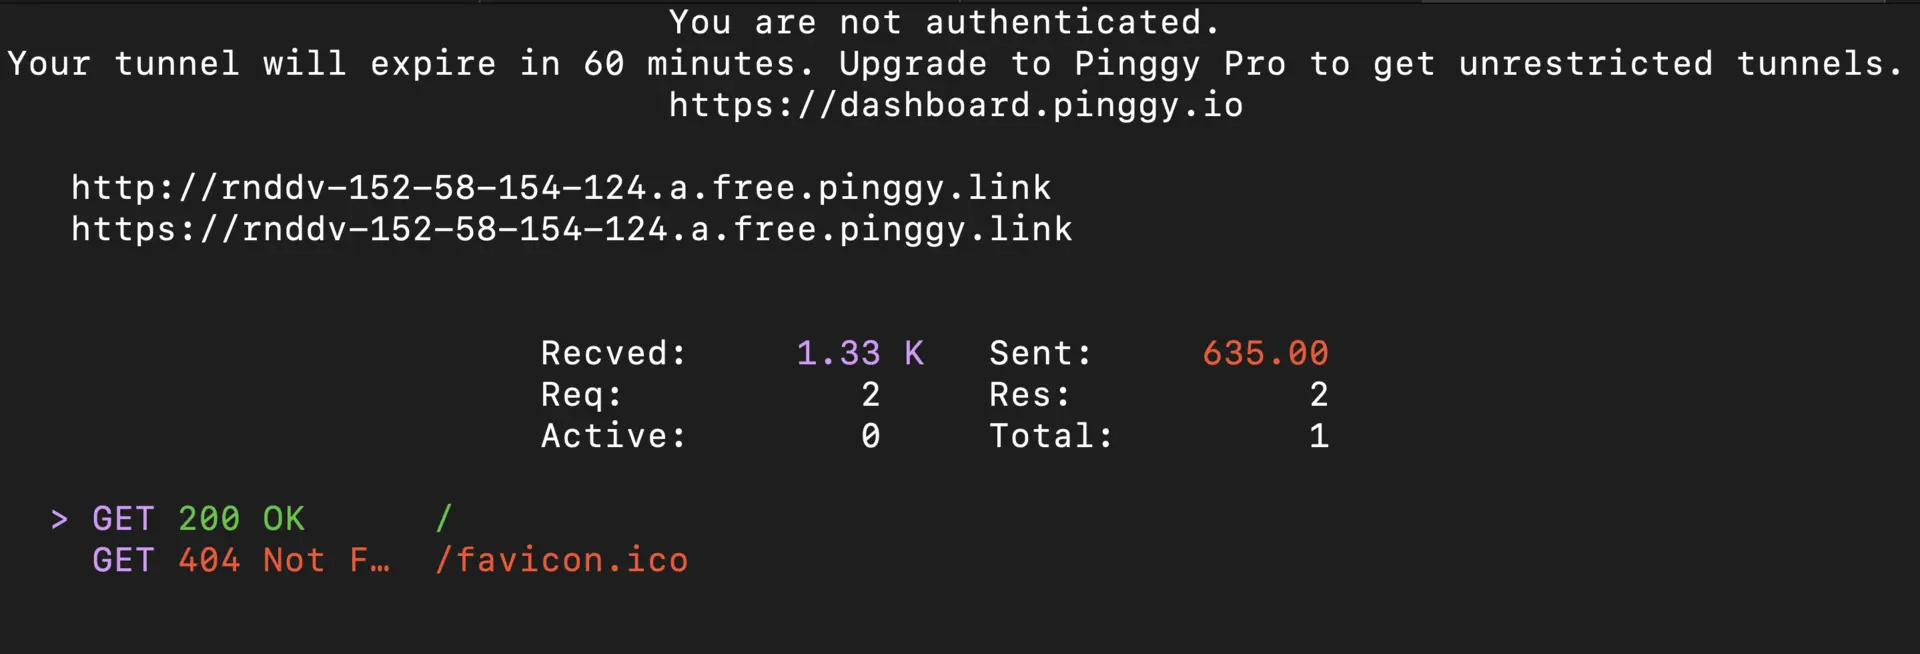
Step 2: Create Secure Tunnel for Port 11434
Use Pinggy to create a secure tunnel that forwards port 11434:
ssh -p 443 -R0:localhost:11434 -t qr@free.pinggy.io "u:Host:localhost:11434"Understanding the Command:
-p 443: Uses HTTPS port for better firewall compatibility-R0:localhost:11434: Forwards your local port 11434 to a random remote portqr@free.pinggy.io: Pinggy’s tunneling server with QR code supportu:Host:localhost:11434: Maps the tunnel to your Ollama server

Step 3: Get Your Public URL
After running the command, Pinggy will provide a public HTTPS URL like https://abc123.pinggy.link. This URL now forwards all requests to your local Ollama server on port 11434.
Testing Your Forwarded Ollama Port 11434
Verify Ollama is Running Remotely
Once your tunnel is established, you can verify that Ollama is accessible through your forwarded port:
Browser Verification: Open your browser and navigate to the public URL provided by Pinggy (e.g.,
https://abc123.pinggy.link). You should see Ollama running and responding, confirming that port11434is successfully forwarded.
Command Line Testing: Test the API endpoints using curl commands:
# Check if Ollama is responding
curl https://abc123.pinggy.link/api/version

# List available models
curl https://abc123.pinggy.link/api/tags
Test Model Inference: Once you confirm Ollama is accessible, test actual model inference:
curl -X POST https://abc123.pinggy.link/api/generate \
  -H "Content-Type: application/json" \
  -d '{"model": "qwen:0.5b", "prompt": "Hello, world!", "stream": false}'
Integration Testing
To test the forwarded Ollama API in your applications, follow these steps:
- Clone the test repository: RunOllamaApi
- Install dependencies:
npm install - Update the API URL: Replace the localhost URL in the code with your Pinggy URL (e.g.,
https://abc123.pinggy.link) - Run the test:
node main.js
This repository provides complete examples of how to integrate and test your forwarded Ollama API with JavaScript applications.
Adding Open WebUI to Your Forwarded Ollama Setup
If you want a browser UI on top of your forwarded API, Open WebUI pairs well with this setup:
Quick Open WebUI Setup:
- Install Open WebUI:
docker run -d -p 3000:8080 --add-host=host.docker.internal:host-gateway -v open-webui:/app/backend/data --name open-webui --restart always ghcr.io/open-webui/open-webui:main - Forward WebUI Port:
ssh -p 443 -R0:localhost:3000 free.pinggy.io - Access WebUI: Use the generated URL to access your ChatGPT-like interface
- Connect to Ollama: Configure WebUI to use your forwarded Ollama API URL
Why Add Open WebUI
Open WebUI gives you a chat interface in the browser - useful for team members who don’t want to write curl commands. It supports document uploads for RAG-style conversations and lets you switch between models without touching the terminal. Once the port is forwarded, you can share the WebUI URL with anyone and they get a usable interface to your local models without needing their own Ollama setup.
Complete Setup
For detailed instructions on running both Ollama API and Open WebUI together, see: How to Easily Share Ollama API and Open WebUI Online.
Conclusion
Forwarding port 11434 with a tunnel is the quickest path from “model works on my machine” to “model is callable from anywhere” - without a cloud account, without firewall changes, and without the model leaving your hardware.
For personal use and development, Pinggy’s free tier handles this well. If you’re running this for a team or integrating it into a production service, look at Pinggy’s persistent subdomain options or consider whether a proper auth layer in front of the API makes sense for your threat model.