# Pinggy CLI
> Robust HTTP, TCP, UDP, or TLS tunnels to localhost for sharing your apps, websites, and games.
> Source: https://pinggy.io/docs/cli/
# Pinggy CLI
Create secure, shareable tunnels to your localhost and manage them from the command line. Pinggy CLI supports HTTP(S), TCP, UDP, TLS, and TLSTCP tunnels, and it can also be used for remote [Remote Devices](/docs/remote_devices/).
## Installation
Pinggy CLI is available for Windows, Mac, and Linux. Global install is recommended for the system-wide `pinggy` command.
**Install using npm:**
```bash
npm install -g pinggy
```
**Or download Pinggy CLI from [here](/cli/)
.**
After install, verify the command:
```bash
pinggy --help
```
## Getting Started
Before starting a tunnel, navigate to the directory where the Pinggy CLI is installed. You can start a tunnel by running:
```bash
./pinggy
```
Pinggy CLI supports the same options as our SSH command. You can customize the command on our [home page](/)
.
**Example:**
```bash
./pinggy -p 443 -R0:localhost:3000 -L4300:localhost:4300
```
This starts a tunnel that forwards connections to local port `3000`. It also starts the web debugger on port `4300`.
Pinggy CLI also supports more user-friendly options to set up simple tunnels.
**Example:**
```bash
./pinggy -l https://localhost:443
```
This starts a tunnel that forwards connections to a local HTTPS server running on `localhost:443`.
### HTTP(S) Tunnel
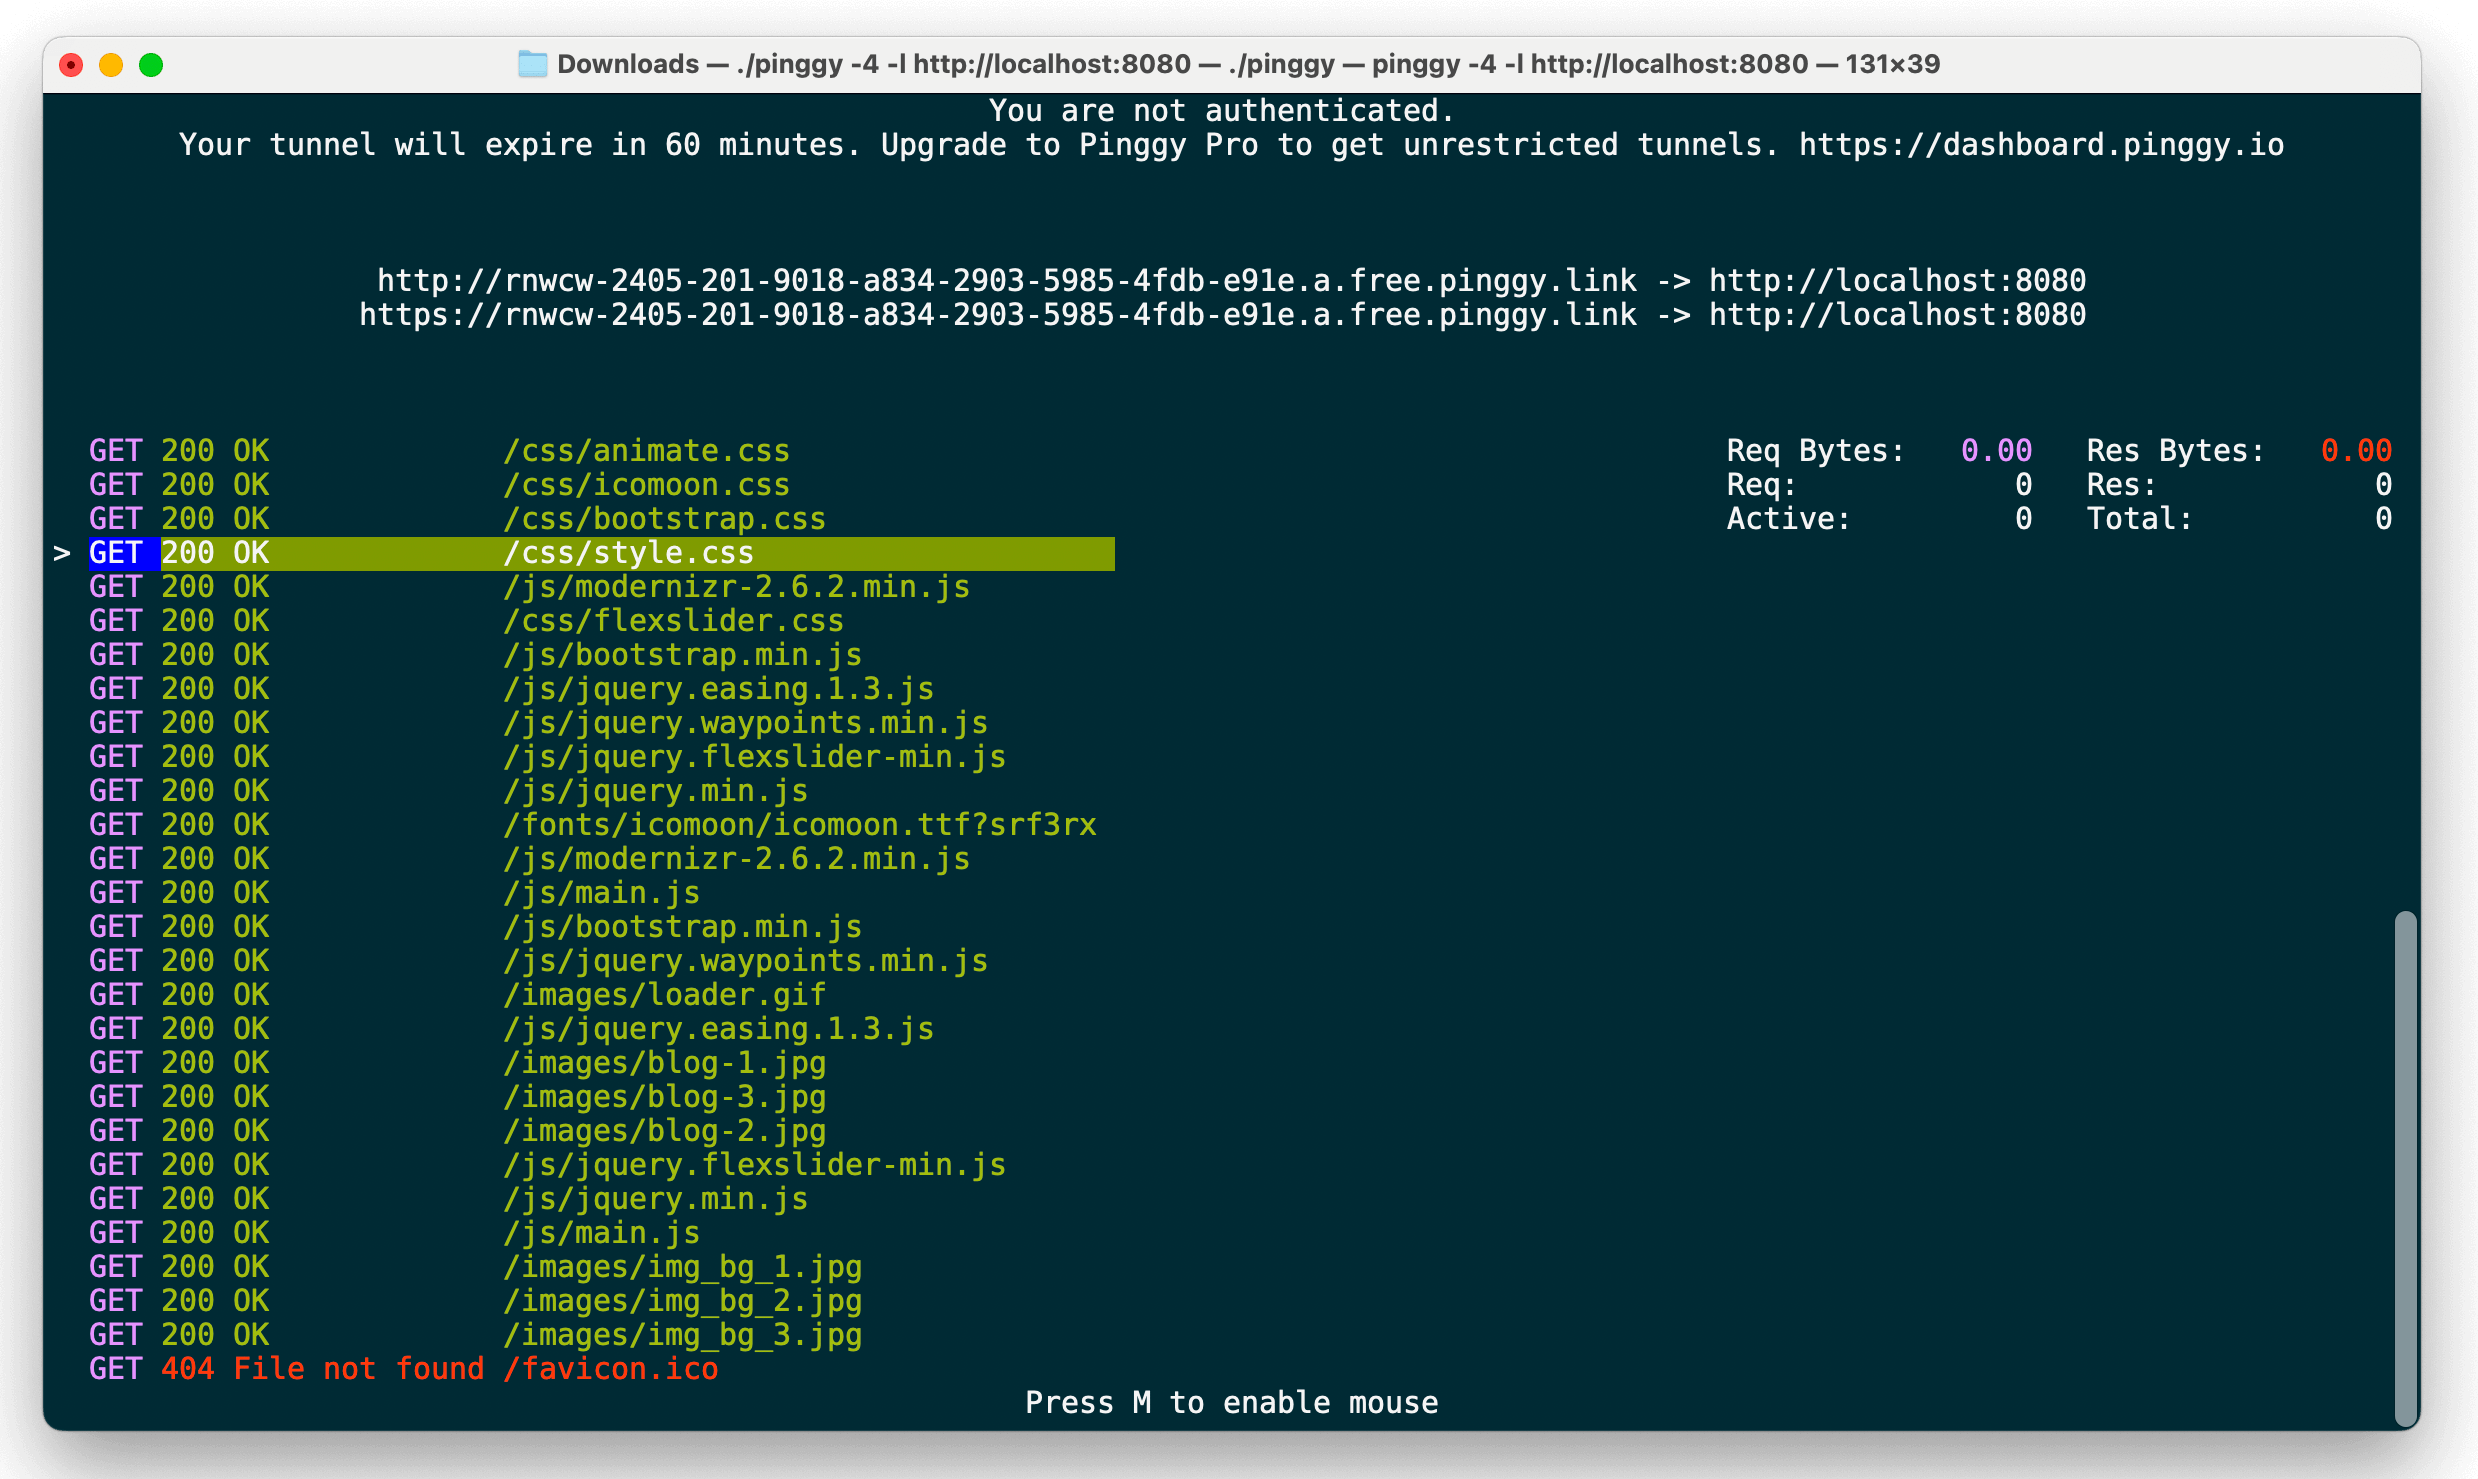
To share a local HTTP server running on port `8008`, use `-l http://localhost:8080`. You may add a token using `--token MYTOK`.
```bash
./pinggy -l http://localhost:8080
./pinggy --token MYTOK -l http://localhost:8080
```
To share a local HTTPS server running on port `8443`, use `-l https://localhost:8443`.
```bash
./pinggy -l https://localhost:8443
```
### TCP Tunnel
To start a TCP tunnel, use `--type tcp` and specify a port using `-l`.
```bash
./pinggy --type tcp -l 8000
```
### UDP Tunnel
To start a UDP tunnel, use `--type udp` and specify a port using `-l`.
```bash
./pinggy --type udp -l 8000
```
### TLS Tunnel
To start a TLS tunnel, use `--type tls` and specify a port using `-l`.
```bash
./pinggy --type tls -l 8000
```
## Common workflows
### Save a tunnel config
```bash
pinggy config save my-tunnel -l 3000 token@pro.pinggy.io
```
### Start a saved tunnel
```bash
pinggy start my-tunnel
pinggy start my-tunnel -l 4000
```
### Start multiple tunnels or all auto-start tunnels
```bash
pinggy start tunnel1 tunnel2
```
### Mark a tunnel as auto-start
```bash
pinggy config save my-tunnel --auto -l 3000
pinggy config auto my-tunnel
```
Start all tunnels that are set to auto start:
```
pinggy start --all
```
### Use remote management
```bash
pinggy --remote-management
```
Start remote management as well as start the tunnels set to auto start:
```
pinggy start --all --remote-management
```
## Key features
- HTTP, TCP, UDP, TLS, and TLSTCP tunnels to localhost
- SSH-style and user-friendly flags
- Web debugger for HTTP tunnels
- Extended options for auth, header manipulation, IP allowlists, CORS handling, and more
- Remote management via secure WebSocket connection, works with Pinggy Dashboard
- Configurable logging to file and/or stdout
- Save and load configuration files
- Config store for saving, listing, updating, and starting named tunnel configs
- Auto-start support for launching saved tunnels automatically
- Simple file server mode for quickly sharing local files
- Built-in TUI for viewing tunnel statistics, requests, and responses in real time
### Pinggy CLI specific options
Pinggy's CLI allows you to configure the tunnel with various user-friendly options. Here is a list of options available for the Pinggy CLI:
**Type**: `--type`
Specify the type of tunnel you want to create. The available options are `http`, `tcp`, `tls`, `udp`, and `tlstcp`. If nothing is specified, the default type is `http`.
```bash
--type
```
**Local Port**: `--localport` or `-l`
Specify the local port along with host and protocol, if present, to forward the tunnel to. The default is `localhost`.
```bash
--localport :
```
For example:
```bash
--localport django_server:8000
--localport https://my.domain:445
-l 777
```
**Debugger Port**: `--debugger` or `-d`
Specify the port on which the web debugger will run.
```bash
--debugger
```
**Token**: `--token`
Provide the token for authentication.
```bash
--token
```
## Usage
Basic syntax:
```bash
pinggy [options] [user@domain]
```
- `user@domain` is optional. Domain can be any valid domain supported by the service backend, for example `ap.free.pinggy.io`. And `user` is a combination of token and tunnel mode, like `token+tcp`.
### Options
The CLI supports both SSH-style flags and more descriptive long flags. Below is a consolidated list of public options. For the most up-to-date help, run `pinggy --help`.
### Port Forwarding
| Flag | Description | Example |
|------|-------------|---------|
| `-R`, `--R` | Local port forwarding, SSH-style | `-R0:localhost:3000` |
| `-L`, `--L` | Web debugger address, SSH-style | `-L4300:localhost:4300` |
### Connection
| Flag | Description | Example |
|------|-------------|---------|
| `-p`, `--server-port` | Pinggy server port, default `443` | `--server-port 8080` |
| `--type` | Type of connection, for example `tcp` | `--type tcp` |
| `-l`, `--localport` | Local endpoint `[protocol:][host:]port` | `--localport https://localhost:8000` |
| `-d`, `--debugger` | Port for web debugger | `-d 4300` |
| `--token` | Token for authentication | `--token abc123` |
| `--force` | Forcefully close existing tunnels and establish a new tunnel | `--force` |
### Logging
| Flag | Description |
|------|-------------|
| `--loglevel` | Logging level: `ERROR`, `INFO`, `DEBUG` |
| `--logfile` | Path to log file |
| `--v` | Print logs to stdout |
| `--vv` | Detailed logs, Node.js SDK + Libpinggy |
| `--vvv` | Enable logs from CLI, SDK, and Libpinggy |
### Config
| Flag | Description |
|------|-------------|
| `--saveconf ` | Create configuration file with provided options |
| `--conf ` | Load configuration from file, CLI flags override |
### File server
| Flag | Description |
|------|-------------|
| `--serve ` | Serve files from a local directory via simple web server |
### AutoReconnect
| Flag | Description |
|------|-------------|
| `--autoreconnect`, `-a` | Automatically reconnect tunnel on failure, enabled by default; pass `false` to disable |
### Remote control
| Flag | Description |
|------|-------------|
| `--remote-management ` | Enable remote tunnel management |
| `--manage ` | Remote management server, default `dashboard.pinggy.io` |
| `--NoTui` | Disable TUI in remote management mode |
### Misc
| Flag | Description |
|------|-------------|
| `--version` | Print version and exit |
| `-h`, `--help` | Show help and exit |
### Extended options
Extended options provide advanced controls. Specify them as positional values like `x:https` or `w:192.168.1.0/24` alongside other CLI flags.
- `x:https` enforces HTTPS-only, HTTP redirected to HTTPS.
- `x:passpreflight` or `x:allowpreflight` allows CORS preflight to pass unchanged.
- `x:reverseproxy` disables built-in reverse-proxy header injection.
- `x:xff` adds `X-Forwarded-For`.
- `x:fullurl` or `x:fullrequesturl` includes the original request URL.
- `w:[,...]` whitelists IPs, IPv4 CIDR.
- `k:` sets Bearer token(s) for auth, repeatable.
- `b:` adds Basic Auth credentials, repeatable.
- `a:` adds a header.
- `u:` updates a header.
- `r:` removes a header.
Examples:
- Enforce HTTPS and XFF for local HTTPS server on `8443`:
```bash
pinggy x:https x:xff -l https://localhost:8443
```
- Allow only a local subnet:
```bash
pinggy w:192.168.1.0/24 -l 8080
```
To generate advanced CLI arguments, use [Configure from Pinggy.io](https://pinggy.io/).
## Remote management
You can control tunnels remotely using a secure WebSocket connection.
- Start remote management with a token:
```bash
pinggy --remote-management
```
- Specify a management server, default is `wss://dashboard.pinggy.io`:
```bash
pinggy --remote-management --manage wss://custom.example.com
```
## Logging
You can control logs via CLI flags, which override environment variables. If `logfile` is provided, the log directory will be created if it does not exist.
- To log to file and stdout at INFO level:
```bash
pinggy -p 3000 --logfile ~/.pinggy/pinggy.log --loglevel INFO --v
```
If you provide `--v`, `--vv`, or `--vvv` without specifying a log level, the default log level is INFO.
## Saving and loading configuration
- Save current options to a file:
```bash
pinggy -p 443 -L4300:localhost:4300 -t -R0:127.0.0.1:8000 qr+force@free.pinggy.io x:noreverseproxy x:passpreflight x:xff --saveconf myconfig.json
```
- Use a config as base and override with flags:
```bash
pinggy --conf ./myconfig.json -p 8080
```
## Config management
The CLI includes a built-in config store for saving, listing, and starting tunnel configurations. Configs are persisted as JSON files in your platform's config directory, `~/.config/pinggy/tunnels/` on Linux and macOS, `%APPDATA%/pinggy/tunnels/` on Windows.
### Save a tunnel config
```bash
pinggy config save my-tunnel -l 3000 token@pro.pinggy.io
```
### Save with auto-start enabled
```bash
pinggy config save my-tunnel --auto -l 3000
```
### List all saved configs
```bash
pinggy config list
```
### View details of a saved config
```bash
pinggy config show my-tunnel
pinggy config show my-tunnel other-tunnel
```
### Update a saved config
```bash
pinggy config update my-tunnel -l 4000
```
### Enable or disable auto-start
```bash
pinggy config auto my-tunnel
pinggy config noauto my-tunnel
pinggy config auto tunnel1 tunnel2
```
### Delete a saved config
```bash
pinggy config delete my-tunnel
pinggy config delete tunnel1 tunnel2
```
### Shorthand: view config details
```bash
pinggy config my-tunnel
```
Configs can be looked up by name, exact match, or by `configId` prefix, partial match.
## Starting saved tunnels
### Start a saved tunnel
```bash
pinggy start my-tunnel
```
### Start with runtime overrides
```bash
pinggy start my-tunnel -l 4000
```
### Start multiple tunnels
```bash
pinggy start tunnel1 tunnel2
```
### Start all auto-start tunnels
```bash
pinggy start --all
```
### Start with remote management
```bash
pinggy start --all --remote-management
pinggy start tunnel1 tunnel2 --remote-management
```
### Start with logging enabled
```bash
pinggy start my-tunnel --vvv
pinggy start --all --logfile /tmp/pinggy.log --loglevel DEBUG
```
> Note: Runtime overrides, `-l`, `--type`, `--token`, and similar options, can only be used when starting a single tunnel. For multiple tunnels, update the saved config first with `pinggy config update`.
## File server mode
Serve a local directory quickly over a tunnel:
```bash
pinggy --serve /path/to/files
```
Optionally combine with other flags, auth, IP whitelist, as needed.
## Signals and shutdown
Press `Ctrl+C` to stop. The CLI traps `SIGINT` and gracefully stops active tunnels before exiting.