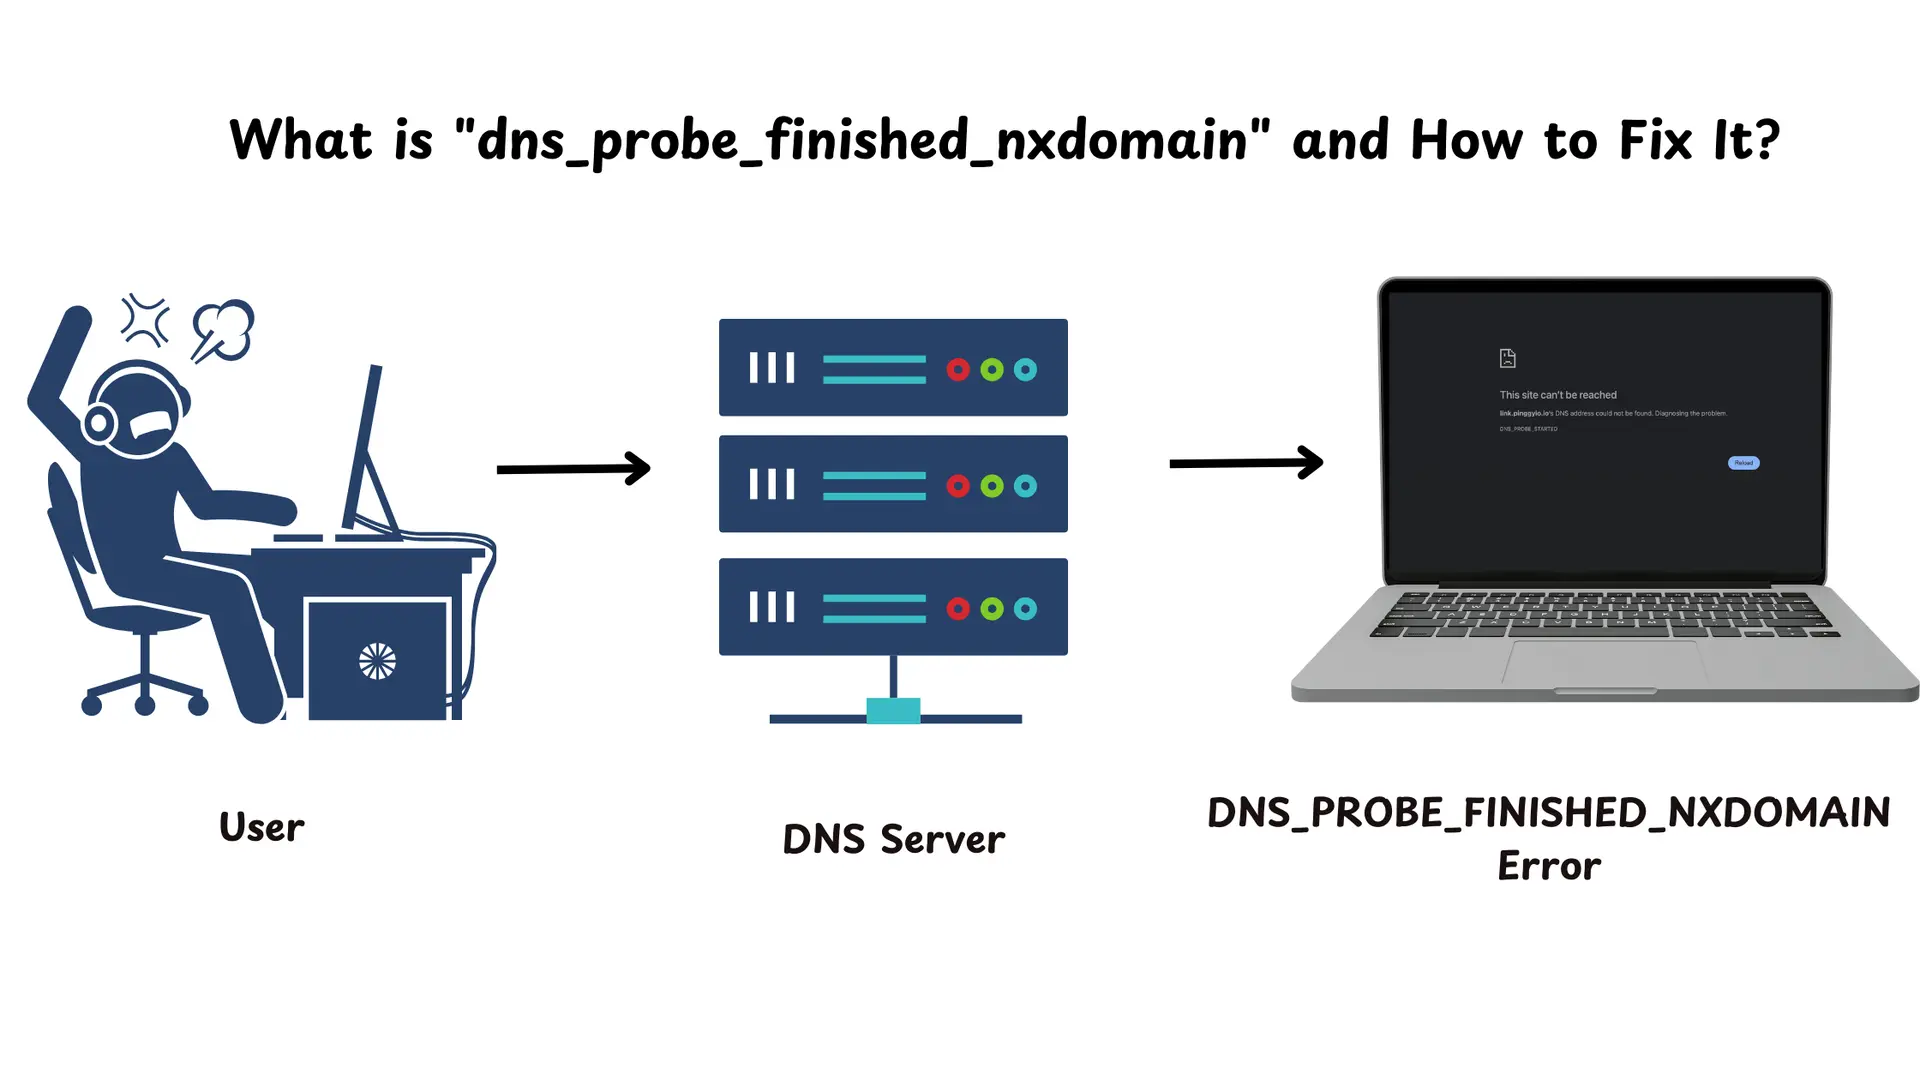
If you’ve encountered the “dns_probe_finished_nxdomain” error while browsing, you’re experiencing one of the most common DNS-related issues on the internet. This error appears when your browser cannot resolve the domain name of the website you’re trying to visit, essentially meaning it can’t find the website’s location on the internet.
Understanding this error is crucial because it affects both website visitors and domain owners differently. For visitors, it usually indicates temporary network or browser issues that can be resolved quickly. For domain owners, it might signal more serious problems with DNS configuration or domain registration that require immediate attention.
Summary
What is dns_probe_finished_nxdomain? This error occurs when your browser fails to resolve a domain’s DNS records, preventing it from finding the website’s IP address.
Quick Fixes for Website Visitors:
- Clear browser and DNS cache:
ipconfig /flushdns (Windows) or sudo killall -HUP mDNSResponder (macOS) - Change DNS servers to Google (
8.8.8.8) or Cloudflare (1.1.1.1) - Restart your router and check internet connection
Solutions for Domain Owners:
Google Dig Tool
- Check domain registration status and expiration date
- Review nameserver configurations and DNS propagation
What Does “dns_probe_finished_nxdomain” Mean?
When your browser displays the ‘dns_probe_finished_nxdomain’ error, it’s telling you that the DNS (Domain Name System) lookup has failed. DNS works like a phone book for the internet, translating human-readable domain names like “example.com” into computer-friendly IP addresses that browsers can use to locate websites.
The “NXDOMAIN” part stands for “Non-Existent Domain,” which means the DNS server couldn’t find any records for the domain you’re trying to access. This doesn’t necessarily mean the website doesn’t exist - it could be a temporary issue with DNS resolution, network connectivity, or configuration problems.
Common Causes of “dns_probe_finished_nxdomain”
Several factors can trigger this frustrating error, and understanding them helps determine the right solution approach.
Misconfigured DNS Settings are one of the most common culprits. When your device is configured to use DNS servers that are unreachable or providing incorrect information, domain resolution fails. This often happens when network settings are changed manually or when using unreliable DNS providers.
Browser Cache Issues can also interfere with DNS lookups. Your browser stores DNS information locally to speed up future visits, but this cached data can become corrupted or outdated, leading to resolution failures even when the domain is perfectly accessible.
Network connectivity problems create temporary disruptions in DNS resolution. These can range from simple router glitches to more complex ISP-level issues that affect how your connection communicates with DNS servers.
VPN and Proxy complications sometimes block or redirect DNS requests through non-functional servers. While these tools are designed to enhance privacy and security, misconfigurations can prevent proper domain resolution.
Domain configuration errors affect website owners specifically. Missing DNS records, expired domain registrations, or incorrect nameserver settings can make a perfectly functional website appear non-existent to visitors.
How to Fix “dns_probe_finished_nxdomain”
The solution approach depends on whether you’re a website visitor experiencing access issues or a domain owner whose site isn’t resolving properly. Each scenario requires different troubleshooting steps.
For Website Visitors
Clear Browser Cache and Cookies
Corrupted browser data often conflicts with DNS resolution, causing persistent NXDOMAIN errors even after network issues are resolved. Your browser stores various types of data that can become problematic over time.
In Chrome, navigate to Settings, then Privacy and Security, and select “Clear browsing data.” Choose both “Cached images and files” and “Cookies and other site data,” then click “Clear data.” This removes potentially problematic cached information that might be interfering with DNS lookups.
Restart Your Router or Modem
Network hardware can develop temporary glitches that affect DNS resolution. Power cycling your router and modem often resolves these issues by clearing internal caches and re-establishing fresh connections to your ISP’s DNS servers.
Unplug both devices for at least 30 seconds, then plug in your modem first and wait for it to fully boot up before reconnecting your router. This process ensures a clean restart of your network connection.
Change DNS Server Settings
Switching to more reliable DNS servers often resolves persistent DNS issues. Your ISP’s default DNS servers might experience downtime, performance problems, or filtering that prevents access to certain domains.
For Windows users: Open Control Panel and navigate to Network and Sharing Center. Click on your active network connection, then Properties. Select “Internet Protocol Version 4 (TCP/IPv4)” and click Properties. Choose “Use the following DNS server addresses” and enter Google’s public DNS servers: 8.8.8.8 as the preferred and 8.8.4.4 as the alternate DNS server.
For macOS users: Go to System Preferences and select Network. Choose your active network connection and click Advanced. Navigate to the DNS tab and add the same Google DNS servers: 8.8.8.8 and 8.8.4.4.
Flush DNS Cache
Your operating system maintains a local DNS cache to speed up repeated lookups, but this cache can become outdated or corrupted. Flushing it forces your system to perform fresh DNS queries for all domains.
On Windows: Open Command Prompt as Administrator and type ipconfig /flushdns, then press Enter. You’ll see a confirmation message when the cache is successfully cleared.
On macOS: Open Terminal and enter sudo killall -HUP mDNSResponder, then press Enter. You may need to enter your administrator password to complete this action.
Disable VPN or Proxy Temporarily
VPNs and proxy servers can interfere with DNS resolution by routing requests through servers that may be experiencing issues. Temporarily disabling these services helps determine if they’re causing the problem.
If disabling your VPN or proxy resolves the issue, check the service’s DNS settings or try connecting to a different server location before re-enabling it.
For Domain Owners
If you own the domain that’s showing the NXDOMAIN error, the problem likely lies with your DNS configuration or domain registration status.
Verify Your DNS Records
The most critical step is ensuring your domain has the correct DNS records pointing to your server’s IP address. Without proper A records (for IPv4) or AAAA records (for IPv6), browsers cannot locate your website.
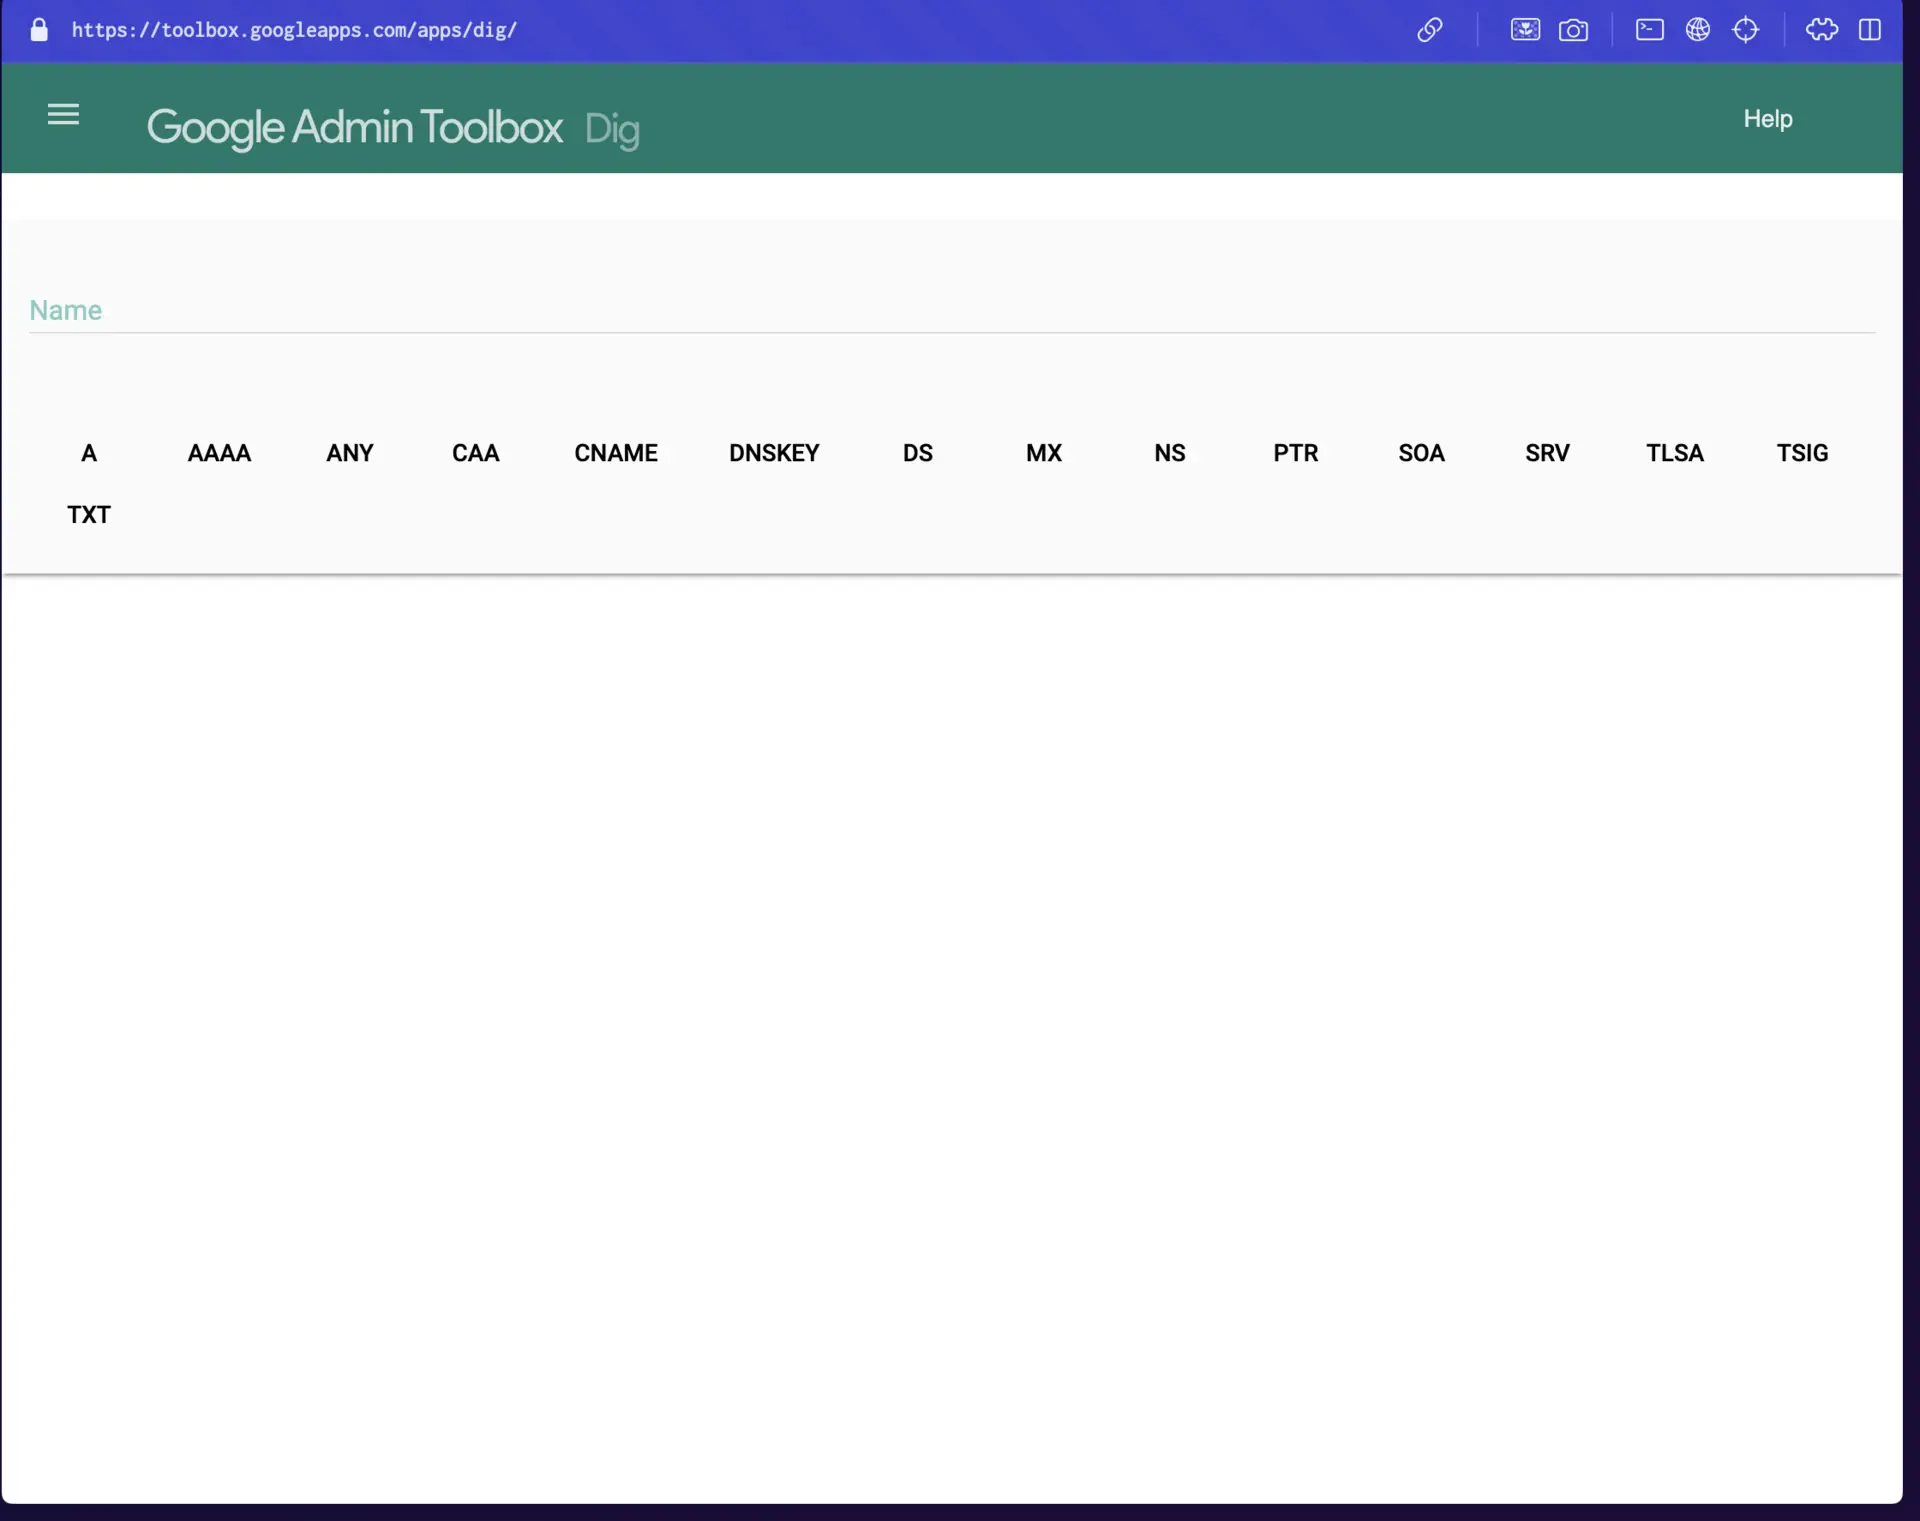
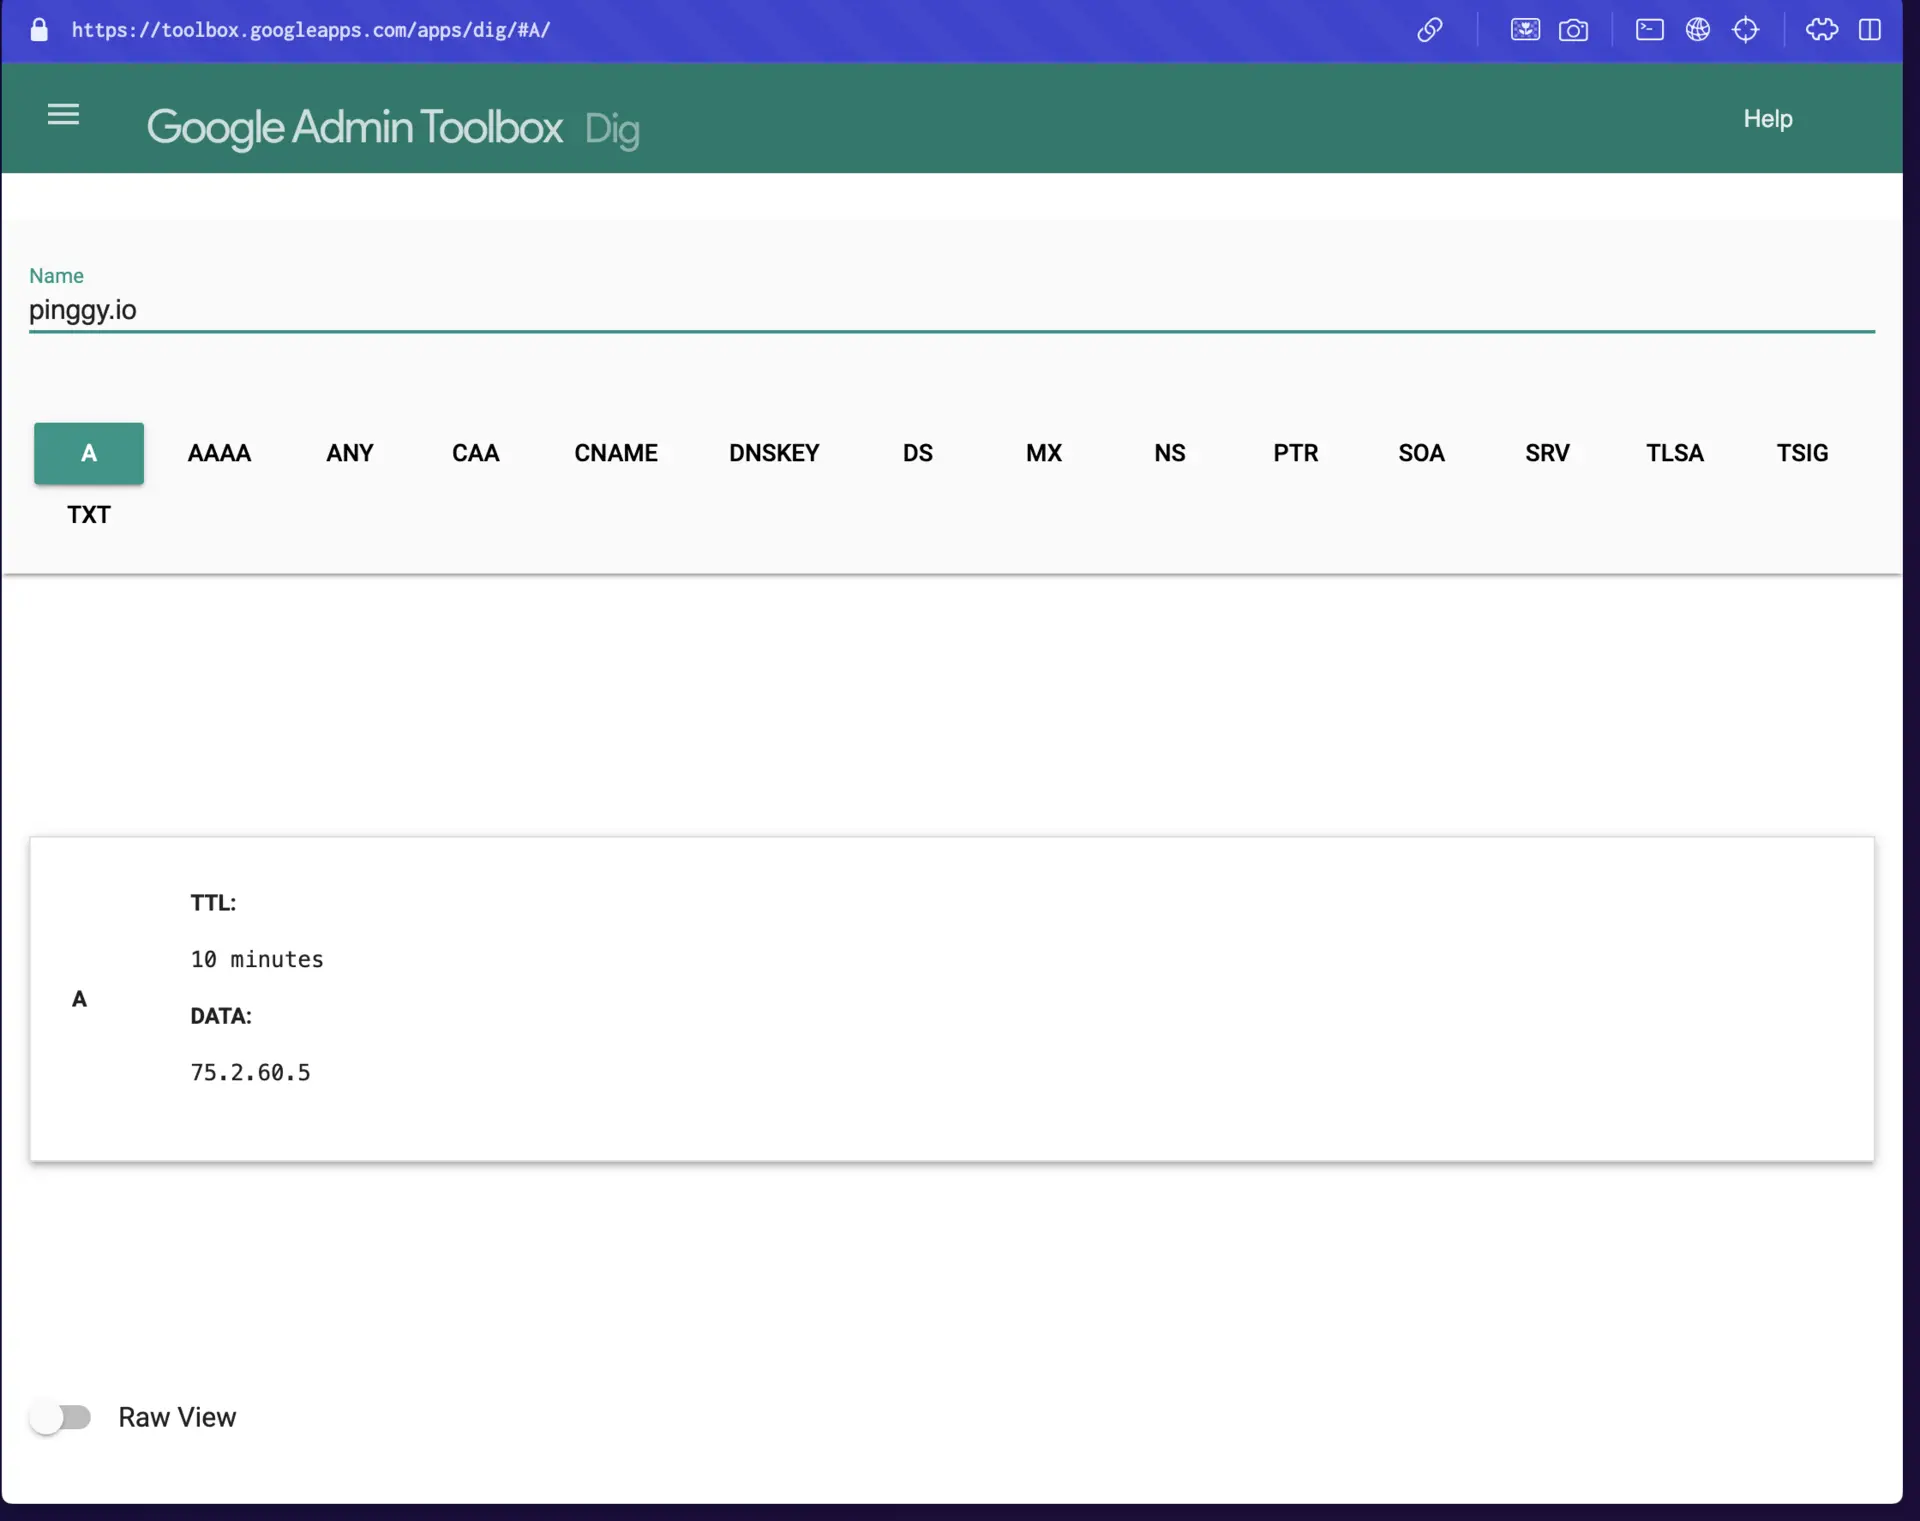
Use the
Google Dig Tool to check your DNS records. Enter your domain name and select “A Record” from the dropdown menu. If the tool returns an NXDOMAIN error or shows incorrect IP addresses, you need to update your DNS settings.
Access your domain registrar or DNS hosting provider’s control panel and verify that your A records point to the correct server IP address. If you’re using a hosting service, confirm the IP address they’ve provided matches what’s configured in your DNS settings.
Check Domain Registration Status
An expired domain immediately stops resolving in DNS lookups, causing NXDOMAIN errors for all visitors. Use a
WHOIS lookup service to verify your domain’s expiration date and registration status.
Even if your domain appears active, renew it immediately if it’s close to expiration. Update your contact and billing information to ensure you receive renewal notifications and prevent future registration lapses.
Allow Time for DNS Propagation
DNS changes don’t take effect instantly across the global internet. After updating DNS settings, propagation typically takes anywhere from a few minutes to 48 hours to complete worldwide.
During this period, some users may continue experiencing NXDOMAIN errors while others can access your site normally. Use
DNS Checker to monitor propagation status across different geographic regions and track where your updated records have taken effect.
Investigate Registrar Issues
Sometimes problems originate with your domain registrar rather than your DNS settings. Contact your registrar’s support team to confirm your domain is properly configured in their system and verify there are no holds, suspensions, or restrictions preventing DNS resolution.
Verify Custom Nameserver Configurations
If you’re using custom nameservers, ensure they’re properly configured and operational. Check that your nameservers are correctly associated with your domain in your registrar’s control panel and verify they’re responding to DNS queries.
Log into your nameserver’s control panel and confirm all necessary DNS records (A, AAAA, CNAME, MX) are properly configured with the correct values.
How to Fix “dns_probe_finished_nxdomain” in Pinggy Tunnels
Pinggy users may encounter this error when their tunnel URLs become inaccessible, which requires specific troubleshooting steps.
Check Tunnel Status by verifying that your Pinggy tunnel is active and running. You can view all active tunnels on the
Pinggy Dashboard. If the tunnel has stopped or become disabled, the public URL will no longer be accessible, resulting in DNS errors.
Restart your Pinggy tunnel using the same command if needed:
Verify the Public URL because each Pinggy tunnel session generates a unique public URL. Ensure you’re using the current, correct URL displayed when you start your tunnel. Save this URL and use it consistently to access your server.
Check Network Connectivity since unstable internet connections can cause Pinggy tunnels to lose connection, leading to DNS errors. Confirm your internet connection is stable and consider restarting your modem or router if you suspect network issues.
How to Prevent “dns_probe_finished_nxdomain” Errors
Prevention is always better than troubleshooting after problems occur. Regular maintenance and proper configuration can significantly reduce the likelihood of encountering DNS resolution issues.
Use reliable DNS servers like Google Public DNS (8.8.8.8 and 8.8.4.4) or Cloudflare (1.1.1.1 and 1.0.0.1) instead of relying solely on your ISP’s DNS servers. These services typically offer better uptime and performance.
Regularly clear your browser cache and DNS cache to prevent the accumulation of outdated or corrupted data that can interfere with domain resolution. Set up a monthly reminder to perform this maintenance.
For domain owners, monitor your domain’s registration status and set up automatic renewal to prevent expiration-related issues. Keep your contact information updated with your registrar to ensure you receive important notifications about your domain.
Conclusion
The “dns_probe_finished_nxdomain” error, while frustrating, is usually straightforward to resolve once you understand its underlying causes. Whether you’re a website visitor dealing with temporary access issues or a domain owner troubleshooting DNS configuration problems, the systematic approach outlined in this guide should help you identify and fix the issue quickly.
Remember that DNS-related problems often resolve themselves given time, especially when they’re caused by temporary network issues or DNS propagation delays. However, don’t hesitate to work through the troubleshooting steps if the problem persists, as early intervention can prevent more serious issues from developing.
Have you encountered this error before? Share your experience and how you resolved it in the comments below!