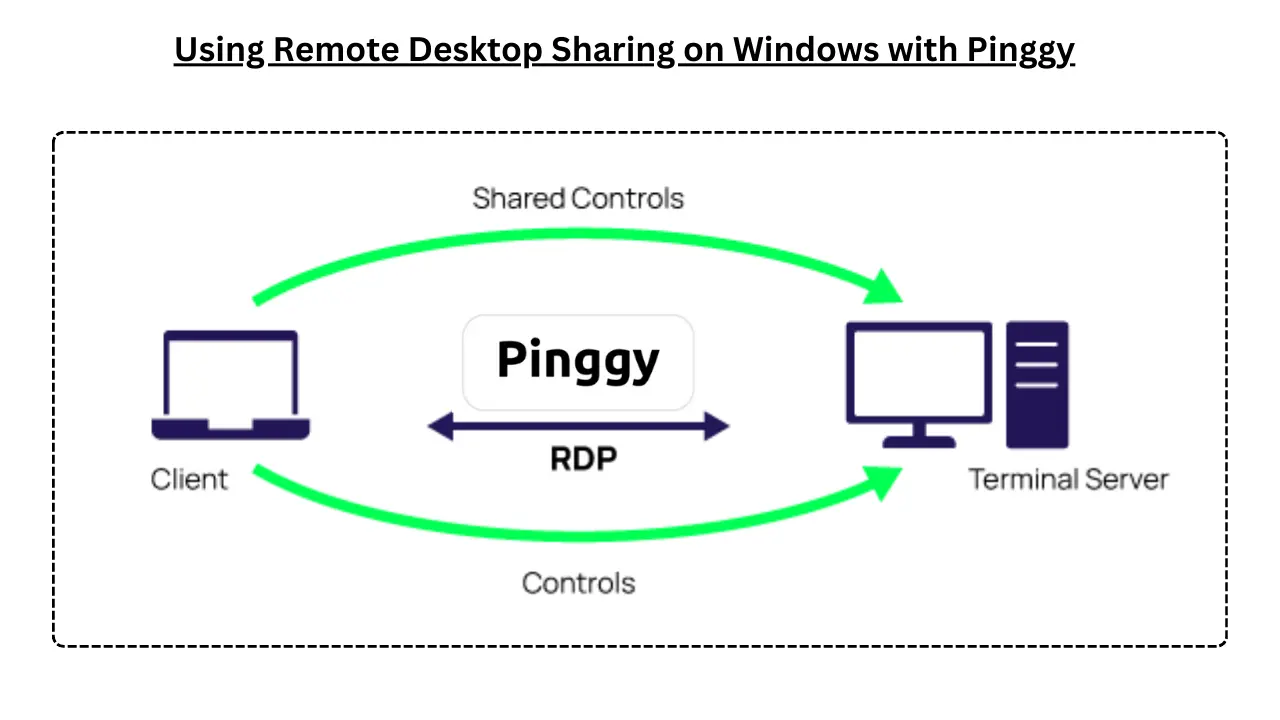
In this guide, we’ll walk through how to securely connect to a Windows machine remotely over the internet using Remote Desktop Protocol (RDP) without the hassle of port forwarding. By leveraging Pinggy, you can easily bypass NAT and firewall restrictions, enabling seamless access to your desktop from anywhere in the world.
Summary
Quick Setup in 3 Steps:
Enable Remote Desktop in Windows Settings (System > Remote Desktop)
Create a tunnel by running this command on your Windows machine:
ssh -p 443 -R0:127.0.0.1:3389 tcp@free.pinggy.io
This gives you a public address like: tcp://kduyqzdhwu.a.free.pinggy.link:22348
Connect remotely using Remote Desktop Connection app with the address from step 2
No router configuration or port forwarding needed!
Remote Desktop in Windows
Remote Desktop Protocol (RDP) is a built-in Windows feature that allows you to remotely access and control your computer as if you were sitting in front of it. RDP is widely used in IT management, remote work, and personal use for accessing files, applications, or managing tasks. However, establishing a secure RDP connection over the internet can be challenging due to network configurations and security concerns.
Problems with NAT, CGNAT, and Firewalls
Network Address Translation (NAT) and Carrier-Grade NAT (CGNAT) assign private IP addresses to devices, making them unreachable from external networks. Firewalls add another layer of protection by blocking unauthorized traffic. While these security measures are essential, they create significant barriers when you need to establish an RDP connection from outside your local network.
Traditional solutions require complex router configuration, port forwarding setup, or purchasing a static public IP address. Pinggy eliminates these complications with its tunneling service, providing secure and straightforward remote access without modifying your router settings or exposing your system to security vulnerabilities.
Step-by-Step Guide
Ready to set up remote desktop access? Pinggy makes it possible to establish a secure RDP connection to your machine, even when it’s behind a firewall or NAT router. Here’s how to do it:
Step 1: Enable Remote Desktop on Windows
To use Remote Desktop Protocol (RDP), you first need to enable it on your Windows machine:
- Open Settings from the Start menu.
- Navigate to System > Remote Desktop.
- Toggle the “Enable Remote Desktop” switch to “On”.
- Confirm the prompt to enable Remote Desktop.
Ensure that your Windows firewall allows RDP connections (port 3389) or add an exception if needed.
Step 2: Setup Remote Desktop Connection Using Pinggy
Open your terminal or command prompt on the Windows machine you want to access. Use the following command to set up a tunnel:
ssh -p 443 -R0:127.0.0.1:3389 tcp@free.pinggy.io
Once executed, it will ask for permission to connect. Grant the permission, and if prompted for a password, enter it or press Enter. Pinggy will then provide a public URL and port, such as:
tcp://kduyqzdhwu.a.free.pinggy.link::22348
This command creates a tunnel that forwards traffic from Pinggy’s server to your local machine’s RDP port (3389).
Step 3: Access Your Machine Using Remote Desktop Connection
Open the Remote Desktop Connection app on another computer.
Enter the public URL provided by Pinggy. For example:
kduyqzdhwu.a.free.pinggy.link:22348
Click on Connect and provide the credentials for your Windows account.
You are now securely connected to your Windows desktop!
Conclusion
Setting up remote desktop access doesn’t have to be complicated. With Pinggy, you can securely access your Windows machine using RDP without dealing with router configurations, port forwarding, or firewall modifications. This method provides a simple yet secure solution that works even behind restrictive network setups.
Whether you’re working from home, managing servers, or need to access your desktop while traveling, combining RDP with Pinggy gives you reliable remote access capabilities from anywhere in the world.