Building web applications with
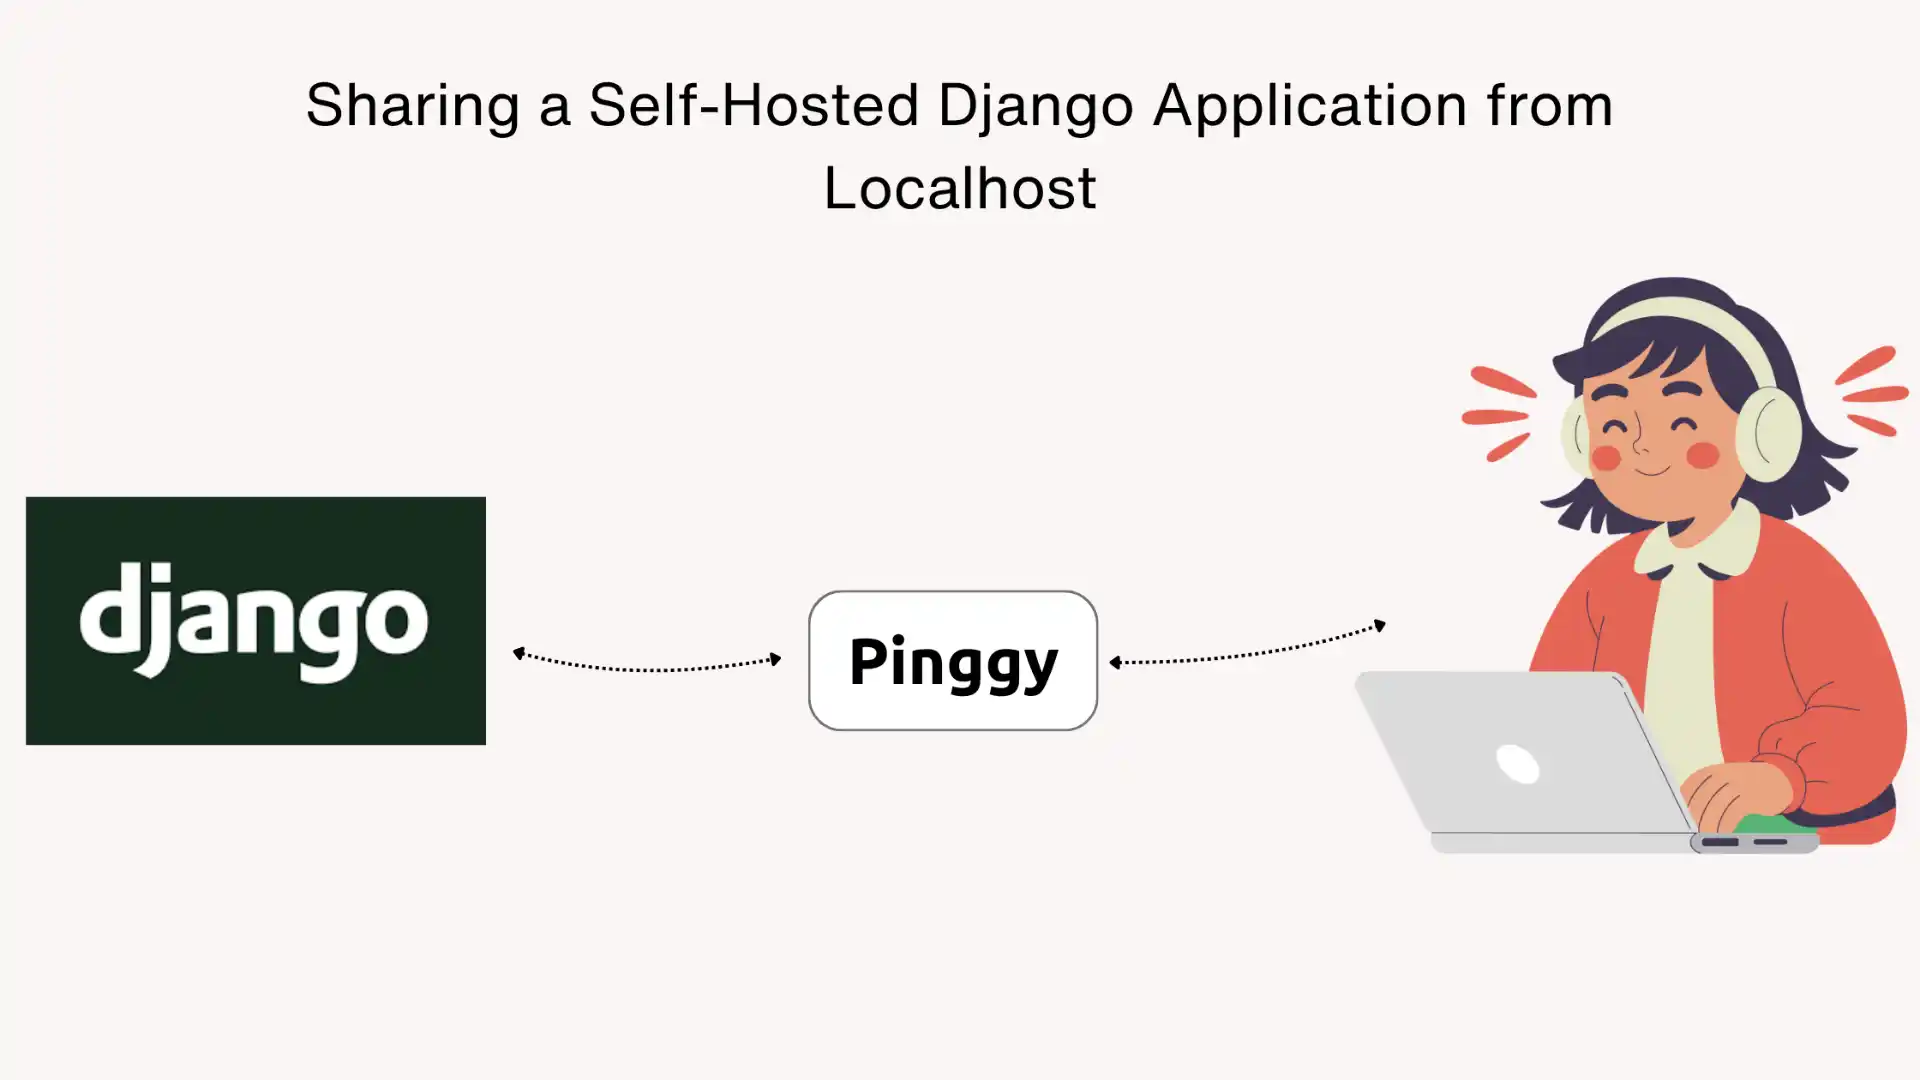
Django is a joy, but sharing your work-in-progress with teammates, clients, or testers can be surprisingly tricky. Your Django app runs perfectly on localhost, but the moment you need someone else to see it, you’re stuck dealing with deployment pipelines, cloud configurations, or complex networking setups. What if you could skip all that and share your local Django server instantly?
In this guide, we’ll show you how to expose your Django application to the internet in seconds using
Pinggy, without deploying to any server or messing with your router settings.
Summary
Create and activate a virtual environment
python3 -m venv venv
source venv/bin/activate
Install Django and start a new project
pip install django
django-admin startproject myproject
cd myproject
python3 manage.py migrate
python3 manage.py runserver
Share your local Django app using Pinggy
ssh -p 443 -R0:localhost:8000 -L4300:localhost:4300 -t free.pinggy.io u:Host:127.0.0.1:8000
Access your Django app via the provided Pinggy public URL (e.g., https://your-app.pinggy.link).
What Is Django?
Django is a high-level Python web framework that encourages rapid development and clean, pragmatic design. Created by experienced developers, Django takes care of much of the hassle of web development, so you can focus on writing your app without needing to reinvent the wheel.
Key Features of Django
- Batteries-Included Philosophy: Django comes with everything you need out of the box, including an ORM, authentication system, admin panel, and form handling.
- Security First: Django helps developers avoid common security mistakes like SQL injection, cross-site scripting, cross-site request forgery, and clickjacking.
- Scalable Architecture: From small projects to high-traffic sites, Django scales beautifully. Instagram, Pinterest, and Mozilla all run on Django.
- Excellent Documentation: Django’s documentation is legendary in the developer community for being comprehensive, clear, and beginner-friendly.
- Vibrant Ecosystem: Thousands of reusable packages extend Django’s functionality for everything from REST APIs to real-time features.
Whether you’re building a blog, an e-commerce platform, a social network, or a complex data-driven application, Django provides the tools and structure to get it done efficiently.
Why Share Your Django App from Localhost?
When you’re developing a Django application locally, it runs on 127.0.0.1:8000 or localhost:8000, which is only accessible from your own machine. This creates several challenges:
- Client Demos: You can’t easily show your progress to clients without deploying or screen sharing.
- Team Collaboration: Remote teammates can’t test features or provide feedback on your local development.
- Webhook Testing: Many third-party services (payment gateways, social auth, APIs) require a public URL to send webhooks.
- Mobile Testing: Testing your Django app on mobile devices becomes complicated without a public URL.
Traditional solutions involve deploying to staging servers, which is time-consuming and often overkill for quick demos or testing. Using
Pinggy , you can create a secure tunnel that makes your local Django application accessible to anyone on the internet, no deployment required.
Prerequisites
Before we begin, make sure you have:
- Python 3.8+: Installed on your system. Download from
Python's official website.
- SSH Client: Built-in on macOS/Linux; Windows users can use Git Bash or OpenSSH.
- Basic Terminal Knowledge: Familiarity with running commands in the terminal.
- Pinggy Account (Optional): For custom domains and advanced features.
Step 1: Set Up Your Django Project
Let’s start by creating a fresh Django project. If you already have a Django app running, you can skip to Step 2.
Create and Activate a Virtual Environment
Virtual environments keep your project dependencies isolated and prevent conflicts with other Python projects.
# Create a virtual environment
python3 -m venv venv

# Activate it (macOS/Linux)
source venv/bin/activate

# On Windows (PowerShell)
# venv\Scripts\Activate.ps1

# On Windows (Command Prompt)
# venv\Scripts\activate.bat
You’ll know the virtual environment is active when you see (venv) at the beginning of your terminal prompt.

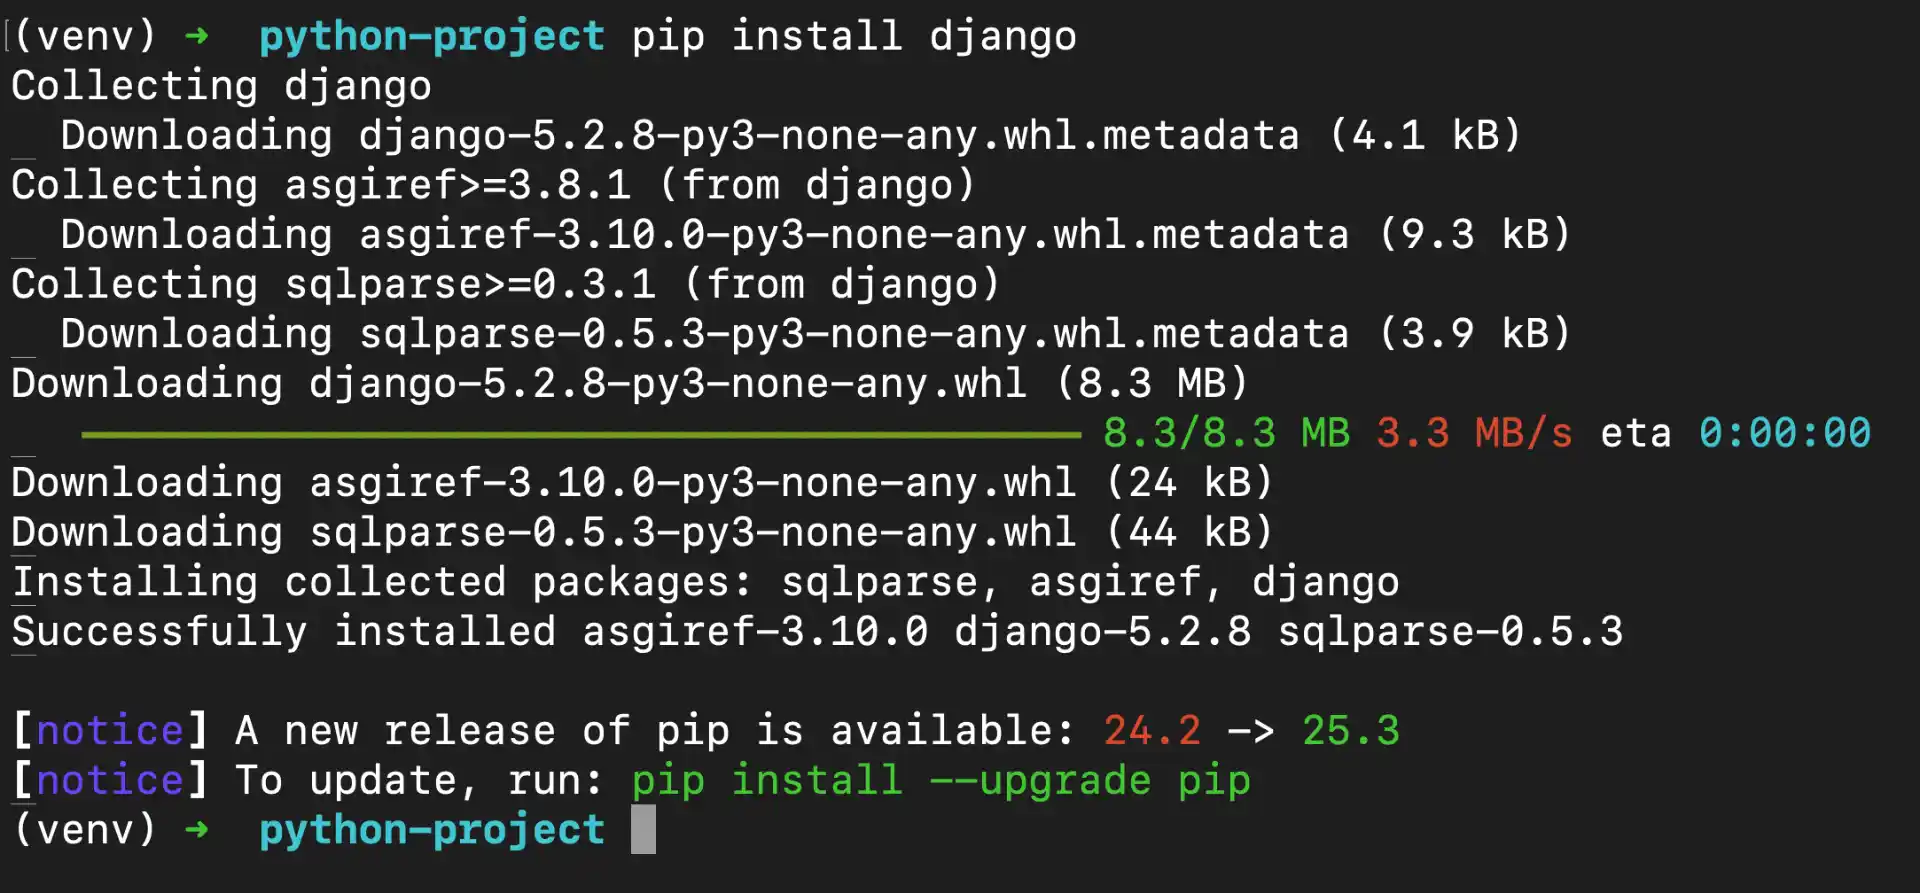
Install Django
With your virtual environment activated, install Django using pip:
This installs the latest stable version of Django and all its dependencies.
Create a New Django Project
Now let’s create a new Django project called myproject:
django-admin startproject myproject
cd myproject

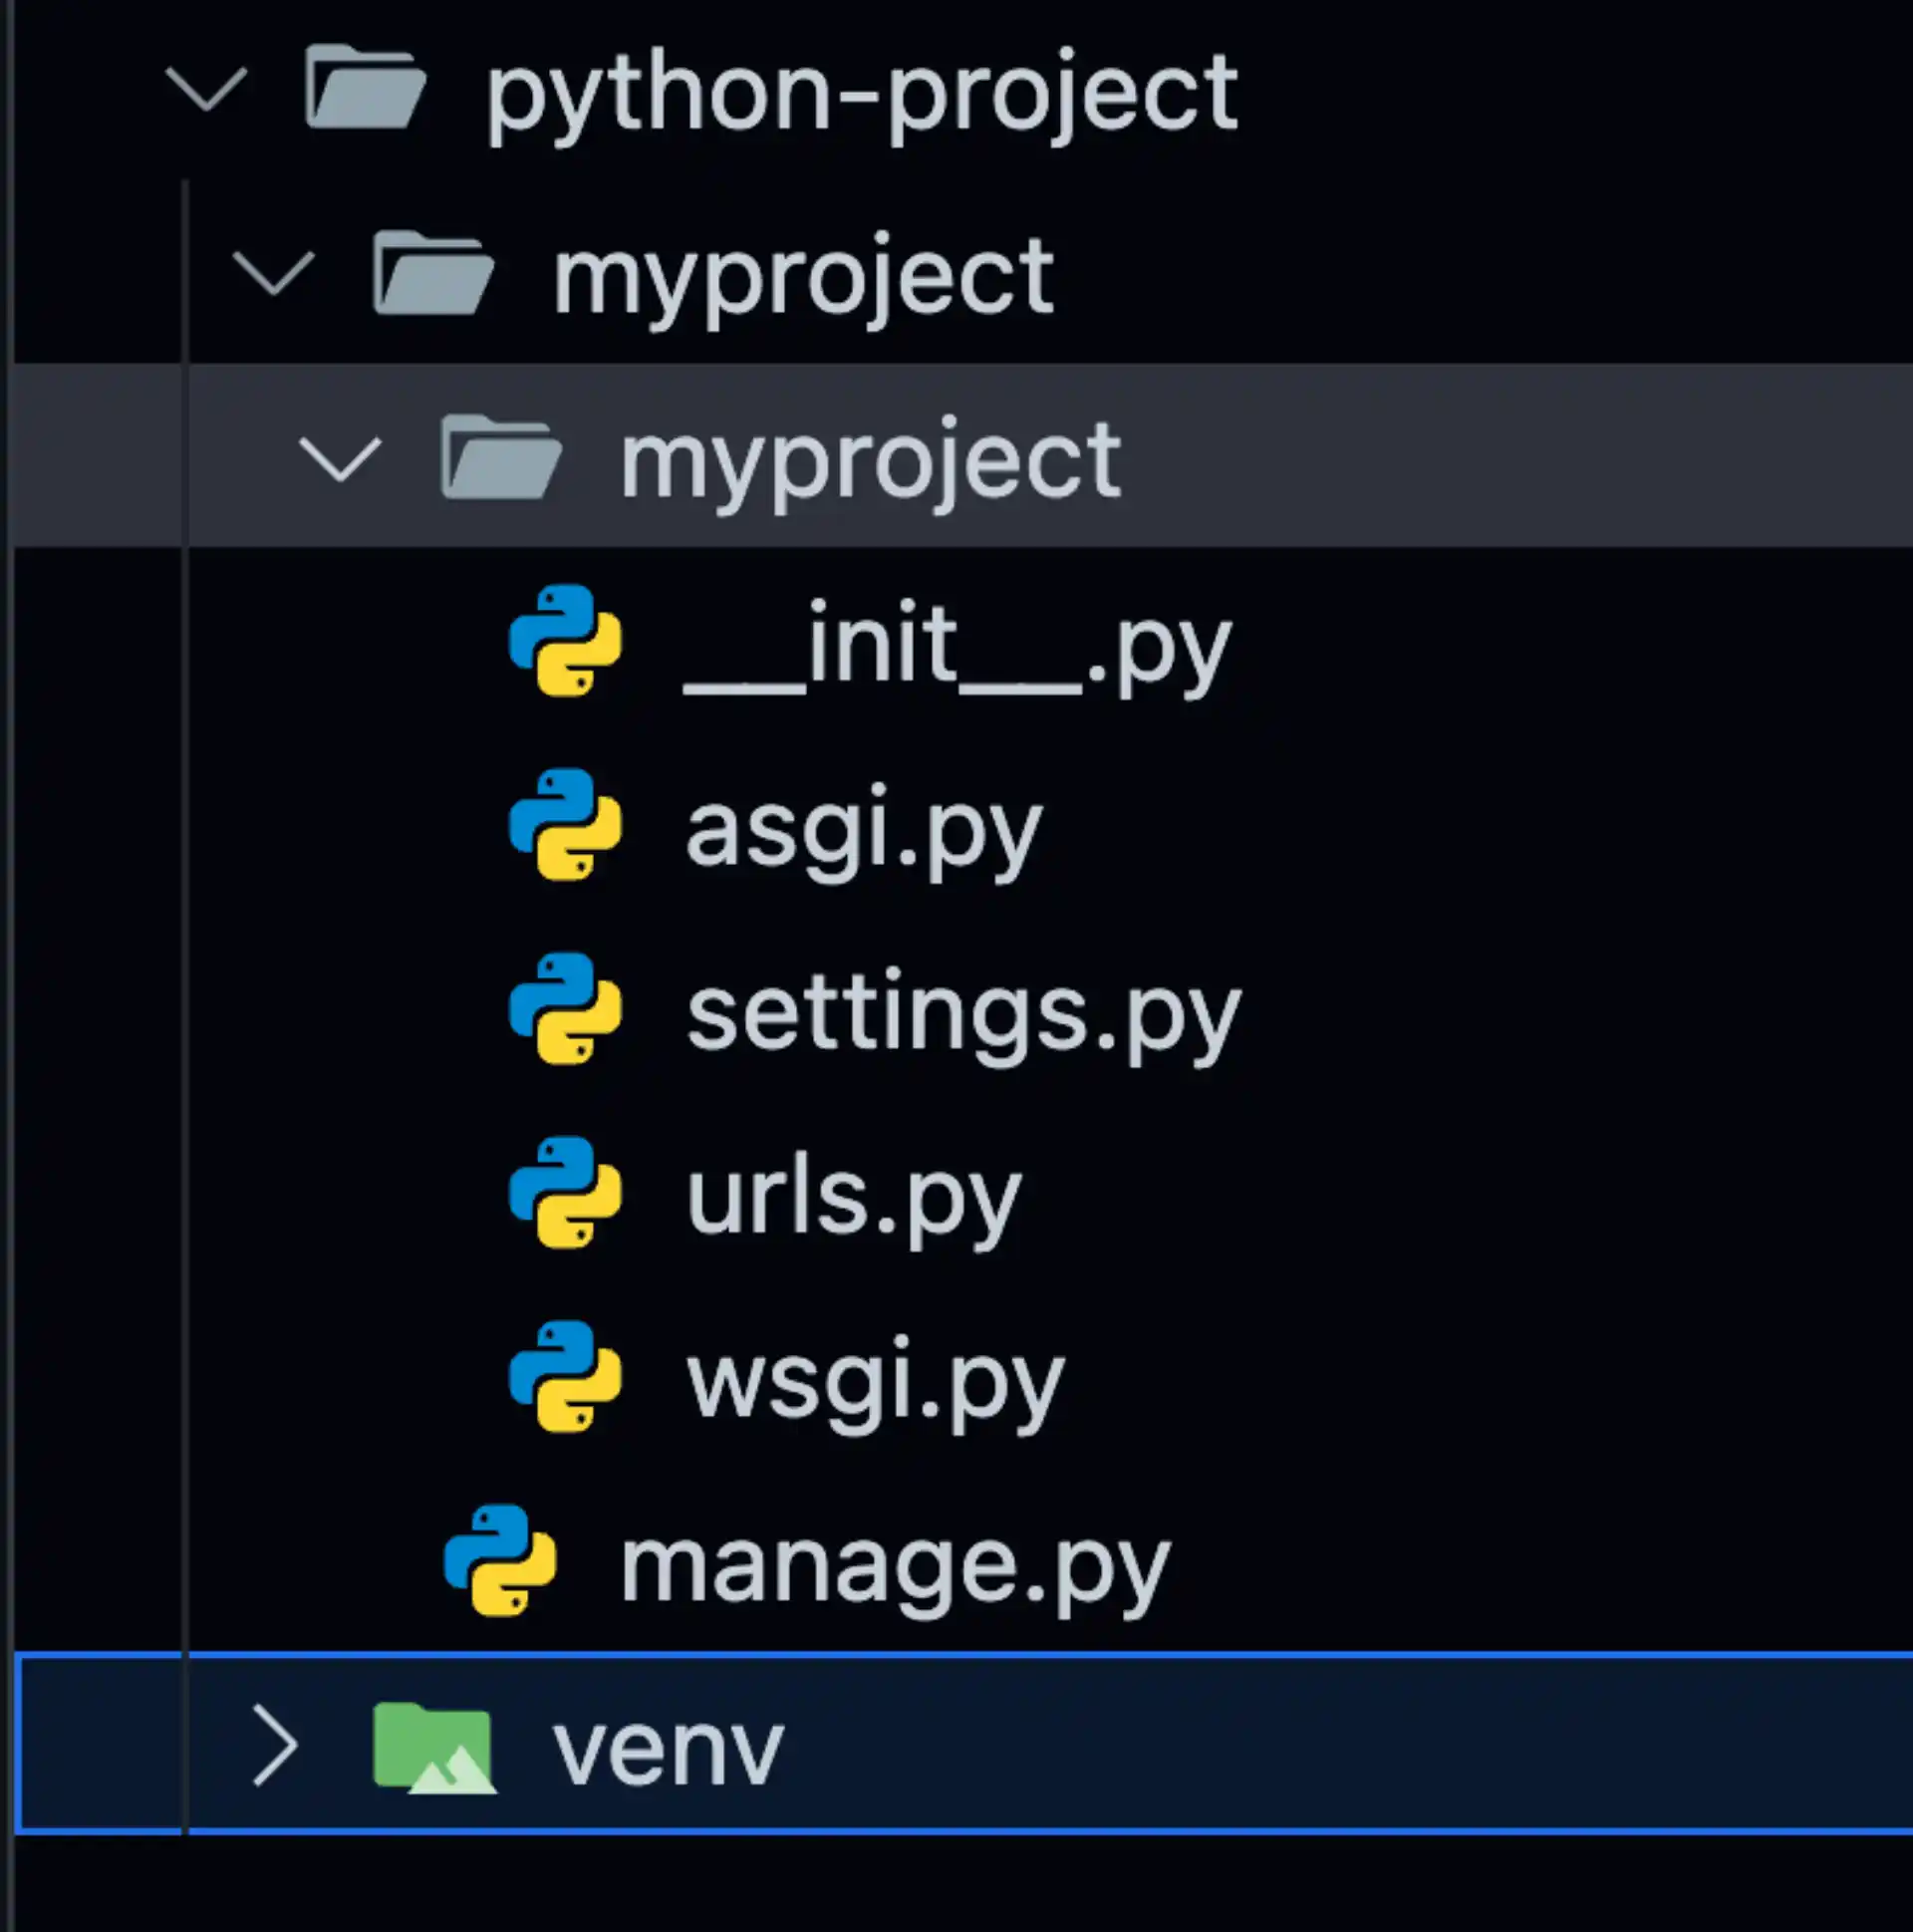
This creates a directory structure like this:
myproject/
    manage.py
    myproject/
        __init__.py
        settings.py
        urls.py
        asgi.py
        wsgi.py
Run Initial Migrations
Django comes with several built-in apps that require database tables. Let’s create them:
python3 manage.py migrate
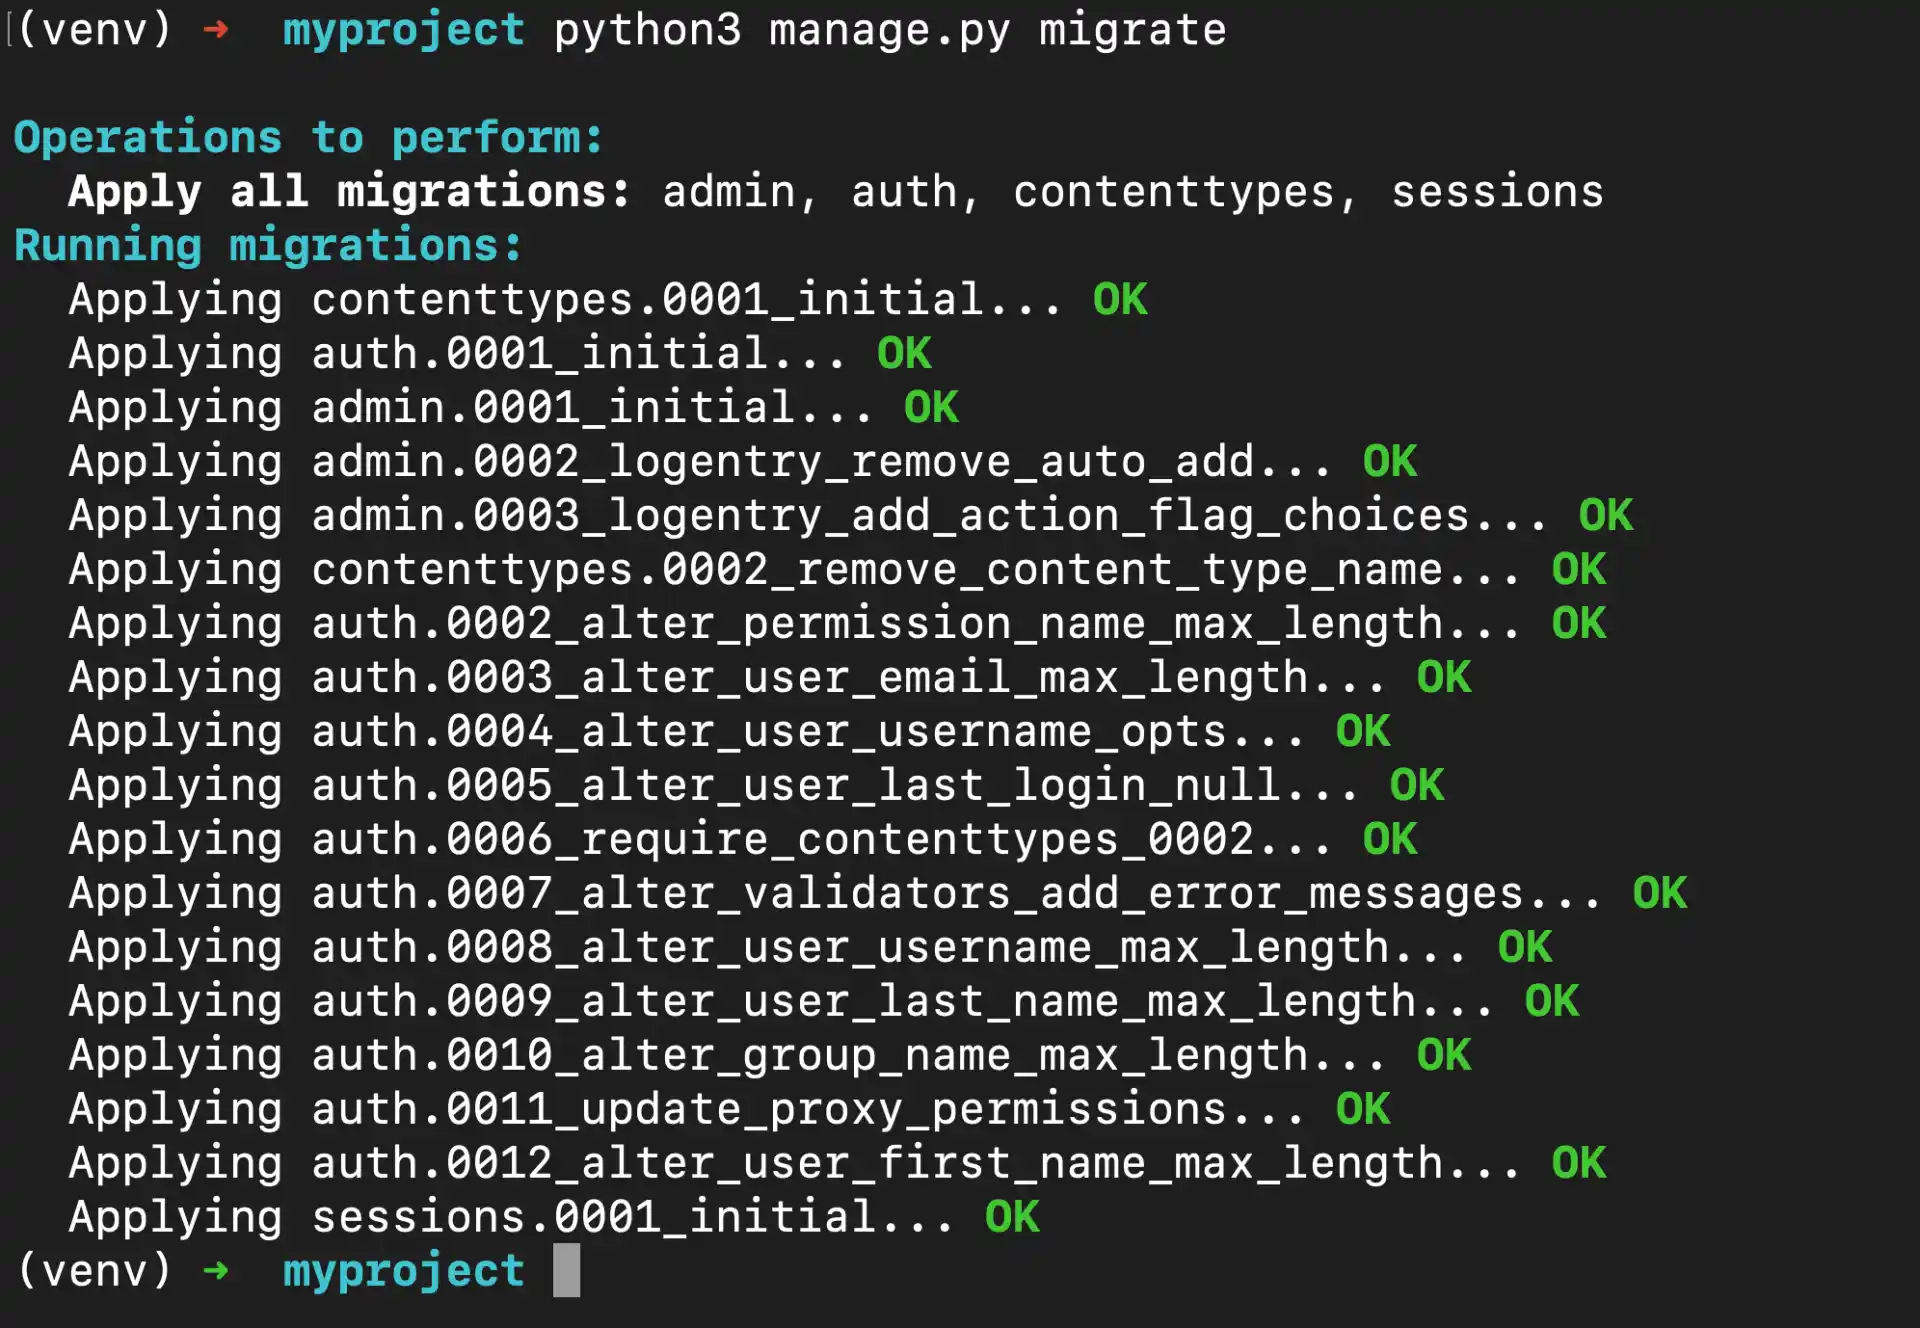
This command applies all pending migrations and sets up your SQLite database.
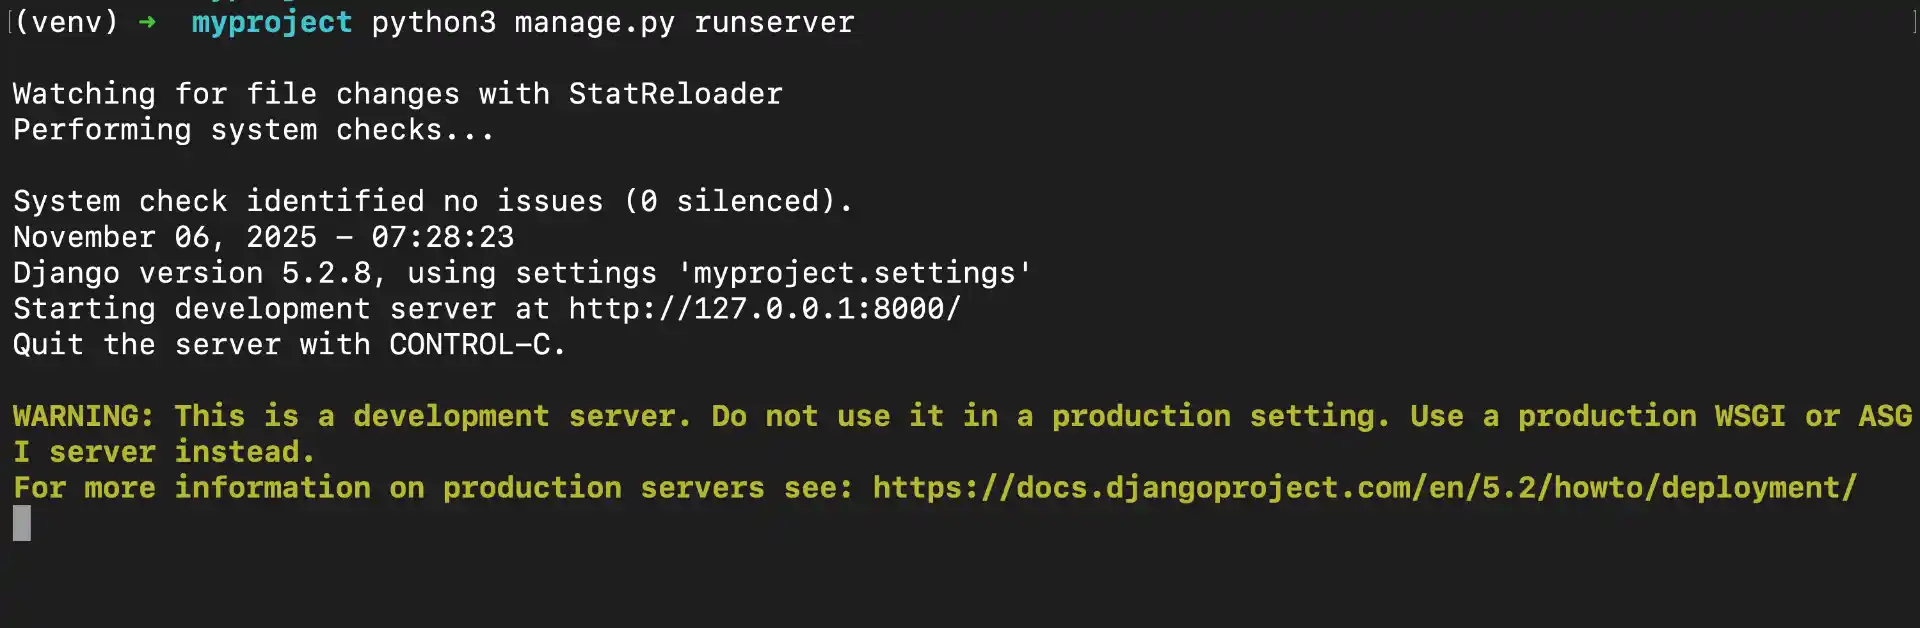
Start the Development Server
Now fire up Django’s built-in development server:
python3 manage.py runserver
You should see output like:
Starting development server at http://127.0.0.1:8000/
Quit the server with CONTROL-C.
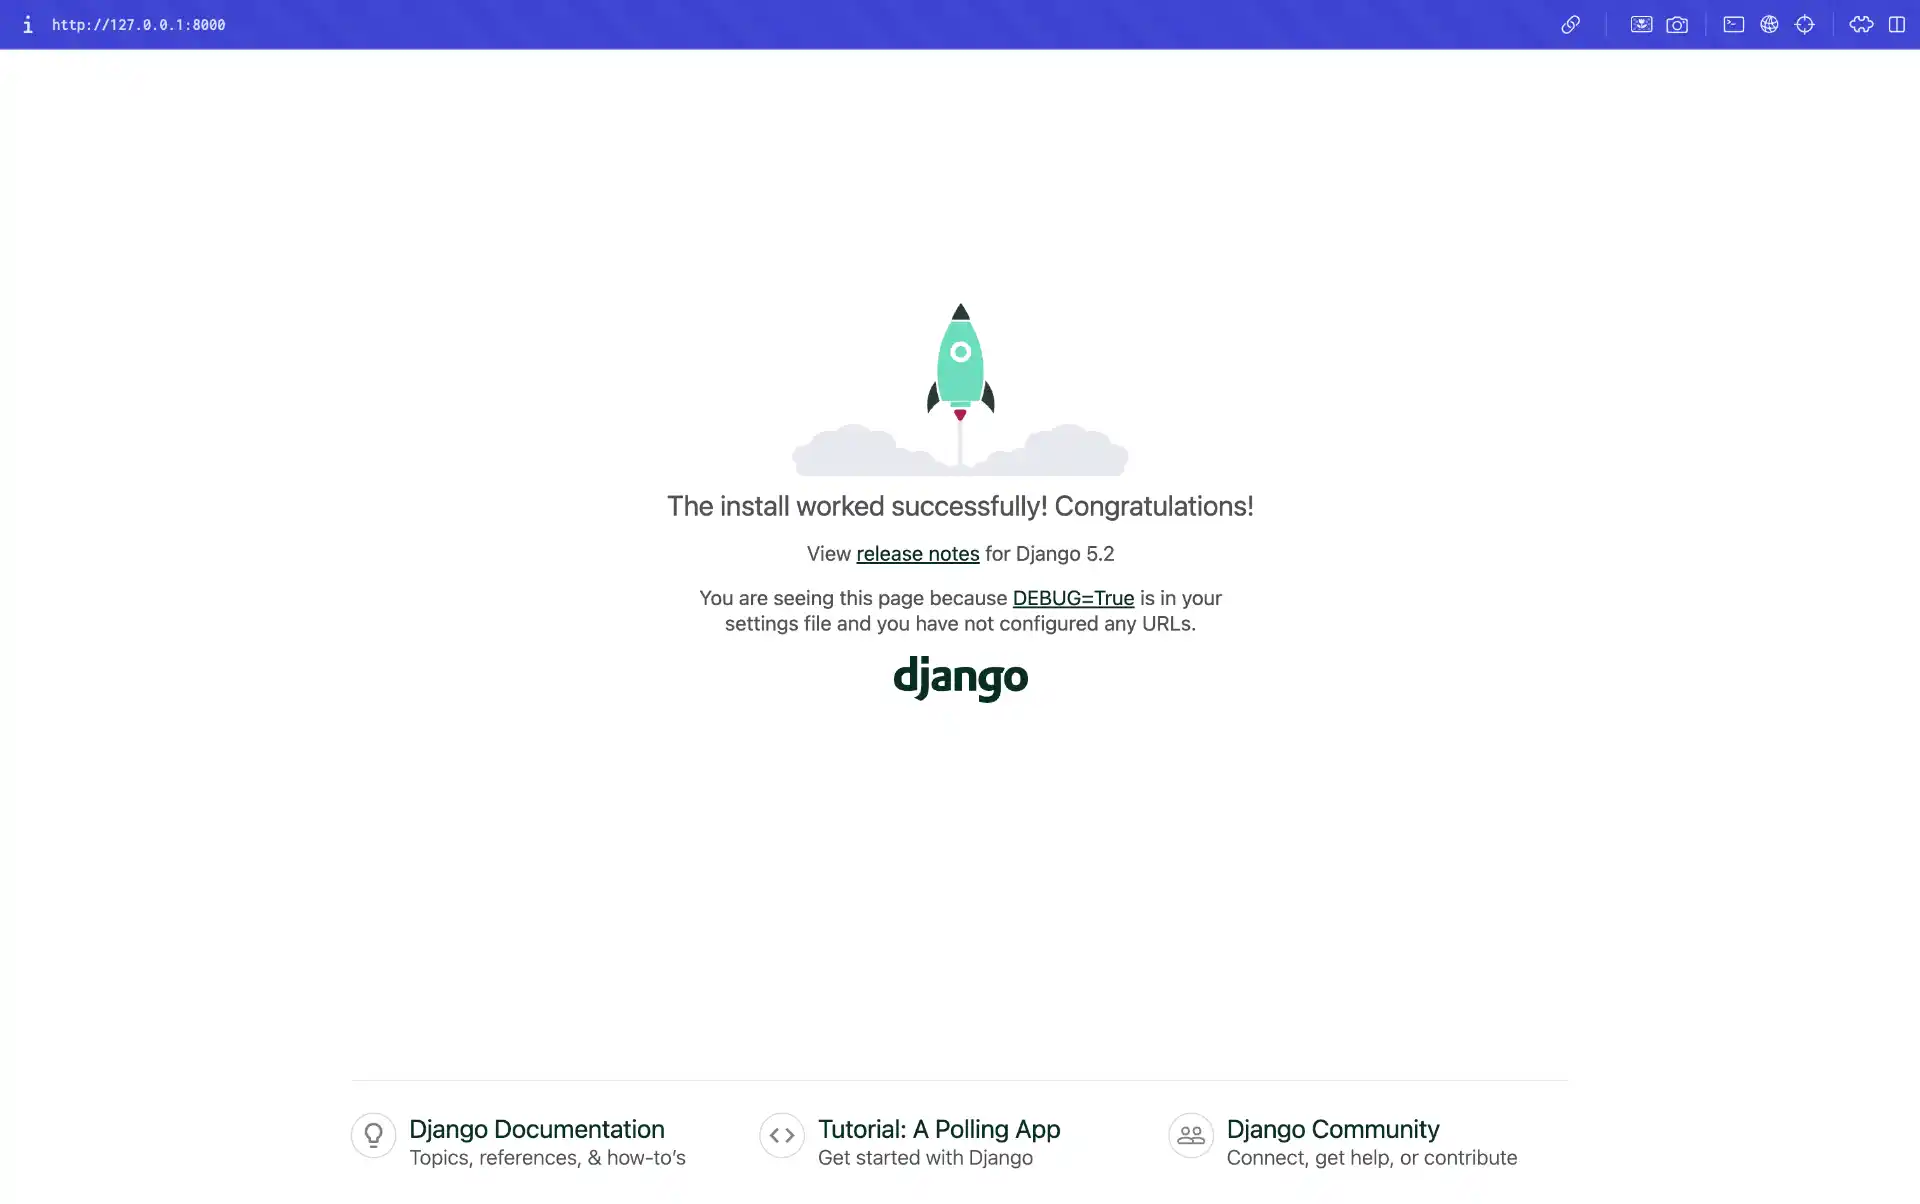
Open your browser and visit http://127.0.0.1:8000/. You’ll see Django’s friendly welcome page with a rocket ship, confirming everything is working correctly.
Step 2: Share Your Django App with Pinggy
Now comes the magic part. Open a new terminal window (keep your Django server running in the first one) and run this command:

Understanding the Command
Let’s break down what this command does:
ssh -p 443: Establishes a secure SSH connection to Pinggy’s server on port 443 (HTTPS port, which works even on restrictive networks).-R0:localhost:8000: Creates a reverse tunnel that maps your local Django app (running on port 8000) to a public URL.-L4300:localhost:4300: Sets up local port forwarding for Pinggy’s web debugger interface.-t free.pinggy.io: Specifies the Pinggy server to connect to.u:Host:127.0.0.1:8000: Updates the HTTP Host header to ensure Django accepts requests from the public URL.
What You’ll See
After running the command, Pinggy will output something like:
You can access local server via following URL(s):
https://rnssh-12-34-56-78.a.pinggy.link

Web Debugger: http://localhost:4300
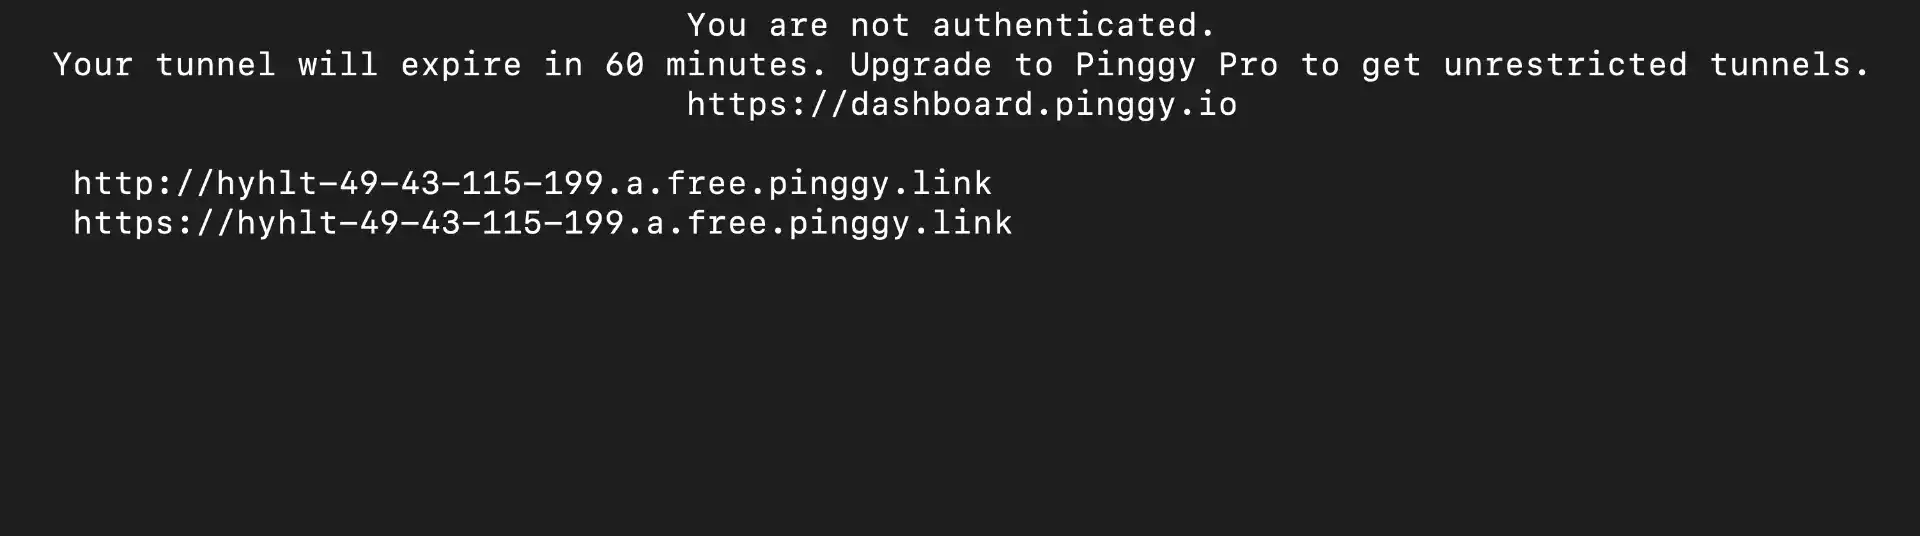
That’s it! Your Django application is now publicly accessible. Anyone can visit the Pinggy URL and interact with your app as if it were deployed on a real server.
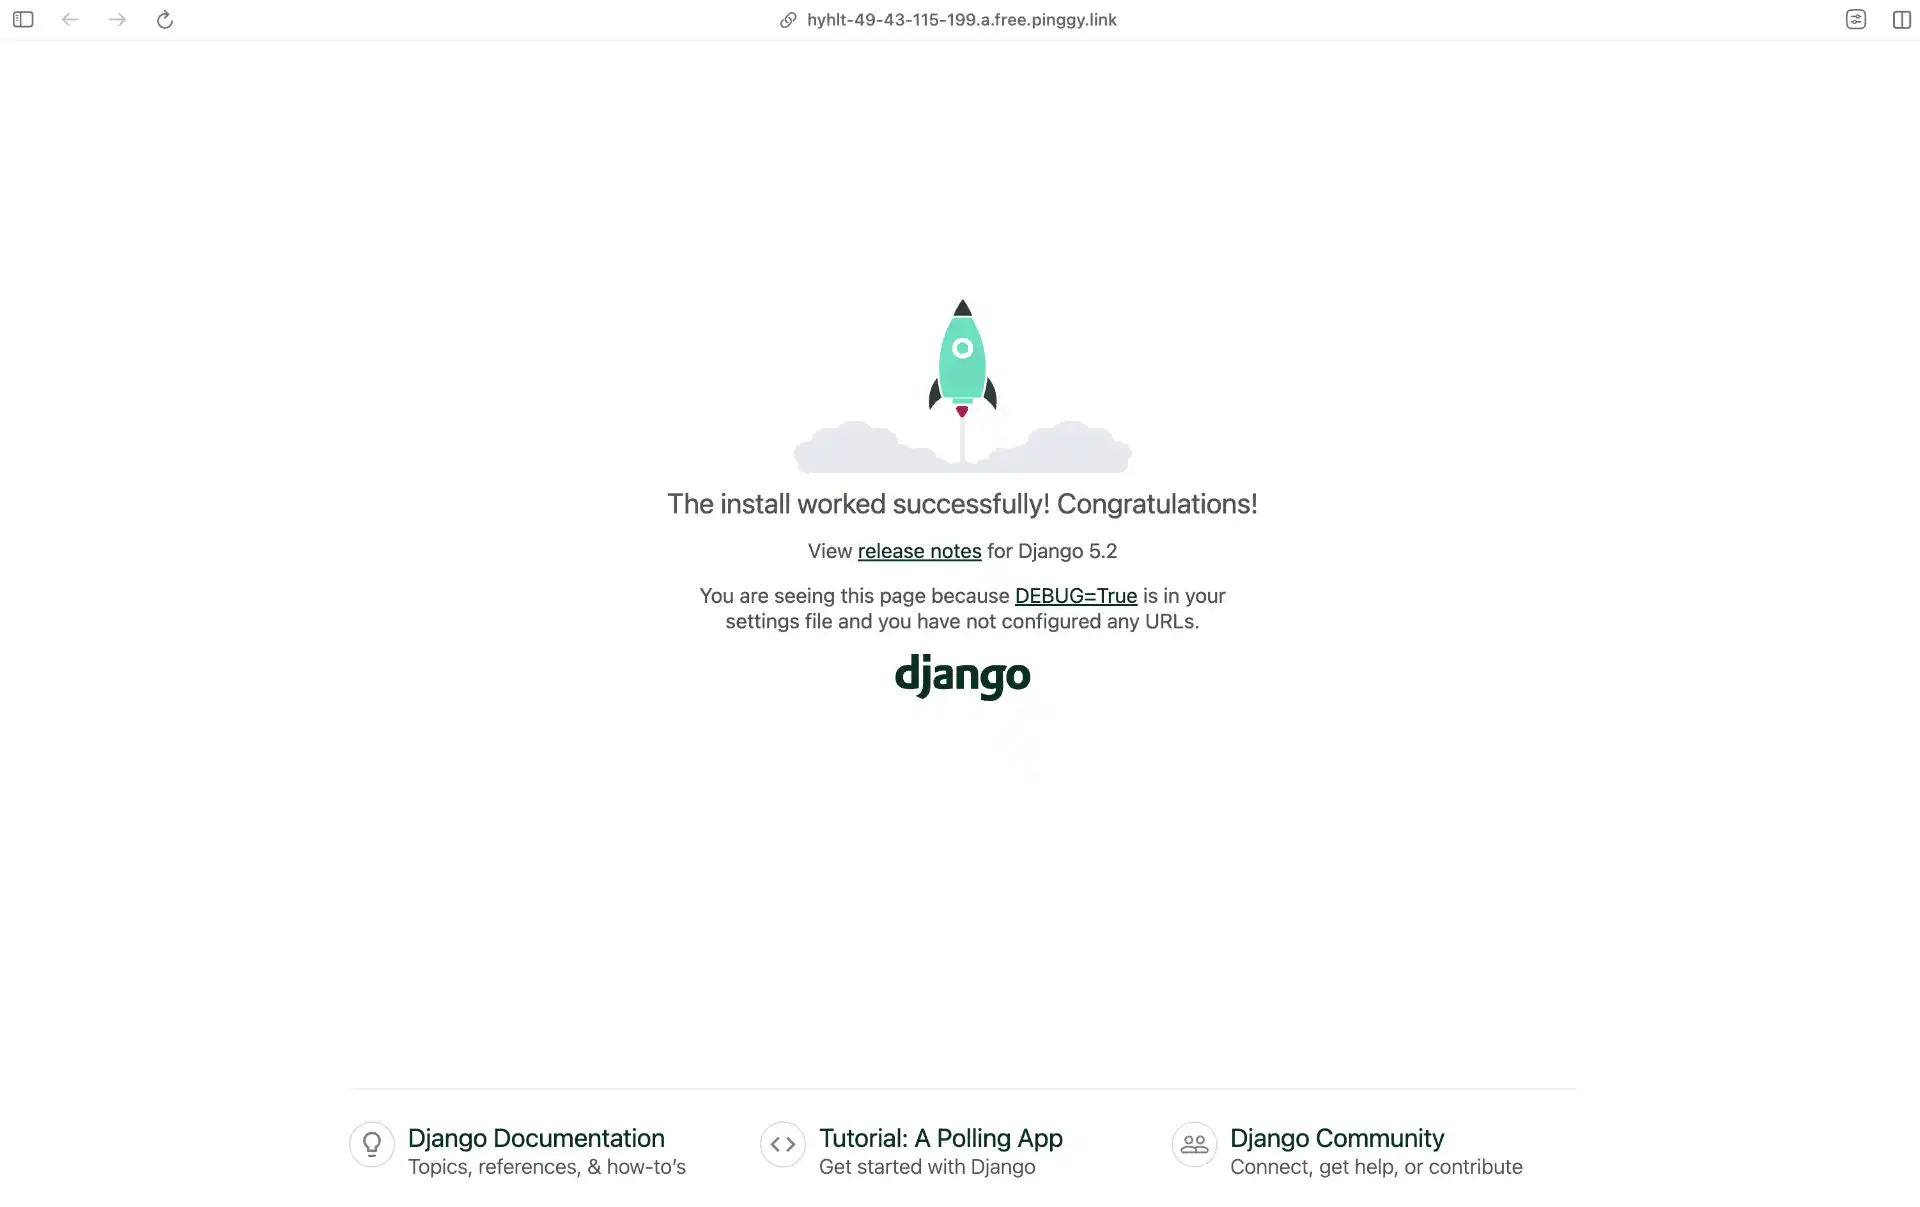
Step 3: Test Your Public Django App
Copy the Pinggy URL from your terminal and paste it into any browser. You should see your Django application load perfectly. Try it on your phone, share it with a colleague, or test it with webhook services - it all works seamlessly.
The web debugger at http://localhost:4300 is particularly useful. It shows you all incoming HTTP requests in real-time, including headers, query parameters, and request bodies. This is invaluable for debugging webhooks and API integrations.
Advanced Pinggy Features for Django
Pinggy offers several advanced features that make it even more powerful for Django development:
Custom Domains
Instead of using a random Pinggy subdomain, you can use your own custom domain. This is perfect for professional demos or when you need a branded URL.
Visit
Pinggy's documentation to learn how to set up custom domains.
Persistent URLs
By default, Pinggy generates a new URL each time you create a tunnel. With a
Pinggy Pro account, you can get persistent URLs that remain the same across sessions.
Common Use Cases for Sharing Django Apps
Here are some scenarios where sharing your Django app from localhost is incredibly useful:
- Client Demos: Show your progress to clients without deploying to a staging server.
- Webhook Development: Test integrations with services like Stripe, PayPal, or Twilio that require public URLs.
- Mobile Testing: Access your Django app from mobile devices on any network.
- Remote Collaboration: Let team members test features or review your work in real-time.
- OAuth Testing: Test social authentication flows that require callback URLs.
- API Development: Share your Django REST Framework APIs with frontend developers or third-party integrators.
Conclusion
Sharing your Django application from localhost has never been easier. With
Pinggy, you can transform your local development server into a publicly accessible application in seconds, without dealing with deployment pipelines, cloud configurations, or network settings. Whether you’re demoing to clients, testing webhooks, or collaborating with remote teammates, Pinggy provides a fast, secure, and developer-friendly solution.
The combination of Django’s powerful framework and Pinggy’s instant tunneling creates a workflow that lets you focus on building great applications instead of wrestling with infrastructure. Give it a try on your next Django project - you’ll wonder how you ever lived without it.