Text-to-speech (TTS) technology has become incredibly powerful, but accessing high-quality voice synthesis usually means paying for expensive APIs or running resource-intensive models on local hardware. What if you could build and host your own TTS application with studio-quality voices, all running for free in the cloud? That’s exactly what we’ll accomplish using
Google Colab,
Kokoro TTS, and
Pinggy.
In this guide, we’ll build a complete text-to-speech web application using the Kokoro TTS model - a lightweight yet powerful model that delivers natural-sounding speech across multiple languages and voices. You’ll learn how to set up everything on Google Colab’s free tier, create a beautiful Gradio interface, and make it publicly accessible to anyone on the internet.
Summary
Setup Google Colab with GPU
- Create new notebook and enable T4 GPU runtime
- GPU accelerates audio generation significantly
Install Pinggy and Create Tunnel
- Install:
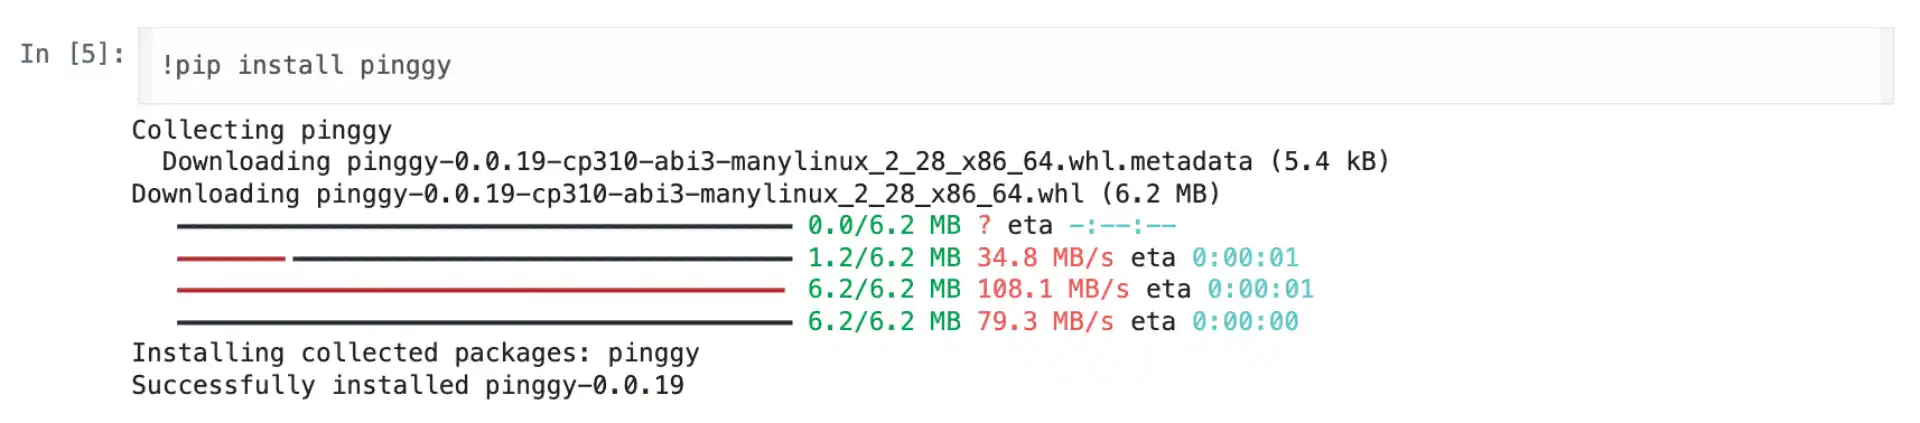
!pip install pinggy - Create tunnel:
pinggy.start_tunnel(forwardto="localhost:5000")
Install TTS Dependencies
- Install packages:
!pip install kokoro-onnx gradio soundfile torch numpy - Model files download automatically from GitHub releases
Build Gradio TTS Application
- Create web interface with voice and language selection
- Support for multiple voices and speed control
Access Your TTS App
- Open Pinggy URL in browser
- Generate speech and download audio files
GitHub Repository: TTS Application Code
Key Tools: Kokoro-ONNX | Pinggy for tunneling
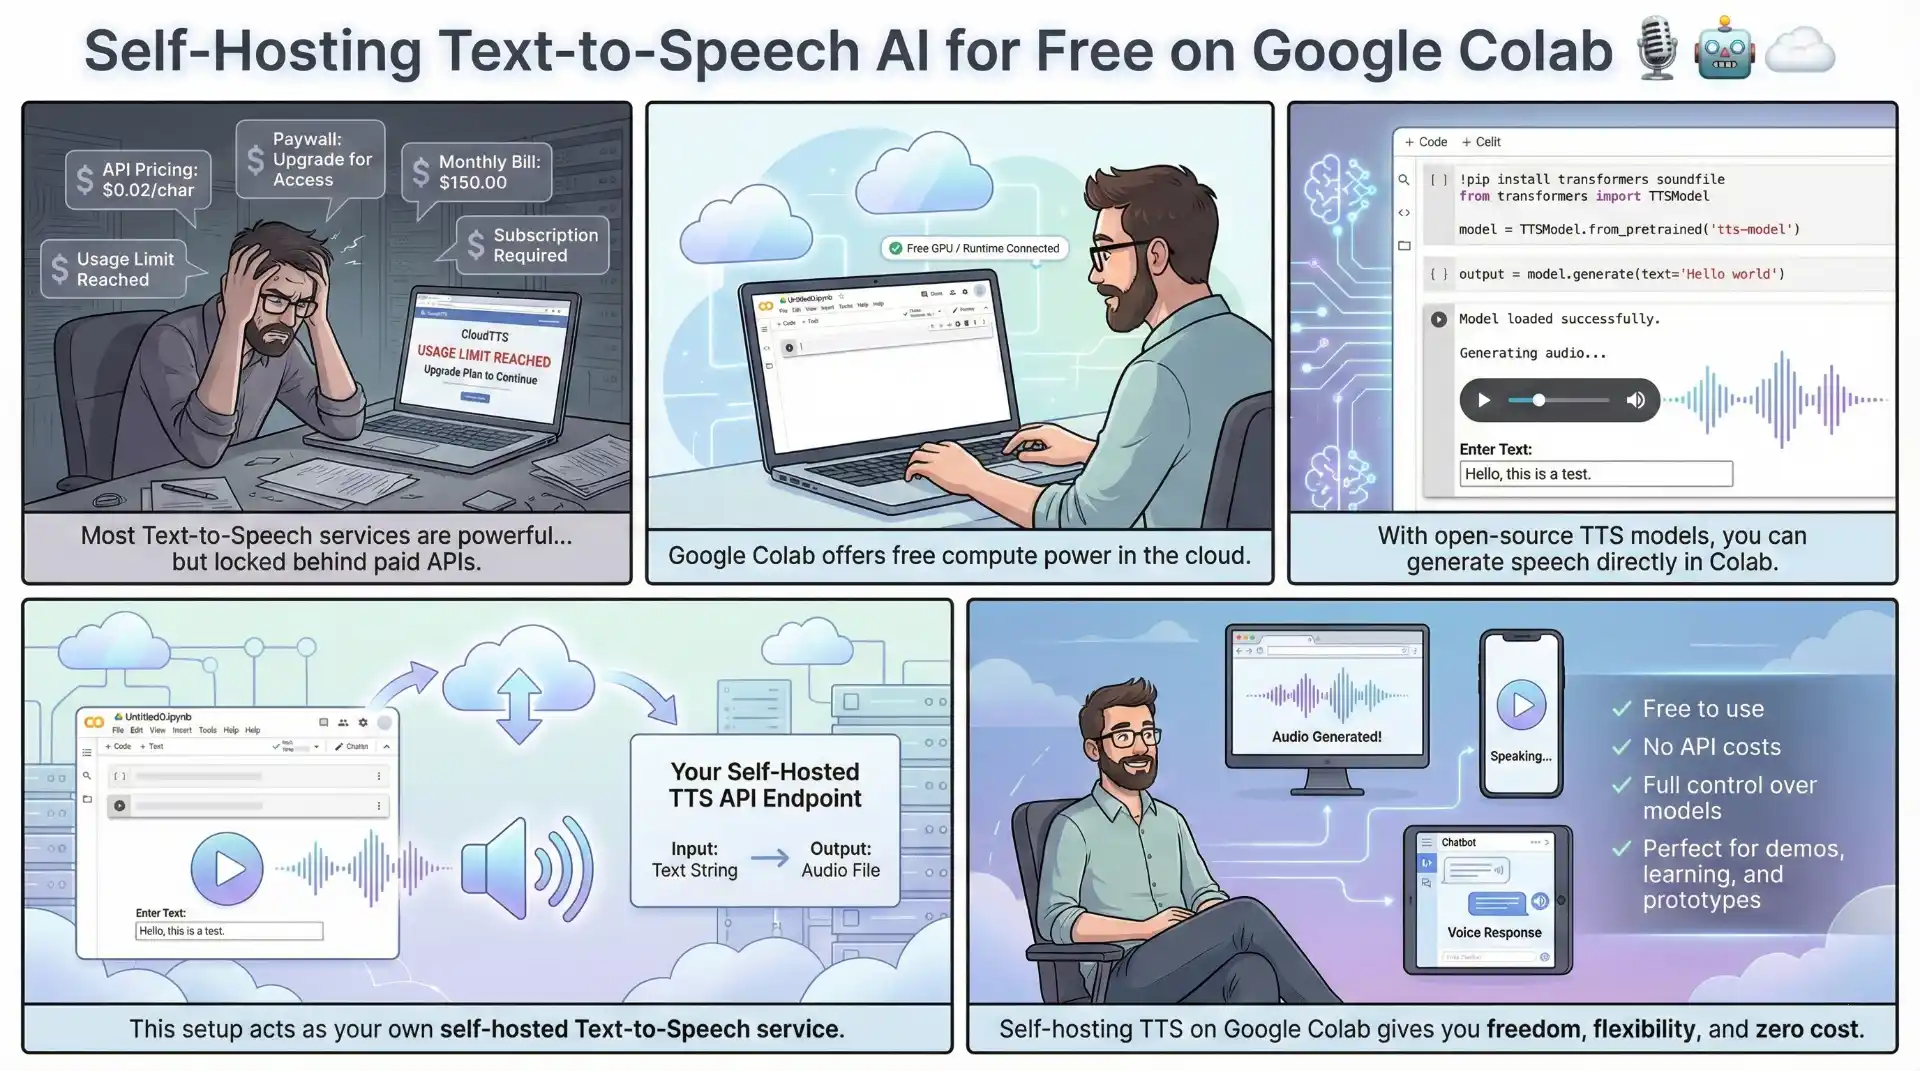
Why Self-Host Text-to-Speech on Google Colab?
Commercial TTS APIs like Amazon Polly, Google Cloud TTS, and ElevenLabs charge per character or per minute of generated audio. For developers, content creators, or anyone generating substantial amounts of audio, these costs add up quickly. Self-hosting eliminates these recurring expenses while giving you complete control over your TTS pipeline.
Google Colab provides free access to Tesla T4 GPUs with enough computational power to run modern TTS models efficiently. While Kokoro TTS can run on CPU, GPU acceleration makes the audio generation process significantly faster, especially for longer text passages. The T4 GPU handles the ONNX runtime inference smoothly, producing high-quality audio in near real-time.
The combination of Colab’s free compute with Pinggy’s tunneling service creates a powerful setup. Colab instances run in Google’s cloud but aren’t directly accessible from the internet. Pinggy solves this by creating secure tunnels that give you public URLs pointing to your Colab instance. This means you can share your TTS application with anyone, use it from any device, or integrate it with other services.
Understanding Kokoro TTS
Kokoro-ONNX is a text-to-speech implementation based on the Kokoro-82M model, optimized to run with ONNX Runtime. This makes it incredibly portable and efficient across different platforms. The model is lightweight at around 300MB (or 80MB quantized) while delivering remarkably natural-sounding speech.
The model supports multiple languages including English (US and UK), Japanese, Chinese, German, Spanish, French, Italian, Korean, Portuguese, and Russian. It also offers various voice options, from natural female and male voices to different speaking styles. The MIT license for the wrapper and Apache 2.0 license for the model make it suitable for both personal and commercial use.
What makes Kokoro particularly attractive for this setup is its balance of quality and efficiency. Unlike larger models that require multiple GPUs or extensive memory, Kokoro runs comfortably on Colab’s free tier while producing audio that rivals much larger systems.
Setting Up Your Colab Environment
Start by creating a new Google Colab notebook at
colab.google.com. Enabling GPU acceleration is highly recommended for better performance. Go to Runtime > Change runtime type and select T4 GPU as your hardware accelerator. While the TTS application can run on CPU, the GPU provides noticeably faster audio generation.
The first step is installing Pinggy to create a tunnel for public access. This needs to run before starting the application so we have the public URL ready:
Now create the tunnel that will forward traffic to your TTS application:
import pinggy

tunnel1 = pinggy.start_tunnel(
    forwardto="localhost:5000",
)

print(f"Tunnel started - URLs: {tunnel1.urls}")
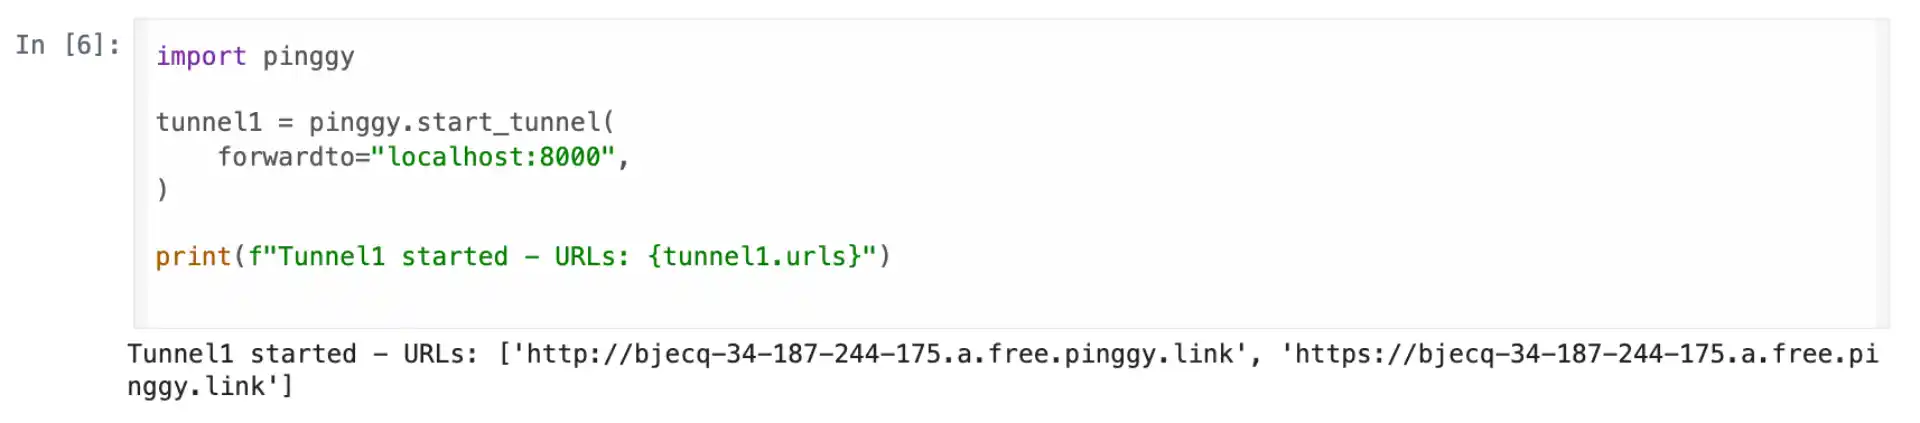
This creates both HTTP and HTTPS endpoints that forward traffic to your local Gradio server running on port 5000. The URLs will look something like https://randomstring.a.pinggy.link and remain active for the duration of your Colab session. Save this URL - you’ll use it to access your TTS application from anywhere.
Installing TTS Dependencies
With the tunnel established, install all the required packages for the TTS application:
!pip install kokoro-onnx gradio soundfile torch numpy
This installs Kokoro-ONNX for text-to-speech synthesis, Gradio for the web interface, soundfile for audio processing, and the supporting libraries. The installation typically takes a couple of minutes as it downloads the necessary packages and their dependencies.
Building the Text-to-Speech Application
Now for the main application. We’ll create a Gradio-based web interface that lets users enter text, select voices and languages, adjust speed, and generate speech. The application automatically downloads the required model files on first run.
Here’s the complete TTS application code:
import soundfile as sf
import urllib.request
import gradio as gr
import tempfile
import uuid
import os
from kokoro_onnx import Kokoro

# ---------- DOWNLOAD MODELS ----------
MODEL_URL = "https://github.com/thewh1teagle/kokoro-onnx/releases/download/model-files-v1.0/"
model_path = "kokoro-v1.0.onnx"
voices_bin_path = "voices-v1.0.bin"

if not os.path.exists(model_path):
    urllib.request.urlretrieve(MODEL_URL + "kokoro-v1.0.onnx", model_path)

if not os.path.exists(voices_bin_path):
    urllib.request.urlretrieve(MODEL_URL + "voices-v1.0.bin", voices_bin_path)

# ---------- LOAD MODEL ----------
kokoro = Kokoro(model_path, voices_bin_path)

# ---------- VOICES ----------
if hasattr(kokoro, "voices"):
    voice_options = list(kokoro.voices.keys())
else:
    voice_options = [
        "af_sarah", "en_erin", "en_daniel", "en_vicki",
        "en_brandon", "ja_akira", "ja_naomi", "de_anna",
        "fr_elise", "es_carlos", "it_marco", "zh_mei",
        "ru_ivan", "ko_mina"
    ]

VOICE_LABELS = {v.replace("_", " ").title(): v for v in voice_options}

# ---------- LANGUAGES ----------
LANG_LABELS = {
    "English (US)": "en-us",
    "English (UK)": "en-gb",
    "Japanese": "ja-jp",
    "Chinese (Mandarin)": "zh-cn",
    "German": "de-de",
    "Spanish": "es-es",
    "French": "fr-fr",
    "Italian": "it-it",
    "Korean": "ko-kr",
    "Portuguese (Brazil)": "pt-br",
    "Russian": "ru-ru",
}

# ---------- TTS FUNCTION ----------
def tts_generate(text, voice_label, speed, language):
    if not text.strip():
        return None, "Please enter some text."

    voice_id = VOICE_LABELS[voice_label]
    lang_code = LANG_LABELS[language]

    try:
        samples, sr = kokoro.create(
            text=text,
            voice=voice_id,
            speed=float(speed),
            lang=lang_code
        )
    except Exception as e:
        return None, f"❌ Error: {e}"

    filename = f"tts_{uuid.uuid4().hex[:8]}.wav"
    path = os.path.join(tempfile.gettempdir(), filename)
    sf.write(path, samples, sr)

    return path, "✅ Voice generated successfully!"
This code handles downloading the model files automatically, initializing the Kokoro TTS engine, and providing the core text-to-speech functionality. The tts_generate function takes the user’s text input along with voice, speed, and language preferences, then returns the generated audio file.
Creating the Web Interface
The Gradio interface provides a clean, user-friendly way to interact with the TTS engine. Here’s the UI code with custom styling:
# ---------- UI ----------
def build_ui():
    theme_css = """
    .gradio-container {
        max-width: 1200px !important;
        margin: 24px auto !important;
        background: #f5f7f5;
    }
    .title {
        width: 100%;
        text-align: center !important;
        font-size: 2.4rem;
        font-weight: 800;
        padding: 10px 0 5px 0;
        color: #1b3c1a;
    }
    .subtitle {
        text-align: center;
        font-size: 1.1rem;
        color: #3b4b3b;
        margin-bottom: 20px;
    }
    .card {
        padding: 28px;
        border-radius: 18px;
        background: #ffffff;
        box-shadow: 0 6px 18px rgba(0,0,0,0.08);
        overflow: visible !important;
    }
    .green-btn button {
        background: #1ea34a !important;
        color: white !important;
        font-size: 1.18rem !important;
        padding: 16px 26px !important;
        border-radius: 12px !important;
        font-weight: 700 !important;
        height: 64px !important;
        box-shadow: 0 6px 18px rgba(0,0,0,0.14) !important;
        transition: 0.2s ease;
    }
    .green-btn button:hover {
        background: #148a3d !important;
        transform: scale(1.03);
    }
    """

    with gr.Blocks(css=theme_css, title="Text-to-Speech AI") as app:
        gr.HTML("<div class='title'>🎙️ Text-to-Speech AI</div>")
        gr.HTML("<div class='subtitle'>Generate natural speech from text</div>")

        with gr.Column(elem_classes="card"):
            text_input = gr.Textbox(
                label="Enter Text",
                placeholder="Type your text here...",
                lines=4,
            )

            with gr.Row():
                voice_dropdown = gr.Dropdown(
                    label="Voice",
                    choices=list(VOICE_LABELS.keys()),
                    value=list(VOICE_LABELS.keys())[0],
                )
                lang_dropdown = gr.Dropdown(
                    label="Language",
                    choices=list(LANG_LABELS.keys()),
                    value="English (US)",
                )

            speed_slider = gr.Slider(0.5, 2.0, 1.0, 0.1, label="Speed")
            generate_btn = gr.Button("Generate Speech", elem_classes="green-btn")

        audio_out = gr.Audio(label="Output Audio")
        status_out = gr.Markdown()

        generate_btn.click(
            tts_generate,
            inputs=[text_input, voice_dropdown, speed_slider, lang_dropdown],
            outputs=[audio_out, status_out]
        )

    return app

if __name__ == "__main__":
    app = build_ui()
    app.launch(server_name="0.0.0.0", server_port=5000, share=False)
The interface includes a text input area, dropdown menus for voice and language selection, a speed slider for adjusting speech tempo, and a generate button. The output section displays the generated audio with playback controls and an option to download the file.
Running Your TTS Application
With everything in place, run the application cell in your Colab notebook. The server will start on port 5000, and you can access it using the Pinggy URL that was generated earlier. Open the URL in your browser, and you’ll see your text-to-speech interface ready to use.
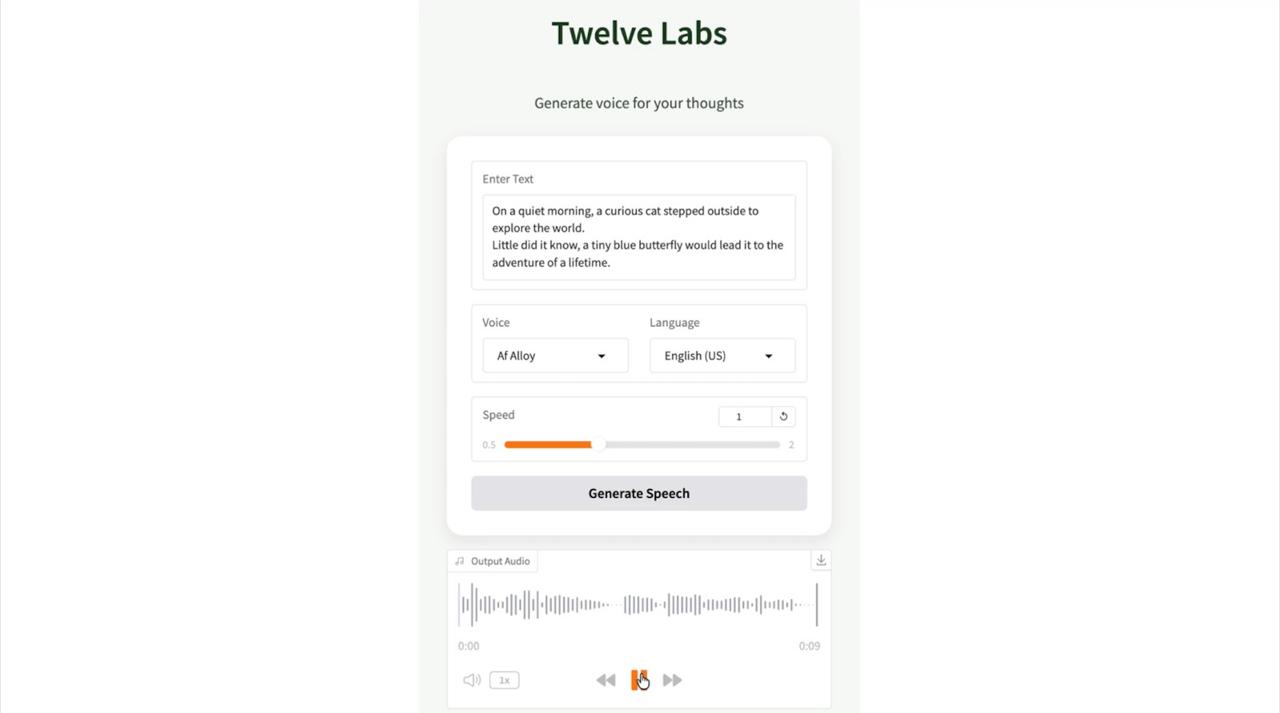
Try entering different text passages and experimenting with various voices and languages. The model handles both short phrases and longer paragraphs effectively. You can adjust the speed slider to make the speech faster or slower according to your needs. The generated audio can be played directly in the browser or downloaded as a WAV file for use in other projects.
Voice and Language Options
Kokoro TTS offers a diverse selection of voices across multiple languages. The available voices include natural-sounding options for English, Japanese, German, French, Spanish, Italian, Chinese, Korean, Portuguese, and Russian. Each voice has its own characteristics, from warm and friendly tones to more professional and formal styles.
When selecting a voice, consider matching the voice’s language prefix with your chosen language for best results. For example, use voices starting with “en_” for English text and “ja_” for Japanese text. While the model can handle cross-language synthesis, native voice-language pairings typically produce the most natural results.
On Google Colab’s free T4 GPU, the text-to-speech generation is remarkably fast. Short sentences generate almost instantly, while longer paragraphs take a few seconds. The first generation after loading the model might be slightly slower as the system warms up, but subsequent generations are consistently quick.
The free Colab tier has usage limits and sessions may disconnect after periods of inactivity. Save any important generated audio before your session ends. For extended use or better performance, consider upgrading to
Colab Pro which offers longer session times and priority access to faster GPUs.
GitHub Repository
You can find the complete Colab notebook with all the code in the GitHub repository:
TTS Application. The repository includes the ready-to-use notebook that you can run directly in Google Colab.
Conclusion
Self-hosting text-to-speech AI on Google Colab provides an excellent way to access high-quality voice synthesis without recurring API costs or expensive hardware. The combination of Kokoro TTS for natural-sounding speech, Gradio for a polished interface, and Pinggy for public accessibility creates a powerful and free TTS solution.
This setup is perfect for developers building voice-enabled applications, content creators generating audio for videos or podcasts, educators creating accessible learning materials, or anyone who needs text-to-speech capabilities without the overhead of managing infrastructure. The public URL from Pinggy means you can share your TTS service with collaborators or use it from any device, making it a versatile tool for various use cases.