OpenClaw (formerly known as Clawdbot and Moltbot) is the open-source personal AI assistant that took the developer community by storm, becoming one of the fastest-growing GitHub repositories ever with over 100,000 stars. Unlike traditional chatbots that just respond to prompts, OpenClaw is an AI agent that can actually execute tasks: browse the web, manage files, run terminal commands, send messages, and remember everything about you indefinitely.
In this guide, we’ll walk through self-hosting OpenClaw on your own machine and setting up Discord integration so you can interact with your AI agent through Discord DMs or server channels.
Summary
What You’ll Build:
- Self-hosted OpenClaw AI agent running on your own hardware
- Discord bot integration for chatting with your AI from anywhere
- Persistent memory that remembers all your conversations and preferences
Quick Setup:
- Install OpenClaw:
npm install -g openclaw@latest
- Run the onboarding wizard:
openclaw onboard --install-daemon
- Create a Discord bot and configure the token
- Start the gateway:
openclaw gateway --port 18789
- Access the dashboard at
http://localhost:18789
Resources:
Why Self-Host an AI Agent?
Cloud-based AI assistants are convenient, but they come with significant trade-offs. Your conversations are stored on someone else’s servers, you’re limited by API quotas and subscription tiers, and you have no control over how your data is used. Self-hosting OpenClaw changes all of that.
With OpenClaw running on your own machine, your data stays private. The AI remembers your preferences, ongoing projects, and personal details indefinitely, all stored locally. It can access your local files, run commands on your system, and integrate with services that cloud-based assistants simply cannot reach.
The real power comes from OpenClaw’s proactive nature. Unlike ChatGPT or Claude that wait for your input, OpenClaw can reach out to you: morning briefings, reminders, alerts when something you care about happens. Combined with Discord integration, you get an AI assistant that’s always available in your pocket.
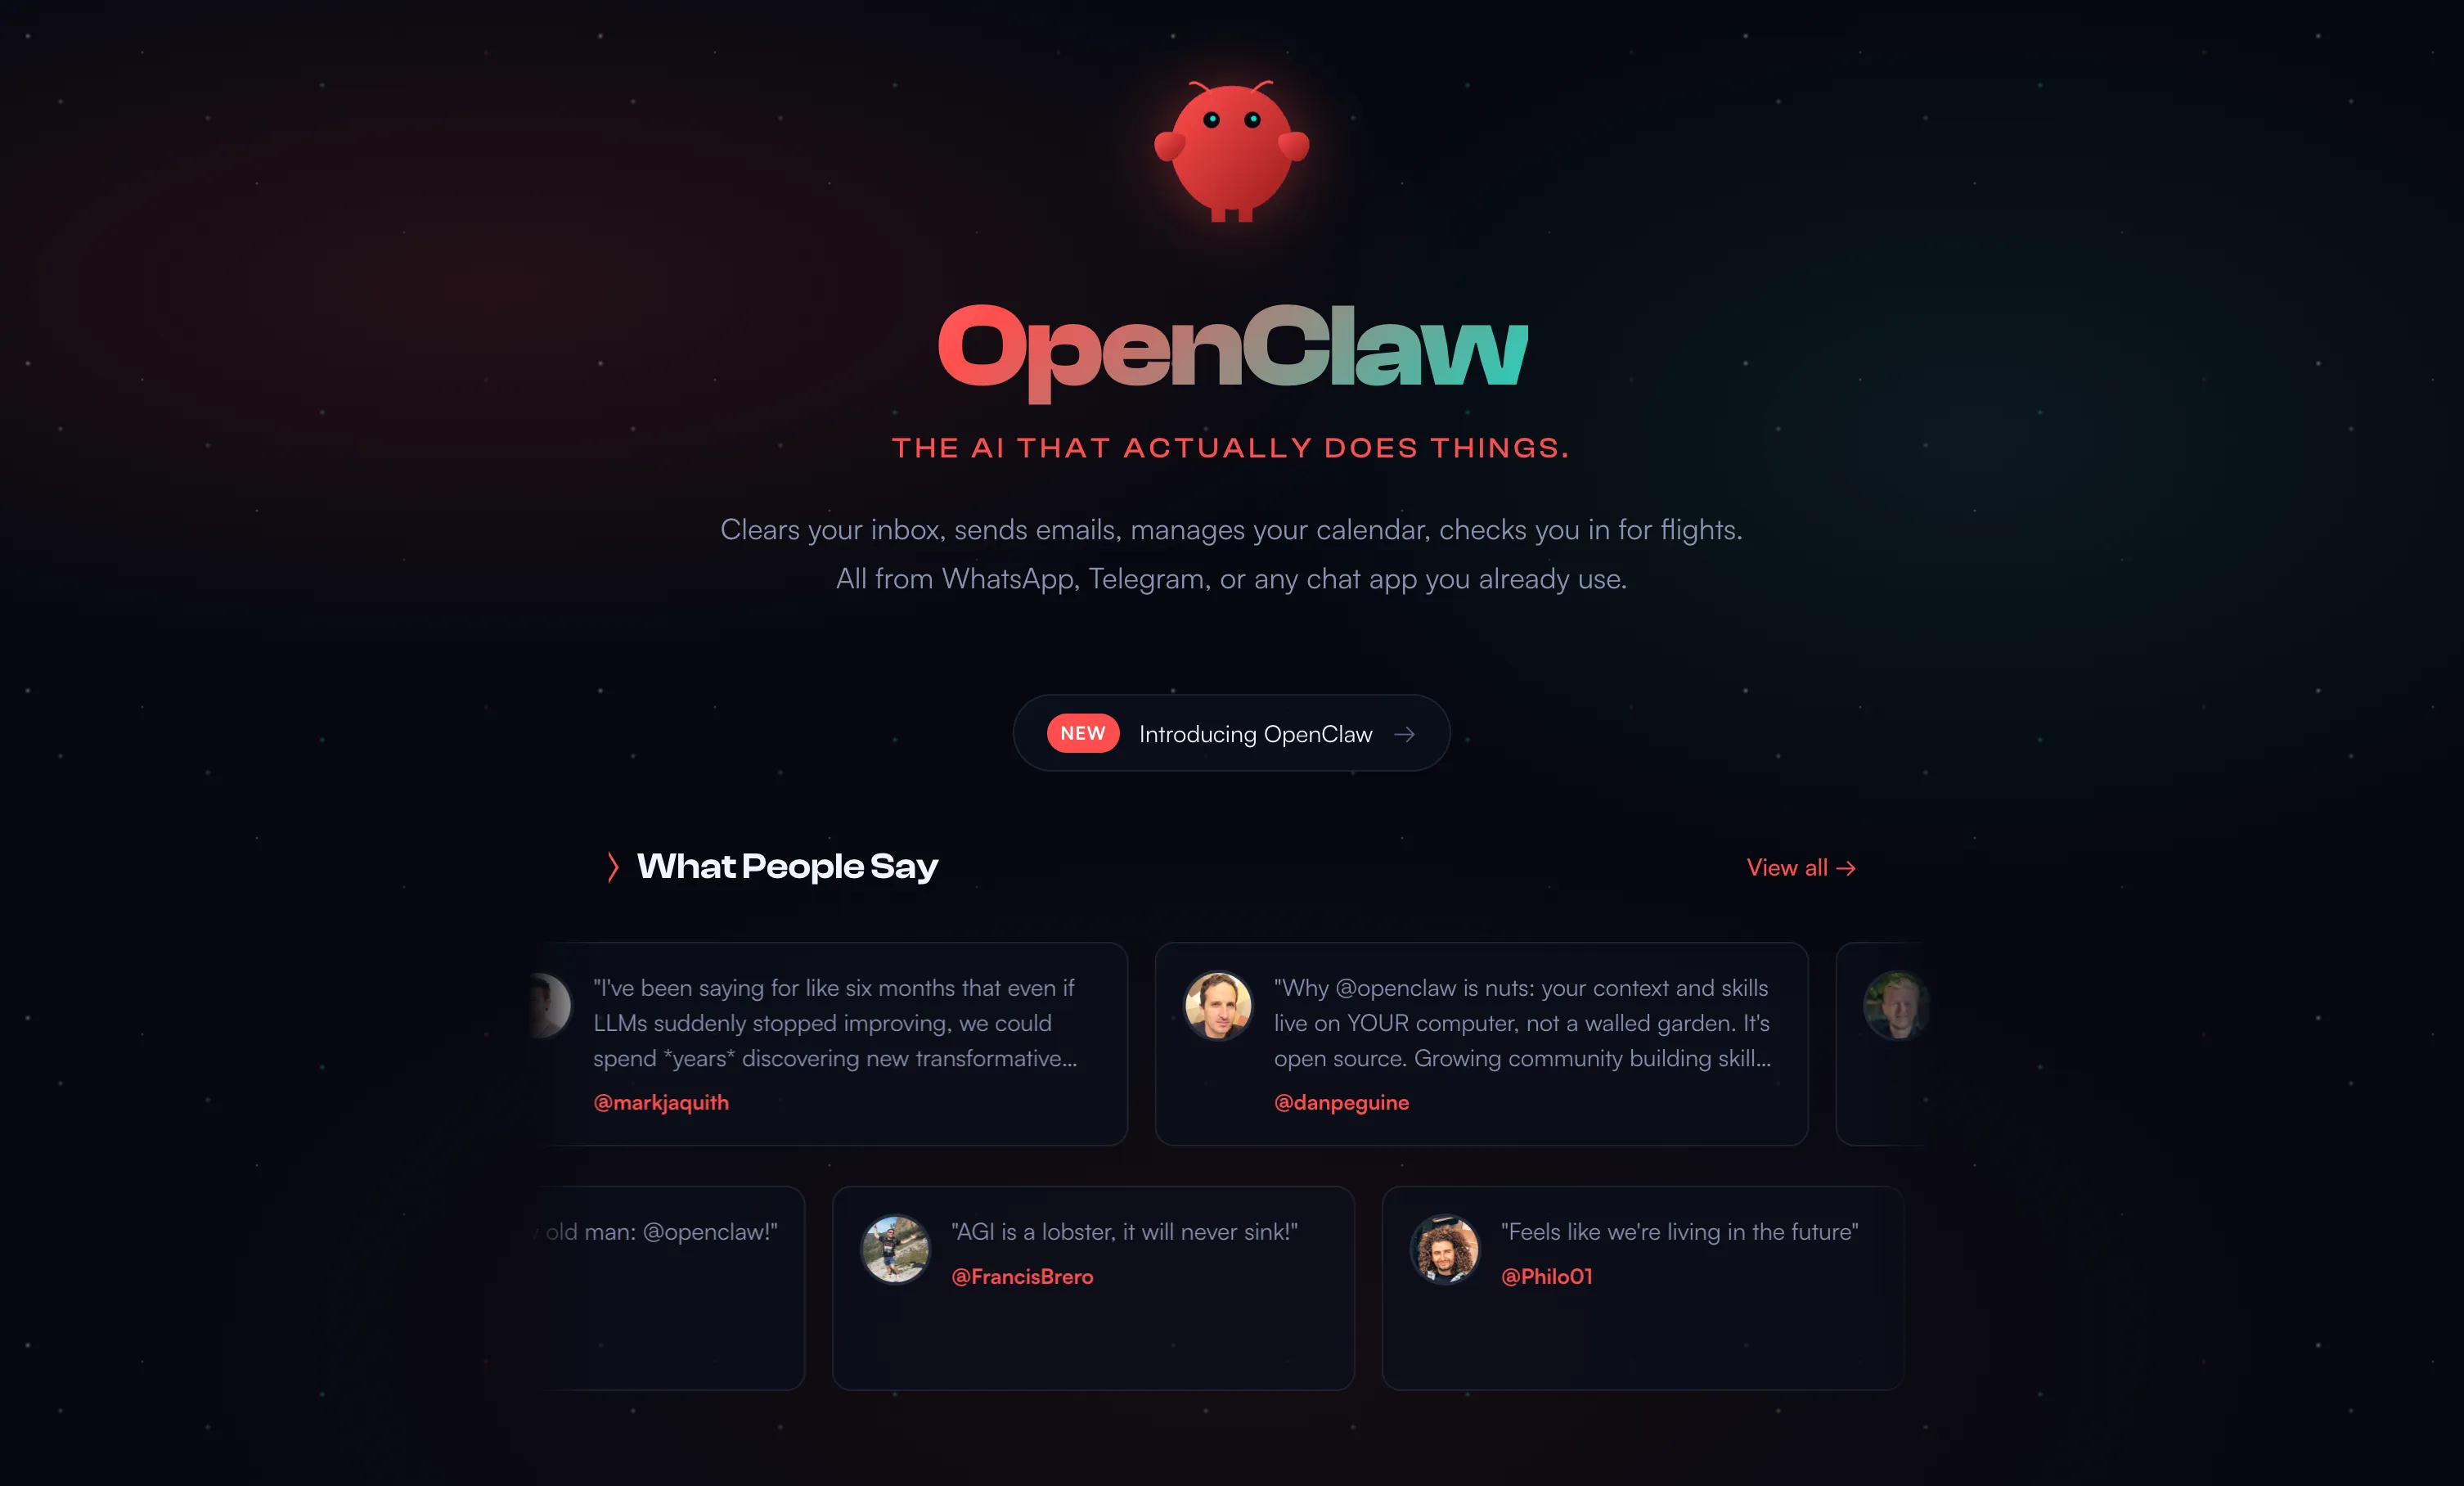
What is OpenClaw?
OpenClaw is an open-source, self-hosted AI agent created by Peter Steinberger (founder of PSPDFKit). It’s essentially “Claude with hands” since an AI that doesn’t just chat but actually does things on your behalf.
The project was originally released as Clawdbot in late 2025, then renamed to Moltbot following a trademark request from Anthropic, and finally settled on OpenClaw. Despite the name changes, the core vision remains: give everyone access to a powerful, private AI assistant that runs entirely on their own hardware.
Key Features:
- Multi-Channel Support: Chat via Discord, WhatsApp, Telegram, Slack, Signal, or iMessage
- Full System Access: Browser automation, file read/write, shell commands, and cron jobs
- Persistent Memory: Remembers everything, conversations, preferences, and context from weeks ago
- Proactive Communication: Can reach out to you with briefings, reminders, and alerts
- Local-First Privacy: All data stored on your machine, never sent to third parties
- Extensible Architecture: Add custom tools and integrations as needed
Prerequisites
Before starting, ensure you have the following:
Node.js v22 or higher: OpenClaw requires a modern Node.js runtime. Check your version:
If you need to install or update Node.js:
Windows/macOS: Download from
nodejs.org (use the Current version, not LTS)
Linux (Ubuntu/Debian):
curl -fsSL https://deb.nodesource.com/setup_22.x | sudo -E bash -
sudo apt-get install -y nodejs
An LLM API Key: OpenClaw works best with Anthropic’s Claude API, but also supports OpenAI, Google, and local models via Ollama. Have your API key ready.
A Discord Account: For the Discord bot integration covered in this guide.
Step 1: Install OpenClaw
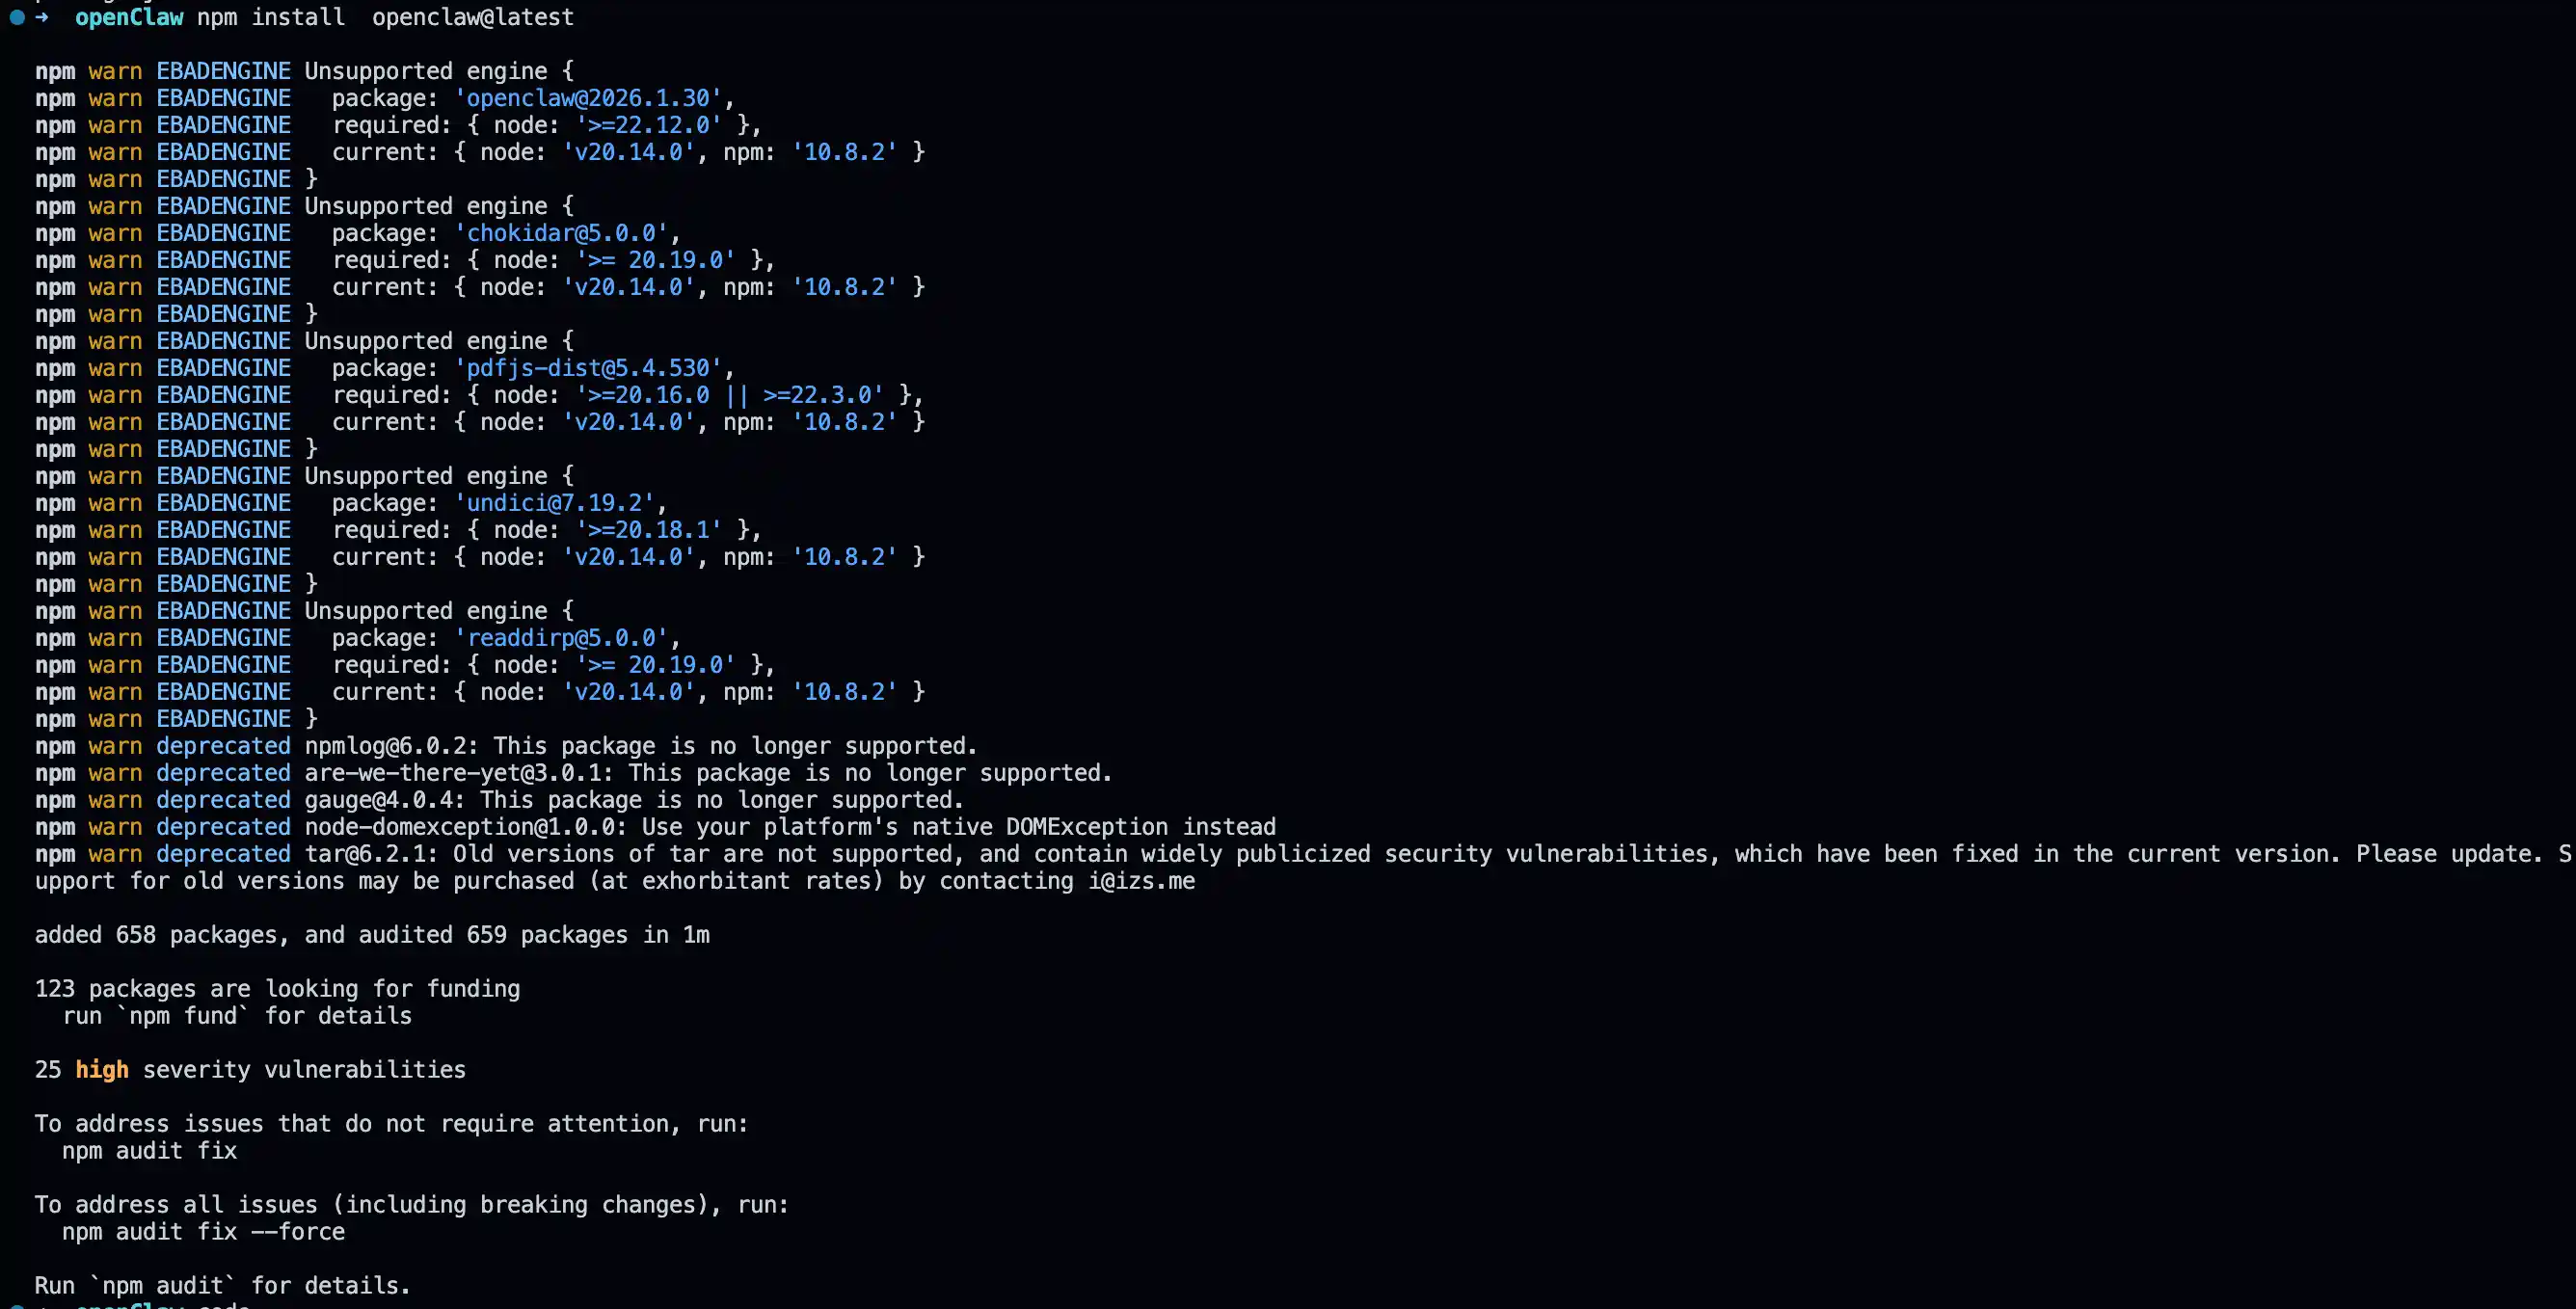
Installing OpenClaw is straightforward with npm. Open your terminal and run:
# Global installation (recommended)
npm install -g openclaw@latest
# OR local installation (if you prefer not to install globally)
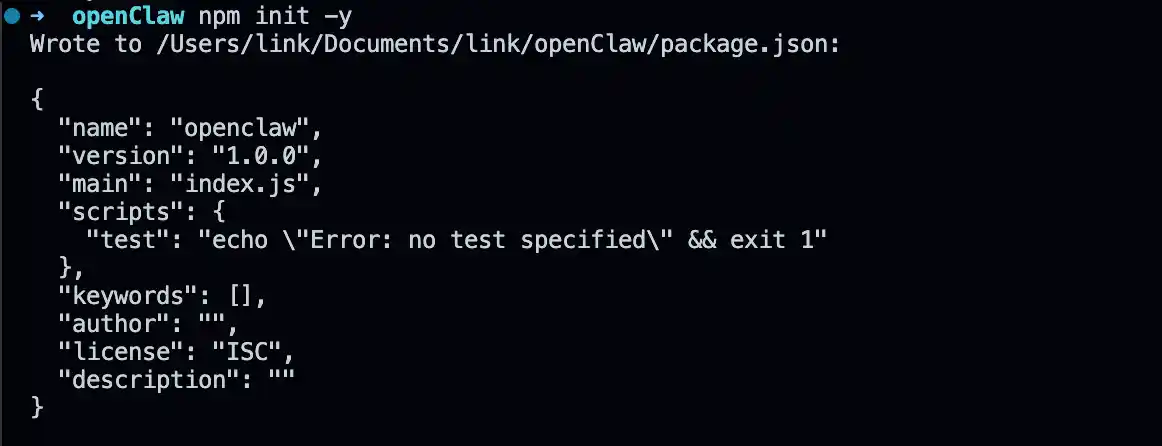
mkdir openclaw
cd openclaw
npm init -y
npm install openclaw@latest
For global installation, use npm install -g which makes OpenClaw available system-wide. If you prefer local installation, omit the -g flag and OpenClaw will be installed in your current project directory.
Verify the installation:
# If installed globally
openclaw --version

# If installed locally
npx openclaw --version
You should see the version number confirming OpenClaw is installed correctly.

Building from Source (Alternative)
If you prefer to build from source for development or customization:
git clone https://github.com/openclaw/openclaw.git
cd openclaw
pnpm install
pnpm ui:build
pnpm build
Step 2: Run the Onboarding Wizard
OpenClaw includes an interactive onboarding wizard that configures your LLM provider, messaging channels, and system service. Run:
# If installed globally
openclaw onboard --install-daemon

# If installed locally
npx openclaw onboard --install-daemon
The wizard will guide you through:
- LLM Provider Setup: Enter your Anthropic API key (recommended) or configure an alternative provider
- Gateway Token: Generates a security token for accessing the dashboard
- Service Installation: Installs OpenClaw as a launchd (macOS) or systemd (Linux) user service for automatic startup
The --install-daemon flag ensures OpenClaw starts automatically when your system boots, keeping your AI agent always available.
Step 3: Create a Discord Bot
To interact with OpenClaw through Discord, you’ll need to create a bot in the Discord Developer Portal.
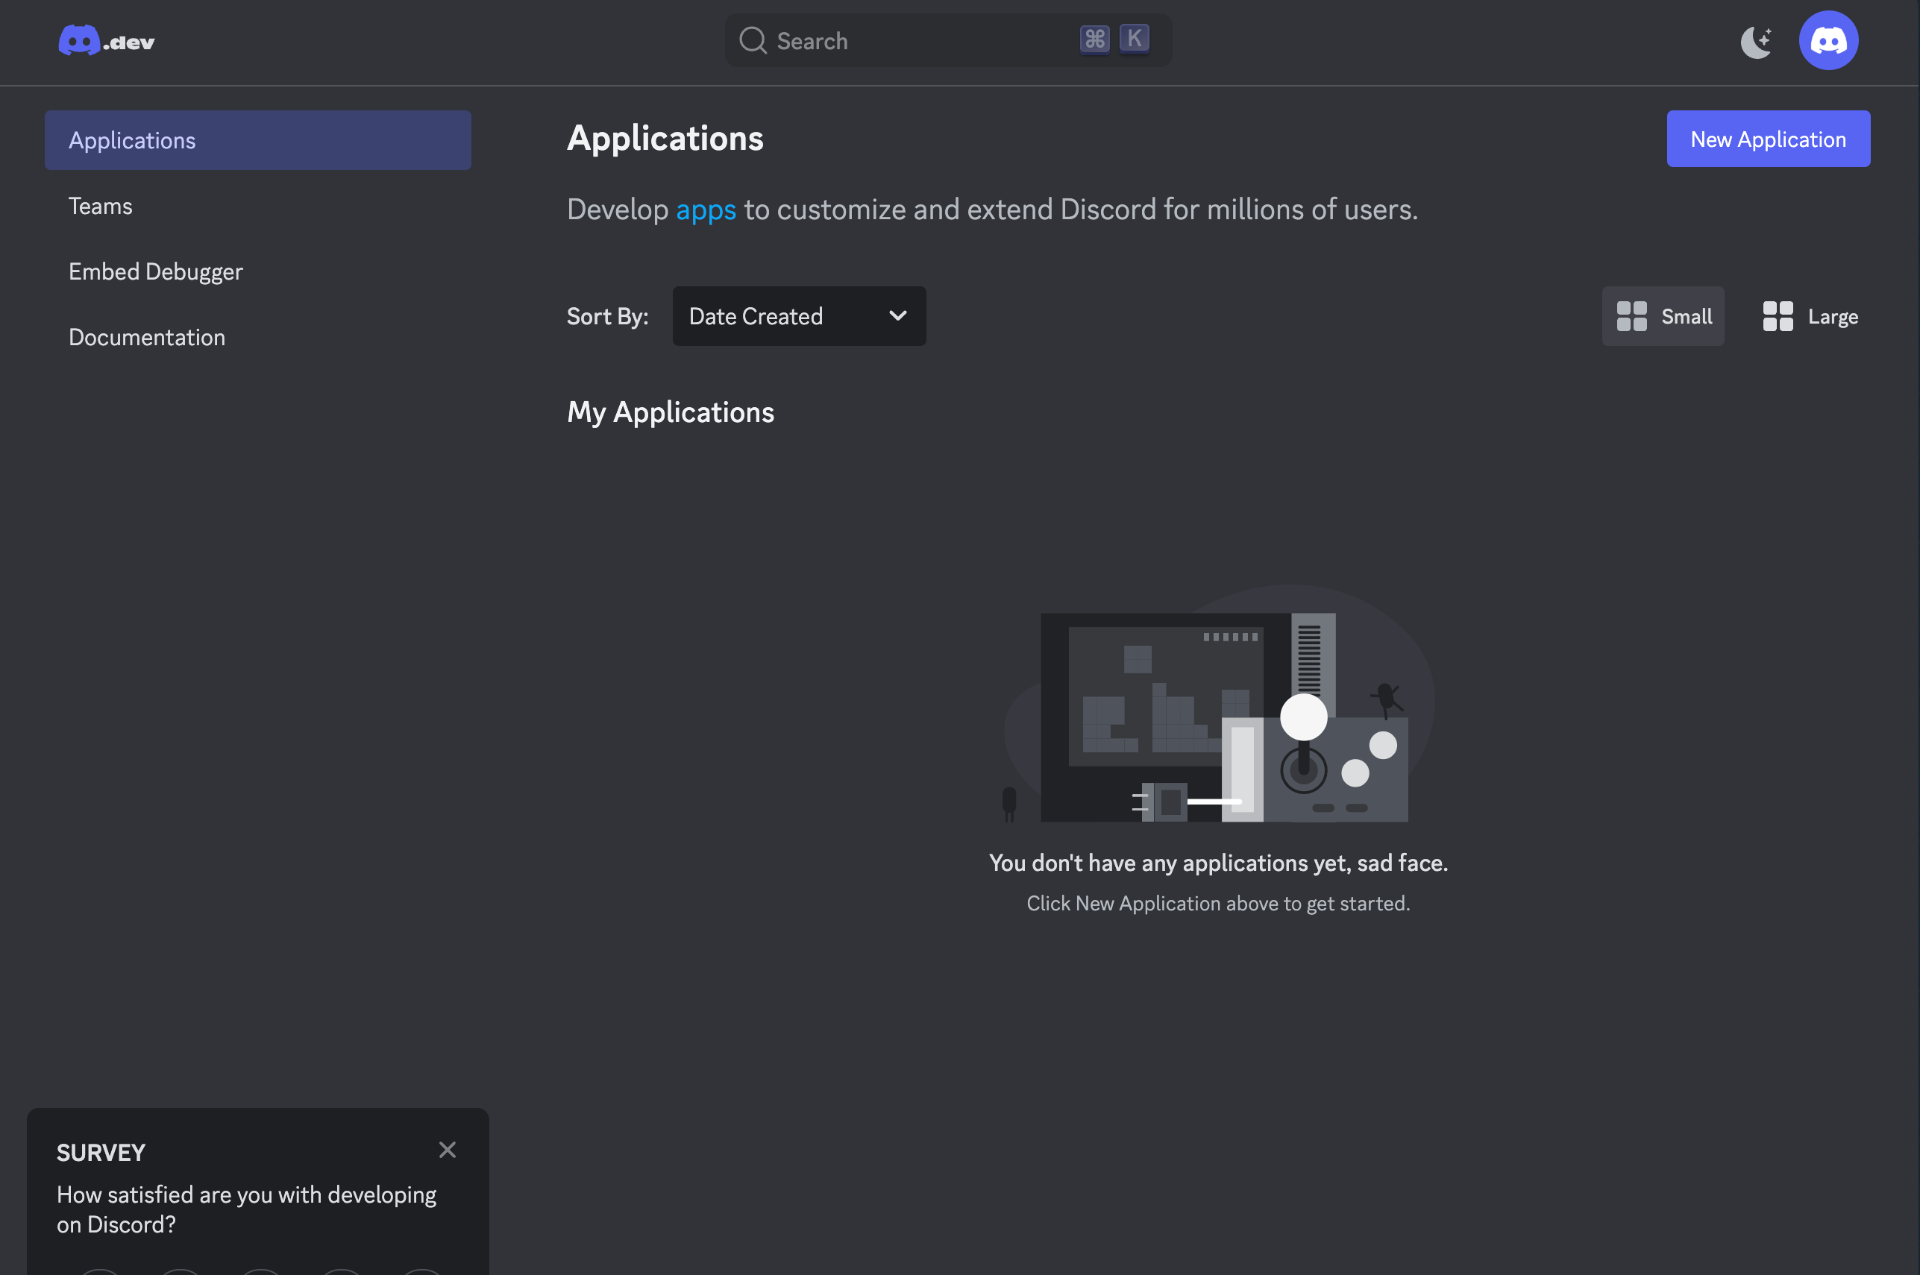
Create the Application
- Go to the
Discord Developer Portal
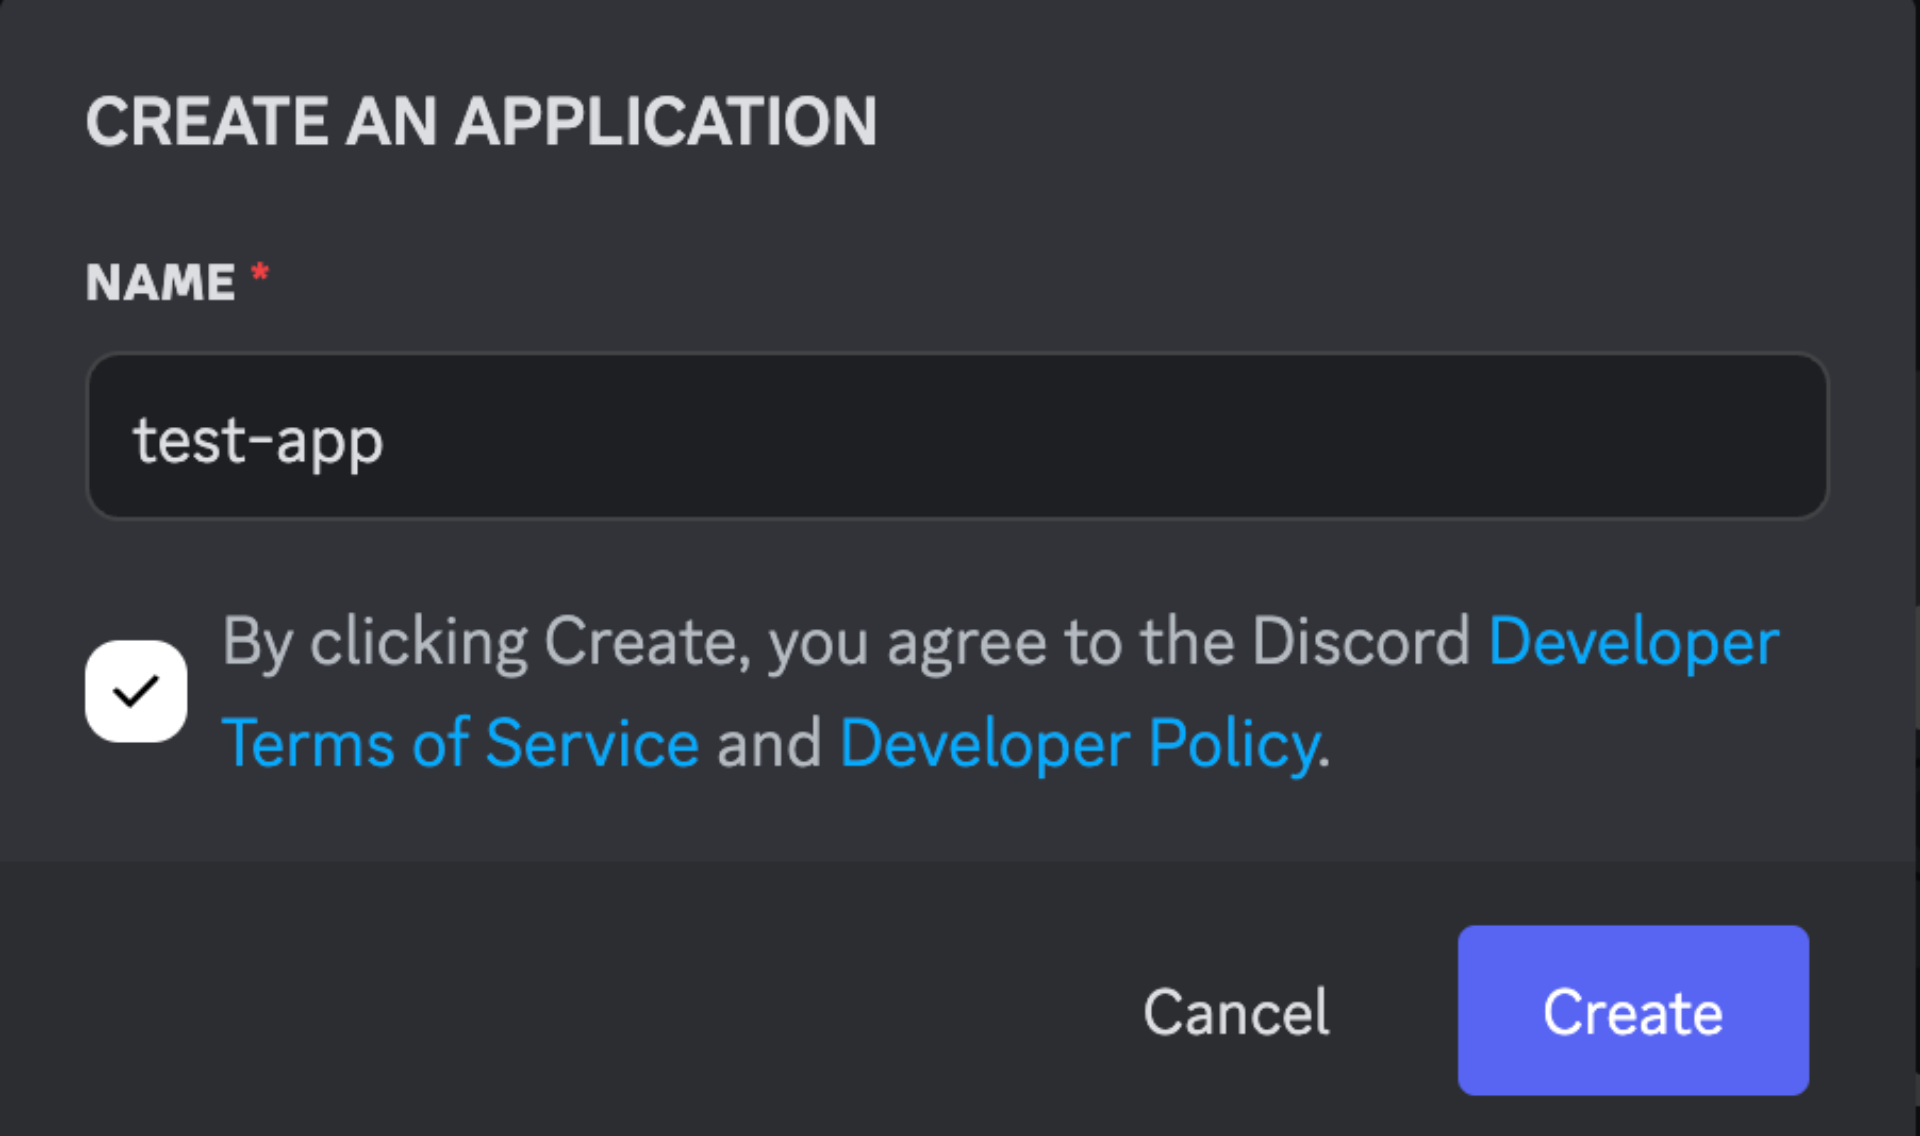
- Click New Application and give it a name (e.g., “My OpenClaw Bot”)
- Navigate to Bot in the left sidebar
- Click Add Bot and confirm with “Yes, do it!”
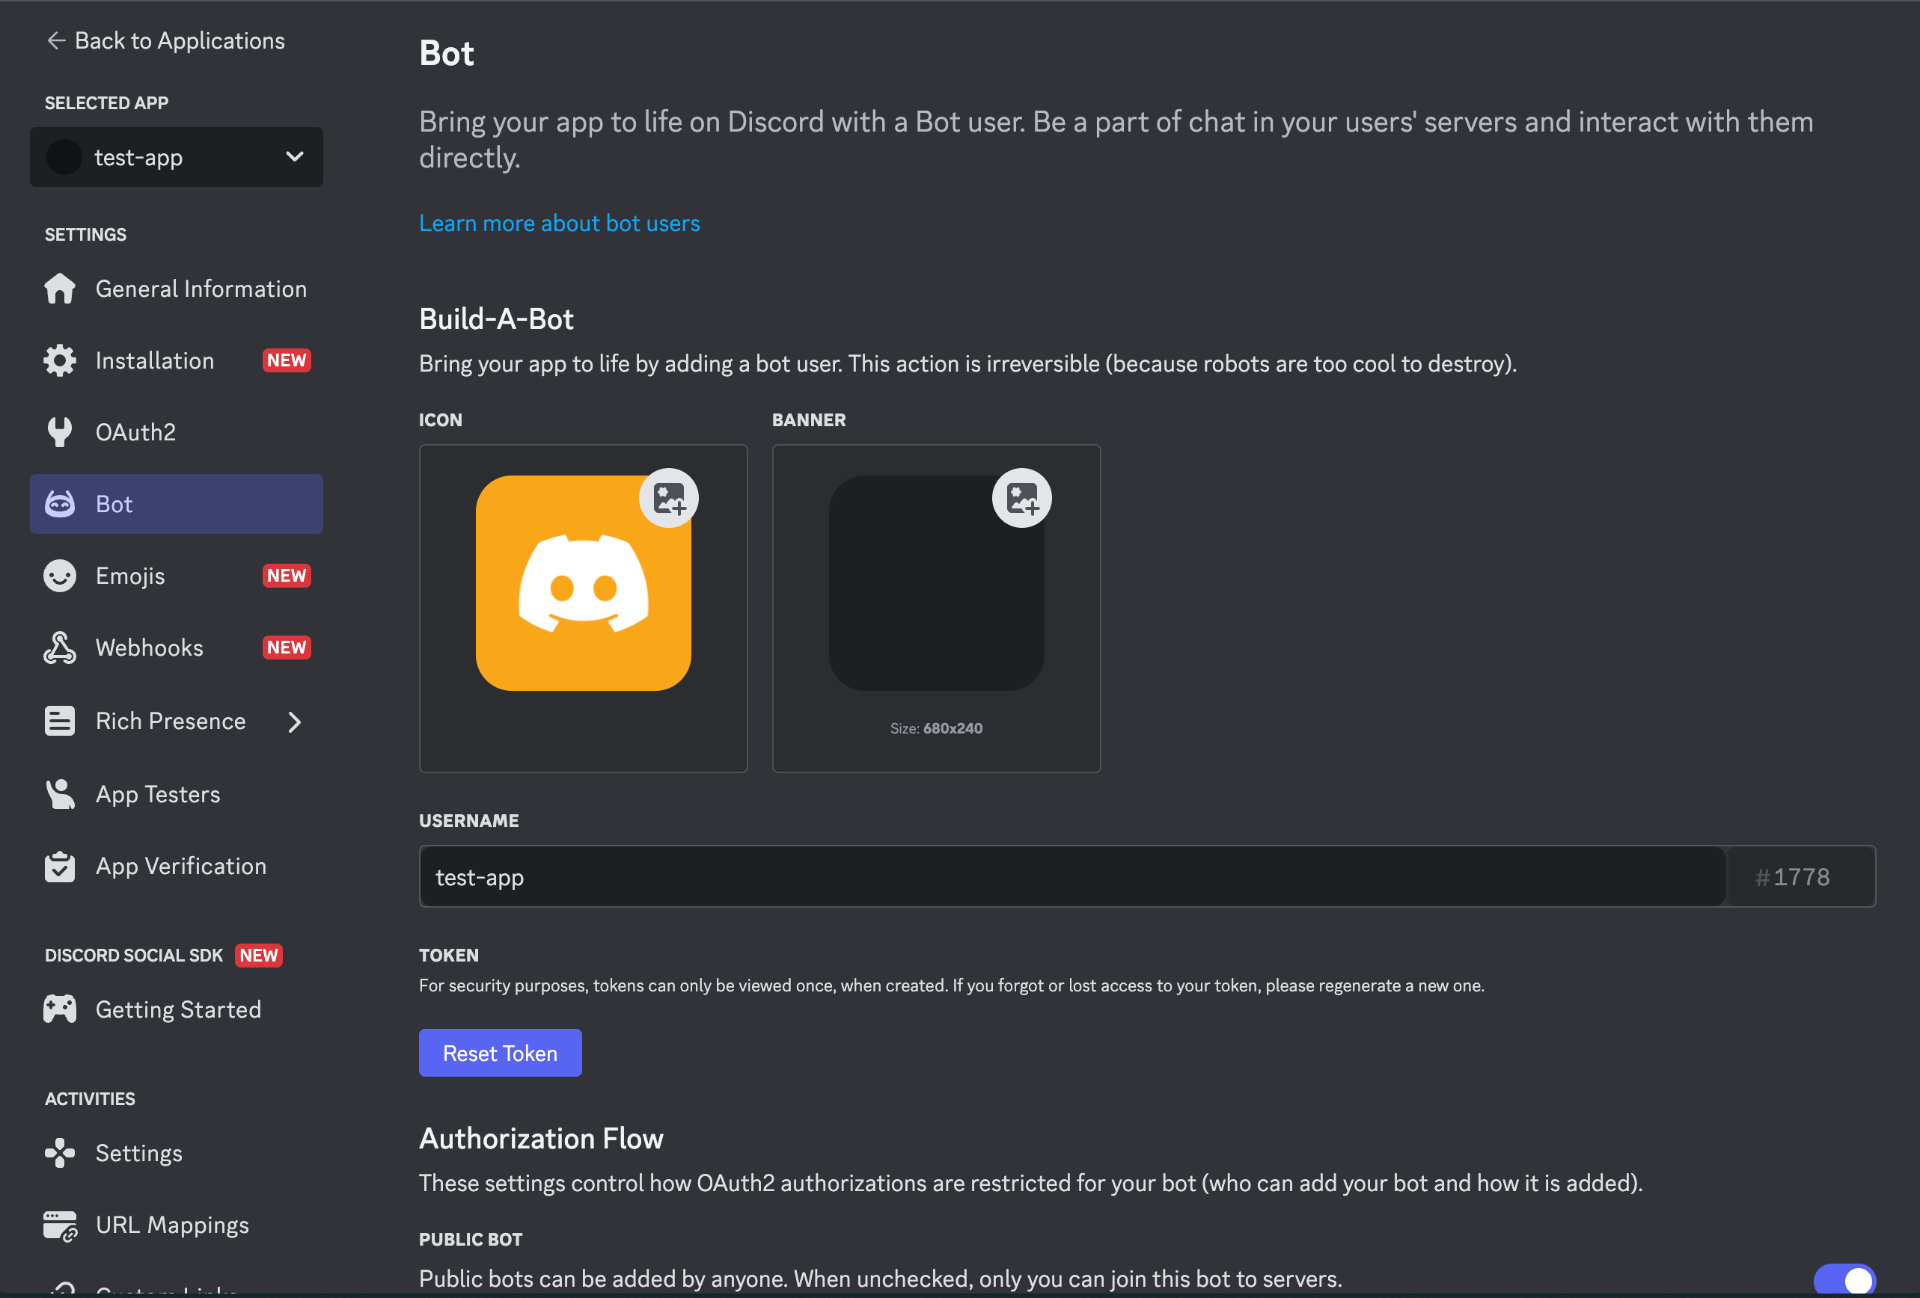
Copy the Bot Token
Under the Bot settings, click Reset Token and copy the generated token. Store this securely - you can use the DISCORD_BOT_TOKEN environment variable or add it directly to your config file.

Important: Never share your bot token publicly. Anyone with this token can control your bot.
Enable Required Intents
Still in the Bot settings, scroll down to Privileged Gateway Intents and enable:
- Message Content Intent (Essential): Required to read message text in most guilds. Without it, you’ll see “Used disallowed intents” error.
- Server Members Intent (Recommended): Enables member/user lookups and allowlist matching.
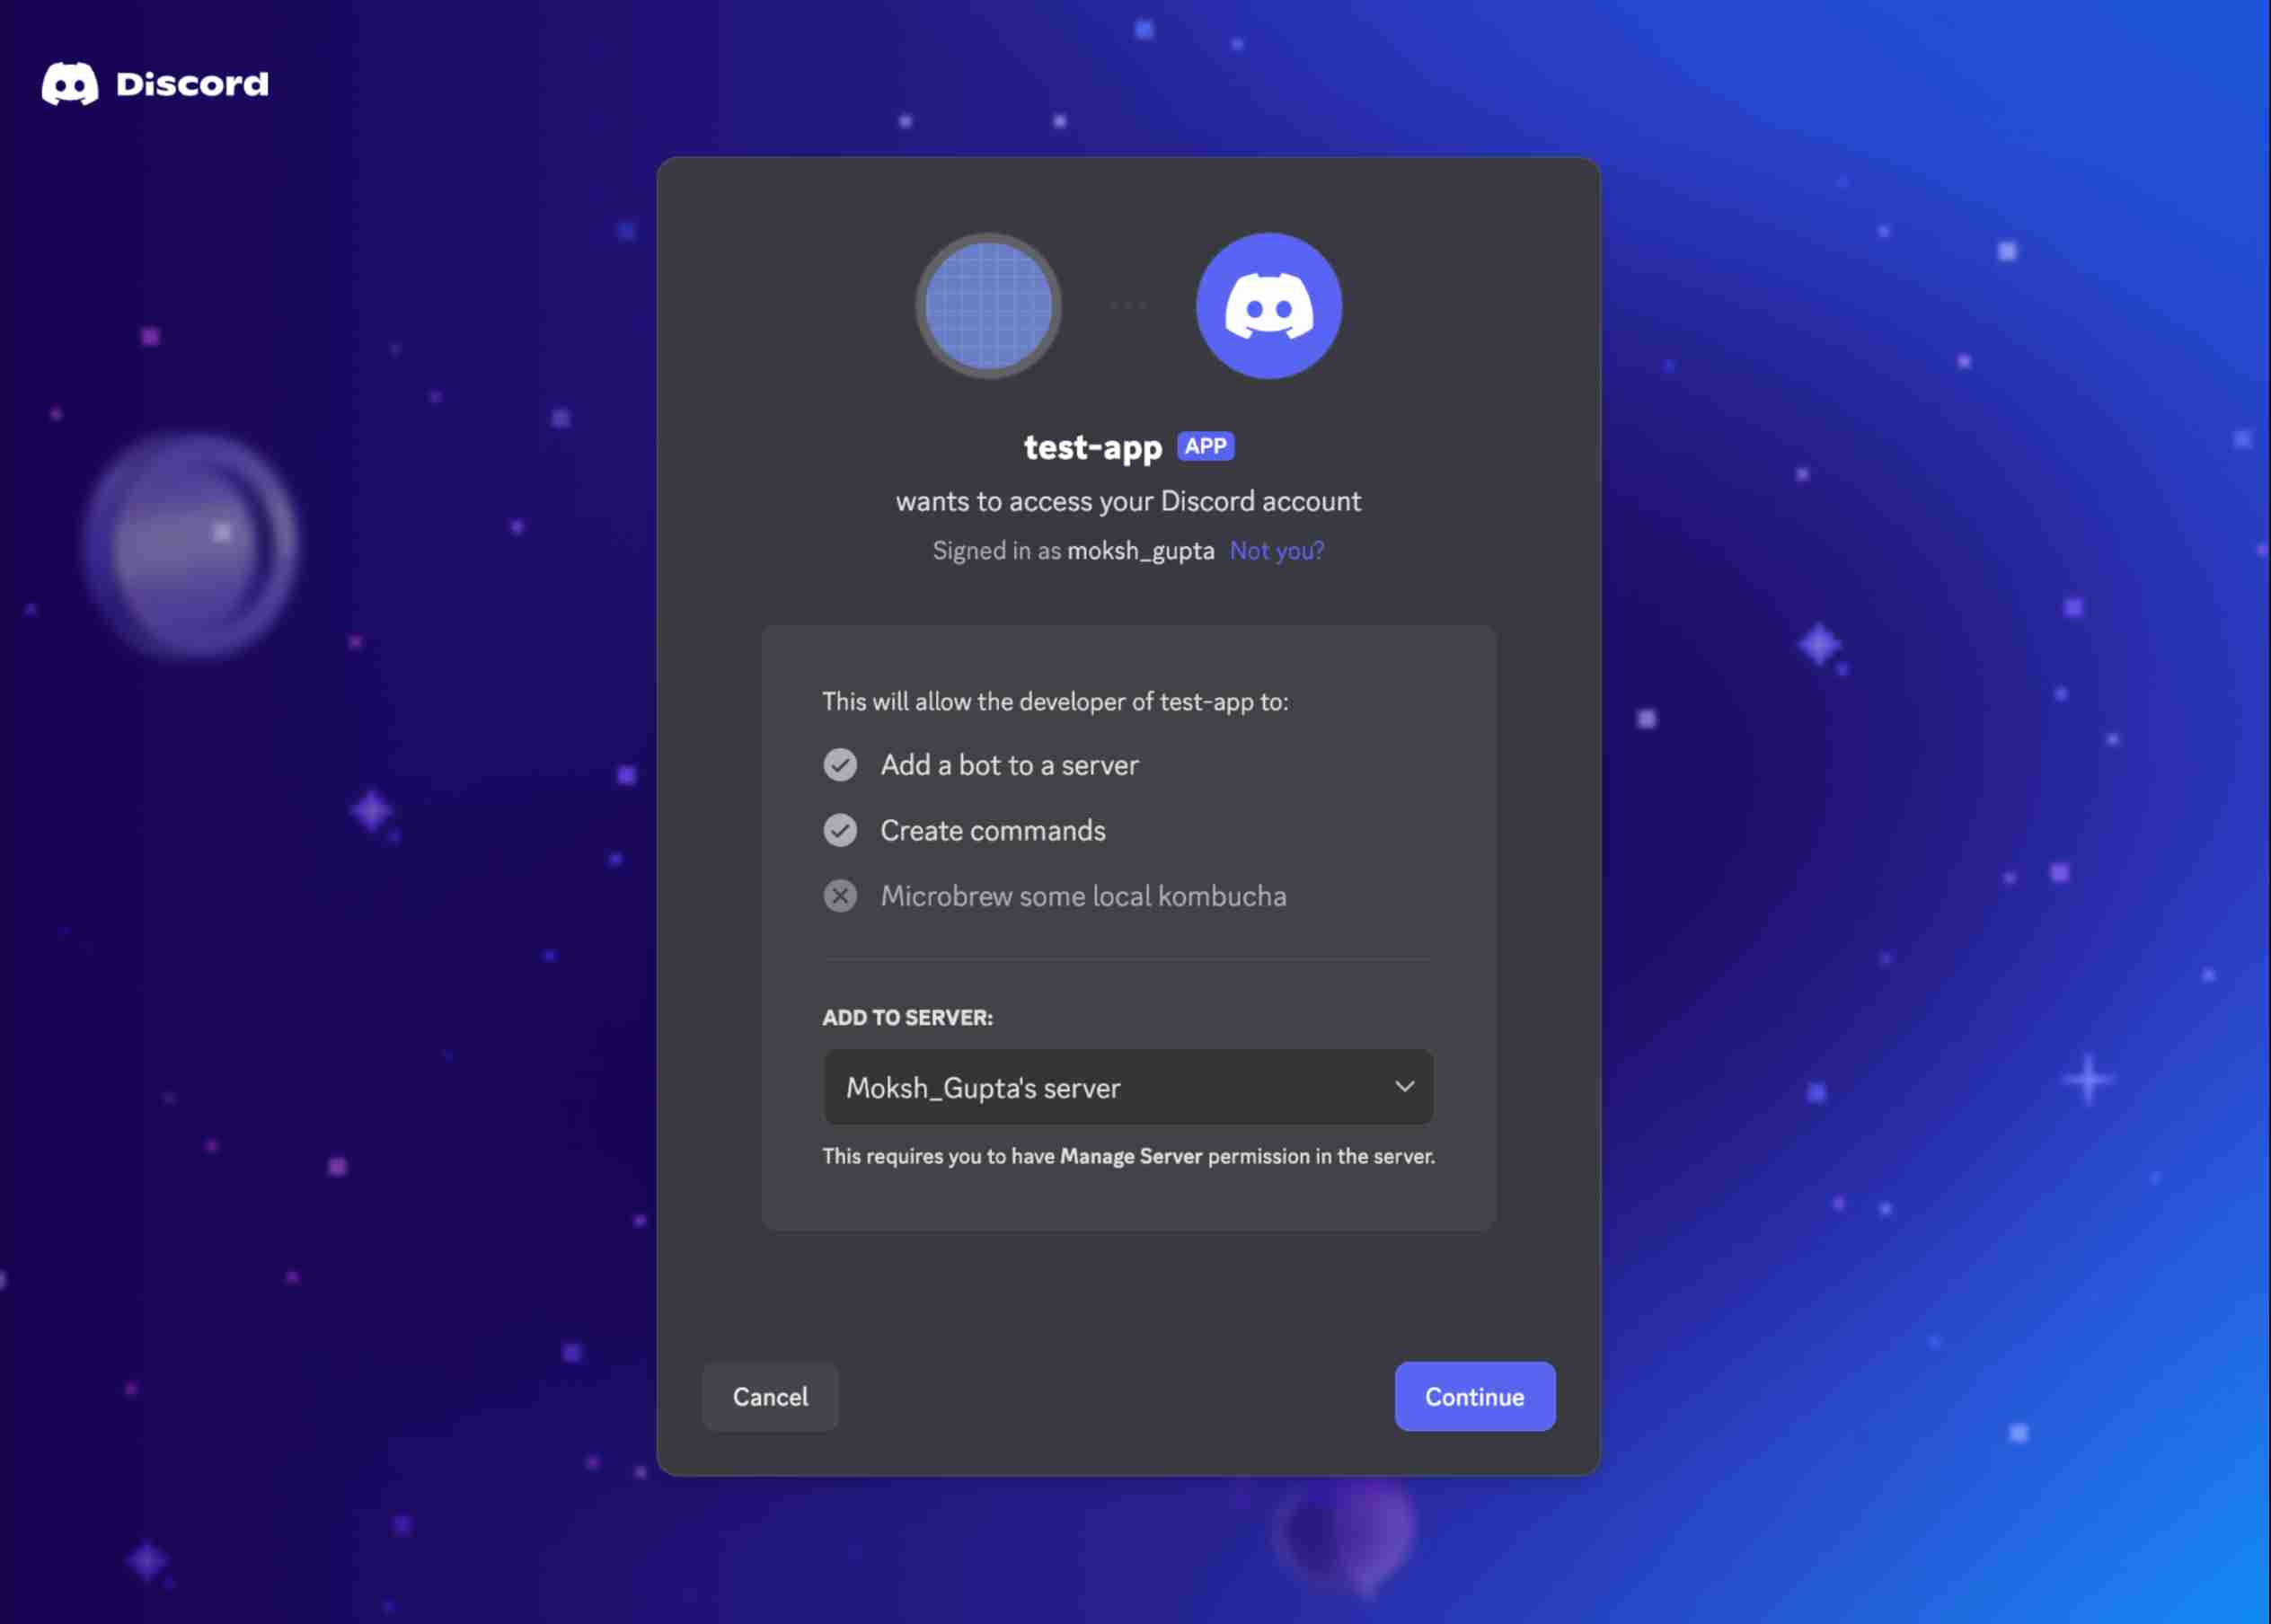
Generate the Invite URL
Navigate to OAuth2 > URL Generator and select:
Scopes:
botapplications.commands (for slash commands)
Bot Permissions (baseline):
- View Channels
- Send Messages
- Read Message History
- Embed Links
- Attach Files
- Add Reactions (optional but recommended)
- Use External Emojis/Stickers (optional)
Avoid selecting Administrator unless you’re debugging.
Copy the generated URL and open it in your browser to invite the bot to your Discord server.
Get Your Discord IDs
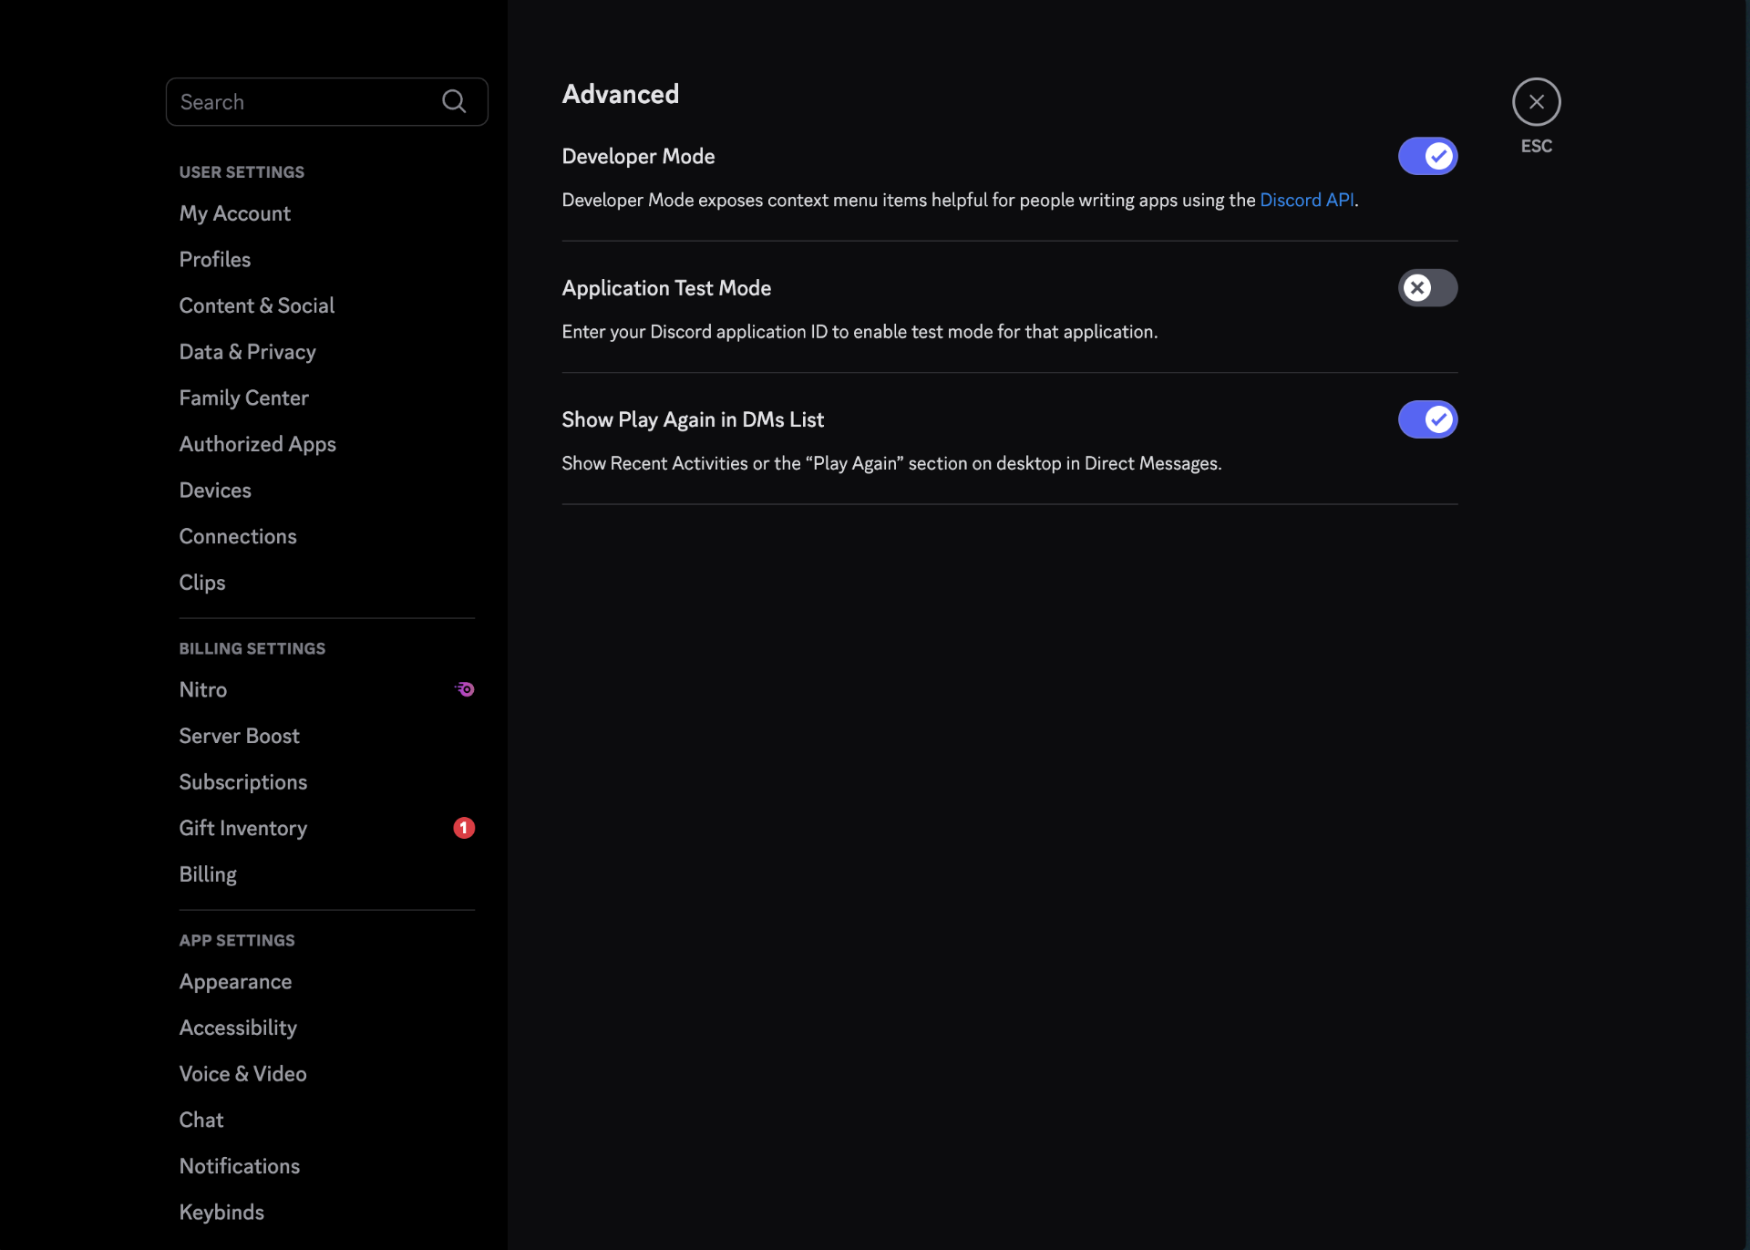
Enable Developer Mode to copy IDs easily:
- In Discord, go to User Settings > Advanced and enable Developer Mode
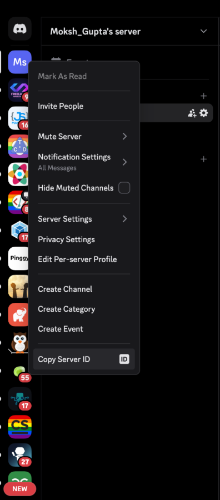
- Right-click your server name and select Copy Server ID (this is your Guild ID)
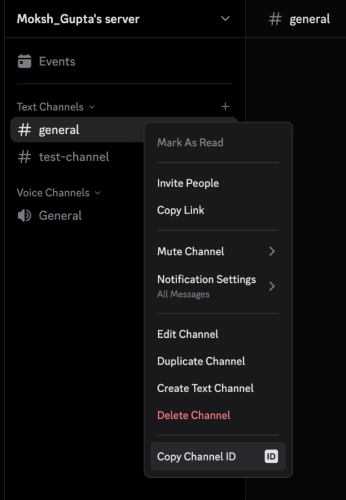
- Right-click on a channel and select Copy Channel ID
- Right-click your username and select Copy User ID
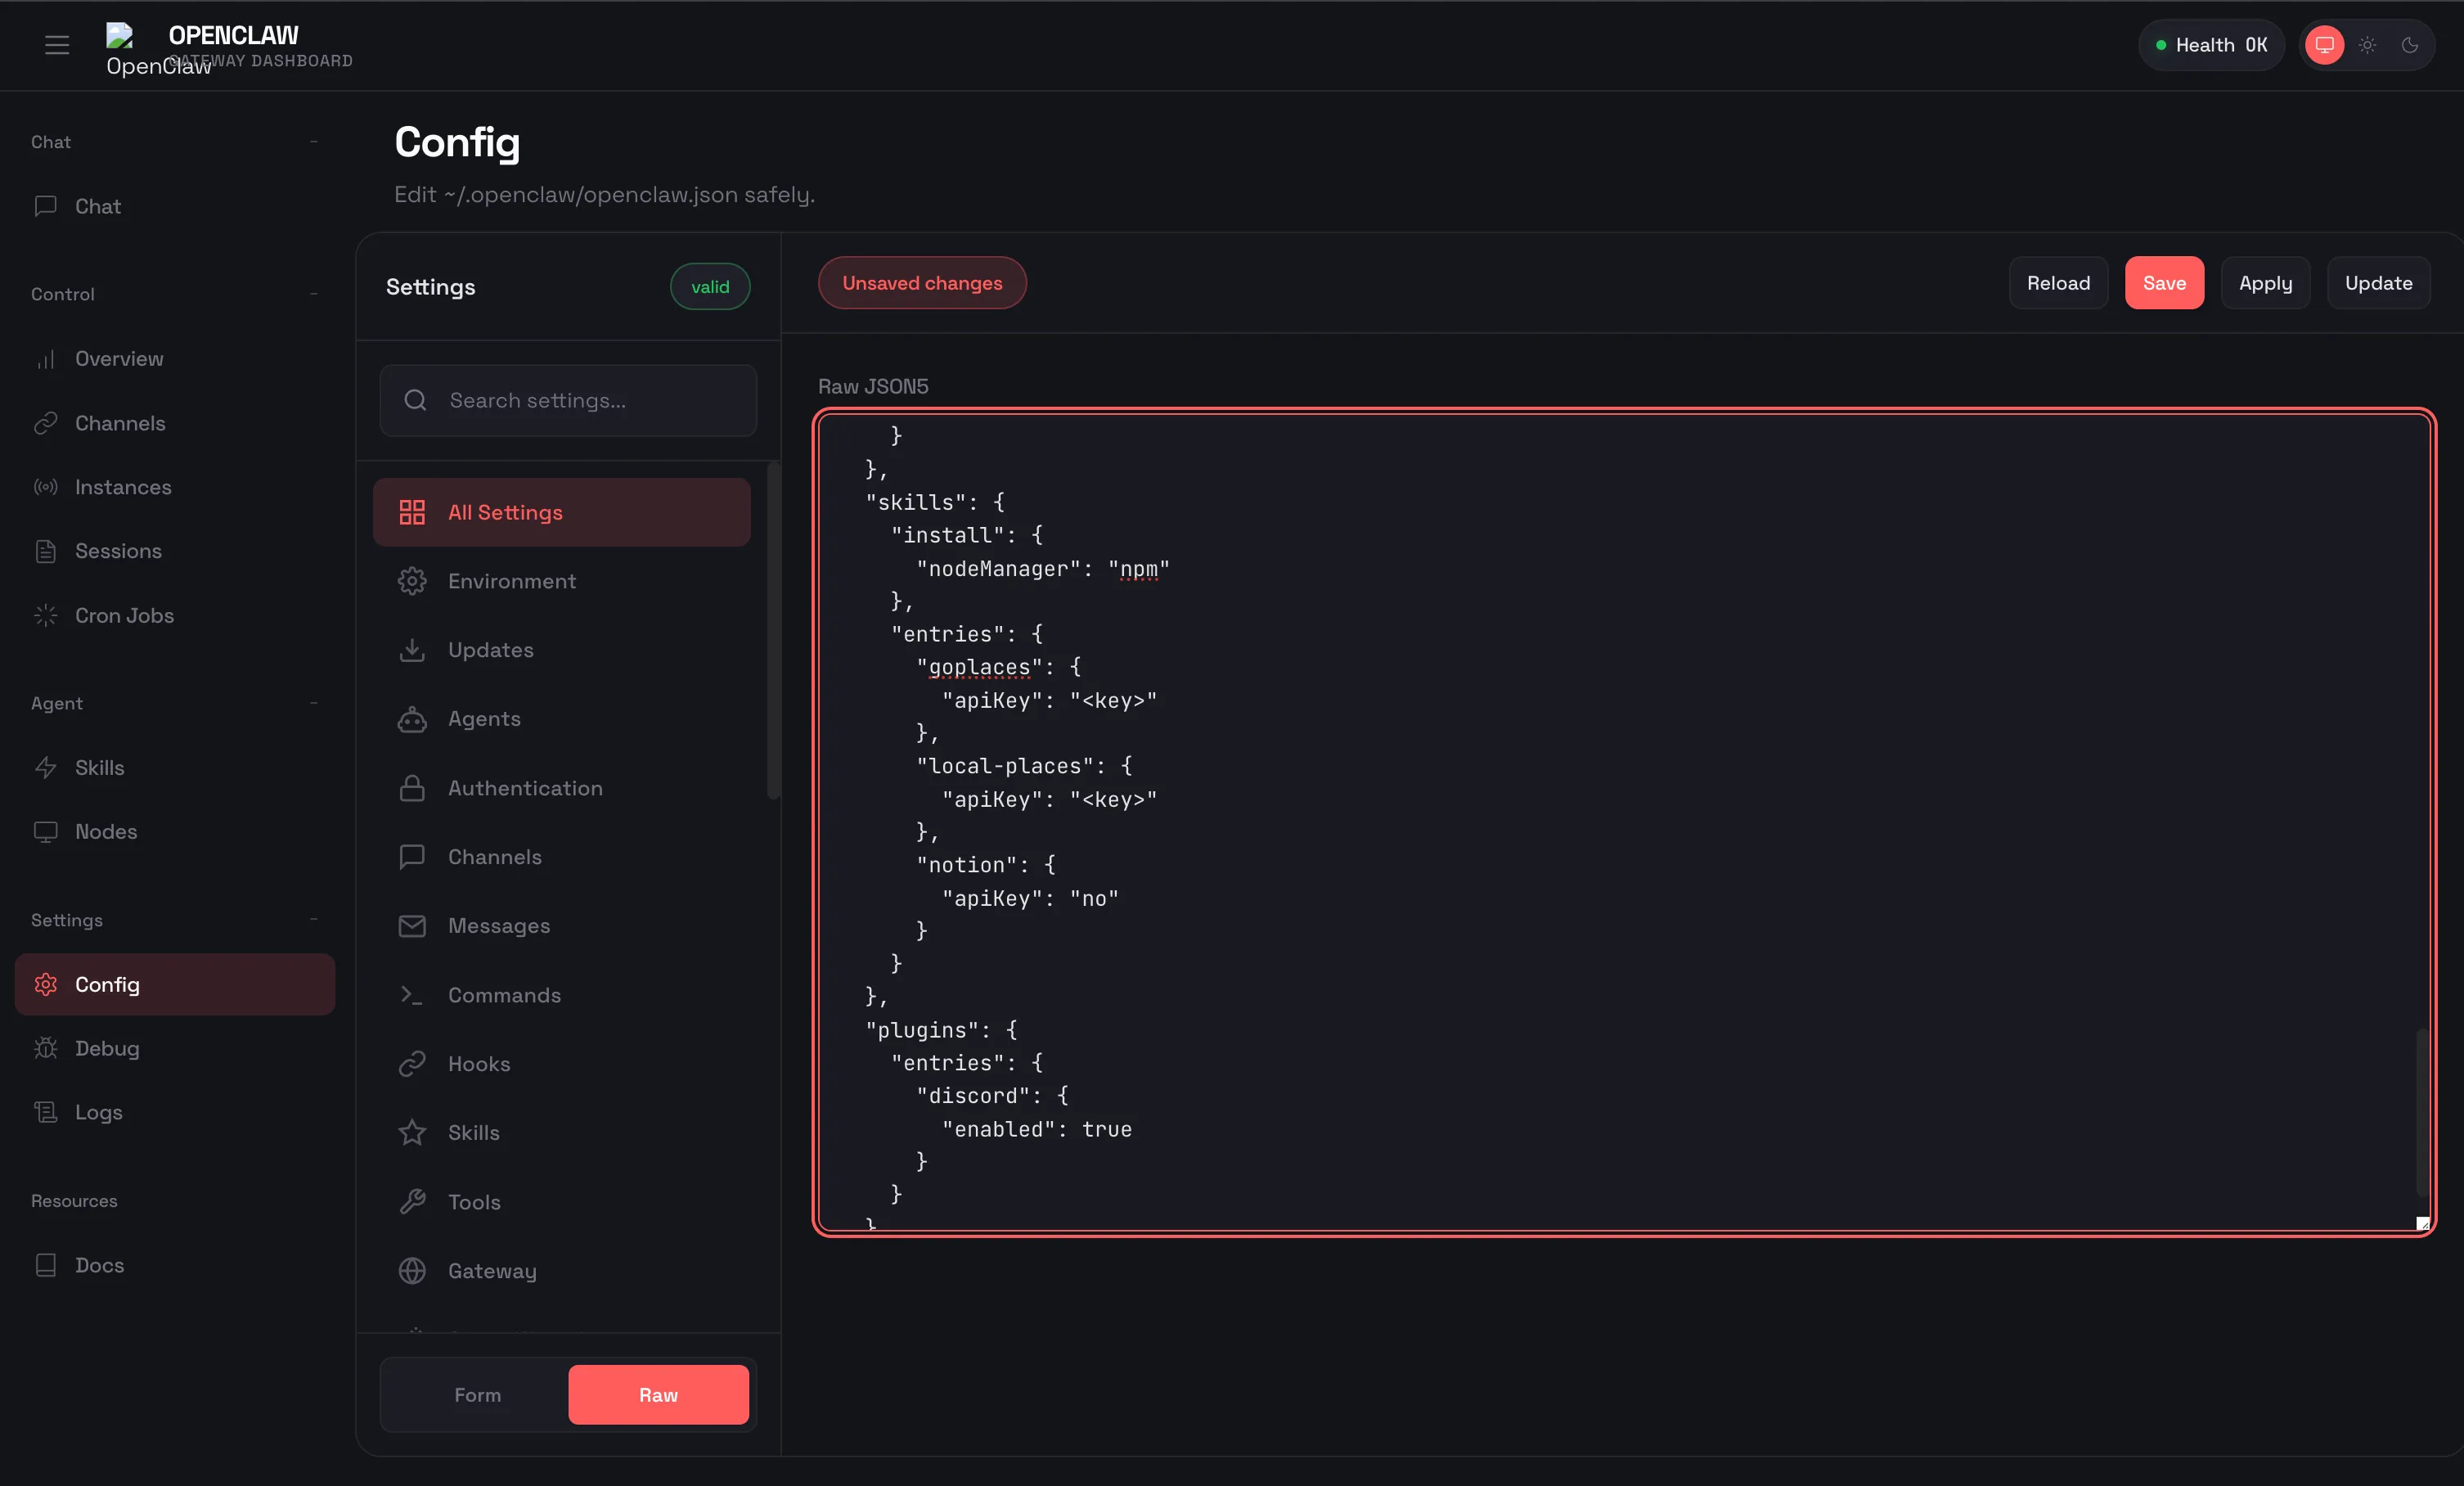
OpenClaw’s configuration lives in ~/.openclaw/openclaw.json. You can also use environment variables for sensitive values like tokens.
Using Environment Variable (Recommended)
Set your Discord bot token as an environment variable:
export DISCORD_BOT_TOKEN=your_token_here
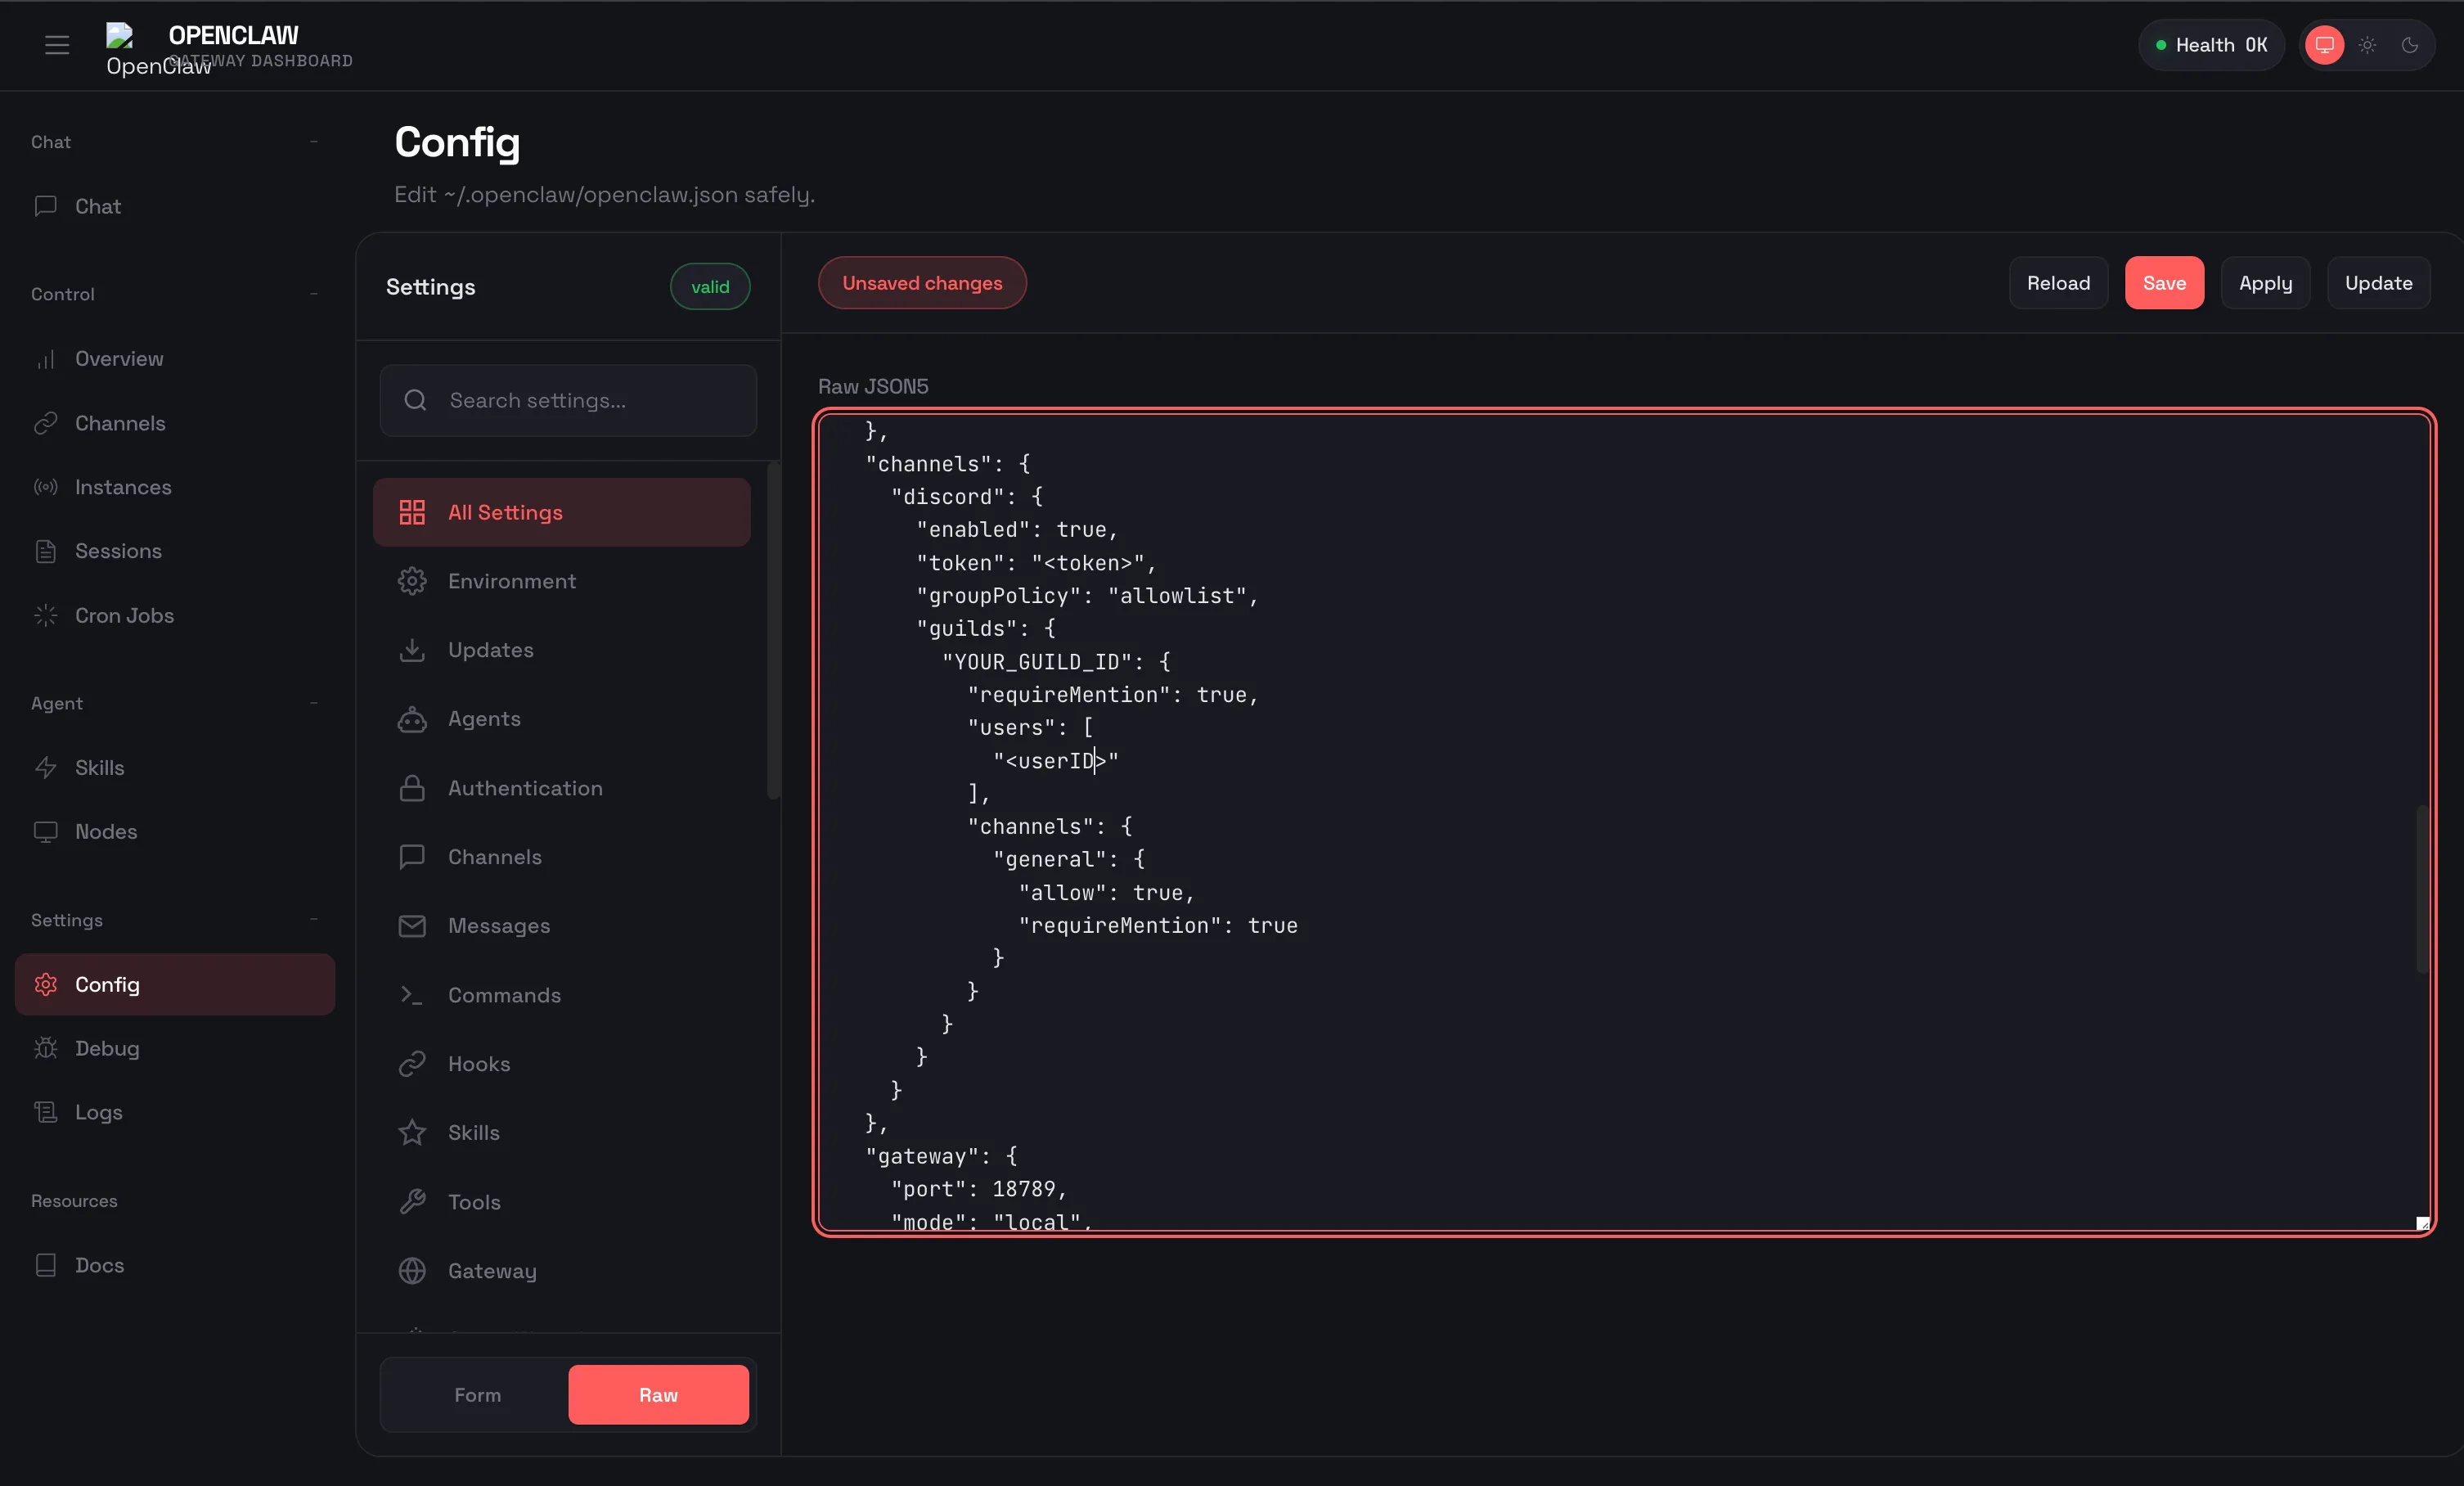
Configuration File
Open the config file in your favorite editor:
nano ~/.openclaw/openclaw.json
Add the Discord configuration:
{
  "llm": {
    "provider": "anthropic",
    "apiKey": "YOUR_ANTHROPIC_API_KEY"
  },
  "channels": {
    "discord": {
      "enabled": true,
      "token": "YOUR_DISCORD_BOT_TOKEN",
      "dm": {
        "enabled": true,
        "policy": "pairing"
      },
      "guilds": {
        "YOUR_GUILD_ID": {
          "users": ["YOUR_USER_ID"],
          "requireMention": true,
          "channels": {
            "general": {
              "allow": true,
              "requireMention": true
            }
          }
        }
      }
    }
  }
}
Replace the placeholders:
YOUR_ANTHROPIC_API_KEY: Your Anthropic API keyYOUR_DISCORD_BOT_TOKEN: The bot token from Step 3 (or use env variable)YOUR_GUILD_ID: Your Discord server IDYOUR_USER_ID: Your Discord user ID
Key Configuration Options
DM Policy Options (channels.discord.dm.policy):
pairing (default): Requires approval via openclaw pairing approve discord <code>allowlist: Only users in allowFrom list can DMopen: Anyone can DM the botdisabled: DMs are turned off
Guild Settings:
requireMention: Bot only responds when @mentioned (recommended for shared channels)users: Per-guild user allowlistchannels: Define per-channel rules with allow, requireMention, usershistoryLimit: Number of context messages from guild (default: 20)
Other Settings:
| Setting | Purpose | Default |
|---|
textChunkLimit | Message split size | 2000 chars |
maxLinesPerMessage | Soft line limit | 17 |
mediaMaxMb | Upload file size cap | 8 MB |
historyLimit | Context messages from guild | 20 |
groupPolicy | Guild channel access control | allowlist |
Step 5: Start the Gateway
With configuration complete, start the OpenClaw gateway:
# If installed globally
openclaw gateway --port 18789

# If installed locally
npx openclaw gateway --port 18789
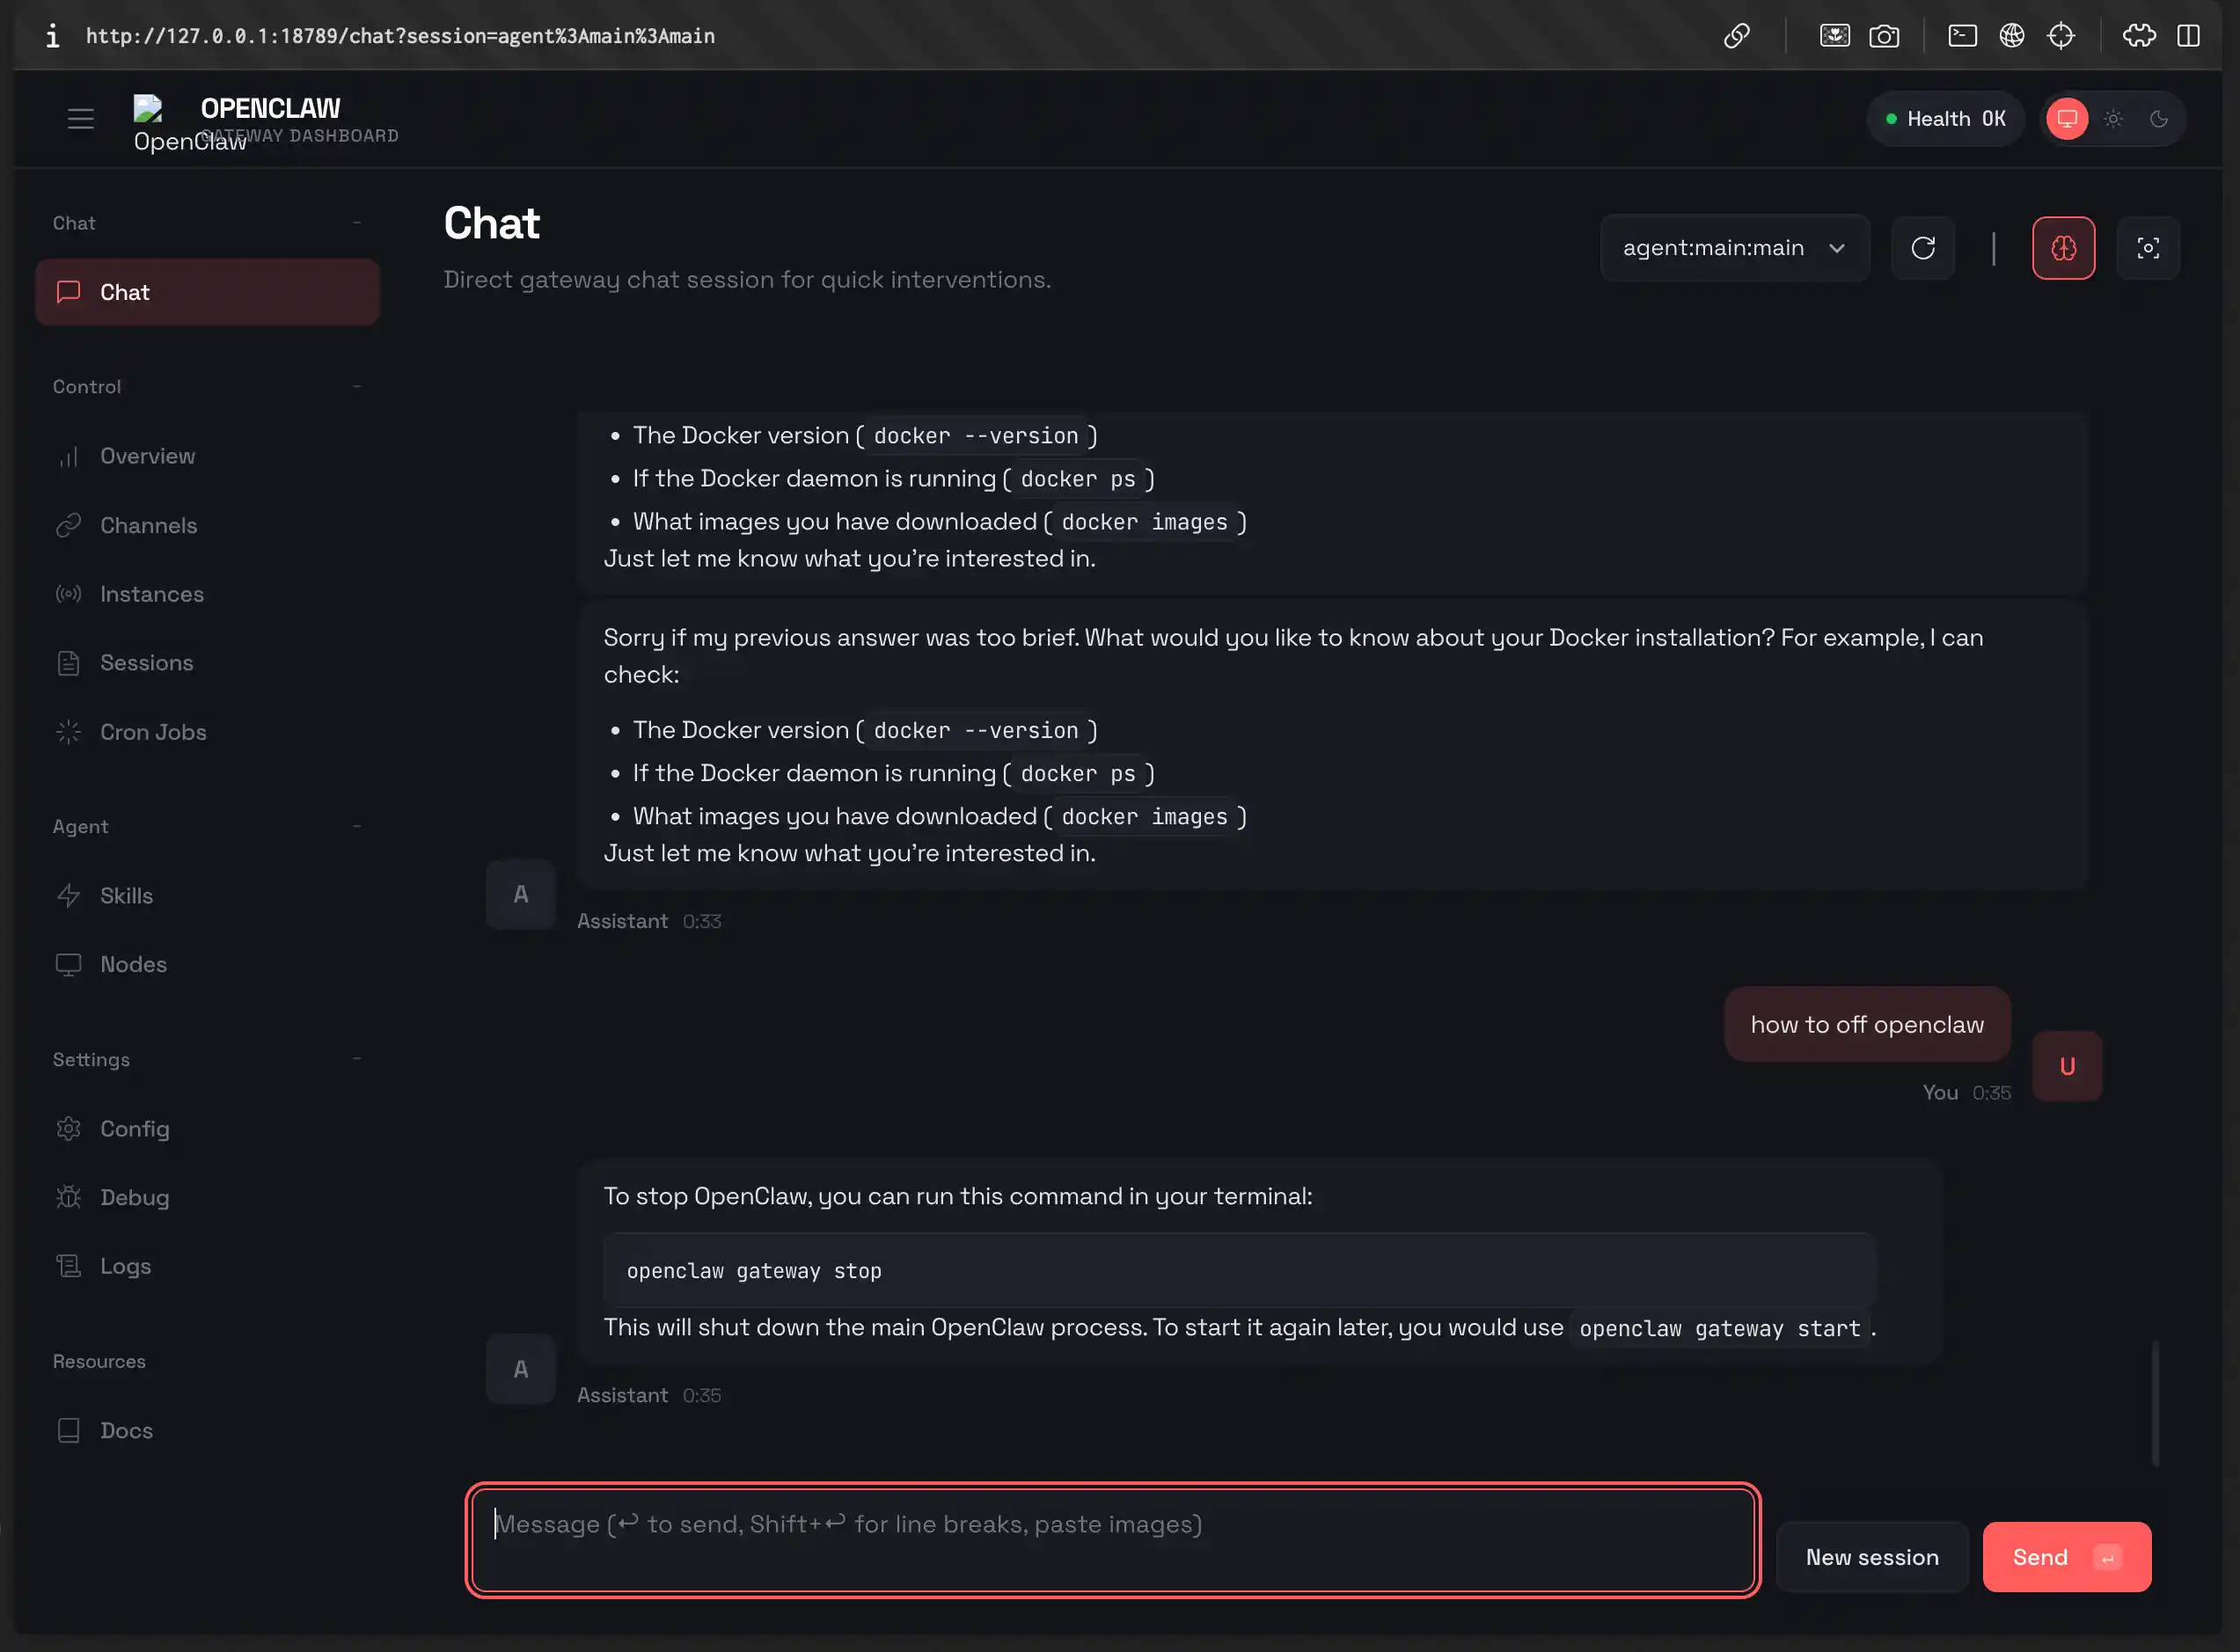
You’ll see output indicating the gateway is running. Open your browser and navigate to http://localhost:18789 to access the OpenClaw dashboard.
If you installed the daemon during onboarding, the gateway starts automatically. Check its status with:
# macOS
launchctl list | grep openclaw

# Linux
systemctl --user status openclaw
Step 6: Test Discord Integration
With the gateway running, test your Discord integration:
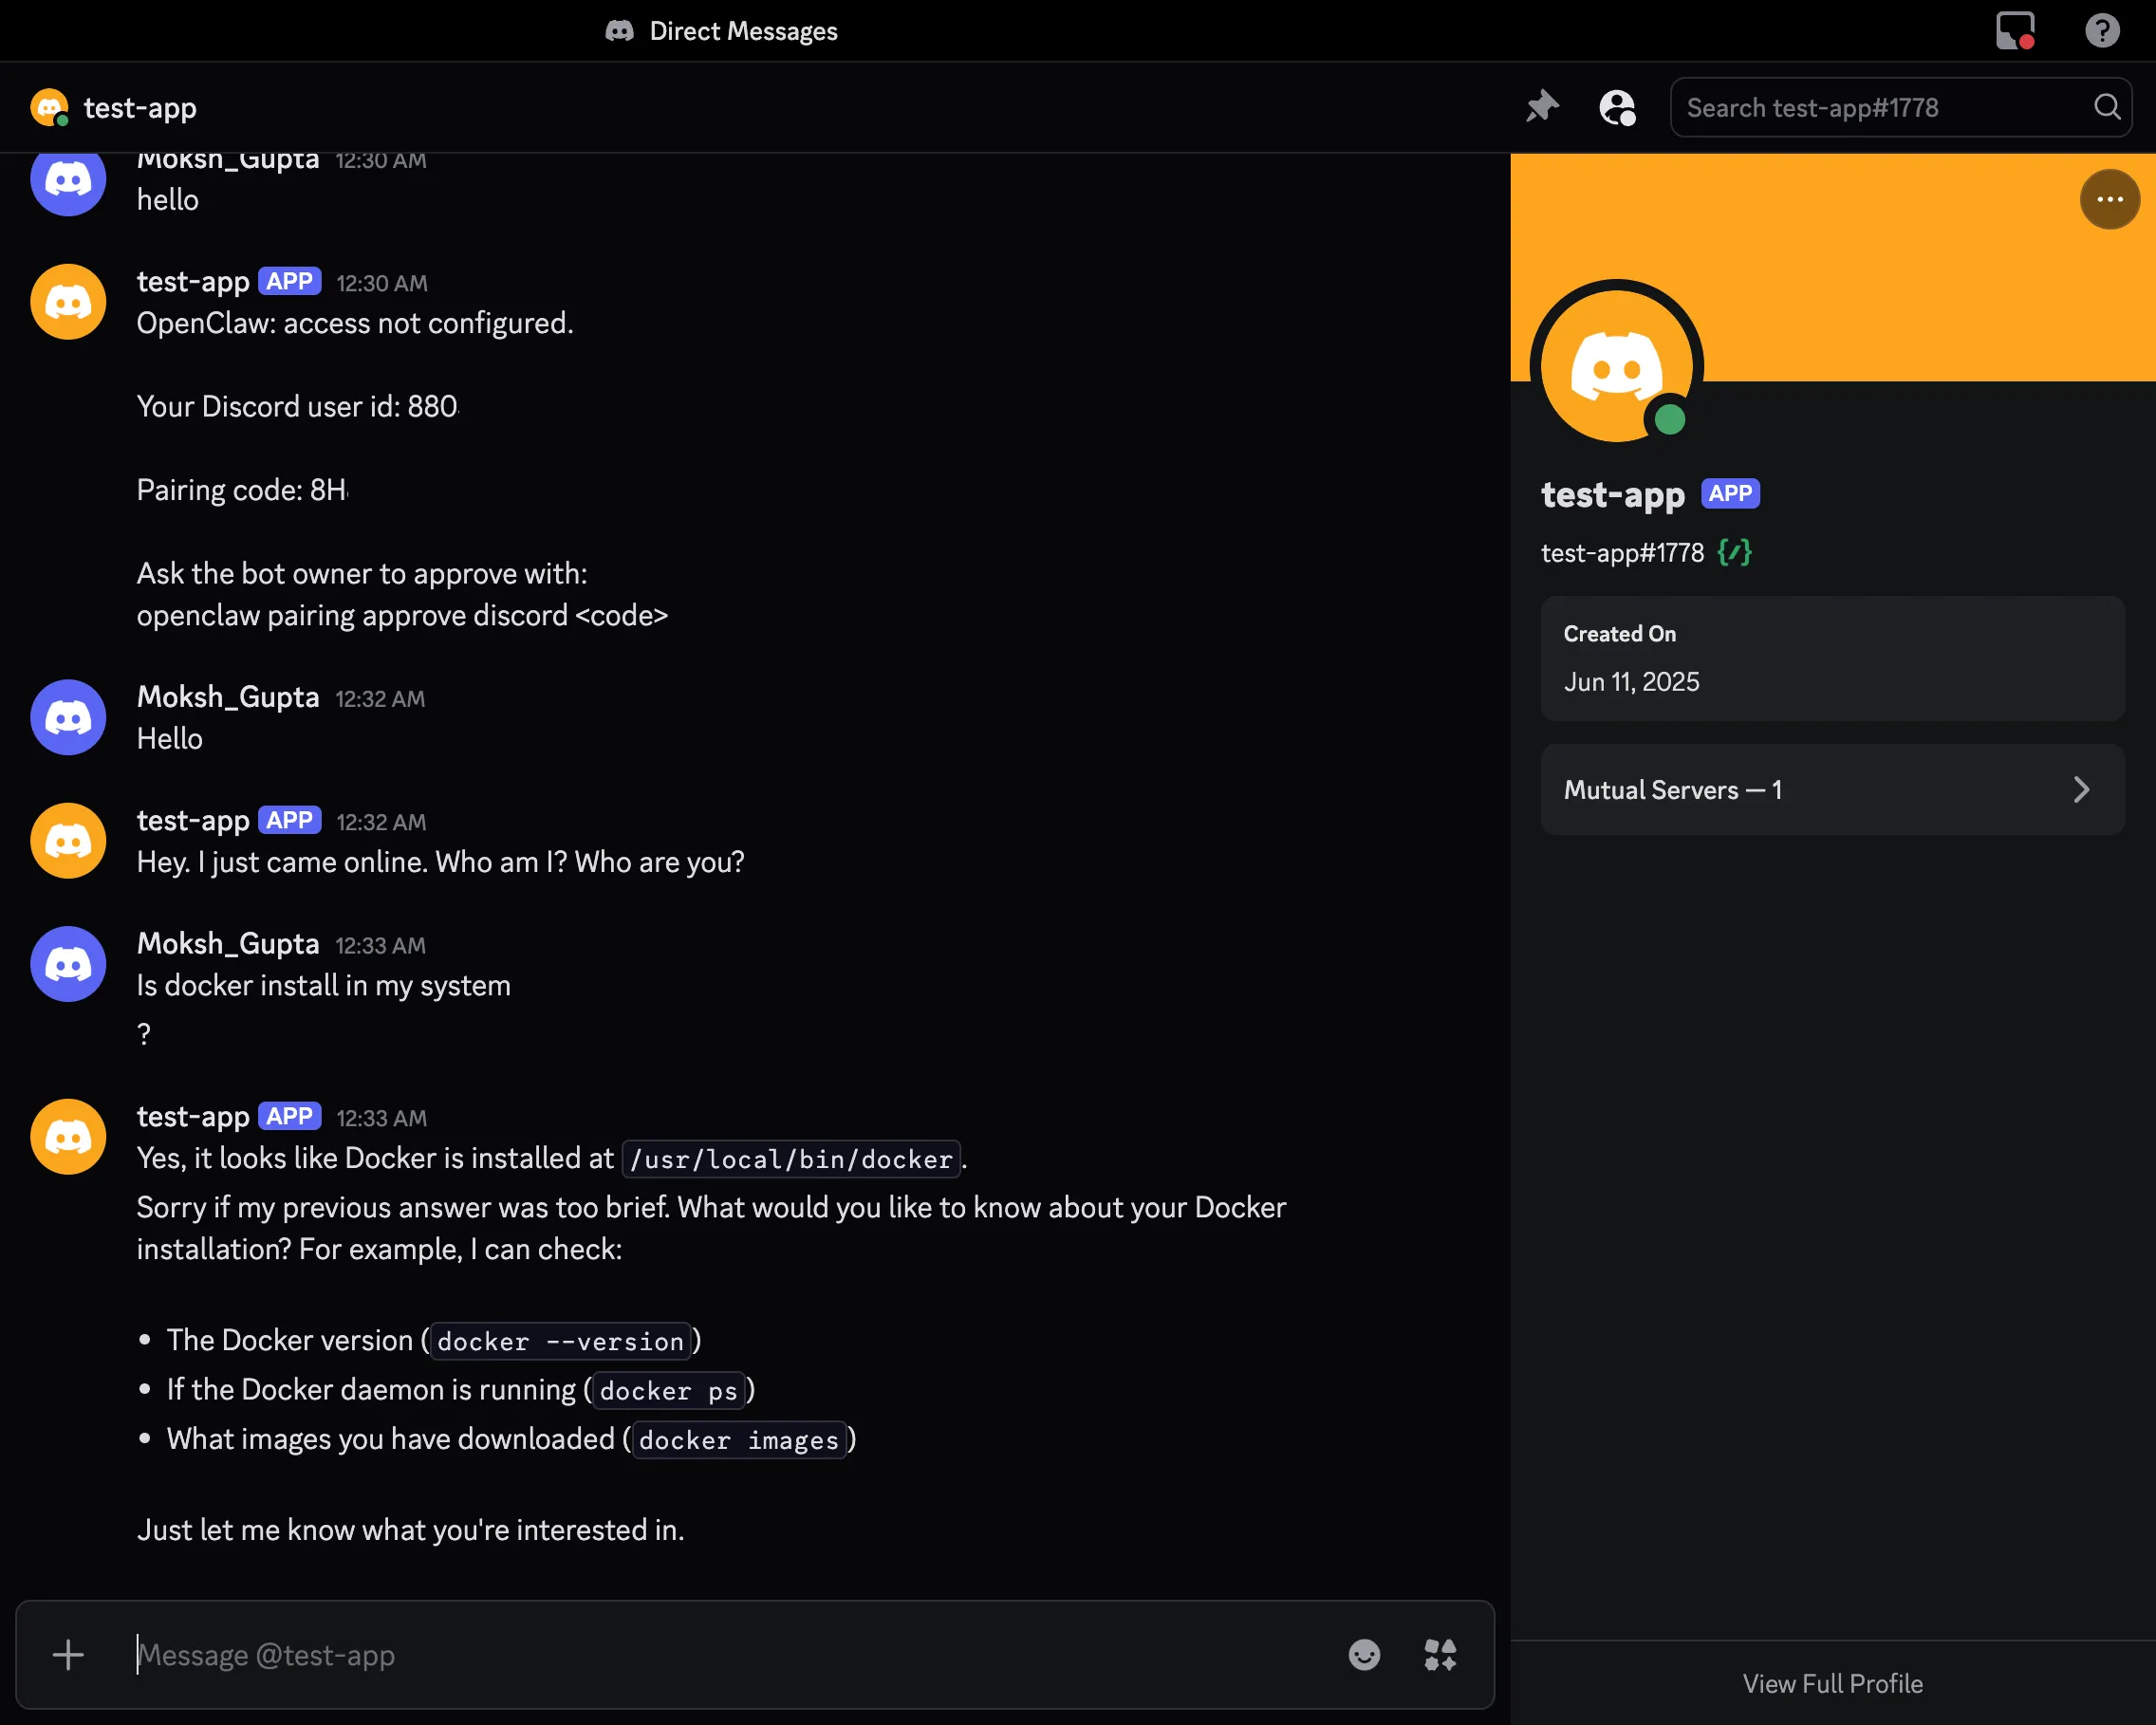
- Open Discord and navigate to your server
- In any channel where the bot has access, mention it:
@YourBotName hello - The bot should respond through OpenClaw
You can also DM the bot directly for private conversations. If using the default pairing policy, OpenClaw will ask you to approve a pairing code for security:
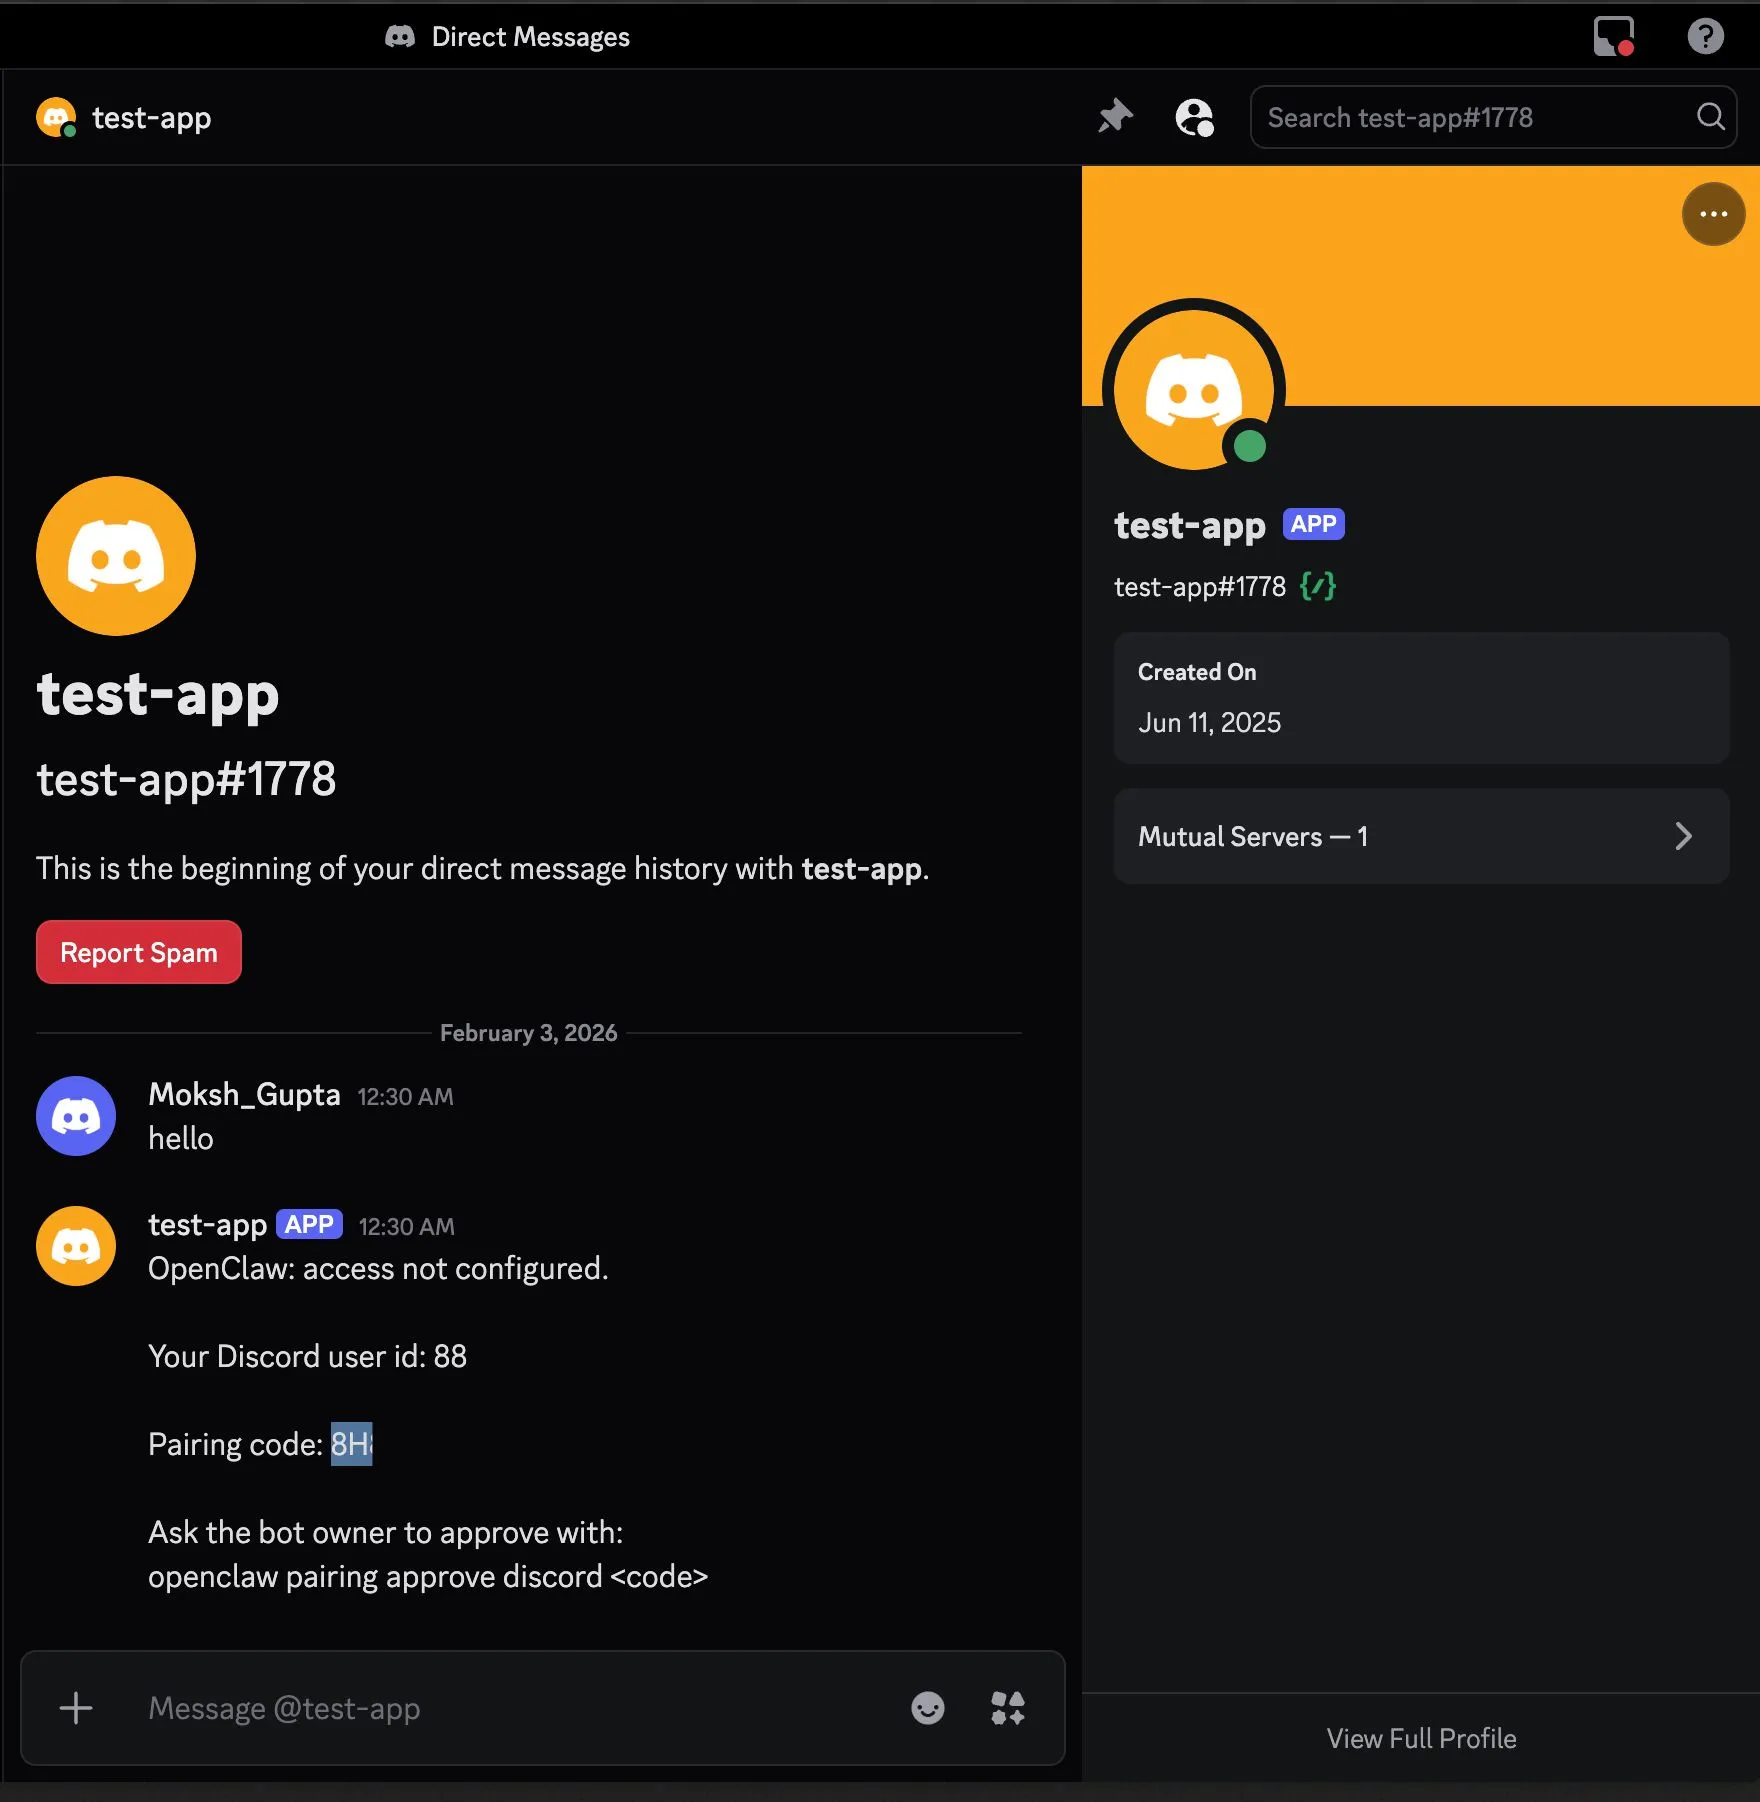
openclaw pairing approve discord <code>

Troubleshooting Discord Integration
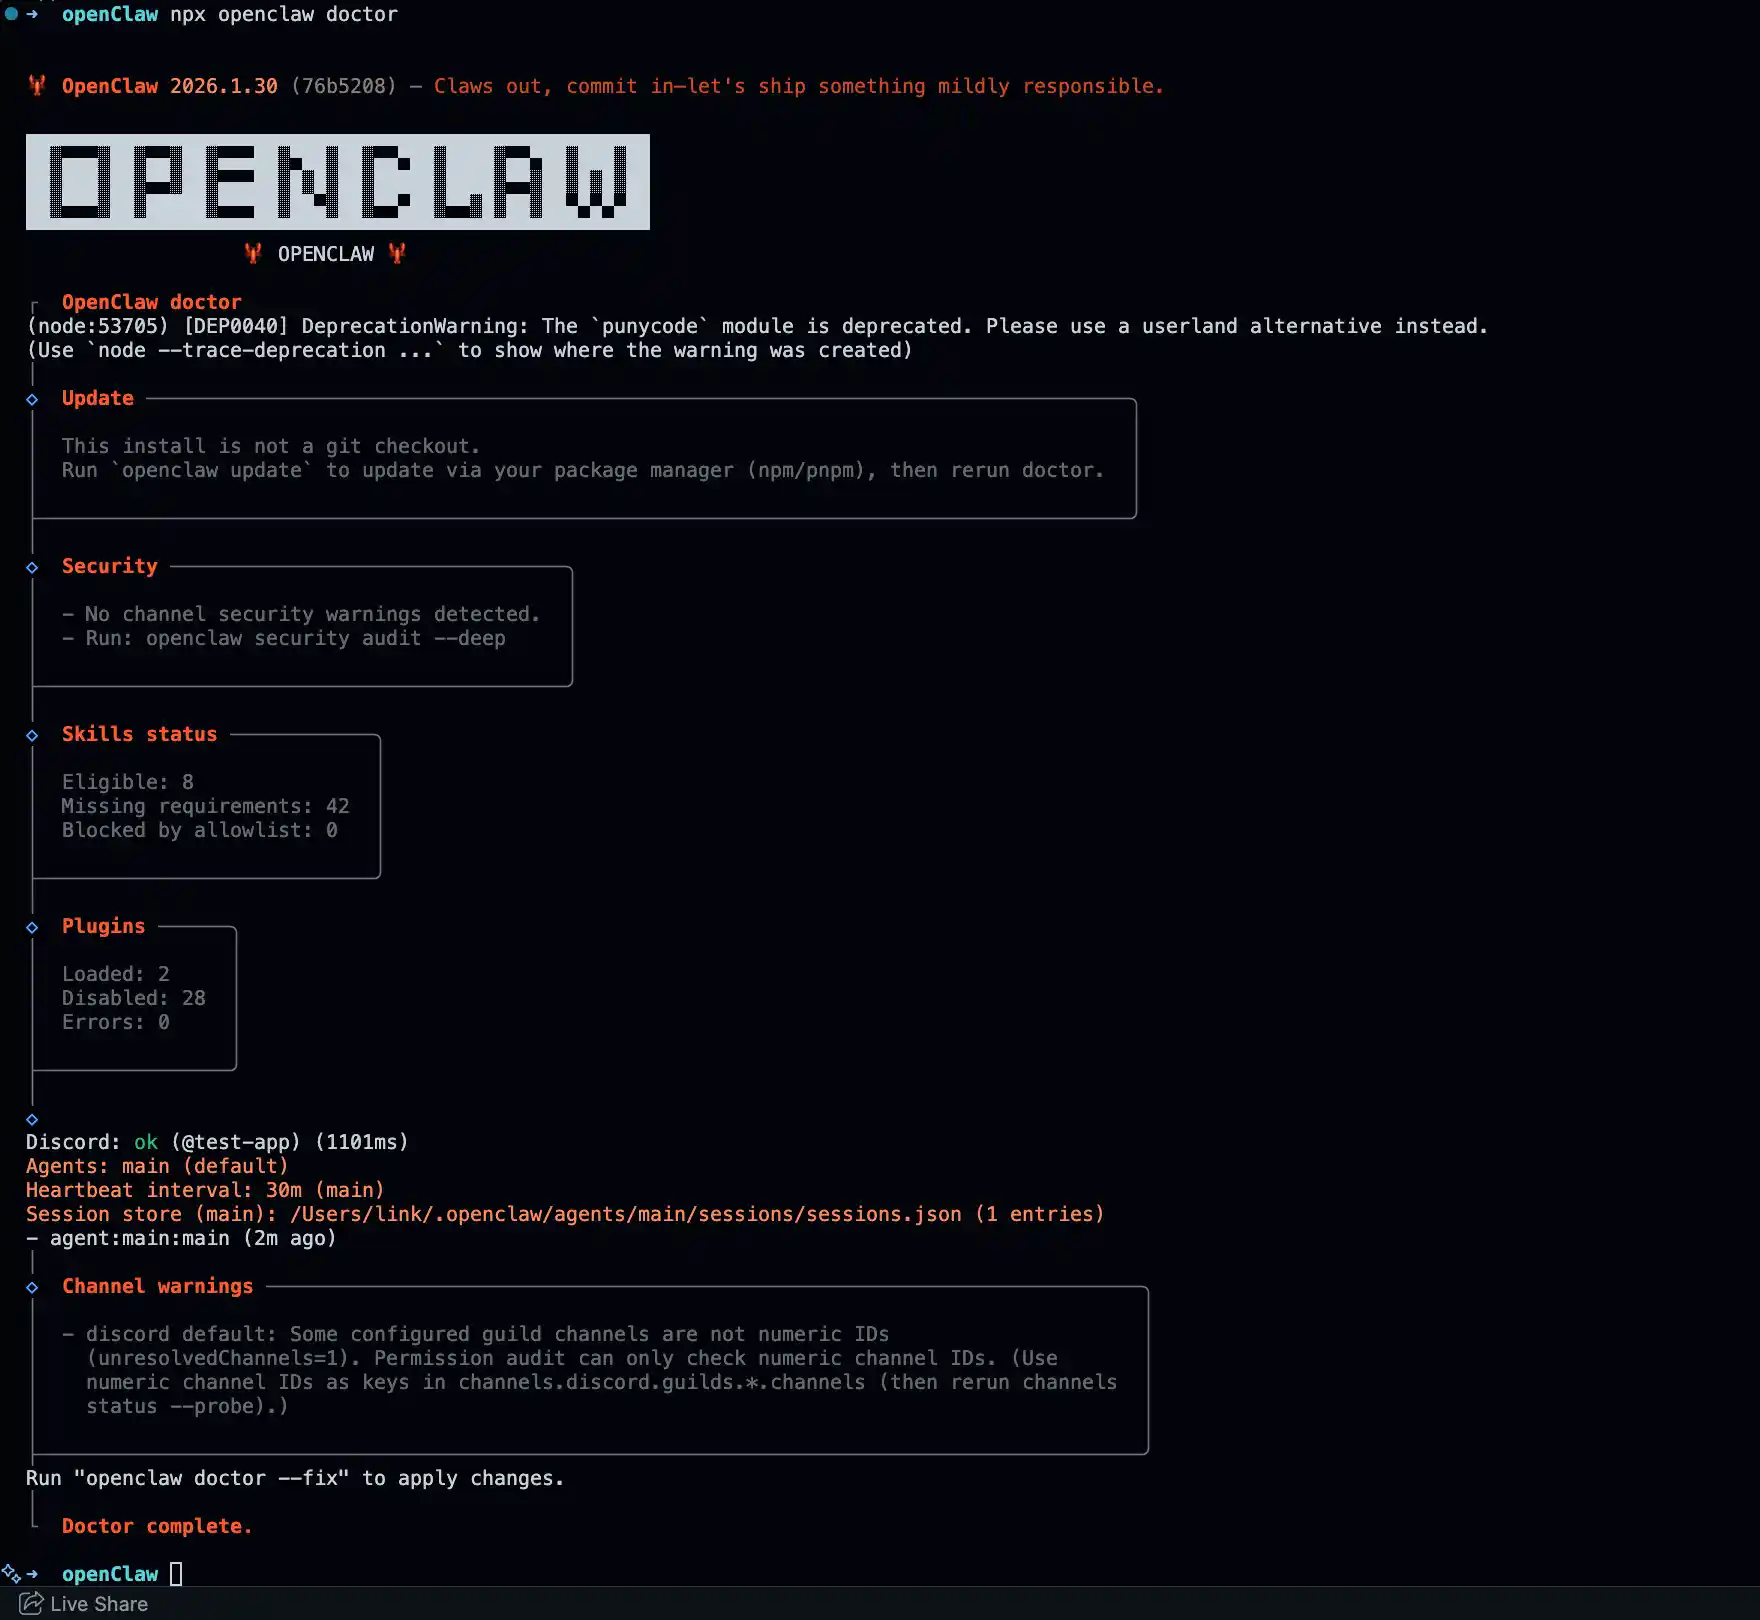
If the bot doesn’t respond, run diagnostics:
# If installed globally
openclaw doctor
openclaw channels status --probe

# If installed locally
npx openclaw doctor
npx openclaw channels status --probe

Bot connects but doesn’t reply:
- Verify Message Content Intent is enabled in the Discord Developer Portal
- Confirm bot has channel permissions (View Channels, Send Messages, Read Message History)
- Check if
requireMention is set - make sure you’re @mentioning the bot - Review guild/channel allowlists in your config
“Used disallowed intents” error:
- Enable both Message Content Intent and Server Members Intent in the Developer Portal
- Restart the gateway after enabling intents
DM access issues:
- Confirm
dm.enabled isn’t set to false - If using
pairing policy, approve the pairing code when prompted - If using
allowlist policy, verify your user ID is in the allowFrom list
Mention-gating problems:
requireMention must be under guilds or channels config, not top-level Discord settings- Ensure you’re using the correct @mention format for your bot
What You Can Do with OpenClaw
With your self-hosted OpenClaw running and Discord integration active, you have a powerful AI assistant at your fingertips:
Daily Briefings: Ask OpenClaw to summarize your emails, calendar, or news every morning and send it to your Discord DMs.
File Management: “Find all PDFs I downloaded last week and organize them by topic” - OpenClaw can browse your filesystem and execute commands.
Web Research: OpenClaw can browse the web, extract information, and compile reports on any topic you’re researching.
Automation: Set up cron jobs through OpenClaw to automate repetitive tasks, from backups to data processing.
Proactive Alerts: Configure OpenClaw to monitor things you care about and alert you on Discord when something happens.
Long-Term Memory: Unlike cloud AI services, OpenClaw remembers everything. Reference a conversation from weeks ago, and it knows exactly what you’re talking about.
Conclusion
Self-hosting OpenClaw gives you a personal AI agent that’s genuinely yours. It runs on your hardware, stores data locally, and integrates with your life through Discord and other messaging platforms. The persistent memory means it gets better over time, learning your preferences and remembering your context.
Whether you’re automating workflows, managing information, or just wanting an AI that remembers who you are, OpenClaw delivers capabilities that cloud services simply cannot match. The setup requires some technical comfort, but the result is worth it: a powerful, private AI assistant that works for you, not for a subscription service.