Cloud-based note-taking apps are convenient, but they come with trade-offs: recurring subscription fees, privacy concerns, and vendor lock-in. What if you could have a powerful, modern note-taking experience while keeping complete control of your data? That’s exactly what
Memos offers an open-source, self-hosted note-taking service that puts privacy first.
In this guide, we’ll walk through setting up Memos using Docker and then use
Pinggy to make it accessible from anywhere on the internet. Whether you’re capturing quick thoughts, building a personal knowledge base, or creating a team wiki, this setup gives you the flexibility of cloud services without sacrificing ownership of your data.
Summary
What You’ll Build:
- Self-hosted Memos instance for private, secure note-taking
- Docker container for easy deployment and management
- Pinggy tunnel for secure remote access from any device
- Complete data ownership with zero subscription fees
Quick Setup:
- Run Memos with Docker:
docker run -d --name memos -p 5230:5230 -v ~/.memos:/var/opt/memos neosmemo/memos:stable
- Access locally at
http://localhost:5230 and create your account - Create a Pinggy tunnel for remote access:
ssh -p 443 -R0:localhost:5230 -t free.pinggy.io
- Use the public URL to access your notes from anywhere
Resources:
Why Self-Host Your Notes?
The note-taking market is crowded with excellent cloud-based solutions, but they all share common limitations. Monthly subscription fees can add up quickly especially when you’re paying for features you might not need. More importantly, your notes often contain sensitive information: personal reflections, business ideas, credentials, and private thoughts that you might not want stored on someone else’s servers.
Self-hosting with Memos solves these problems. Your data stays on your hardware, you’re not dependent on any company’s continued existence or pricing decisions, and you get full control over backups and exports. The open-source nature of Memos means you can inspect the code, contribute improvements, or customize the application to your specific needs.
What is Memos?
Memos is an open-source, self-hosted note-taking service built with privacy at its core. With over 47,000 GitHub stars and an active community, it has become one of the most popular self-hosted alternatives to commercial note-taking applications.
The application is built with a Go backend and React frontend, making it blazing fast and lightweight. It stores data in SQLite by default (with MySQL and PostgreSQL support), making backups as simple as copying a single file. The interface is clean, minimal, and mobile responsive perfect for quick capture and retrieval of thoughts.
Key Features:
- Markdown Native: Full markdown support with plain text storage
- Privacy-First: Self-hosted with zero telemetry or tracking
- One-Line Install: Docker deployment takes seconds
- REST & gRPC APIs: Easy integration with other tools and workflows
- Multi-User Support: Perfect for personal use or small teams
- Mobile-Responsive: Works beautifully on all devices

Prerequisites
Before we start, ensure you have Docker installed on your system. Docker provides a consistent environment across Windows, macOS, and Linux, making deployment straightforward regardless of your operating system.
Windows/macOS: Download and install
Docker Desktop.
Linux (Ubuntu/Debian):
sudo apt update
sudo apt install docker.io docker-compose
sudo systemctl enable docker --now
sudo usermod -aG docker $USER
Log out and back in after adding yourself to the docker group.
Step 1: Running Memos with Docker
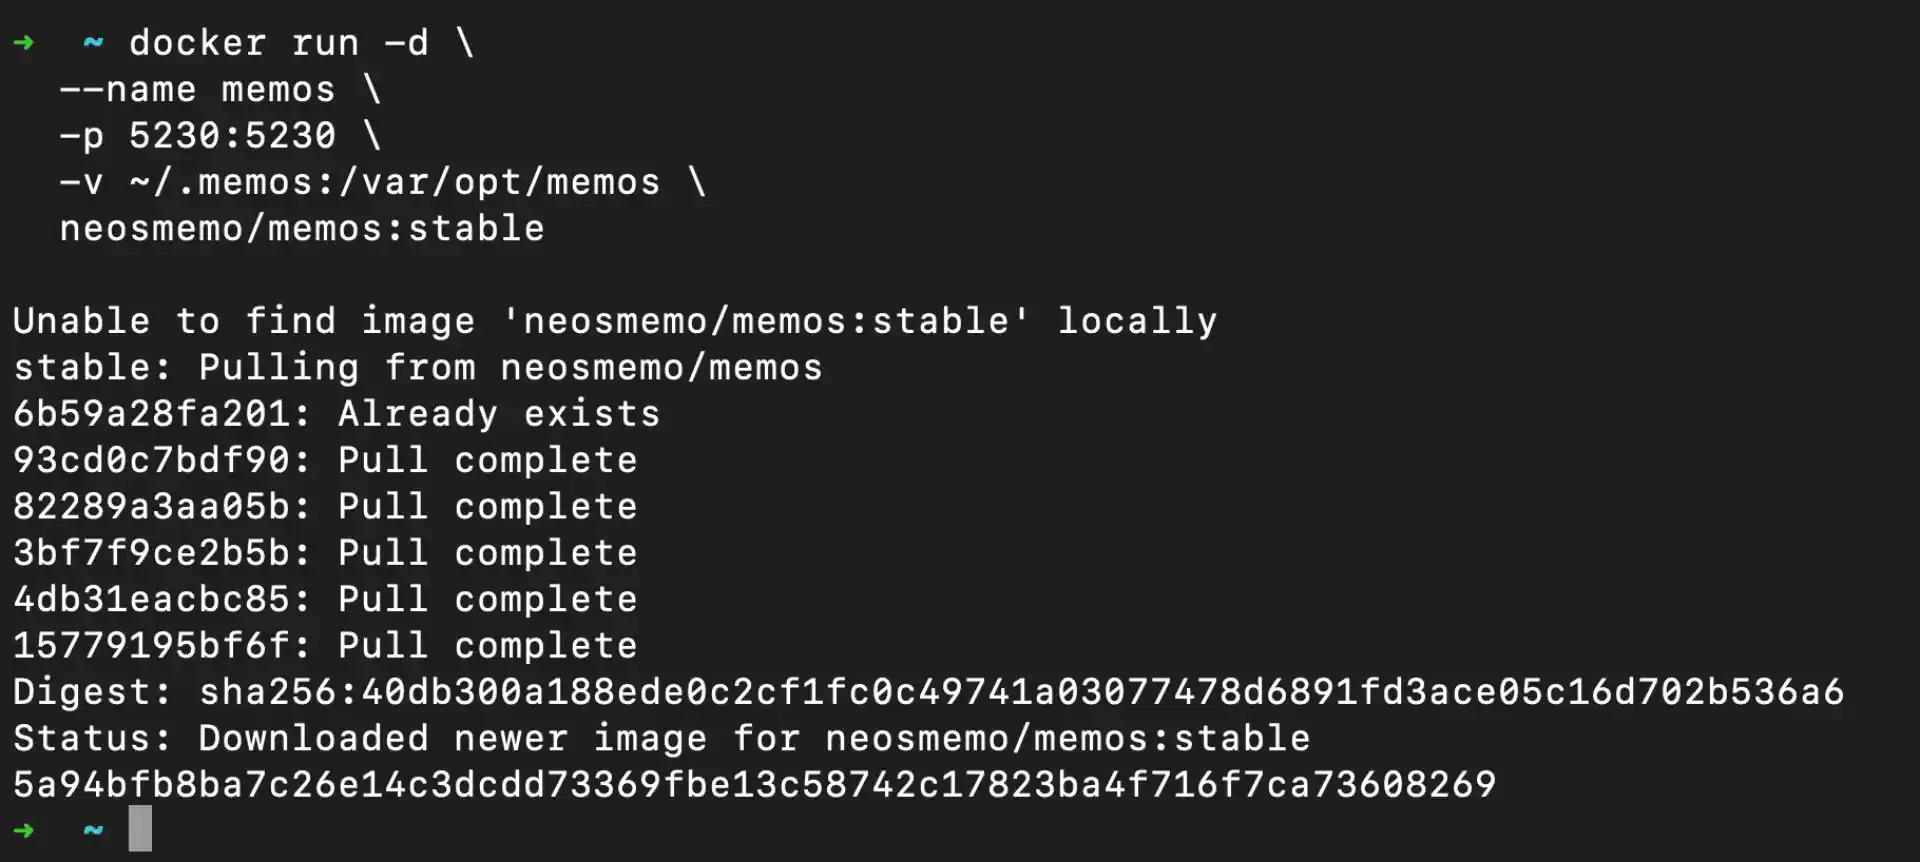
The beauty of Memos is its simplicity. A single Docker command gets you up and running:
docker run -d \
  --name memos \
  -p 5230:5230 \
  -v ~/.memos:/var/opt/memos \
  neosmemo/memos:stable
Let’s break down what this command does:
-d: Runs the container in detached mode (background)--name memos: Names the container for easy reference-p 5230:5230: Maps port 5230 on your host to the container-v ~/.memos:/var/opt/memos: Persists your data in your home directoryneosmemo/memos:stable: Uses the stable release of Memos
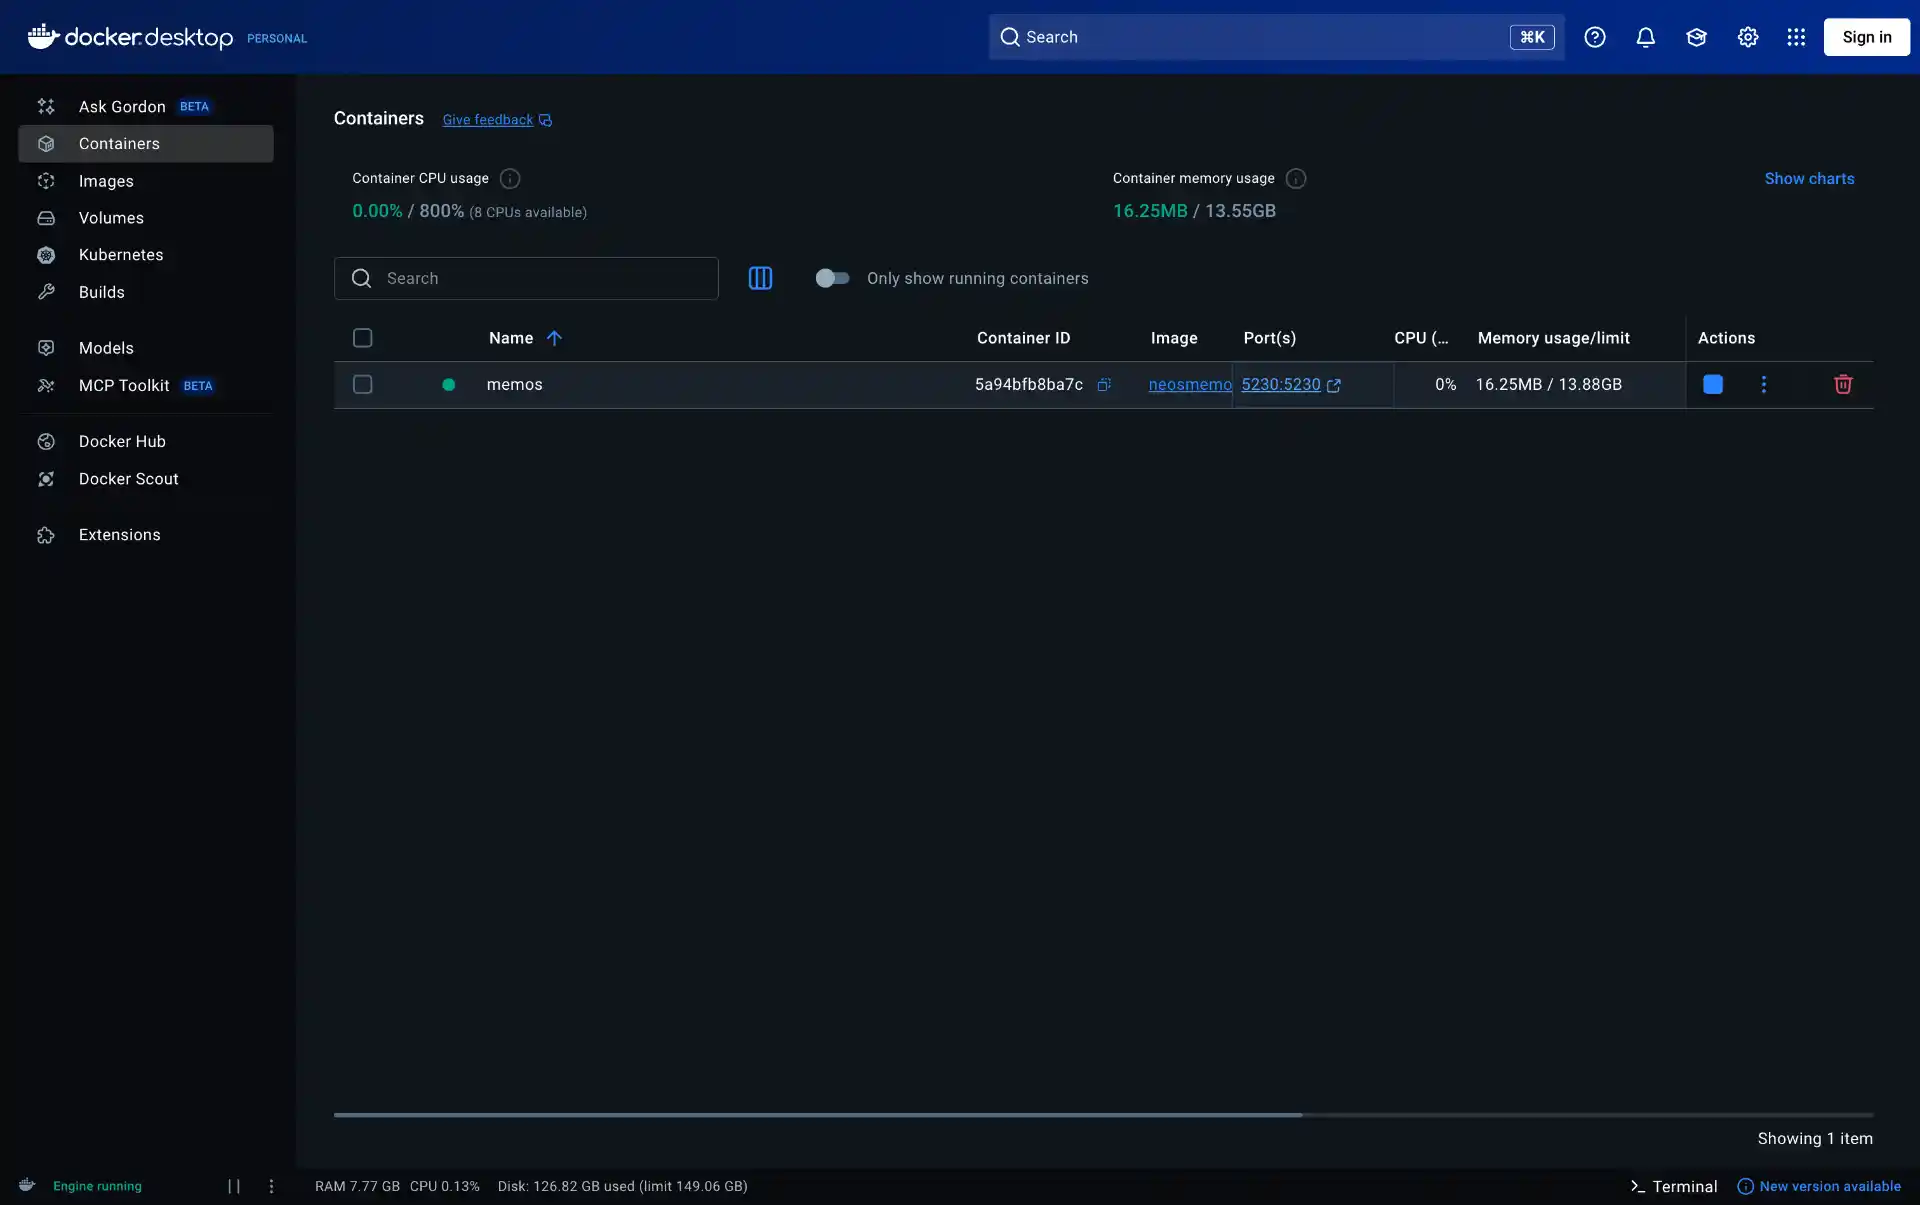
After running this command, Docker will pull the Memos image (if not already present) and start the container. You can verify it’s running with:
You should see your Memos container listed as running.
Using Docker Compose (Alternative)
For more control over your deployment, you can use Docker Compose. Create a docker-compose.yml file:
version: '3.8'

services:
  memos:
    image: neosmemo/memos:stable
    container_name: memos
    ports:
      - "5230:5230"
    volumes:
      - ./memos-data:/var/opt/memos
    restart: unless-stopped
Start the container with:
This approach makes it easier to manage configuration changes and update the container later.
Step 2: Initial Memos Setup
Open your browser and navigate to http://localhost:5230. You’ll be greeted by Memos’ clean, welcoming interface. Since this is a fresh installation, you’ll need to create your admin account.
Click on “Sign up” and create your first user account. This account will be the administrator of your Memos instance. Choose a strong password this protects all your notes.
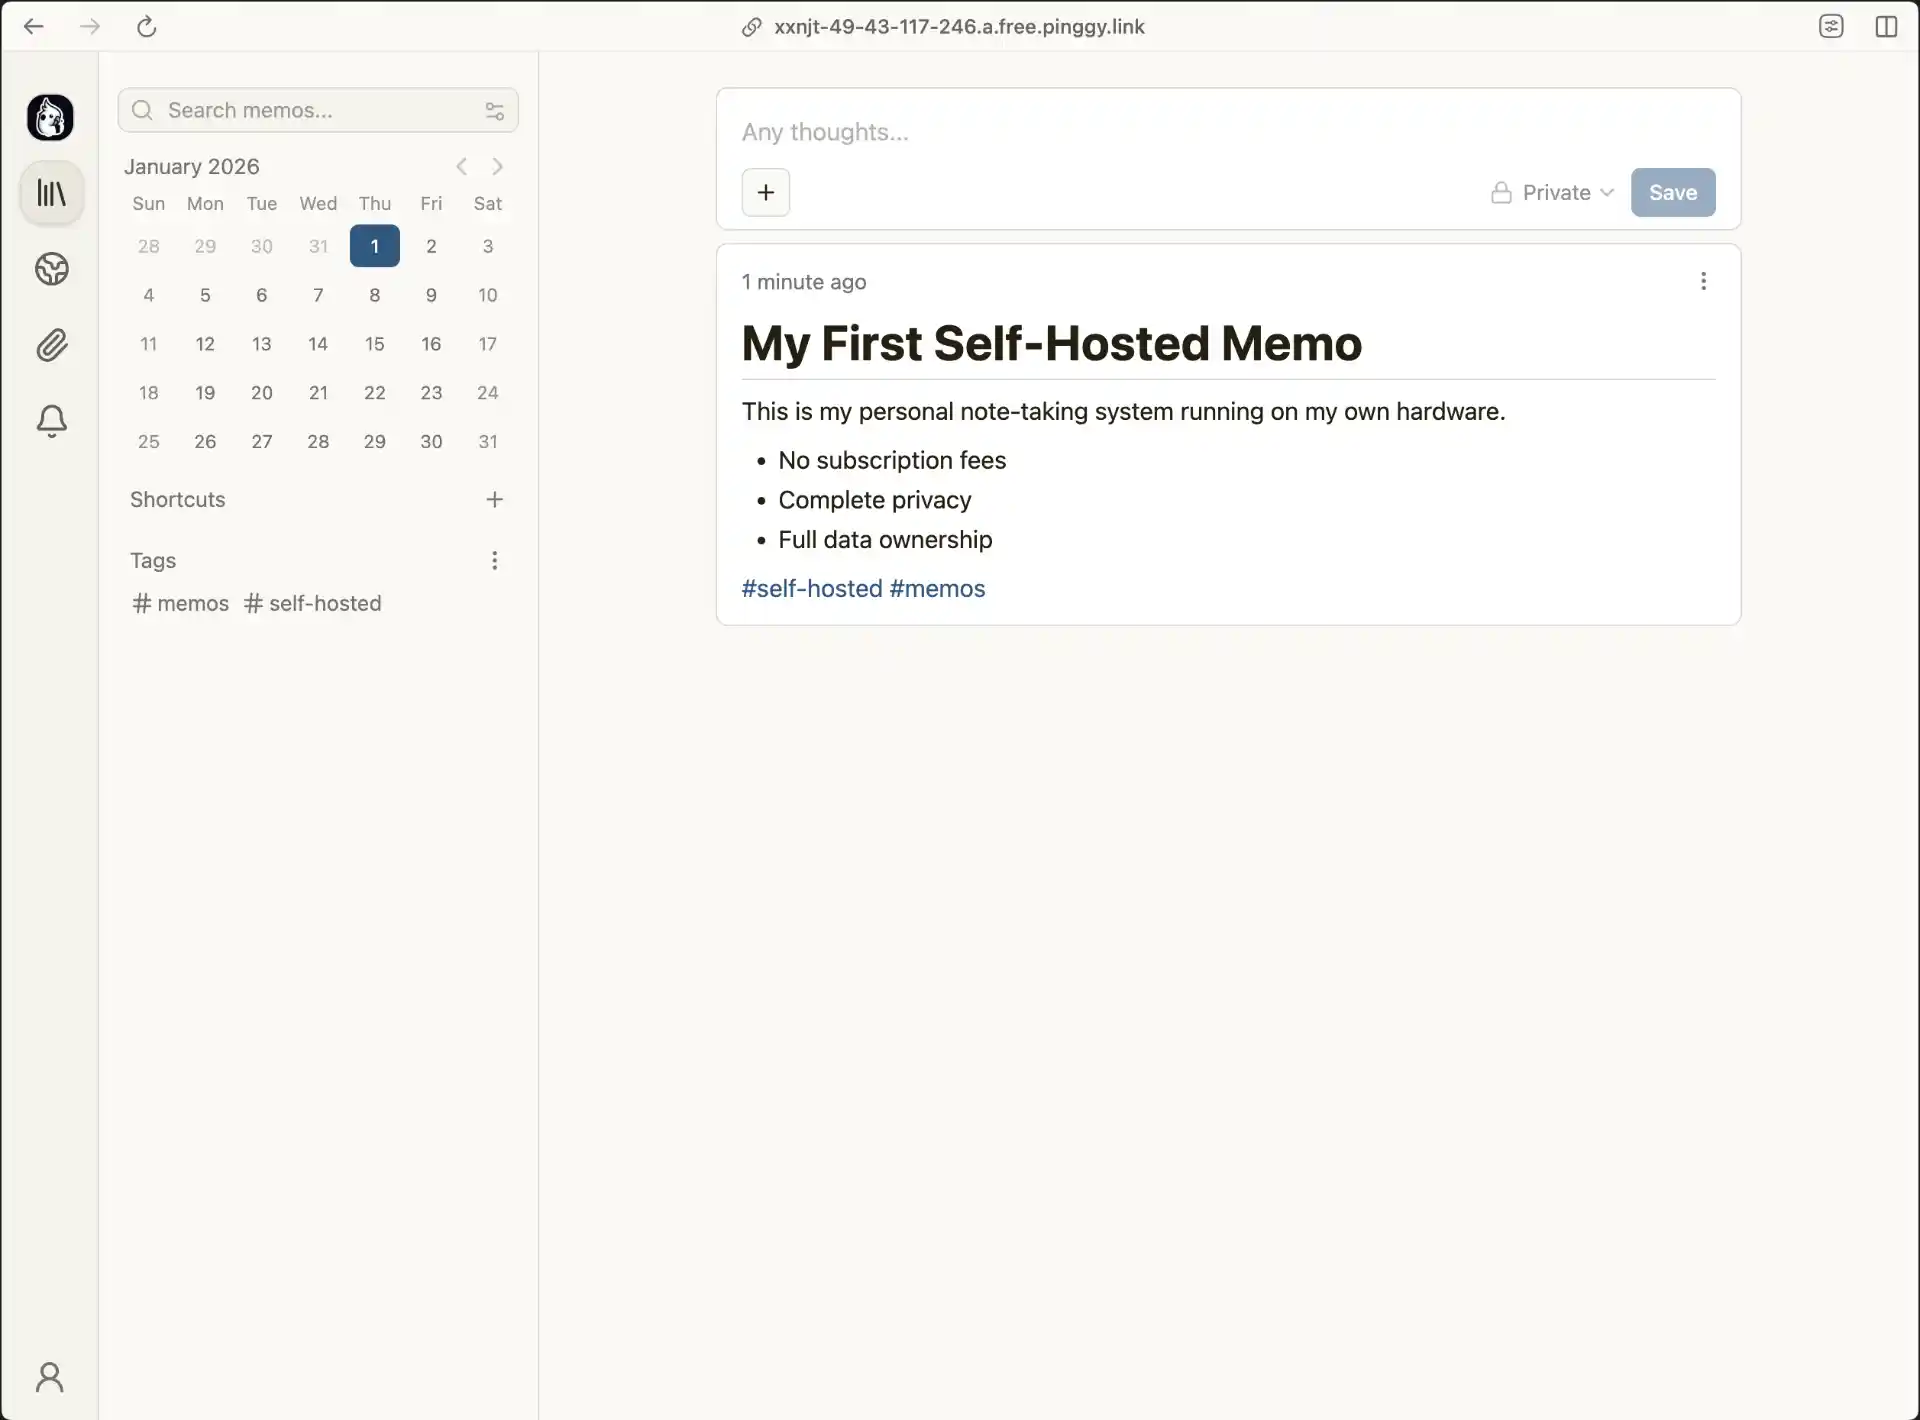
Once logged in, you’ll see the main Memos interface. The design philosophy is refreshingly simple: a text input at the top for quick note capture, and your memos displayed in a chronological feed below. Unlike complex note-taking applications, Memos encourages quick capture of thoughts without the friction of organizing them into notebooks or folders.
Exploring the Interface
Take a moment to familiarize yourself with the interface:
- New Memo: The text box at the top is always ready for your next thought
- Markdown Support: Use standard markdown syntax for formatting
- Tags: Add
#tags to organize and filter your memos - Resources: Attach images and files directly to your memos
- Search: Full-text search across all your notes
- Settings: Customize your experience, manage users, and configure the system
Try creating your first memo. Type something like:
# My First Self-Hosted Memo

This is my personal note-taking system running on my own hardware.

- No subscription fees
- Complete privacy
- Full data ownership

#self-hosted #memos
Click “Save” and watch your memo appear in the feed. The simplicity is intentional Memos is designed for capturing thoughts quickly without getting in your way.

Step 3: Accessing Memos from Anywhere with Pinggy
Running Memos locally is great, but the real power comes from accessing your notes from any device, anywhere. This is where
Pinggy comes in.
Pinggy creates a secure tunnel from your local machine to the internet without any downloads it works directly through SSH. This means you can access your self-hosted Memos instance from your phone, tablet, or any computer with an internet connection.
Creating the Tunnel
Open a new terminal window (keep your Memos container running) and execute:
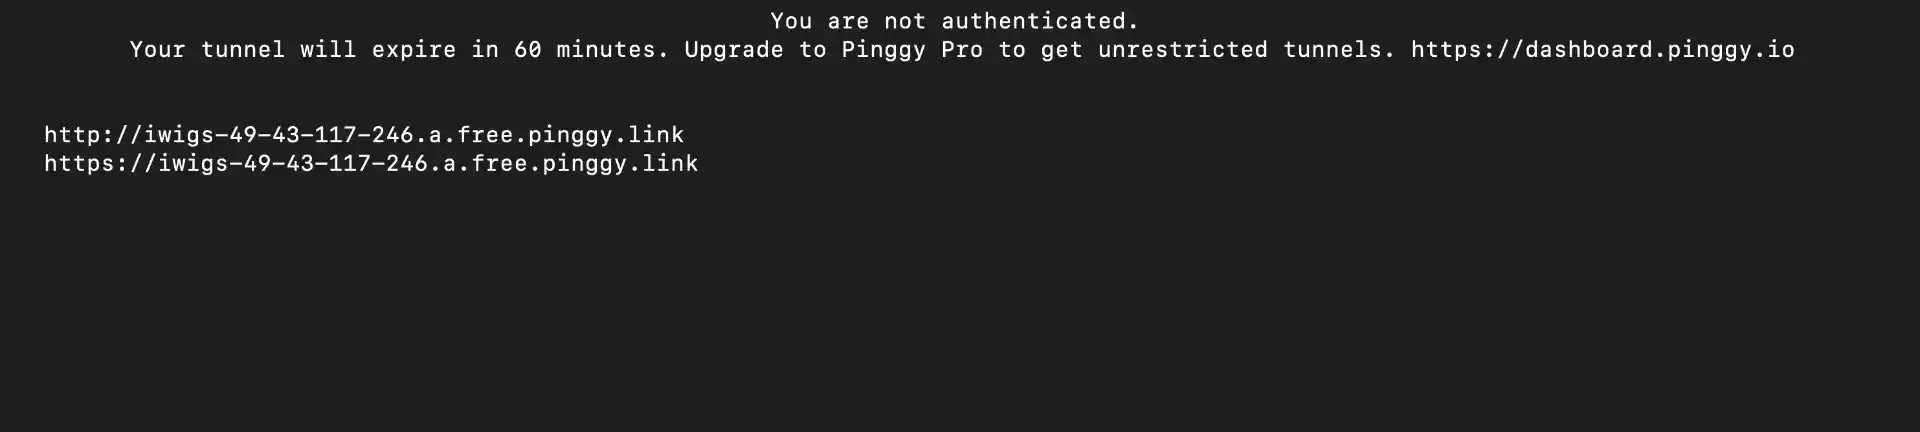
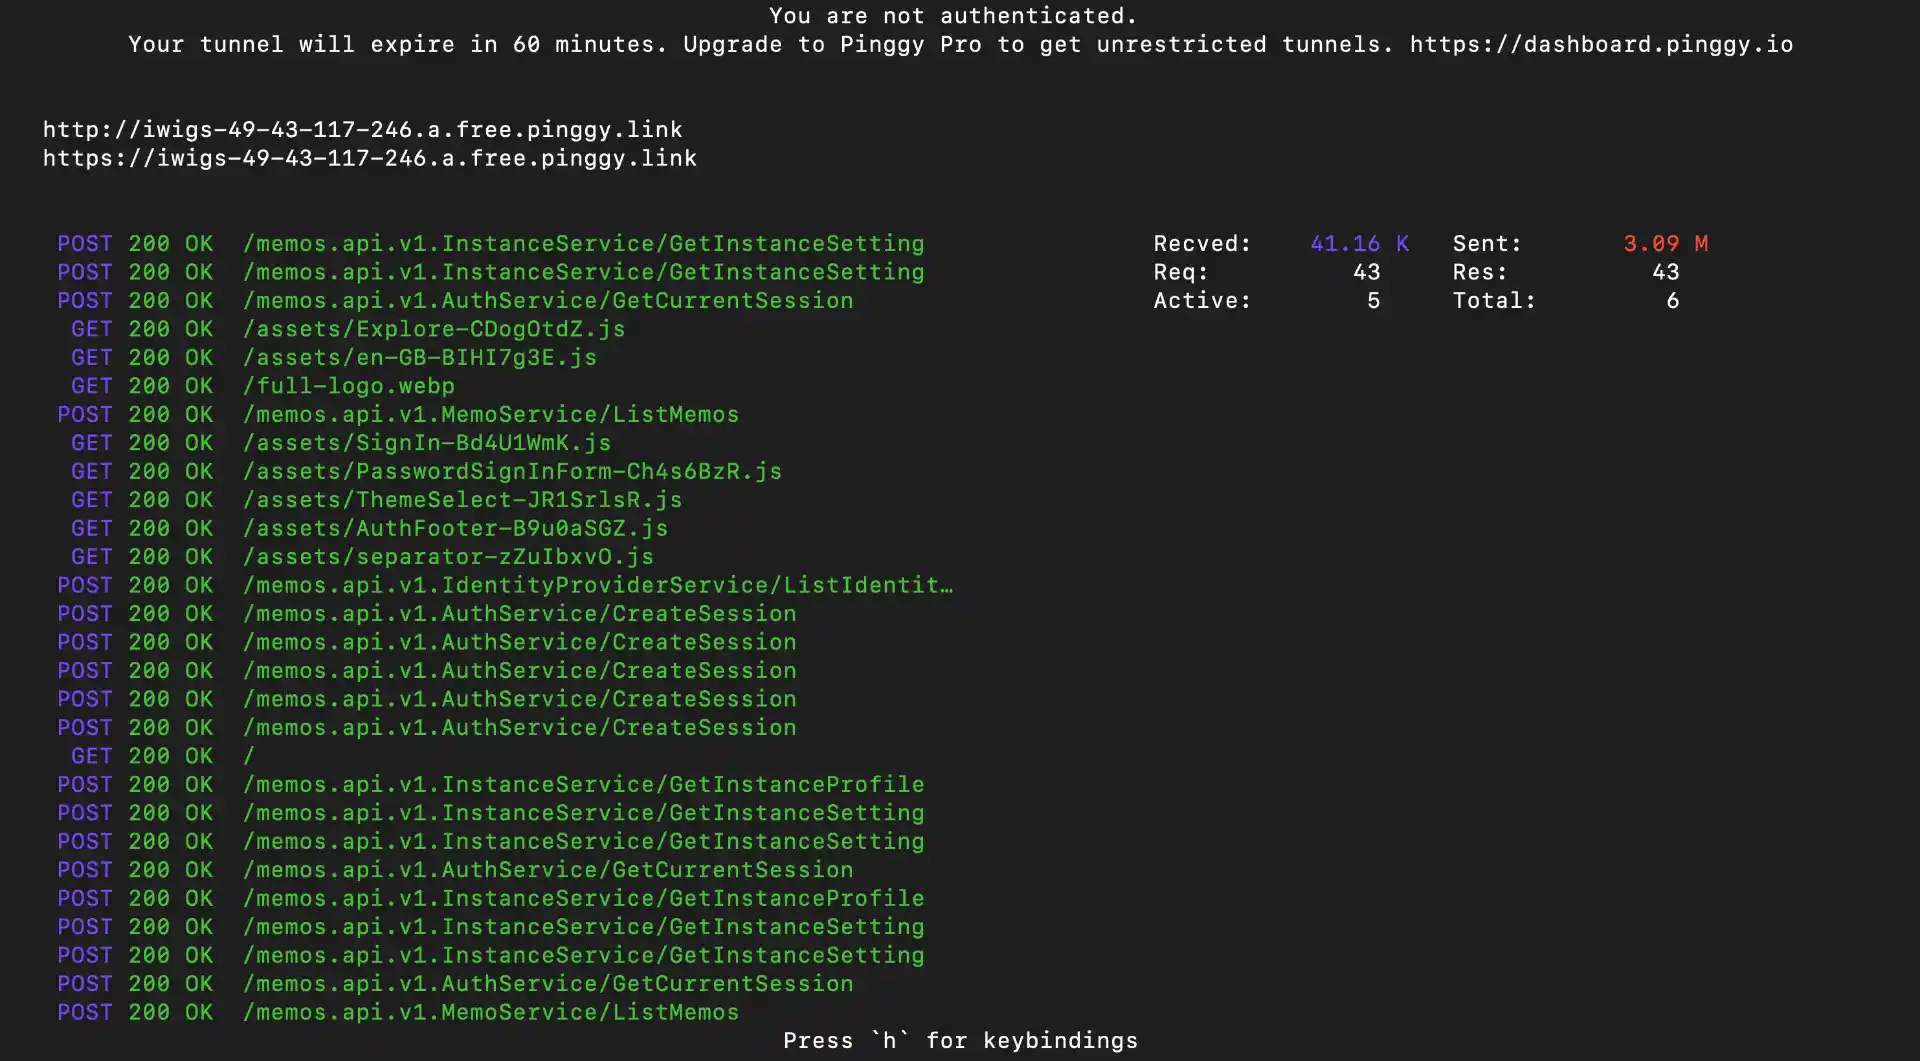
When prompted, press Enter for a blank password (or type anything and press Enter). Pinggy will establish a tunnel and provide you with a public URL:
You can access local server via following URL(s):
https://randomstring.a.pinggy.link
Copy this URL it’s your gateway to accessing Memos from anywhere in the world. Open it in your phone’s browser or share it with a trusted friend to test remote access.
Adding Authentication for Security
Since your notes are now accessible from the internet, you’ll want to add an extra layer of security. Pinggy supports HTTP Basic Authentication to protect your tunnel:
ssh -p 443 -R0:localhost:5230 -t free.pinggy.io "b:username:password"
Replace username and password with your chosen credentials. Anyone accessing your Memos instance through the Pinggy URL will need to enter these credentials first, adding a layer of protection before they even reach the Memos login page.
Persistent URLs with Pinggy Pro
The free Pinggy tunnel provides a random URL that changes each time you reconnect. For a consistent experience,
Pinggy Pro offers persistent subdomains. This means your Memos instance will always be available at the same URL, making it easier to bookmark and access regularly.
Conclusion
Self-hosting your note-taking application might seem daunting, but Memos makes it remarkably simple. In just a few minutes, you can have a powerful, private, and completely free note-taking system running on your own hardware. Combined with Pinggy for secure remote access, you get the convenience of cloud services without the compromises.
Whether you’re a developer who wants full control over your data, someone concerned about privacy, or just looking to escape subscription fatigue, Memos paired with Pinggy delivers a compelling alternative to commercial note-taking services. Your thoughts, your data, your control that’s the promise of self-hosting, and Memos makes it easy to keep.