Running your own AI assistant locally means keeping full control over your conversations and data while avoiding subscription fees and usage limits.
Jan is an open-source ChatGPT alternative that runs entirely on your computer, powered by the robust Cortex inference engine. You can also connect to cloud models from providers like Anthropic, OpenAI, and Google for additional capabilities. With Pinggy, you can share your Jan instance online for team collaboration or remote access.
Summary
Download Jan
- Install from jan.ai for Windows, Mac, or Linux
- No complex setup required - works out of the box
Get an AI Model
Recommended models:
• phi3.5 (for 8GB+ RAM)
• qwen2.5 (for older computers)
Start Chatting
- Use the New Chat tab for conversations
- Works 100% offline with full privacy
Share Online with Pinggy
ssh -p 443 -R0:localhost:1337 -t qr@a.pinggy.io "u:Host:localhost:1337"
Why Choose Jan for Your Local AI Assistant?
Jan offers a compelling alternative to cloud-based AI services with several key advantages:
- Complete Privacy - Your conversations never leave your computer
- No Subscription Fees - Use powerful AI models without ongoing costs
- Offline Capability - Works without internet connection
- User-Friendly Interface - Familiar ChatGPT-like experience
- Document Intelligence - Talk to PDFs, notes, and other documents directly to get summaries, answers, or insights
- Open Source - Fully transparent and customizable
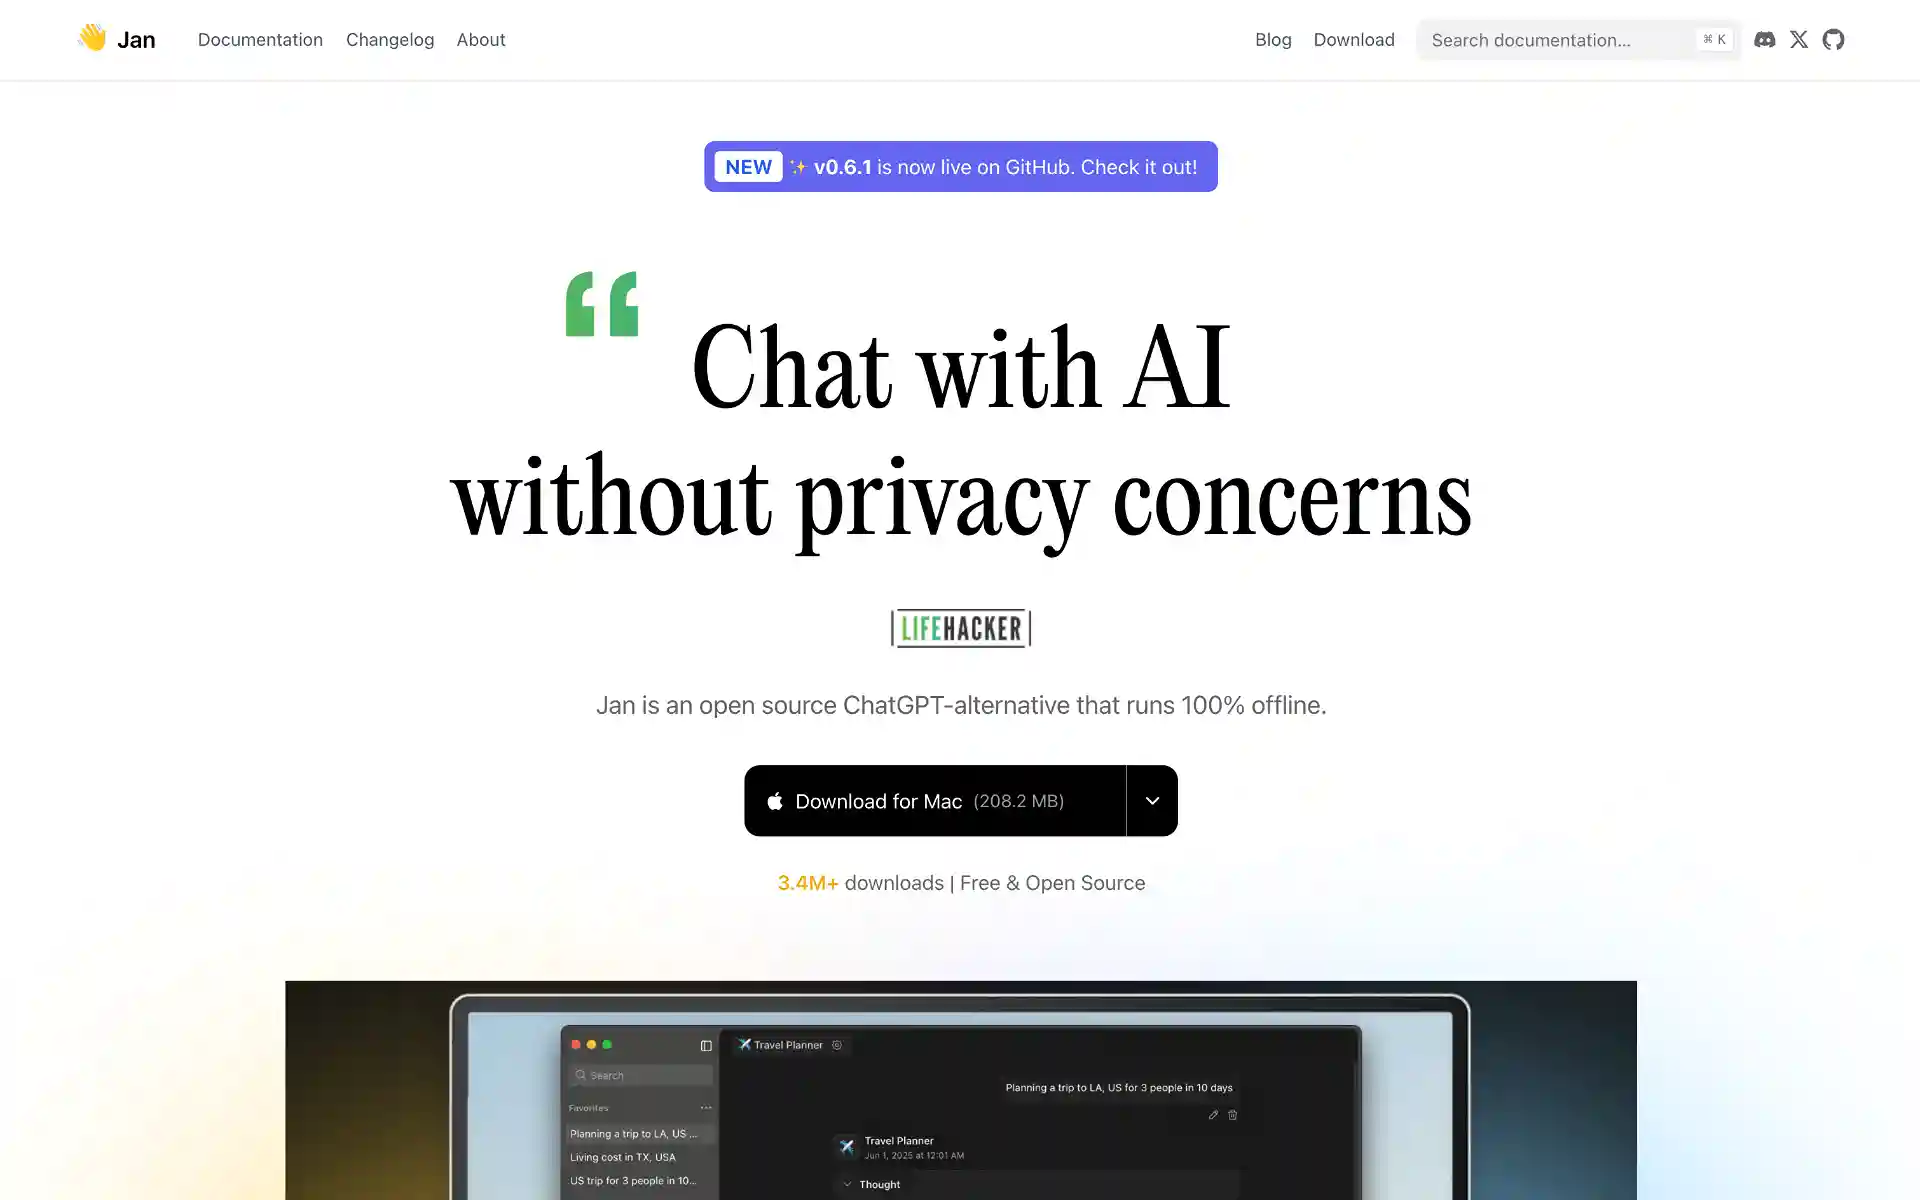
Getting Jan Up and Running
Jan is available for Mac, Windows and Linux. You can download and install pre-built binaries from
Jan.ai.
You can also build it from source using:
git clone https://github.com/menloresearch/jan
cd jan
make dev
See detailed guide here:
Jan.ai GitHub Repo
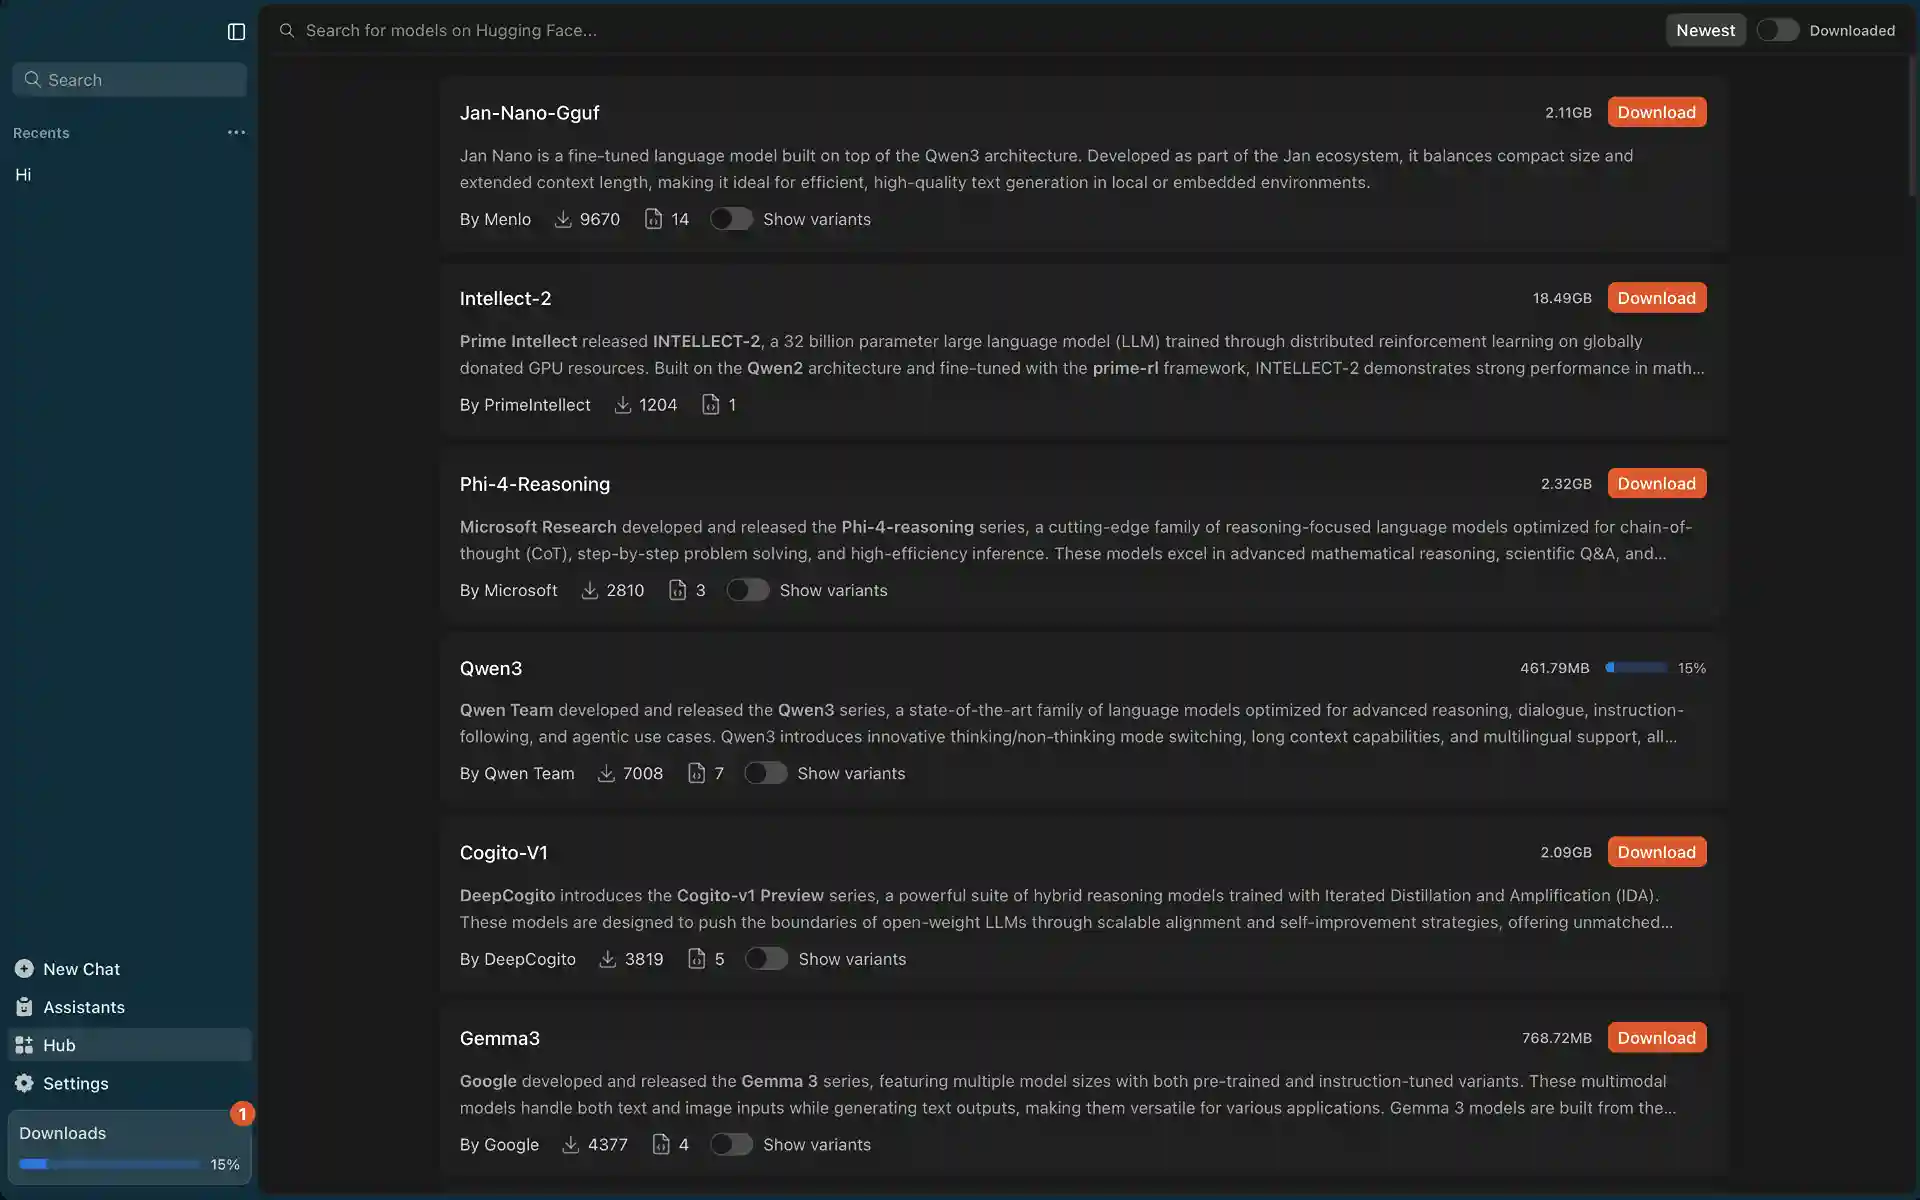
Once you’ve got Jan installed and launched, you’ll see a clean interface with no pre-installed models. The first thing you’ll want to do is download an AI model to actually chat with. Click on the Hub Tab to browse available models.
Jan offers various local AI models from nimble lightweights to hefty powerhouses. Browse models and tap any for details - models need to be in GGUF format. Choose carefully based on your hardware specifications as local models consume your computer’s memory and processing power.
Pro Tip: Start with the smaller model first to test everything works, then you can always download larger models later for better performance.
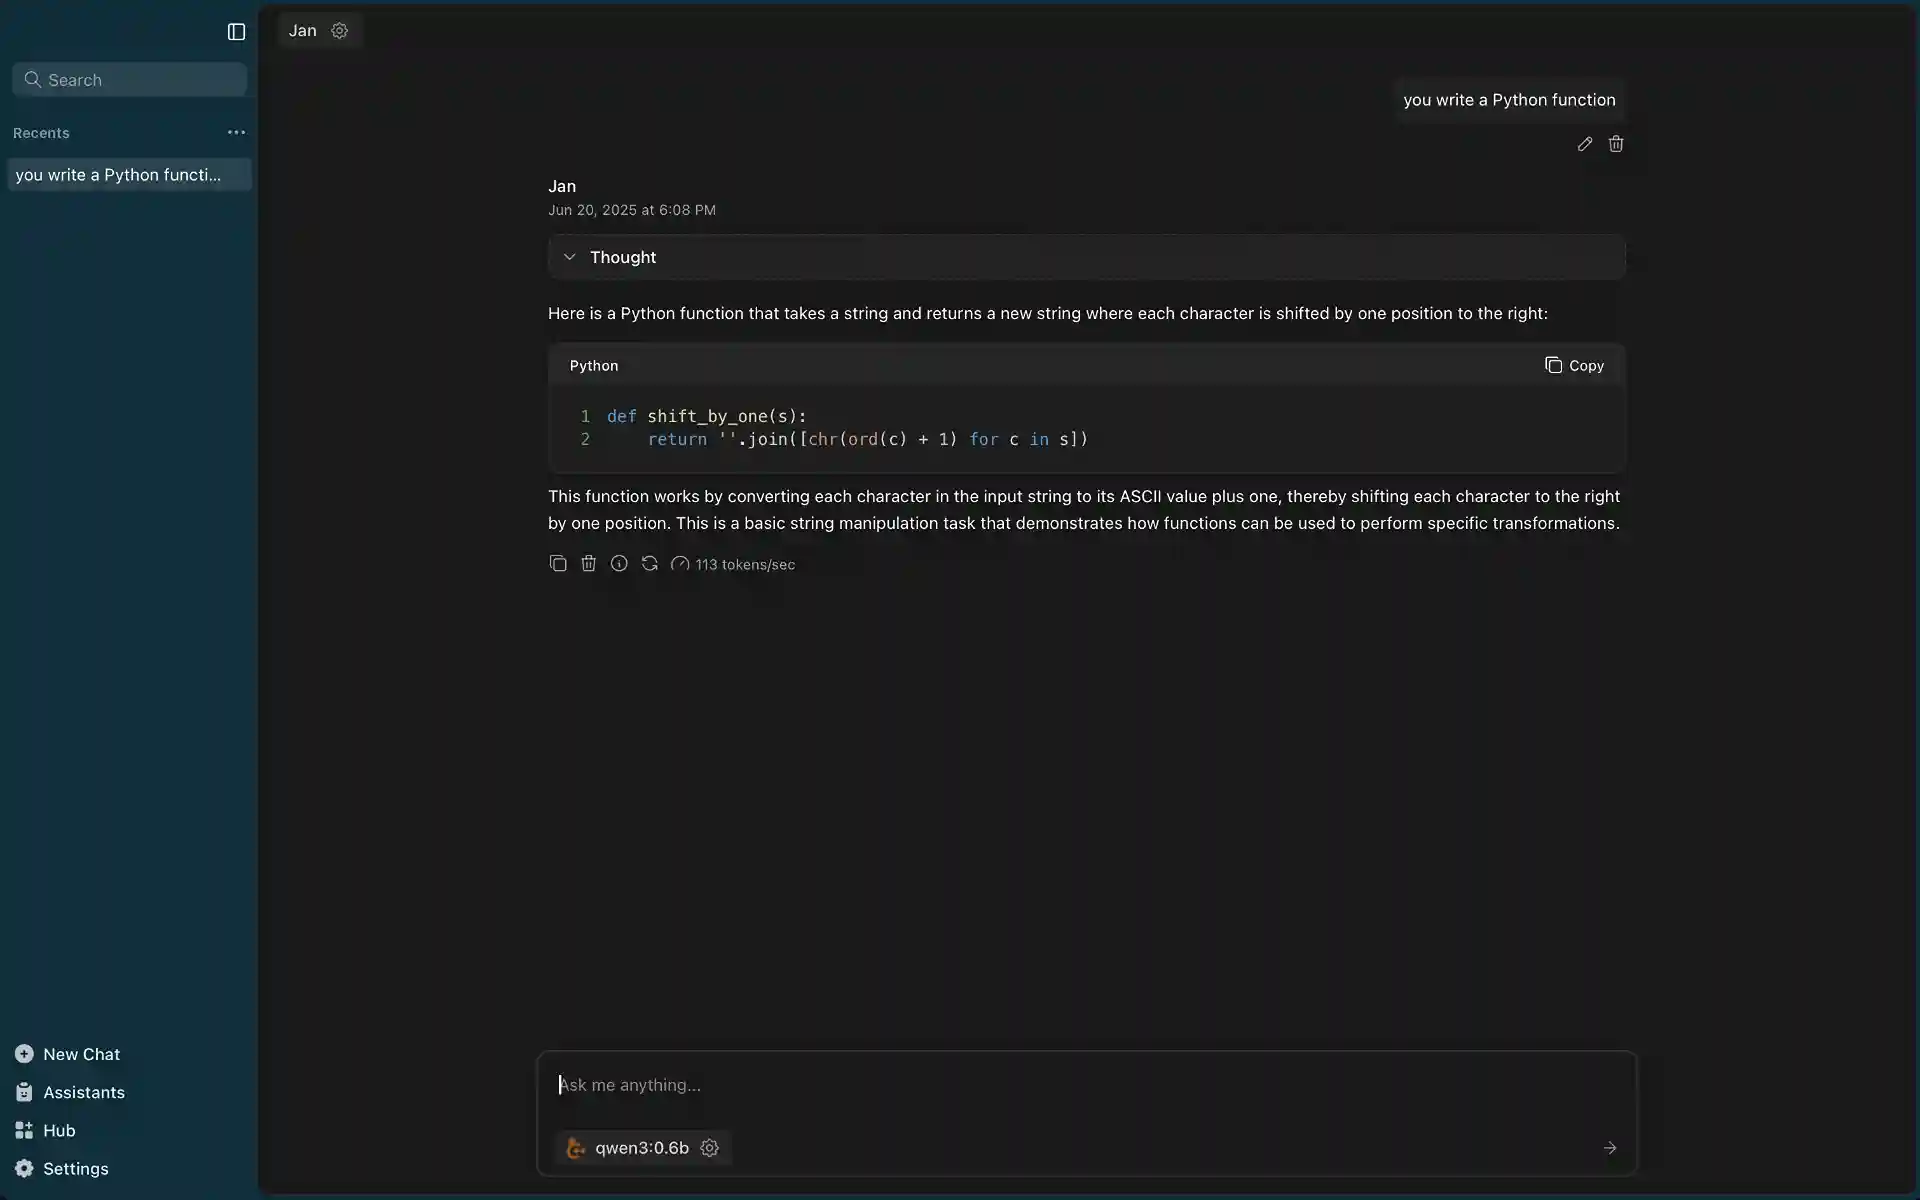
Once your model is downloaded, you can start chatting by typing your message in the New Chat at the bottom of the interface. You can test it out with something simple like asking it to help you write a Python function or explain a concept you’re curious about.
Connect to Remote AI Models (Optional)
Beyond local models, Jan also supports connecting to cloud-based AI models from major providers like Anthropic (Claude), OpenAI (GPT-4), Google (Gemini), Groq, and Cohere etc. This gives you access to the latest AI capabilities without hardware limitations.
To add remote models:
- Go to Settings → Model Providers
- Select your preferred provider (Anthropic, OpenAI, Google, etc.)
- Add your API key from the provider’s console
- Start using premium models alongside your local ones
This hybrid approach lets you use local models for privacy-sensitive tasks and remote models for demanding work that requires cutting-edge AI capabilities. When sharing via Pinggy, your team gets access to both local and premium models through the same interface.
Accessing Jan’s API for Development
Jan includes a built-in API server that’s compatible with OpenAI’s API specification, making it perfect for building custom AI-powered tools:
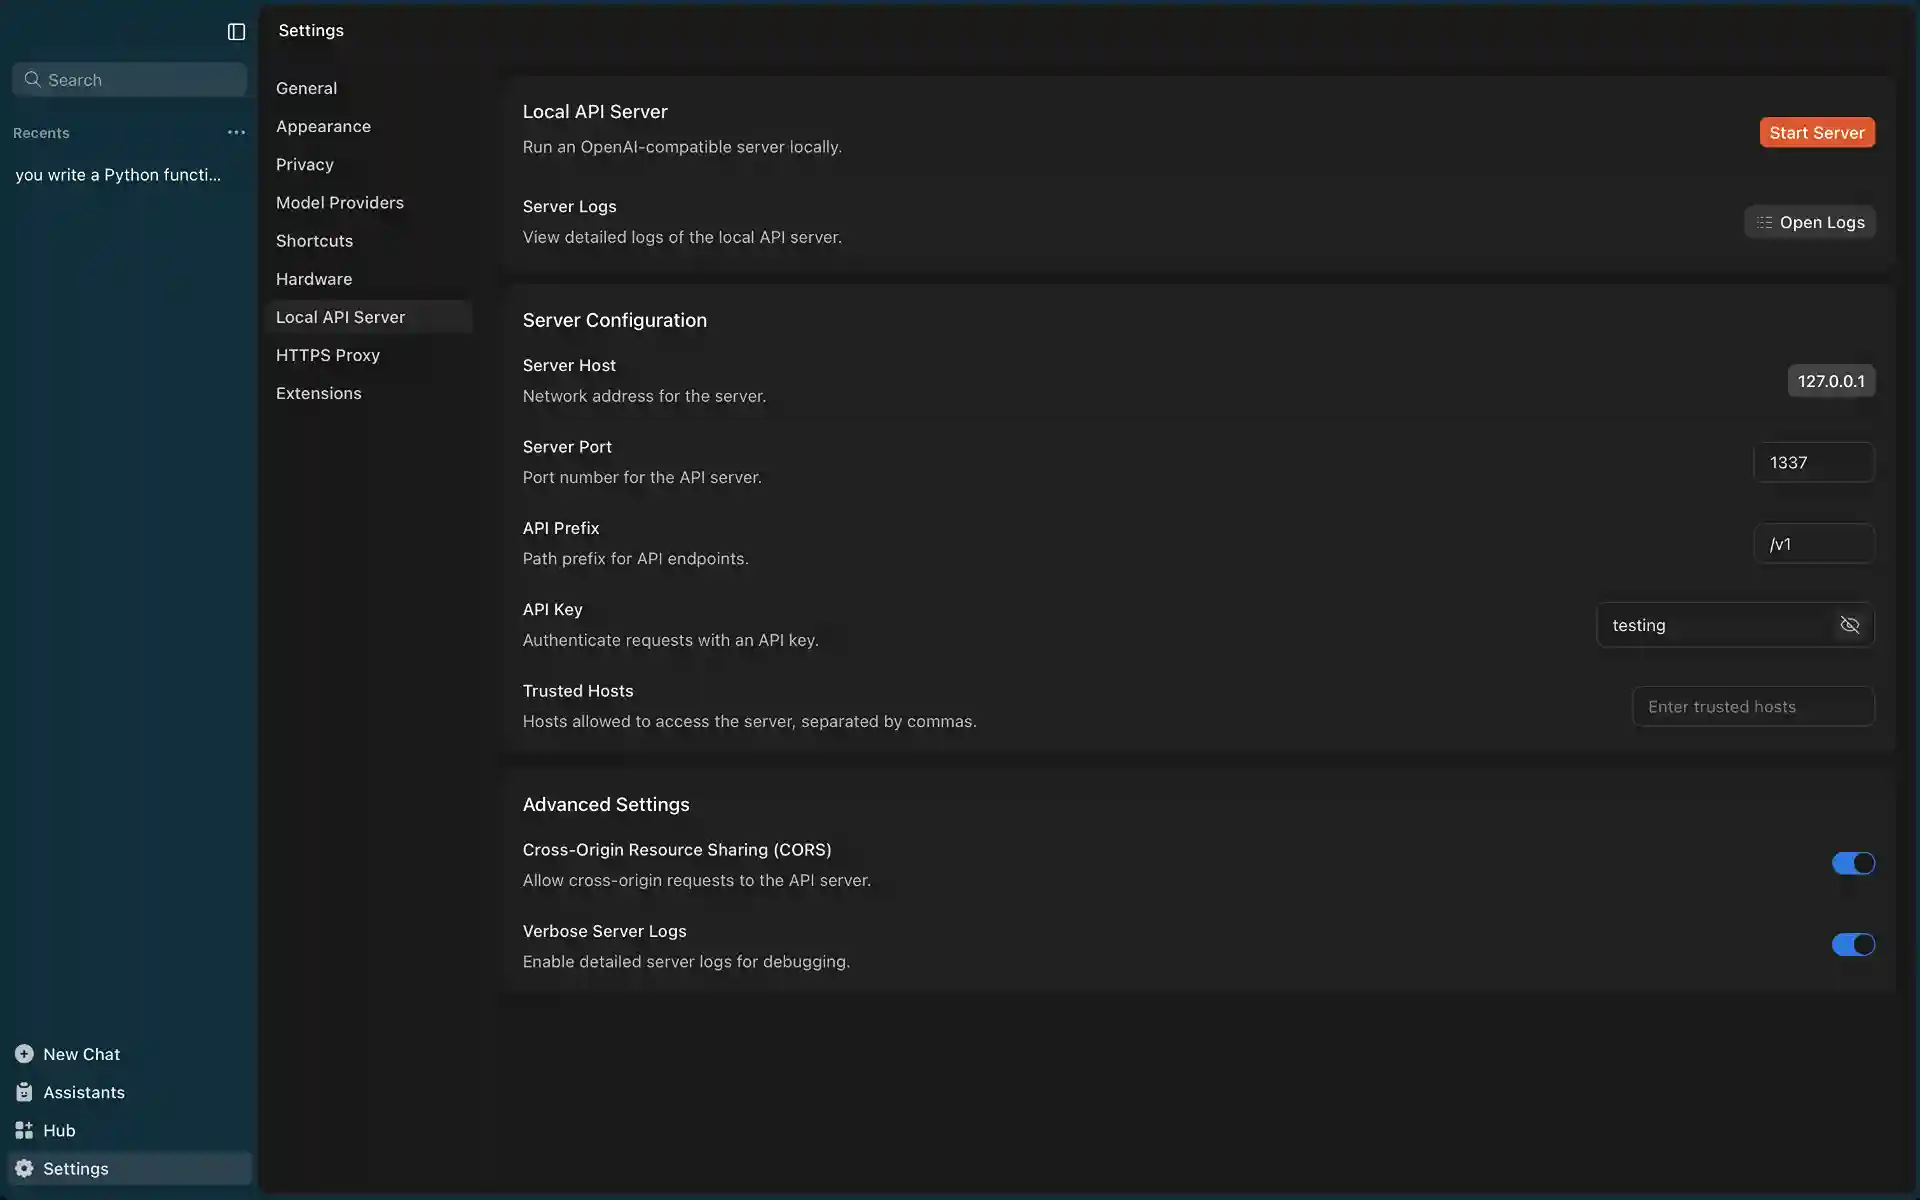
To enable the API server:
- Navigate to the Setting > Local API Server in Jan
- Add an API Key (can be anything like “testing” or “jan-api-key”)
- Click Start Server button
- Wait for confirmation:
JAN API listening at: http://127.0.0.1:1337
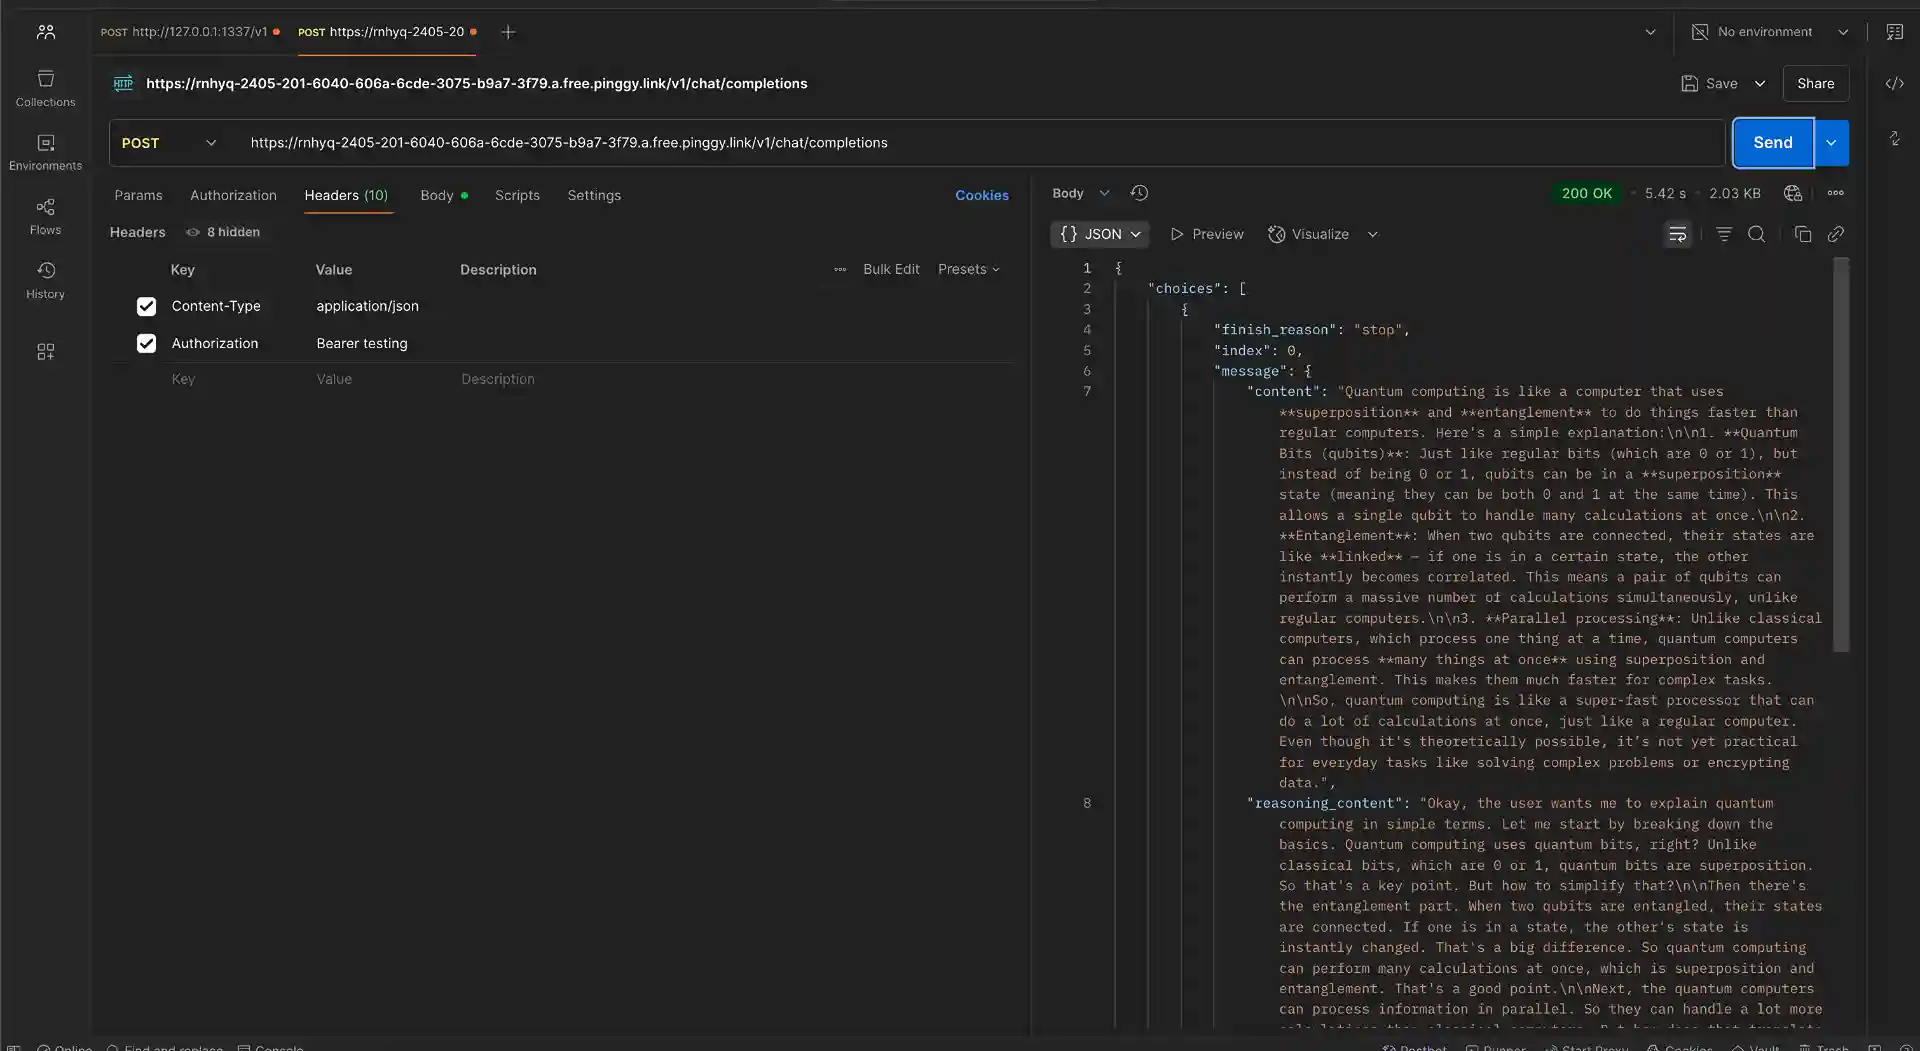
Here’s a simple example of using Jan’s API with curl:
curl --location 'http://127.0.0.1:1337/v1/chat/completions' \
--header 'Content-Type: application/json' \
--header 'Authorization: Bearer testing' \
--data '{
    "model": "qwen3:0.6b",
    "messages": [
      {"role": "user", "content": "Explain quantum computing in simple terms"}
    ]
  }'

Sharing Your Jan Instance Online with Pinggy
If you want to access your Jan assistant from other devices or share it with team members, Pinggy makes this incredibly simple:
- Keep Jan running on your computer
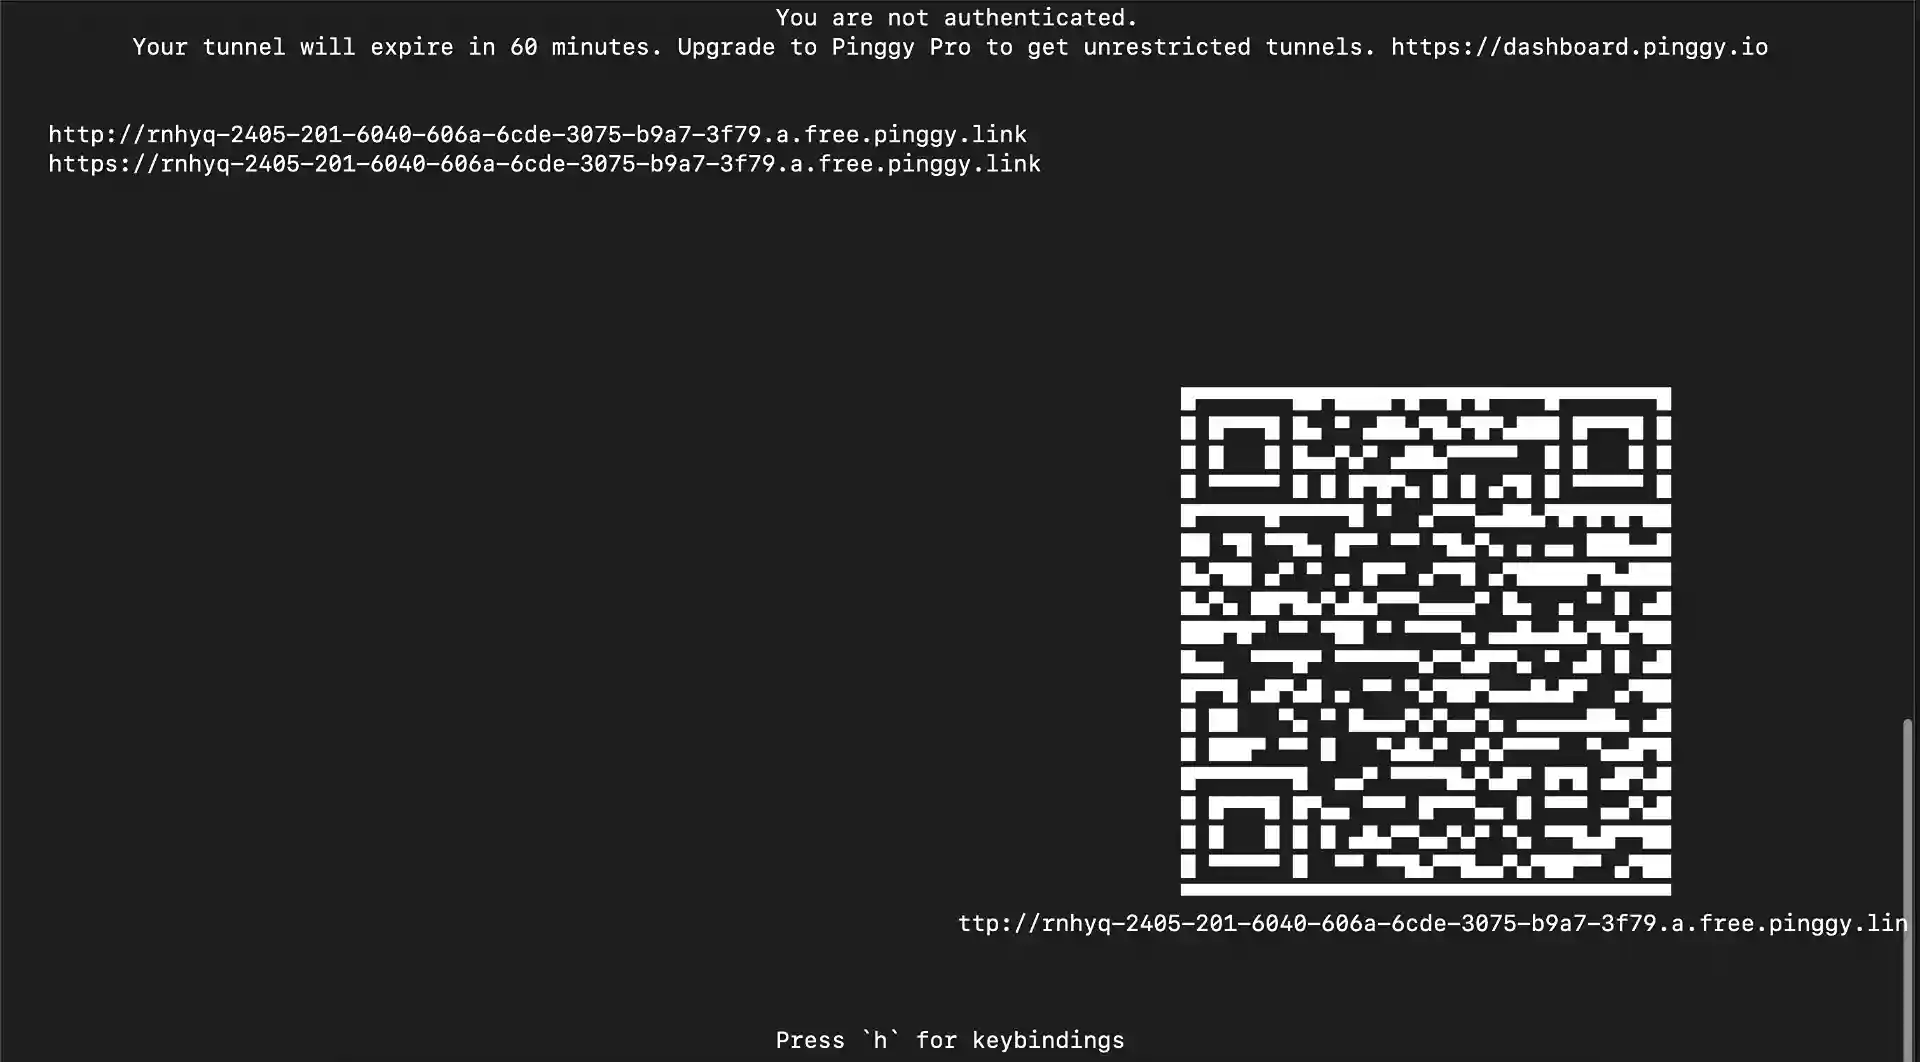
- Open a terminal and run this command:
ssh -p 443 -R0:localhost:1337 -t qr@a.pinggy.io "u:Host:localhost:1337"

- Share the public URL that Pinggy generates (something like
https://abc123.pinggy.link)
Now anyone with the URL can access your Jan instance through their web browser. This is perfect for:
- Remote Work: Access your AI assistant from anywhere
- Team Collaboration: Share AI capabilities with colleagues
- Mobile Access: Use Jan on devices where the app isn’t available
Security Considerations
When sharing your Jan instance online, consider these security measures:
Add Basic Authentication
Protect your tunnel with a username and password:
ssh -p 443 -R0:localhost:1337 -t a.pinggy.io b:username:password
Custom Domains
With Pinggy Pro, you can use custom domains for a more professional setup.
Conclusion
Setting up your own local AI assistant with Jan gives you the perfect combination of privacy, control, and capability. Whether you’re using it for personal productivity, team collaboration, or development projects, this setup ensures your conversations stay private while giving you access to powerful AI capabilities.
With the option to connect remote models from providers like Anthropic, OpenAI, and Google, you can access premium AI capabilities when your local hardware isn’t sufficient. And with Pinggy’s tunneling, you can easily share your Jan instance when needed, making it accessible from anywhere while keeping the processing local to your machine.
This approach offers the best of both worlds: the privacy and control of local hosting with the convenience of online access when you need it.