AI coding agents like
Claude Code,
Cursor CLI, and
OpenAI Codex have fundamentally changed how developers write software. You can kick off a complex refactoring task, generate an entire feature branch, or debug a stubborn production issue all from a single terminal prompt. But there’s a catch: these tools are tied to your workstation. Step away from your desk, and you lose visibility into what your agent is doing, whether it’s finished, or if it needs your input.
This is a real problem. Coding agents can take minutes sometimes longer to complete tasks. During that time, you might be grabbing coffee, commuting, or simply away from your laptop. What if you could check in on your agent, respond to its questions, review file changes, and even start new tasks, all from your phone?
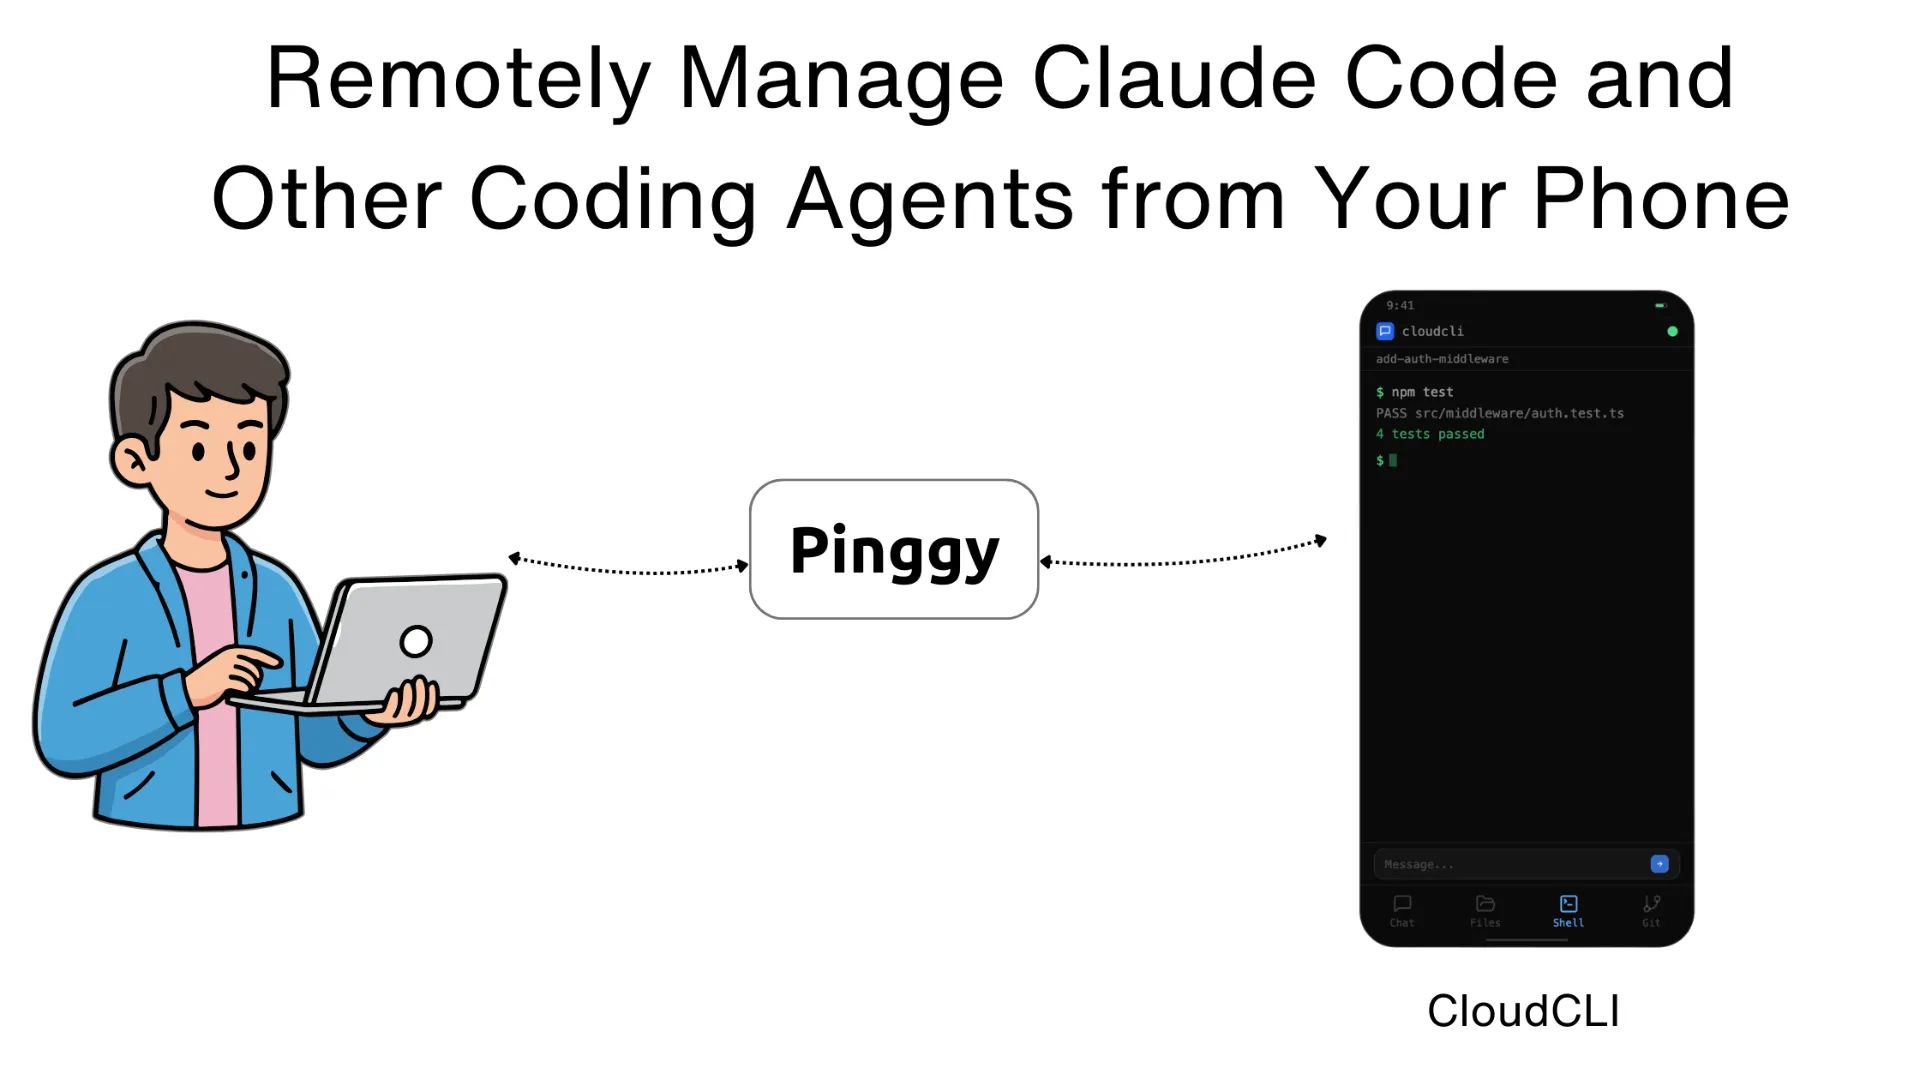
That’s exactly what
Claude Code UI (also known as CloudCLI) solves. It’s a free, open-source web interface that lets you remotely manage Claude Code, Cursor CLI, and Codex sessions from any device your phone, tablet, or another computer. In this guide, we’ll walk through what Claude Code UI offers, how to set it up, and how it fits into a modern remote-first development workflow.
Summary
- Clone the repository:
git clone https://github.com/siteboon/claudecodeui.git
- Install dependencies and start:
cd claudecodeui && npm install && cp .env.example .env && npm run dev
- Open
http://localhost:3001, go to Settings > Agents and connect your accounts - Create a new project and start chatting with your coding agent
- Create a Pinggy tunnel for remote access:
ssh -p 443 -R0:localhost:3001 qr@free.pinggy.io "u:Host:localhost:3001"
- Use the public URL to access Claude Code UI from anywhere
Resources:
Why You Need Remote Access to Your Coding Agents
The shift toward agentic coding has introduced a new problem: waiting. When you ask Claude Code to refactor a module or Codex to scaffold an API, the agent works autonomously for a while before it either finishes or asks for your input. During that time, you’re tethered to your terminal. Leave, and you risk missing a prompt, stalling the entire workflow.
Remote access changes this dynamic entirely. With a tool like Claude Code UI running on your development machine, you can monitor your agent’s progress from your phone while waiting in line, approve a file change while on the couch, or kick off a new task from your tablet during a meeting break. It turns dead time into productive time.
Beyond convenience, there’s a practical advantage for teams. If you’re running long-running agent tasks on a shared development server or a cloud VM, Claude Code UI gives every team member a browser-based entry point to manage sessions without needing SSH access or terminal familiarity.
What is Claude Code UI (CloudCLI)?
Claude Code UI is an open-source project by
Siteboon that wraps a full-featured web interface around your existing CLI-based coding agents. It discovers your active projects and sessions from ~/.claude/projects/, then exposes them through a responsive React frontend backed by an Express.js server with WebSocket support for real-time streaming.
The architecture is straightforward. Claude Code UI sits as a lightweight layer on top of your existing tools it doesn’t replace Claude Code, Cursor CLI, or Codex. Instead, it manages their processes, streams their output to your browser, and lets you interact with them through a clean, mobile-friendly interface.
Supported Agents
Claude Code UI isn’t limited to a single tool. It supports three major CLI-based coding agents:
- Claude Code — Anthropic’s official CLI for Claude, the most popular agentic coding tool in 2026
- Cursor CLI — The command-line interface for Cursor’s AI-powered editor
- OpenAI Codex — OpenAI’s coding agent that runs in your terminal
You can switch between agents or manage sessions for all three simultaneously through the same interface.
Core Features
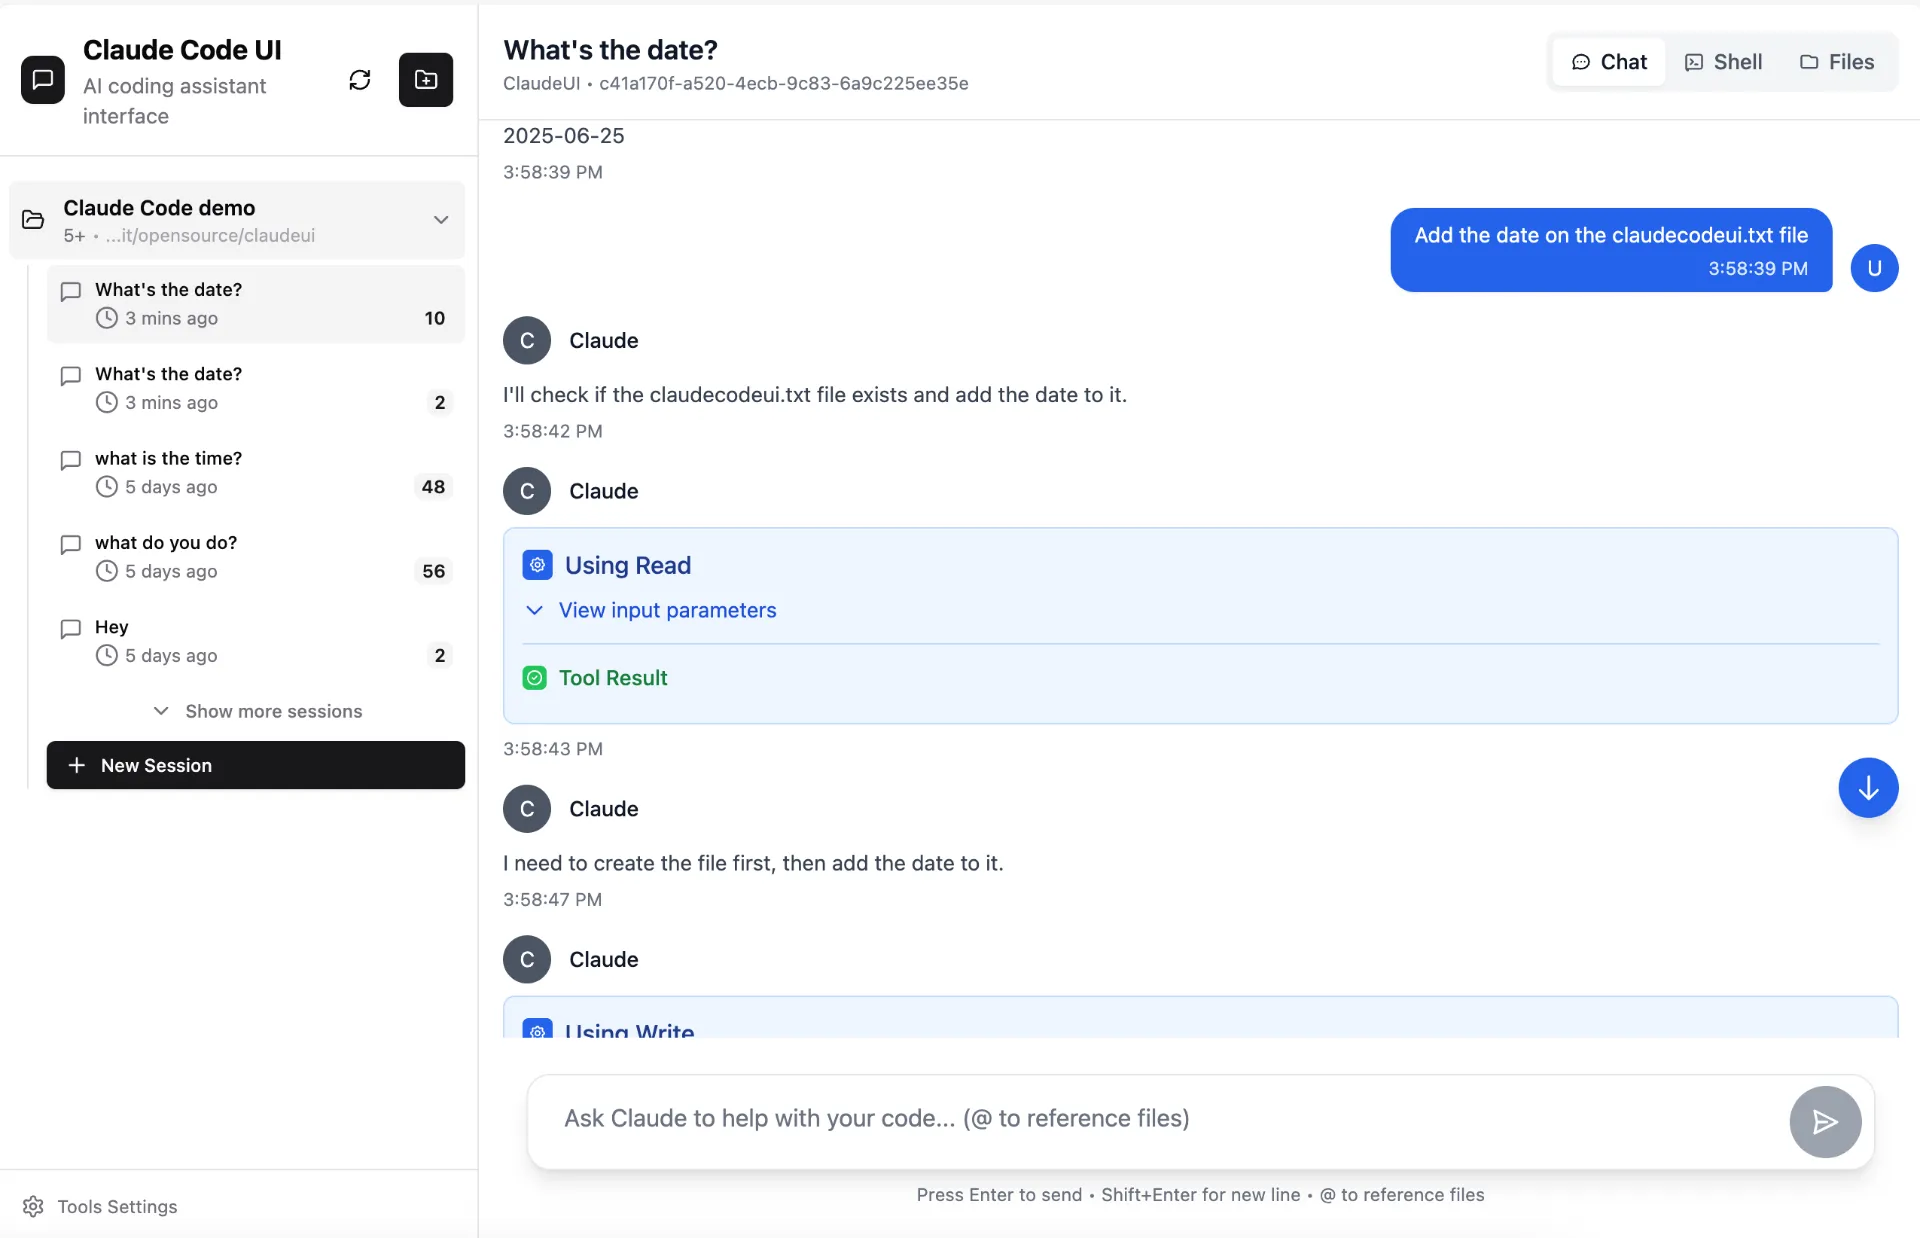
Interactive Chat Interface
The chat interface is the heart of Claude Code UI. It streams responses from your selected CLI agent in real time over WebSockets, so you see output as it’s generated not after the fact. You can send new prompts, respond to agent questions, and review the full conversation history, all from your phone’s browser.
Integrated File Explorer
Claude Code UI includes a file tree view with syntax highlighting powered by
CodeMirror. You can browse your project structure, open files, and make live edits directly from the web interface. This is particularly useful when your agent makes changes and you want to quickly review a diff or fix a small issue without switching back to your desktop.
Git Management
Built-in git support lets you view changes, stage files, create commits, and switch branches all from the browser. This means you can review what your coding agent has done, commit the good parts, and discard the rest, without ever opening a terminal.
Session Persistence
Every conversation with your coding agent is tracked and persisted. You can resume a previous session exactly where you left off, which is essential when you’re context-switching between your phone and desktop throughout the day.
MCP Server Support
Claude Code UI supports the
Model Context Protocol (MCP), allowing you to add your own MCP servers through the UI. This extends the capabilities of your coding agent with custom tools, data sources, and integrations.
Integrated Shell Terminal
Beyond the chat interface, Claude Code UI provides direct shell access to Claude Code, Cursor CLI, or Codex through a built-in terminal. This gives you the full power of the CLI when you need it, wrapped in a browser tab.
Step 1: Install Claude Code UI
Before starting, make sure you have Node.js v22 or higher installed on your system. Check your version with:
Now clone the Claude Code UI repository from GitHub:
git clone https://github.com/siteboon/claudecodeui.git
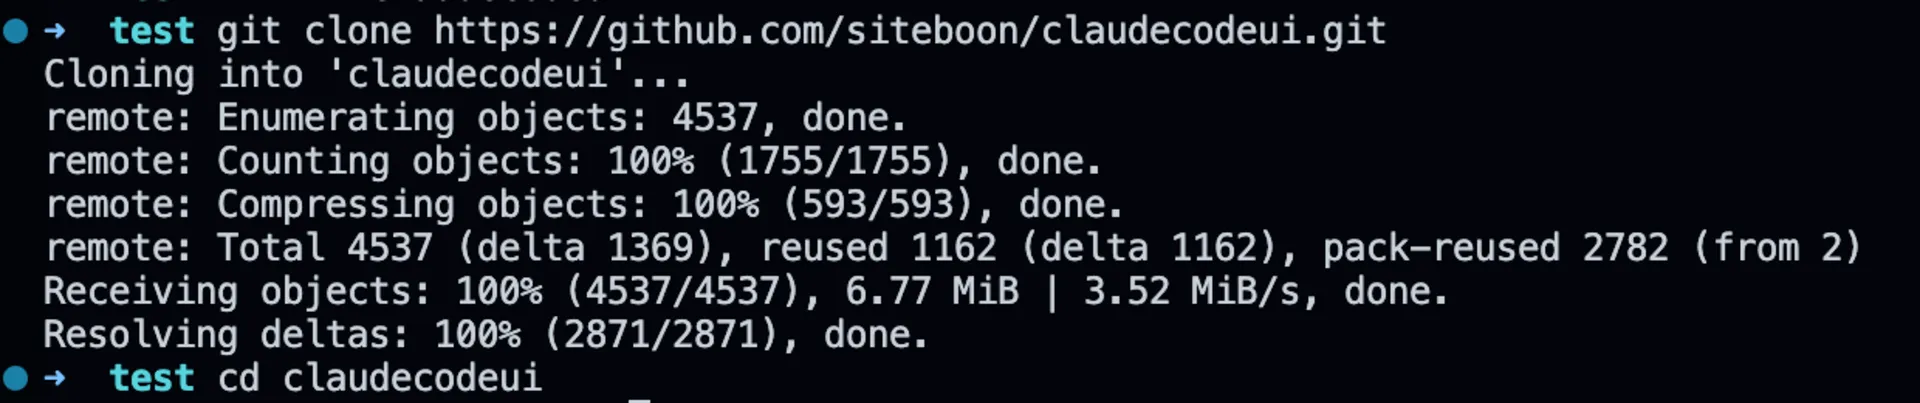
Navigate into the project directory:
Install the dependencies:
Copy the environment configuration file:
Start the development server:
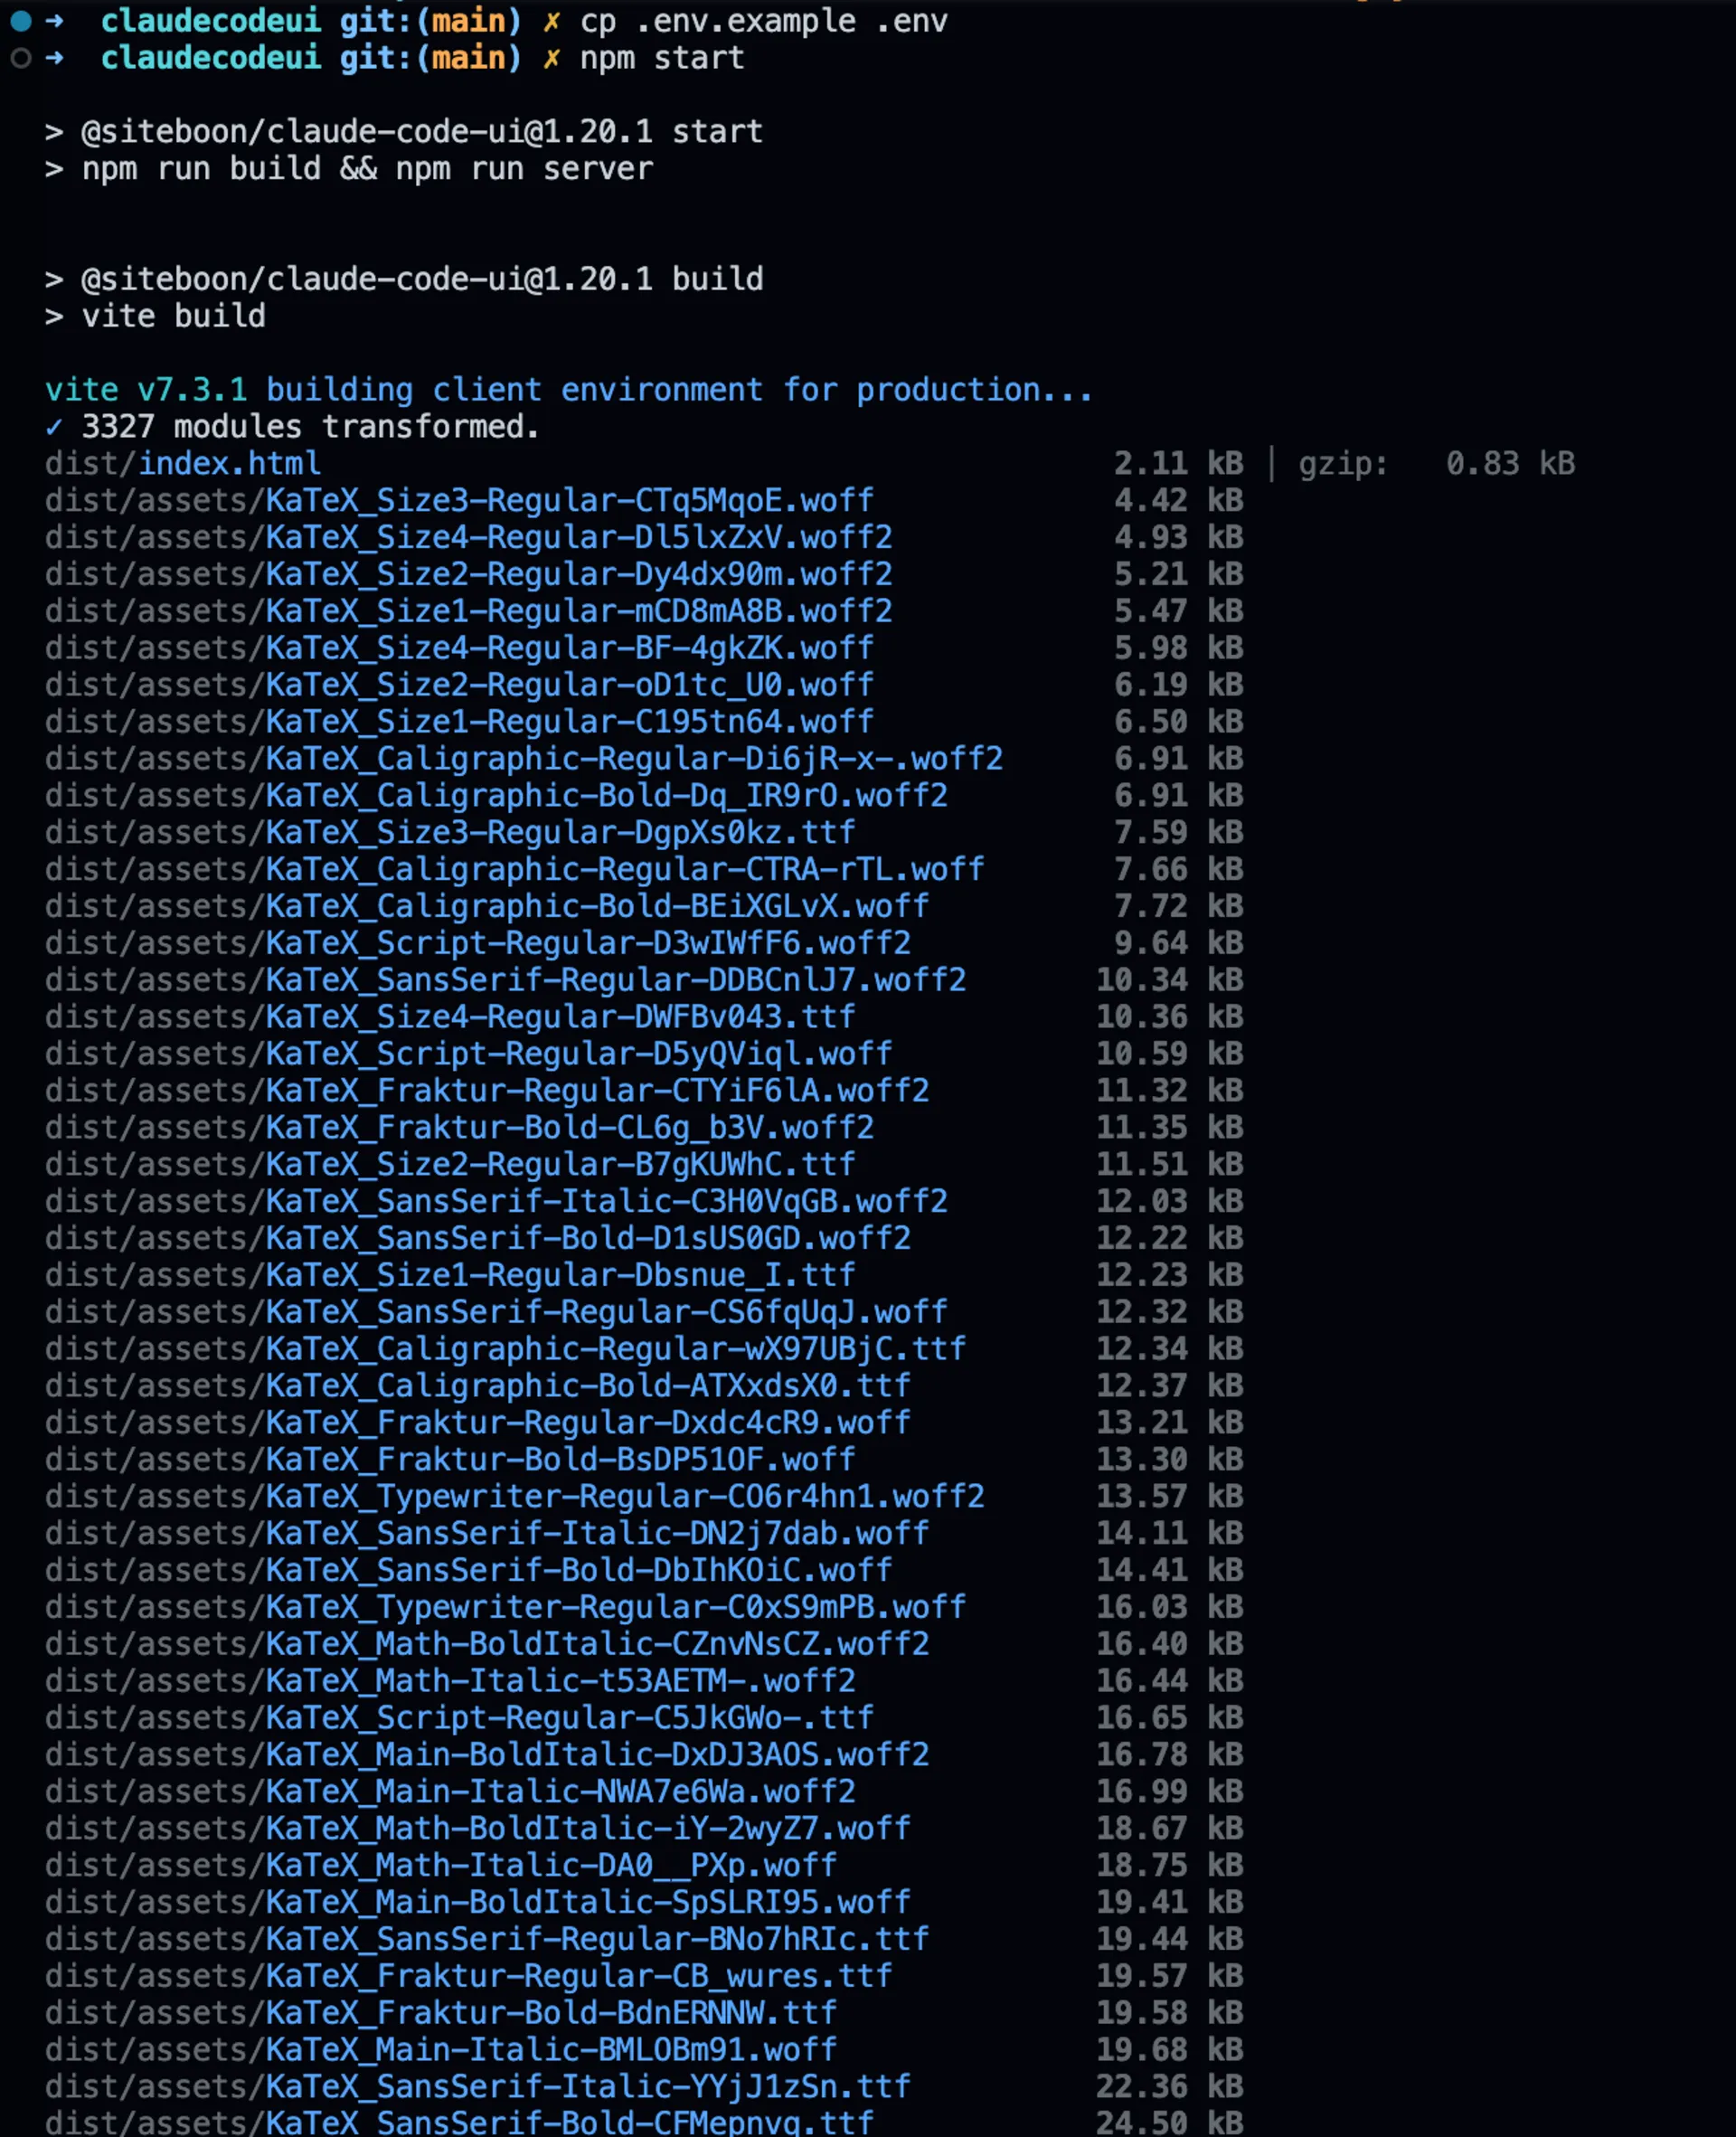
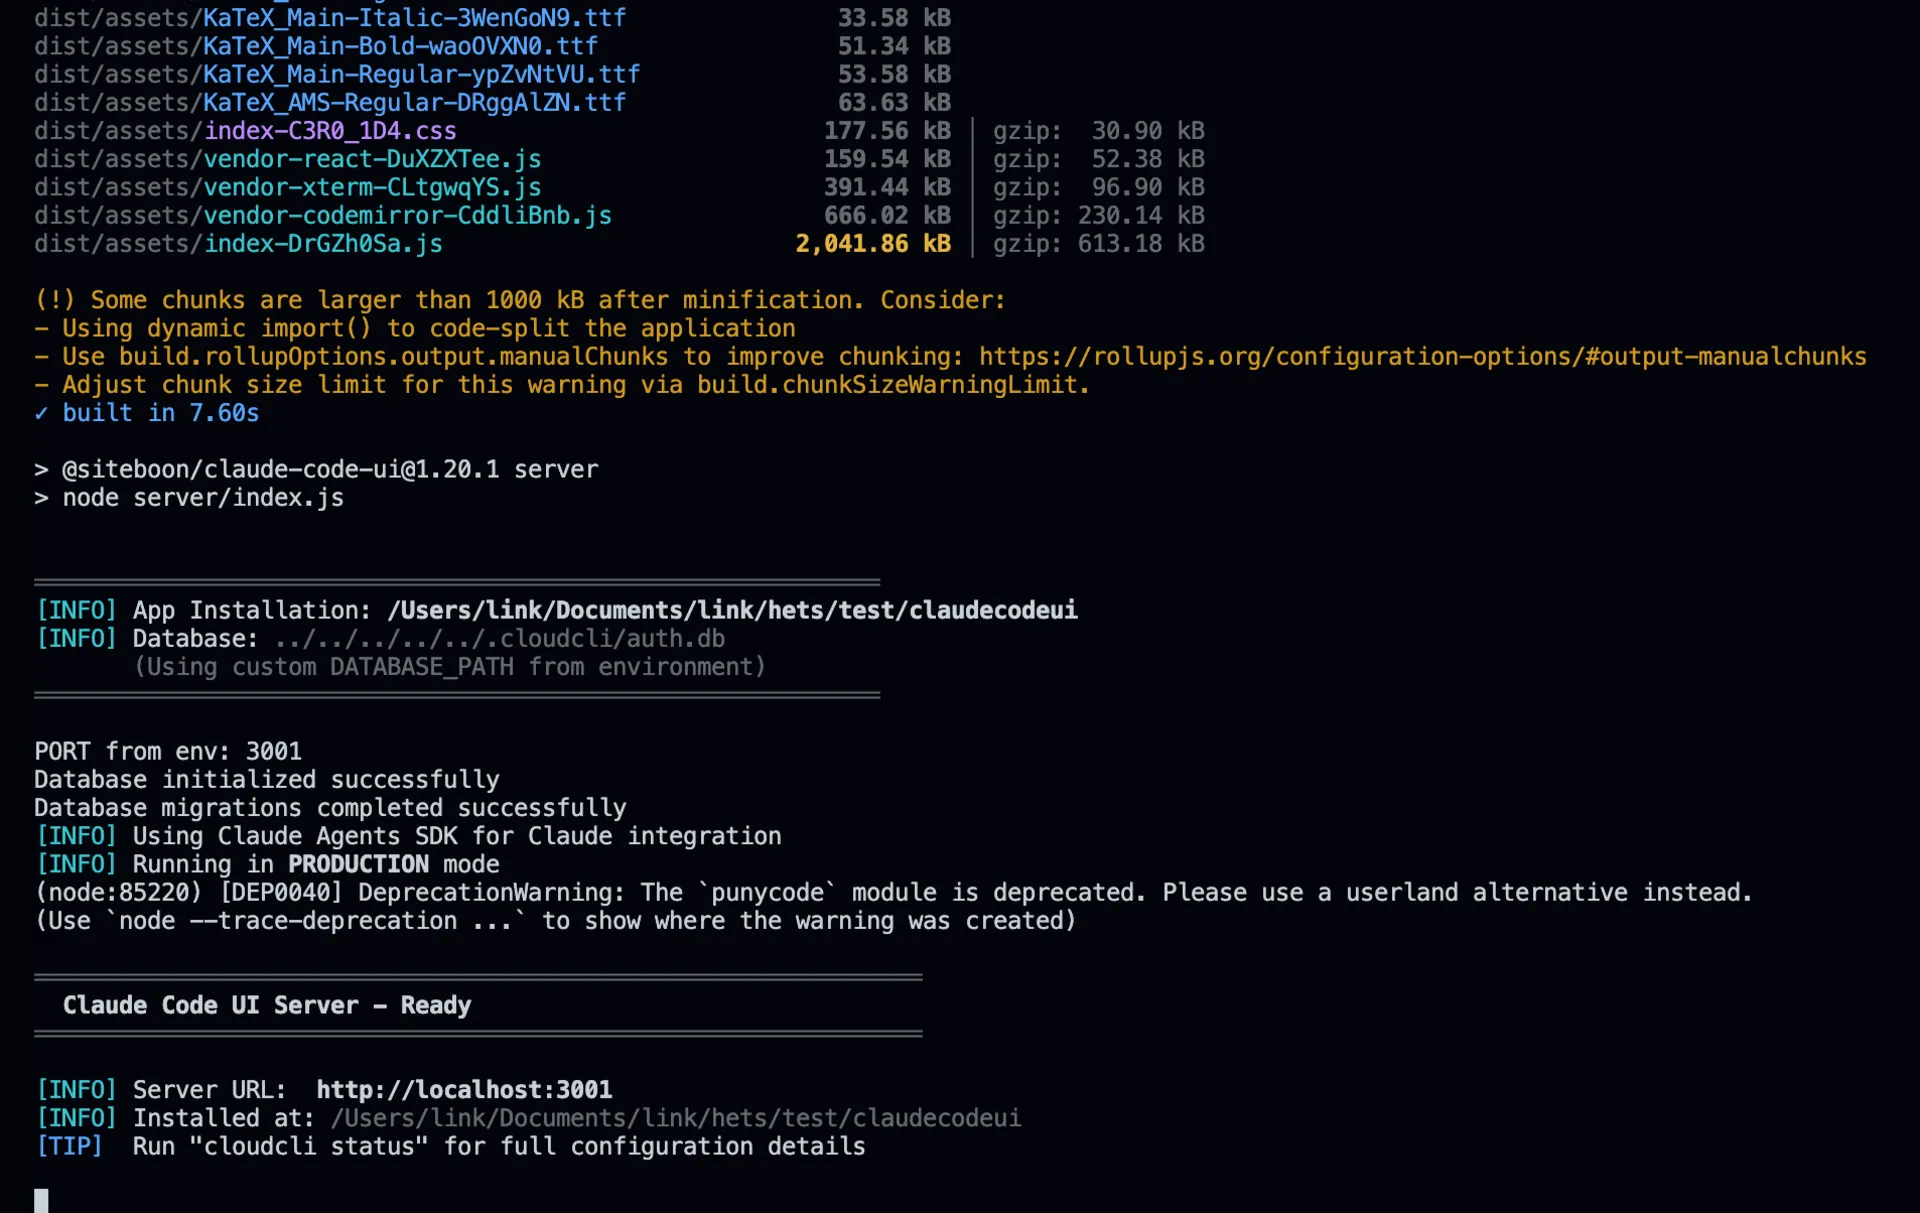
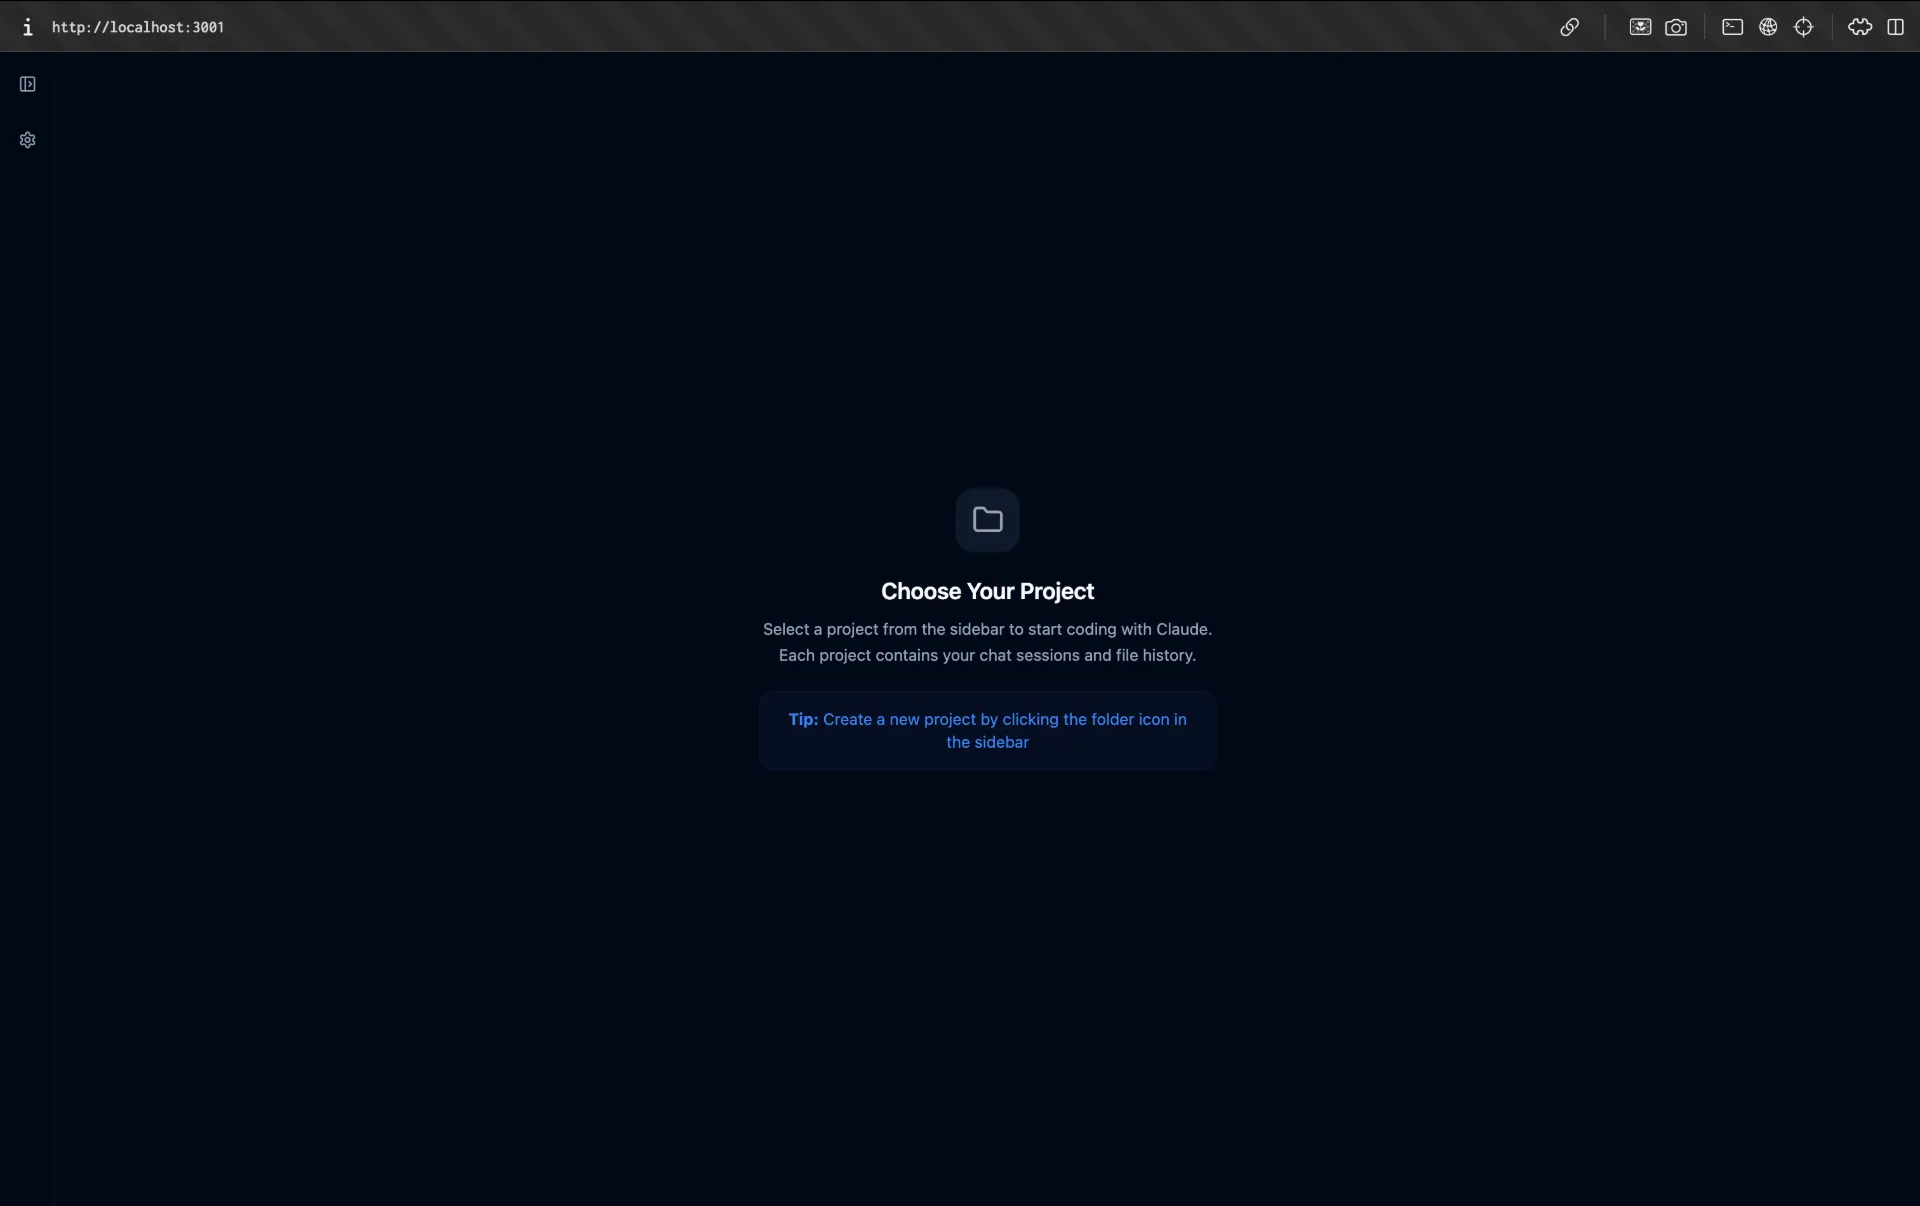
Claude Code UI is now running. Open your browser and navigate to http://localhost:3001 to see the web interface.
Step 2: Connect Your Agent Accounts
With the server running, open http://localhost:3001 in your browser. Before you can start using Claude Code UI, you need to connect at least one coding agent account.
Navigate to Settings and then select the Agents tab.
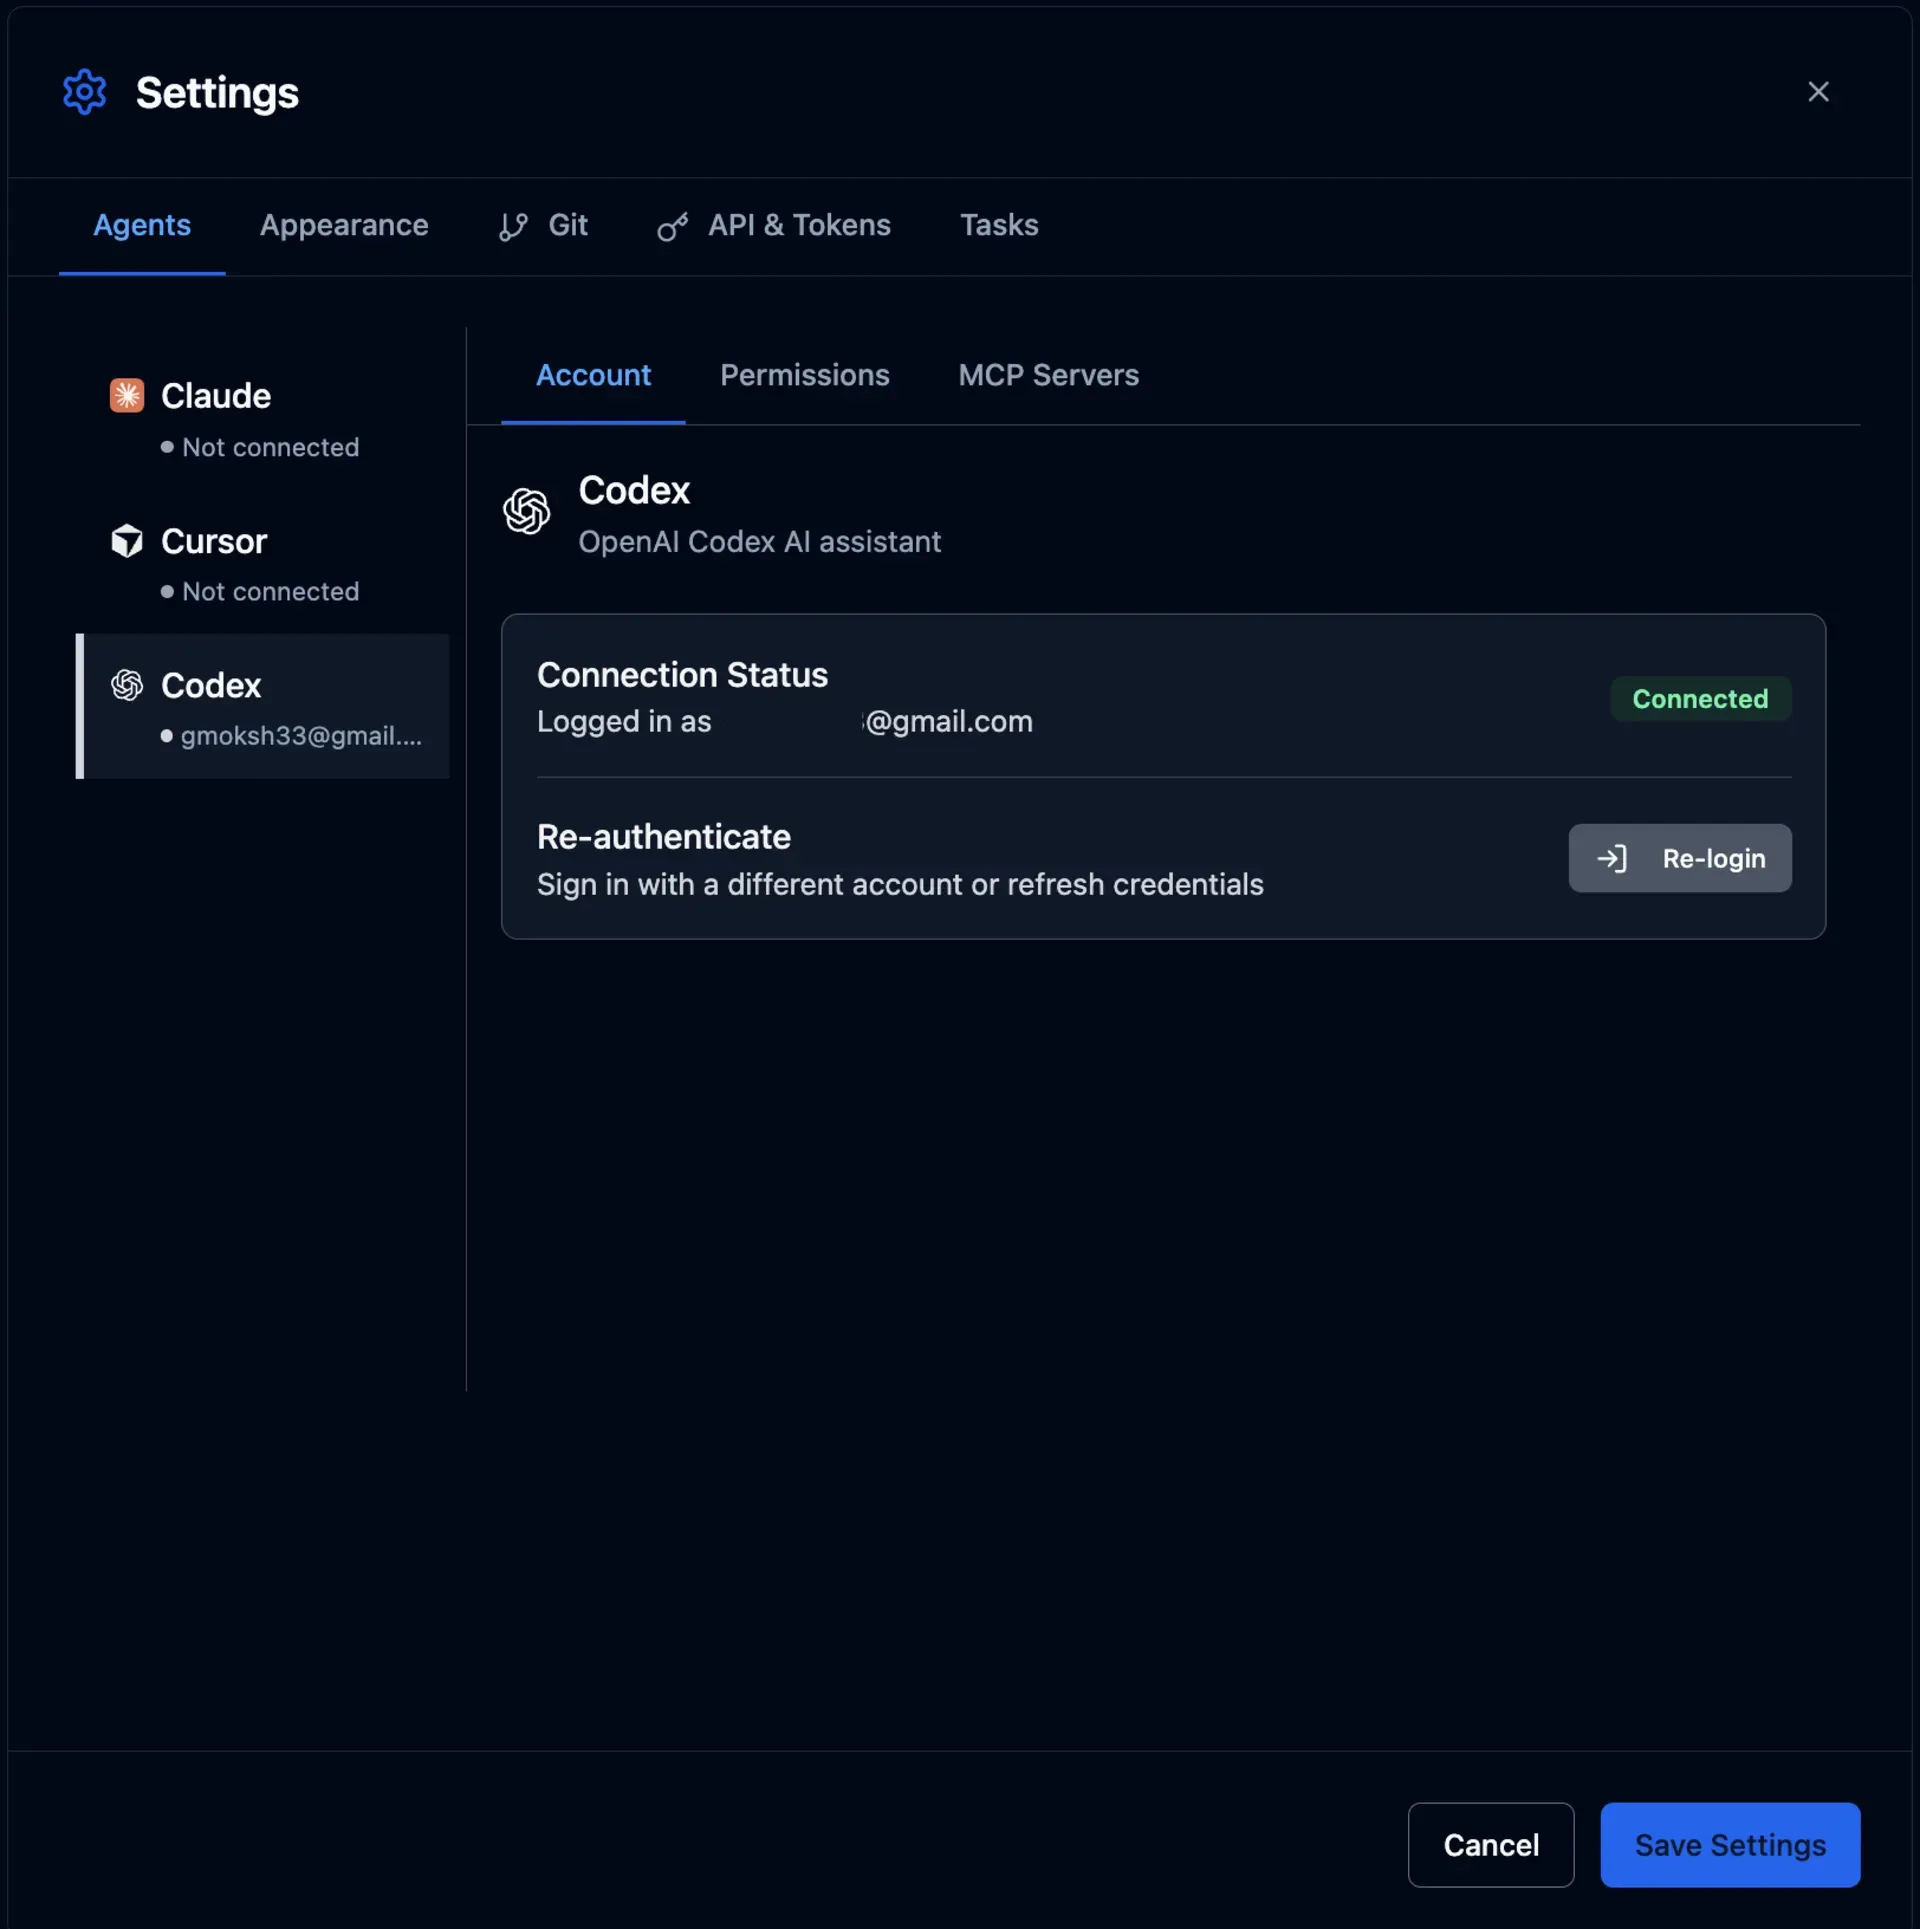
Here you’ll see options to connect all three supported agents:
- Claude Code — Click Login and authenticate with your Anthropic account using email or OAuth
- Cursor CLI — Click Login and sign in with your Cursor account
- OpenAI Codex — Click Login and authenticate with your OpenAI account
You only need to connect the agents you plan to use. Once logged in, Claude Code UI will be able to manage sessions for that agent.
Step 3: Create a New Project
Now that your agents are connected, create your first project. Click the + button in the sidebar to create a new workspace.
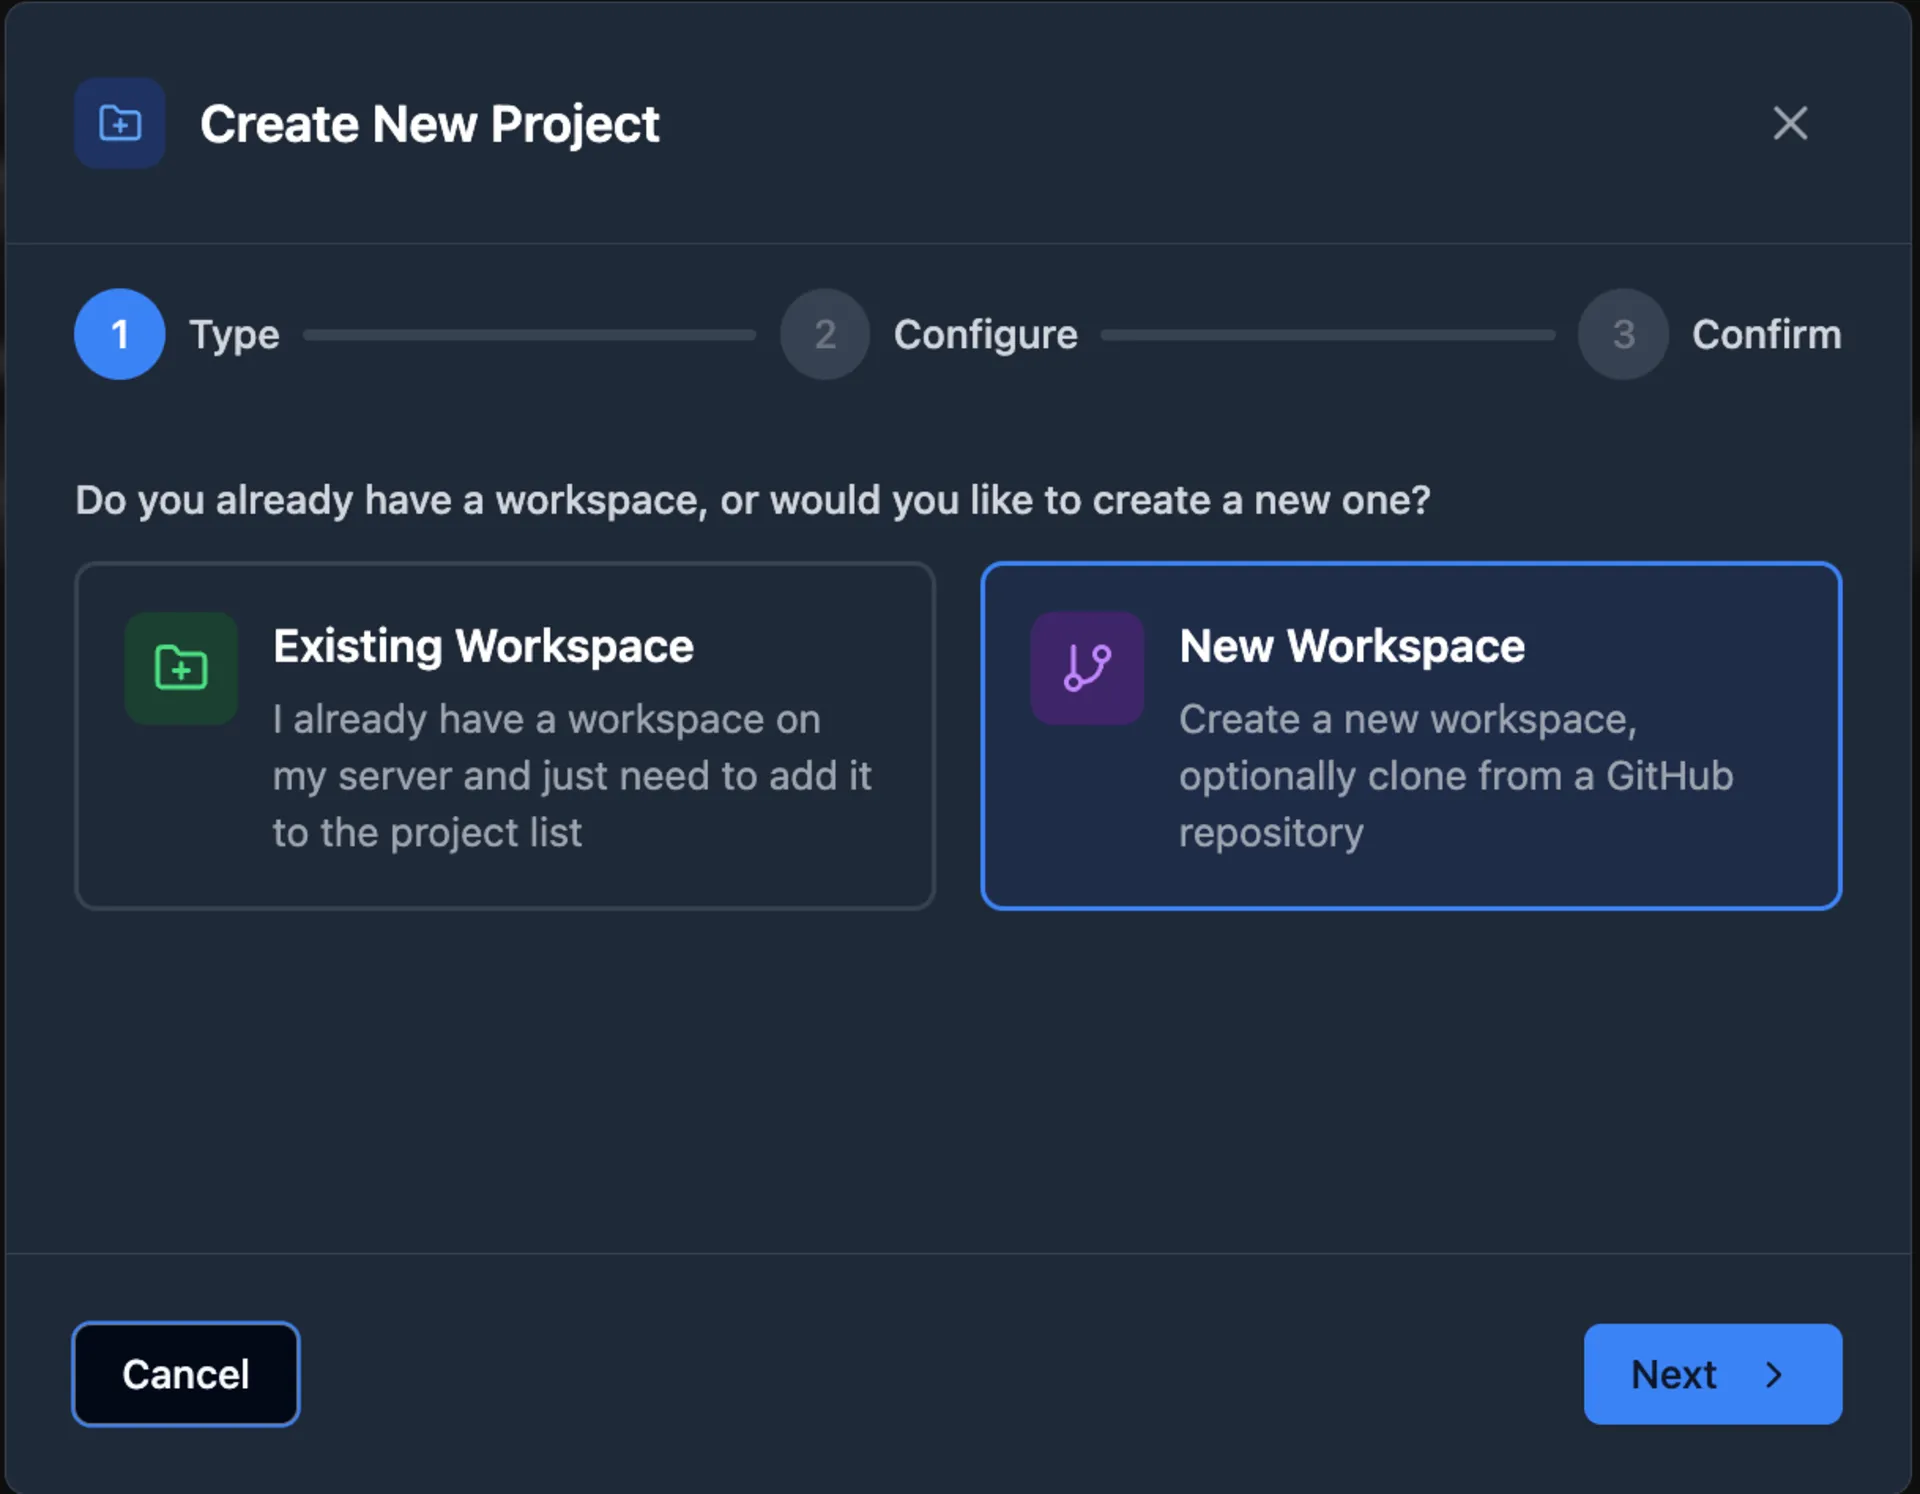
You’ll see a form with the following fields:
- Workspace Path — The local directory path for your project (e.g.,
/home/user/my-project) - GitHub URL (Optional) — A GitHub repository URL if you want to clone a remote project
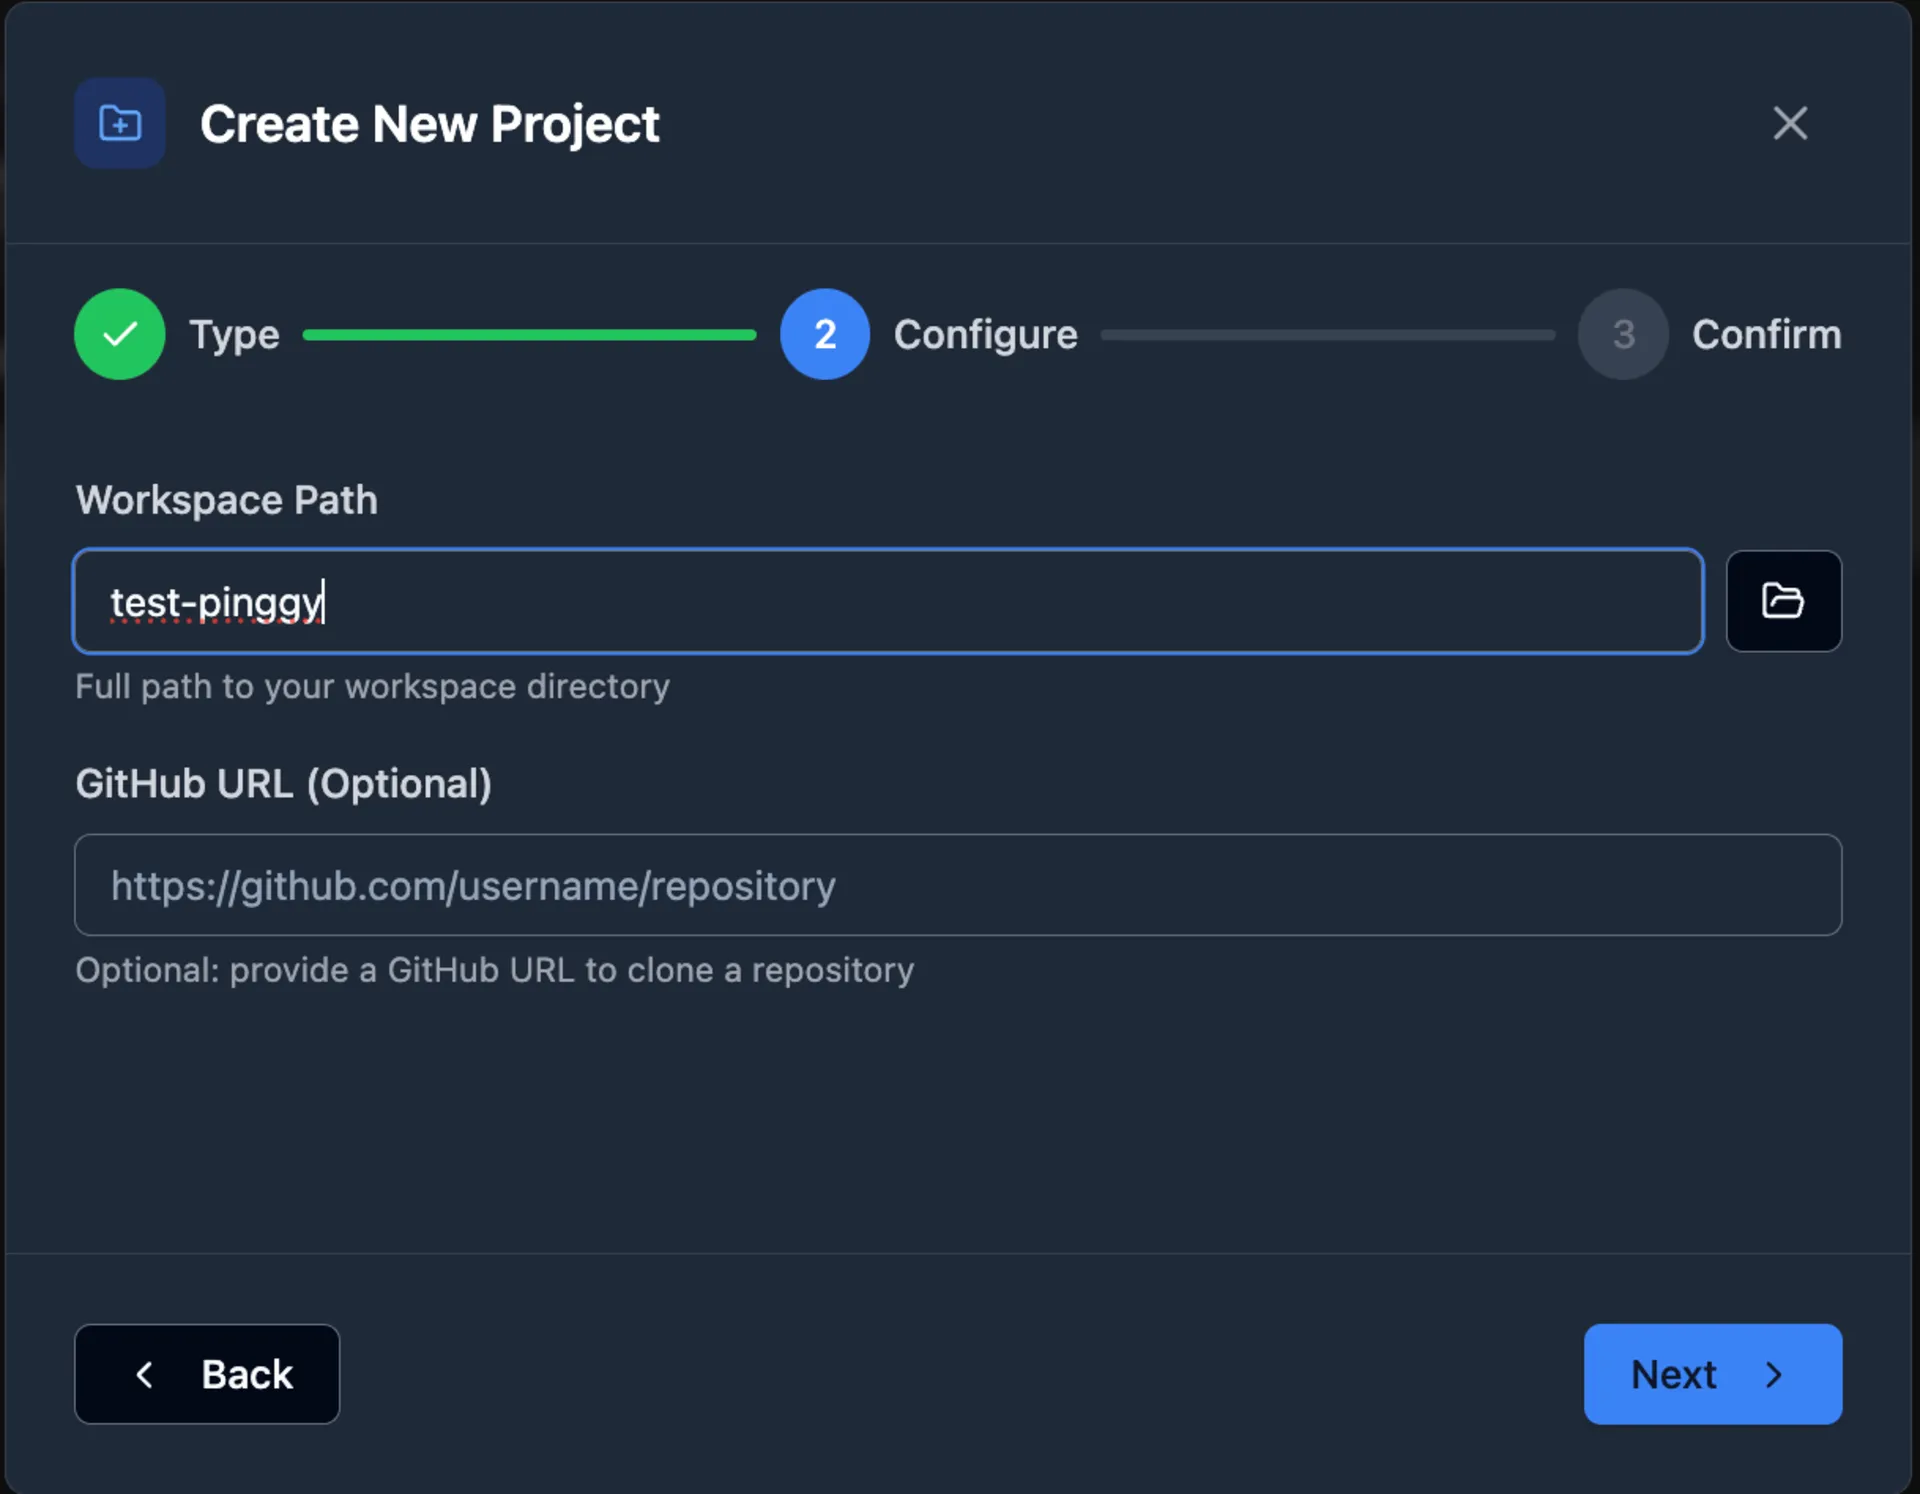
Fill in the workspace path, optionally add a GitHub URL, and click Create Project. Claude Code UI will set up the workspace and you’ll be ready to start working.
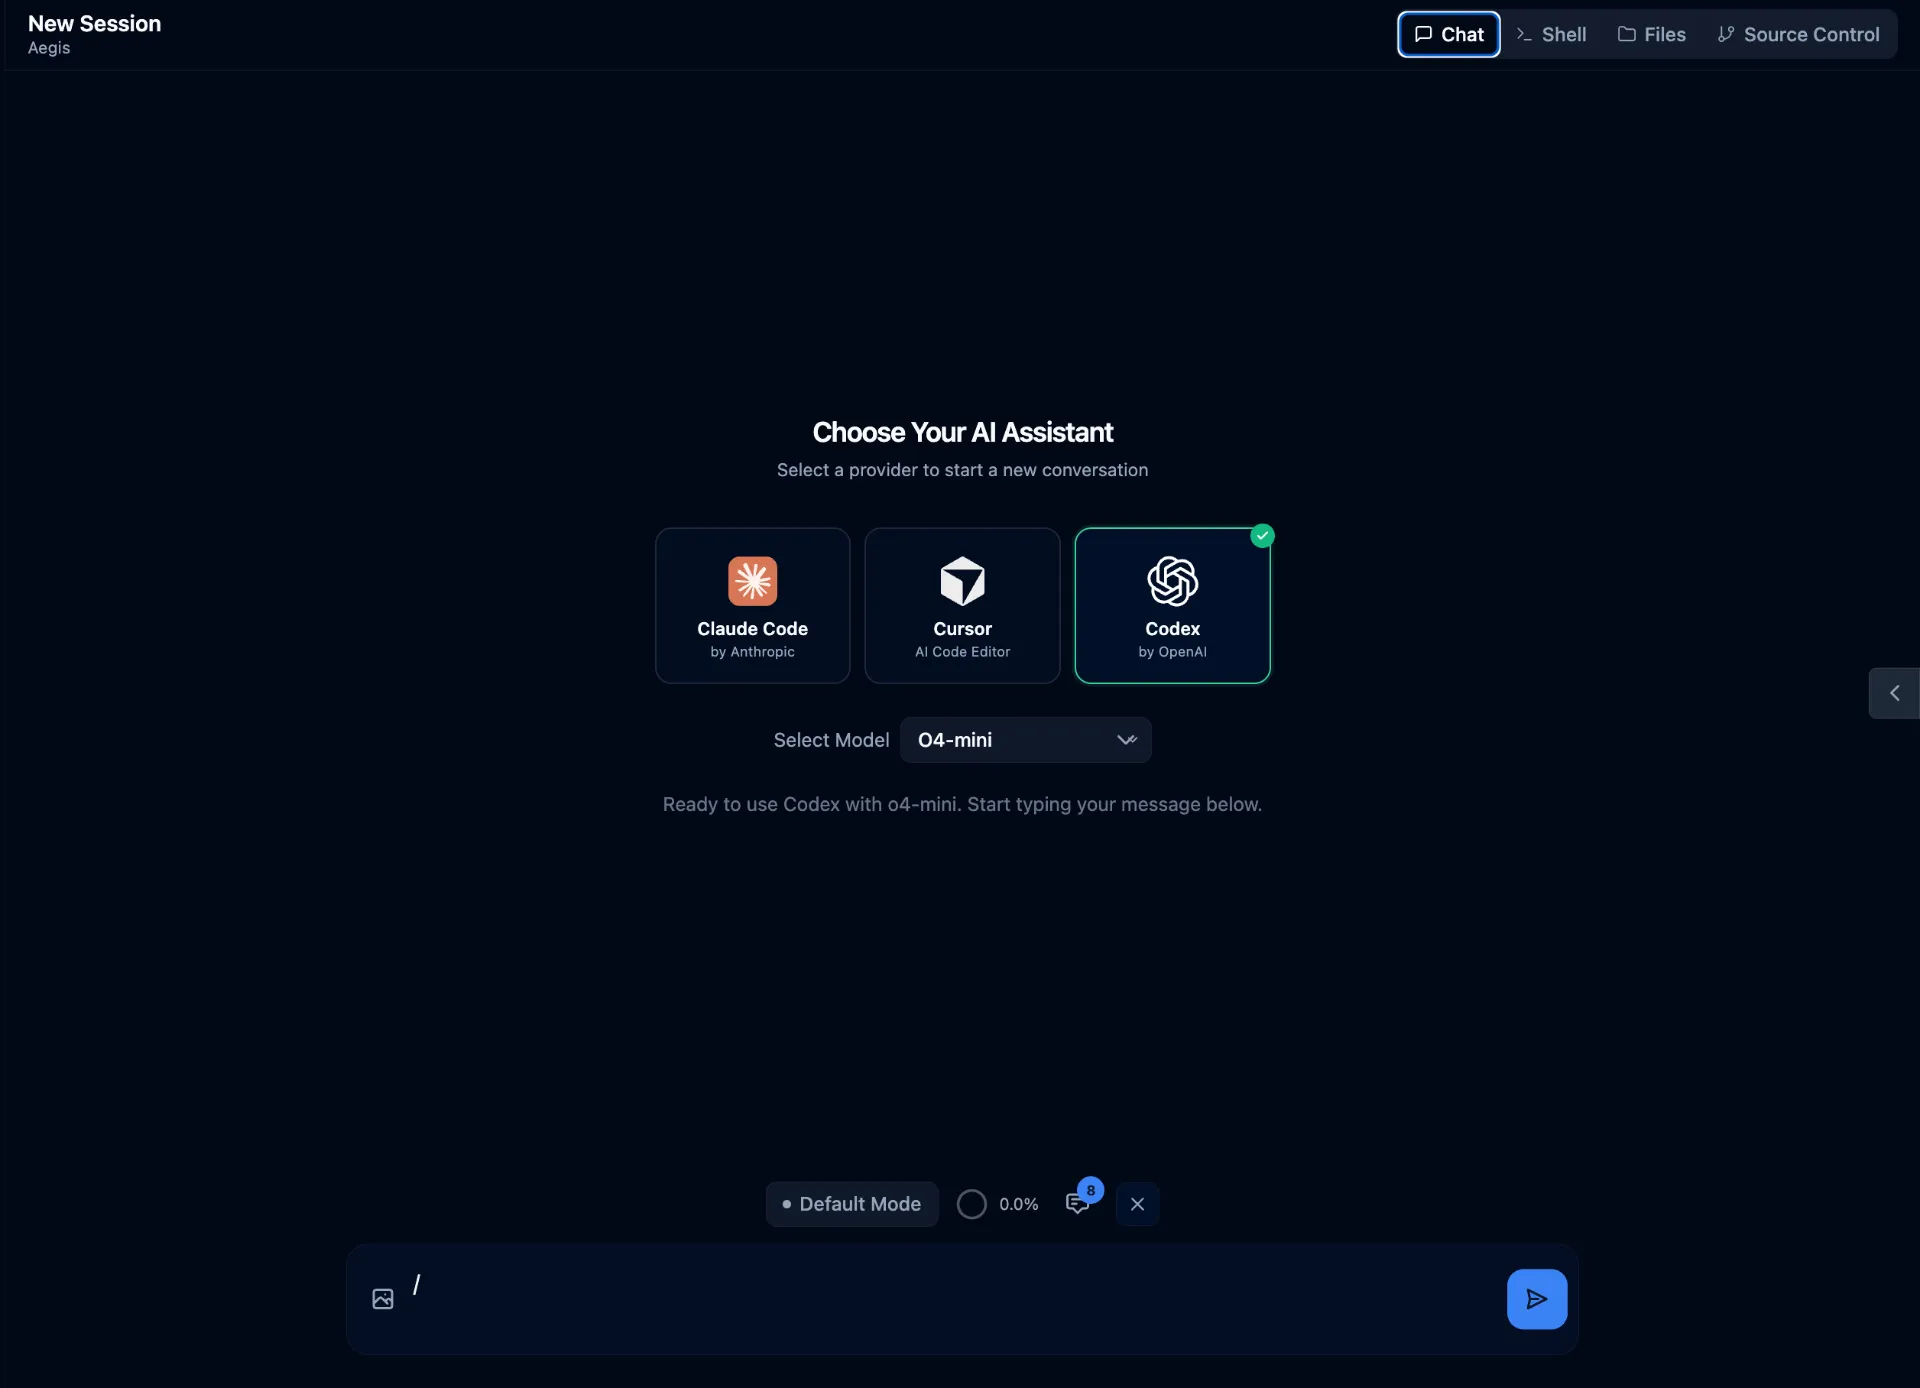
Step 4: Start Chatting with Your Coding Agent
With your project created, you can now interact with your coding agent through two interfaces:
Chat — Use the chat interface to send prompts to your selected agent. Ask it to refactor code, generate new features, debug issues, or explain what a piece of code does. Responses stream in real time over WebSockets, so you see output as it’s generated.
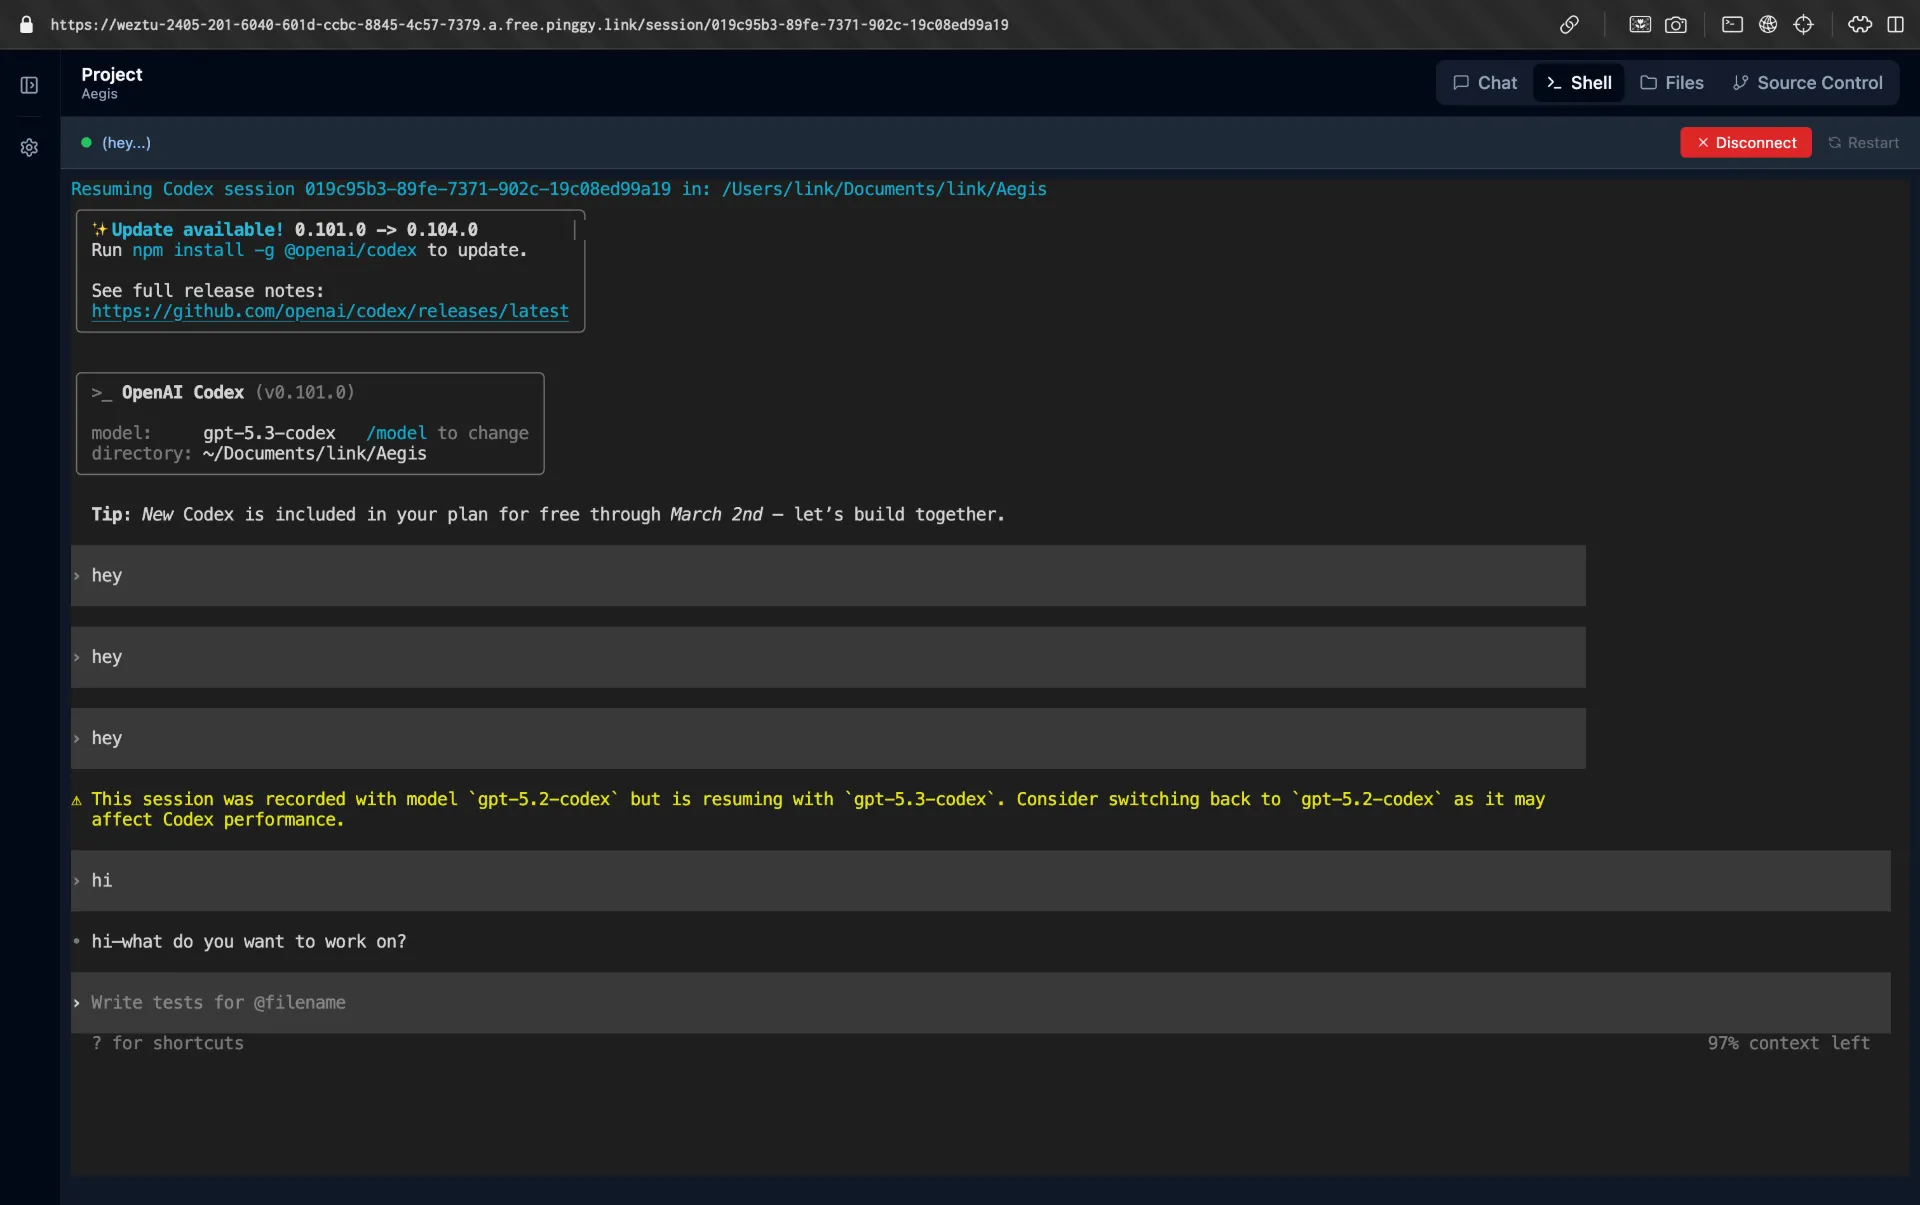
Shell — Switch to the integrated shell terminal for direct CLI access to your coding agent. This gives you the full power of Claude Code, Cursor CLI, or Codex in a browser tab — useful when you need more control or want to run specific commands.
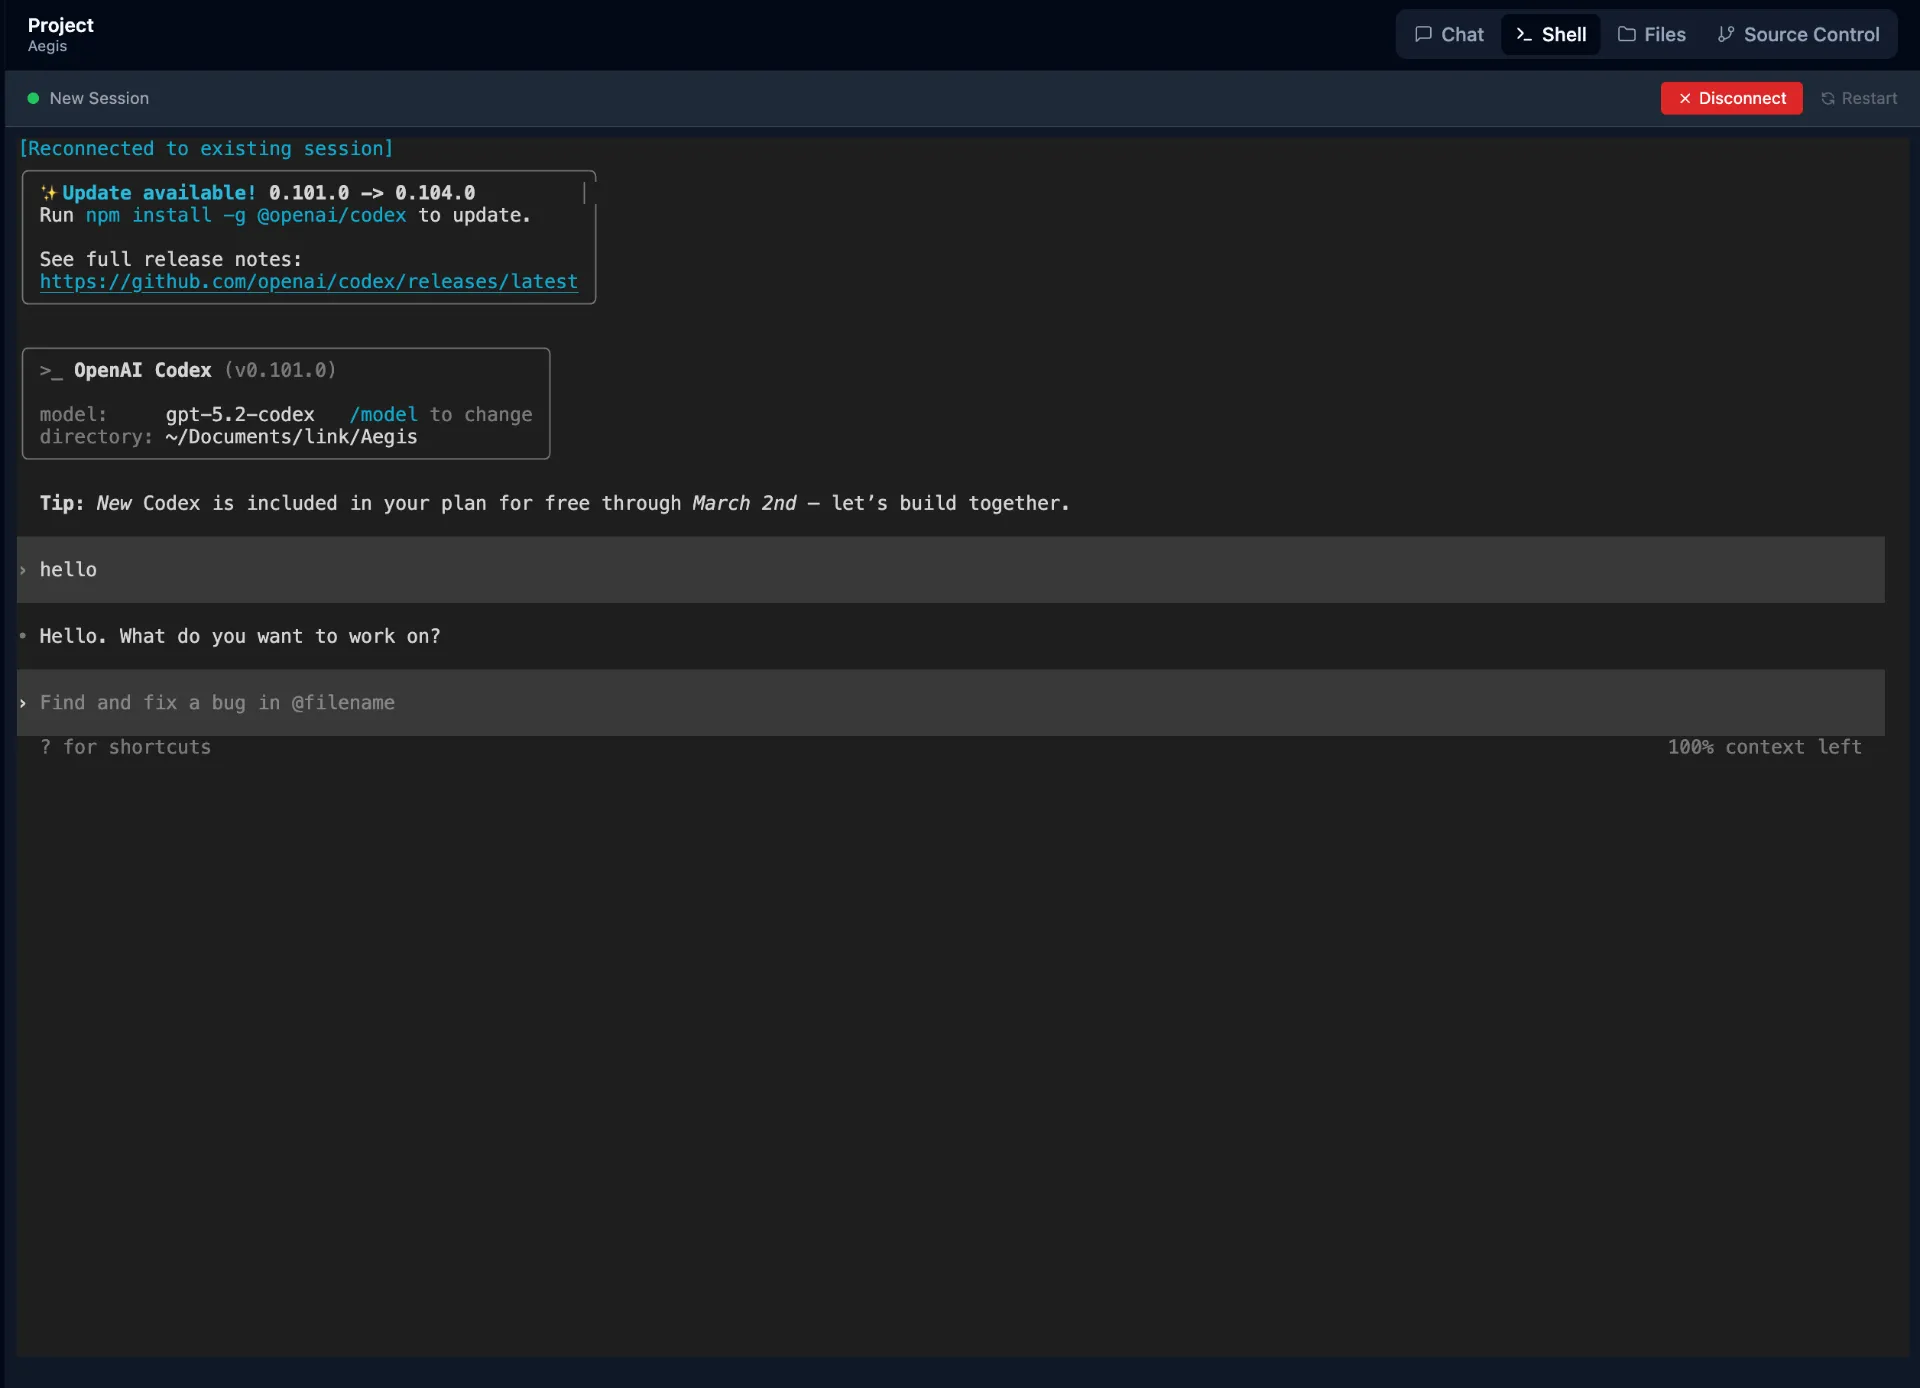
You can browse your project files using the built-in file explorer, make edits with syntax highlighting, and manage git operations (stage, commit, branch) all from the same interface.
Step 5: Access Remotely from Your Phone with Pinggy
Running Claude Code UI locally is useful, but the real power comes from accessing it remotely from your phone while commuting, or from a tablet on the couch.
Pinggy makes this simple by creating a secure tunnel from your local machine to the internet without any software installation. It works directly through SSH.
Open a new terminal window (keep Claude Code UI running in the first one) and execute:

You can access local server via following URL(s):
https://randomstring.a.pinggy.link
Now open the Pinggy public URL on your phone or any other device. You’ll see the full Claude Code UI dashboard create projects, chat with your agents, browse files, and manage git operations, all from your phone.
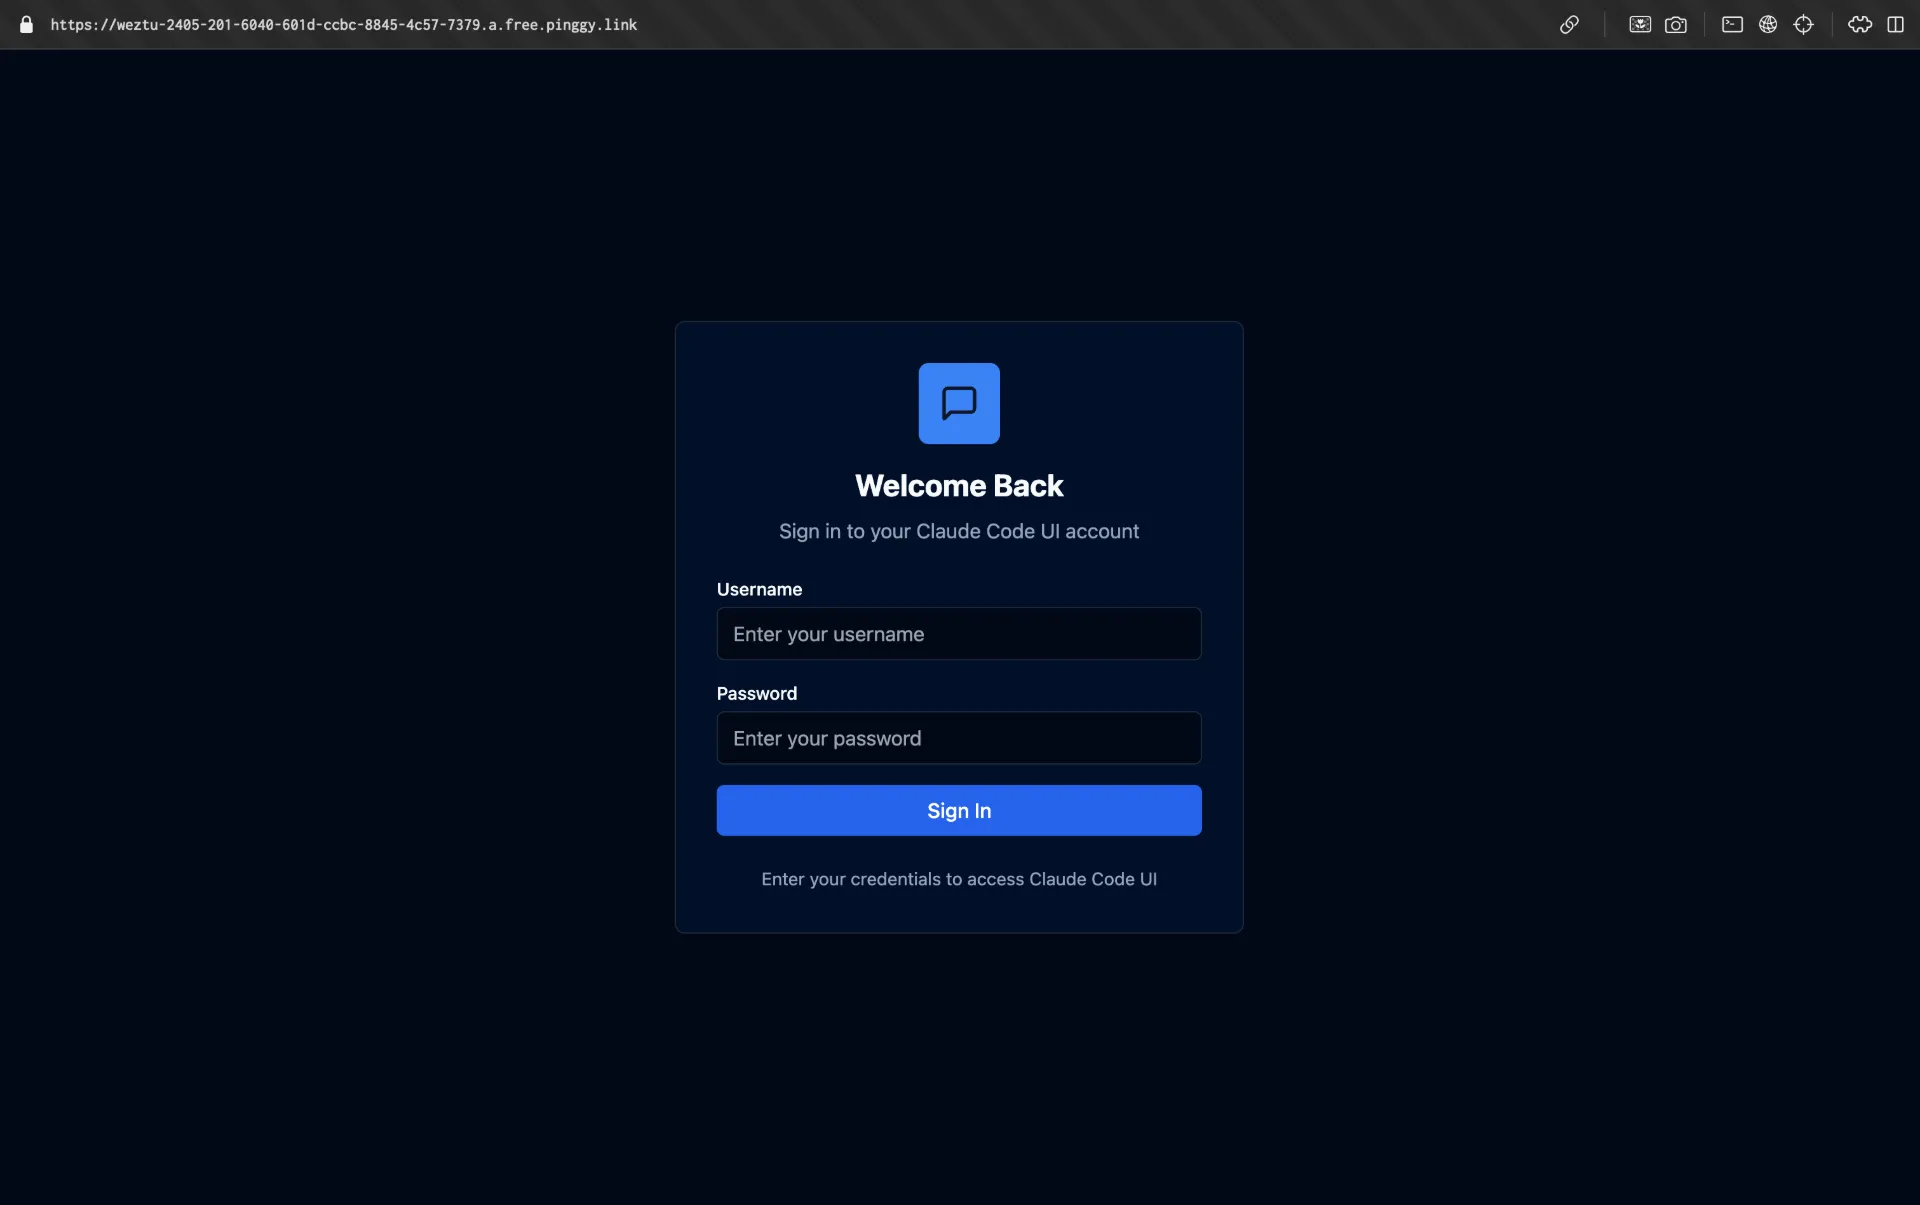
Test it out by sending a prompt to your coding agent or opening the shell terminal through the Pinggy URL and verifying everything works correctly.
Persistent URLs with Pinggy Pro
The free Pinggy tier provides random URLs that change on reconnection. For consistent access,
Pinggy Pro offers persistent subdomains so your Claude Code UI instance stays at the same URL.
Quick Setup with npx
If you prefer a faster setup without cloning the repository, you can run Claude Code UI directly using npx:
npx @siteboon/claude-code-ui
This downloads and starts the server immediately at http://localhost:3001 no cloning or configuration required.
Conclusion
The era of being chained to your desk while AI coding agents do their work is over.
Claude Code UI gives you a clean, responsive, open-source interface to manage Claude Code, Cursor CLI, and Codex sessions from any device. Whether you’re reviewing diffs on your phone during a commute, approving agent decisions from your tablet on the couch, or managing long-running tasks from a second machine, it brings your entire agentic coding workflow to the browser.
Clone the repository, connect your agents, create a project, and set up a Pinggy tunnel the entire setup takes just a few minutes. It’s completely free and open source under GPL v3. If you’re using CLI-based coding agents in 2026, remote access isn’t a luxury it’s a necessity. Claude Code UI makes it effortless.