Virtual Network Computing (VNC) is a graphical desktop-sharing system leveraging the Remote Frame Buffer (RFB) protocol, which allows remote control and visualization of another computer over a network. This technology is particularly useful for managing and interacting with IoT devices such as
Raspberry Pi,
Nvidia Jetson Nano , and
Google Coral remotely from any location worldwide.
This comprehensive guide details the steps required to set up a VNC server on your IoT device, securely connect to it remotely using the Pinggy SSH tunneling service, and access its desktop environment via a VNC client.
Summary
- Step 1. Set up the desktop environment and VNC server on your IoT device:
sudo apt update
sudo apt install -y tightvncserver
vncserver
- Step 2. Create a secure SSH tunnel with Pinggy to access your VNC server remotely:
ssh -p 443 -R0:localhost:5901 tcp@a.pinggy.io
You will receive a URL similar to:
tcp://example-123.pinggy.link:43210
- Step 3. Install a VNC viewer on your PC:
Enter the public URL provided by Pinggy in the VNC viewer:
example-123.pinggy.link:43210
Enter your VNC password to connect and access your IoT desktop remotely.
Step-by-Step Guide
(Optional) Step 1: Install Desktop Environment
If you want to visualize your IoT device’s interface remotely, you can install a graphical desktop environment. Some Linux distributions, like Ubuntu Server, do not come with a GUI by default. In that case, you can install XFCE, which is highly recommended due to its lightweight nature, making it suitable for IoT devices:
sudo apt update && sudo apt upgrade -y
sudo apt install -y xfce4 xfce4-goodies
There are various VNC servers available, such as
TightVNC ,
RealVNC , and
UltraVNC . In this guide, we’ll use
TightVNC due to its ease of use and compatibility with lightweight desktop environments.
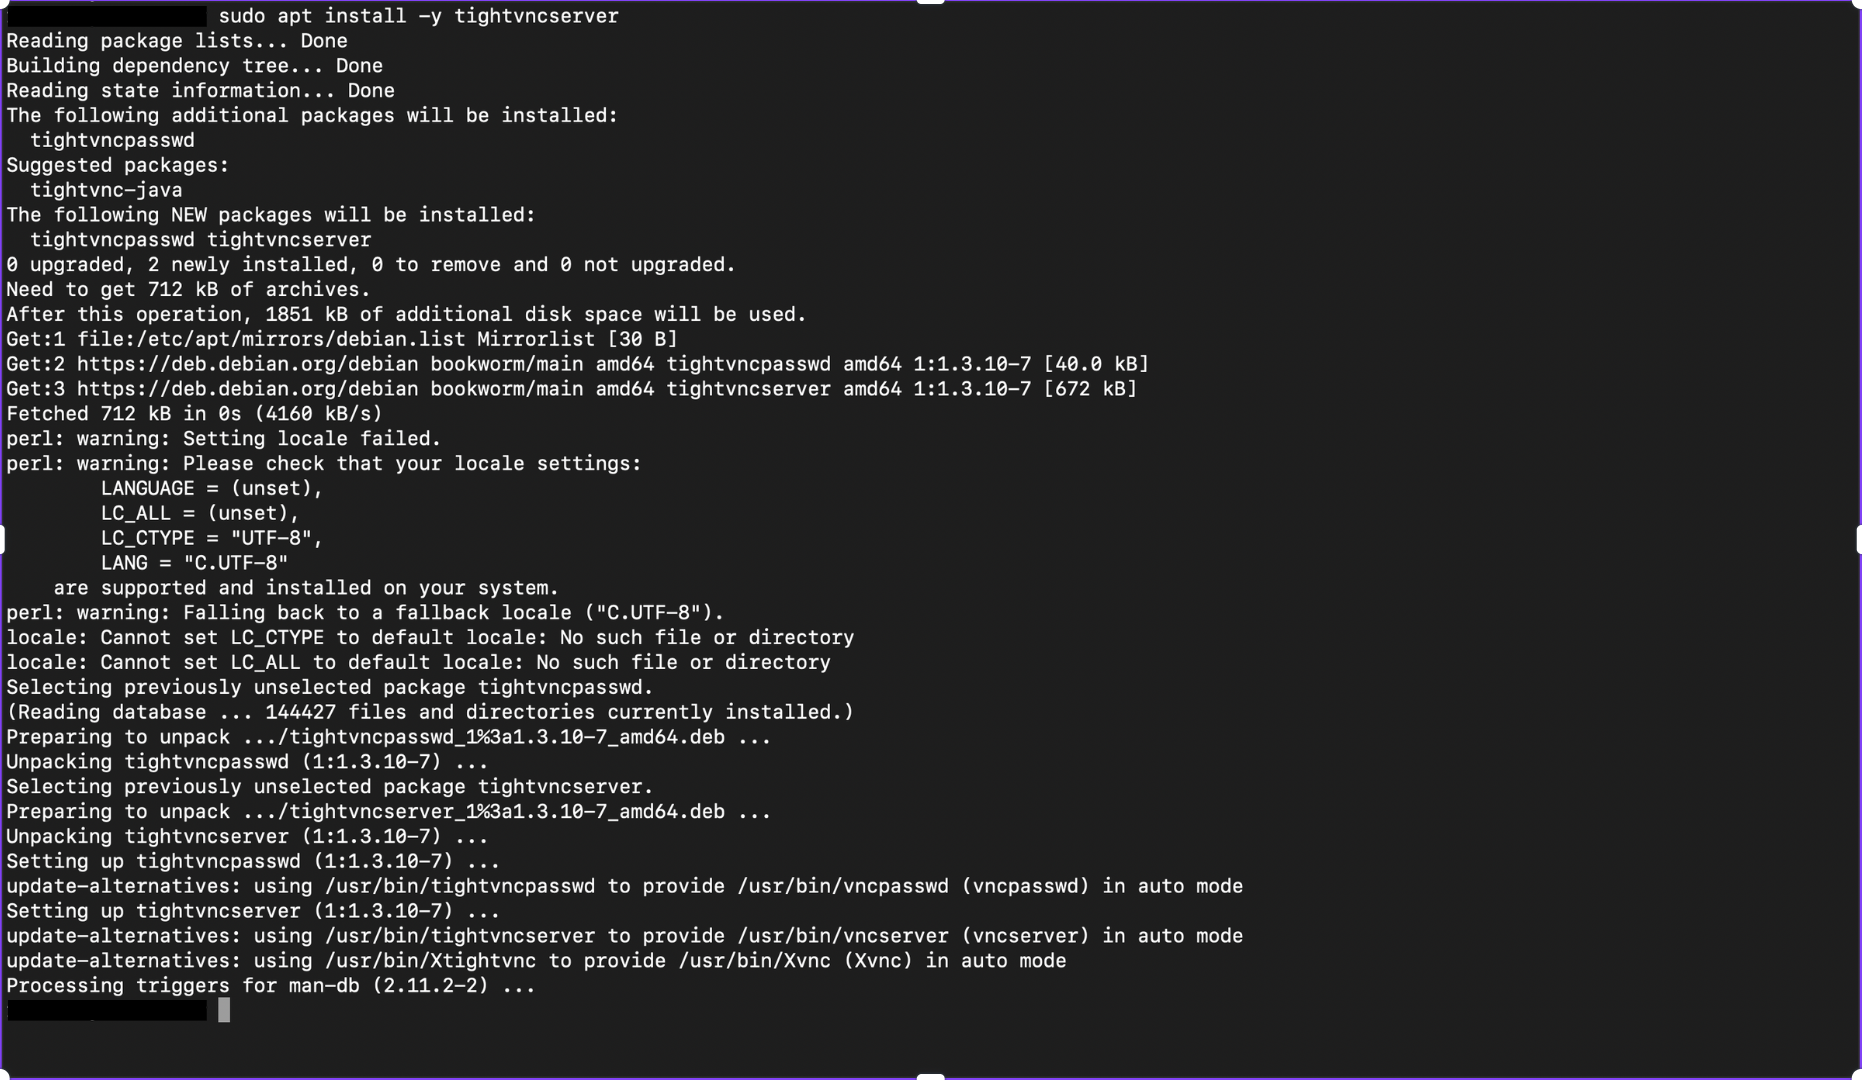
- Install TightVNC Server:
sudo apt install -y tightvncserver
- Set VNC Password:
Initialize the VNC server to create access credentials:
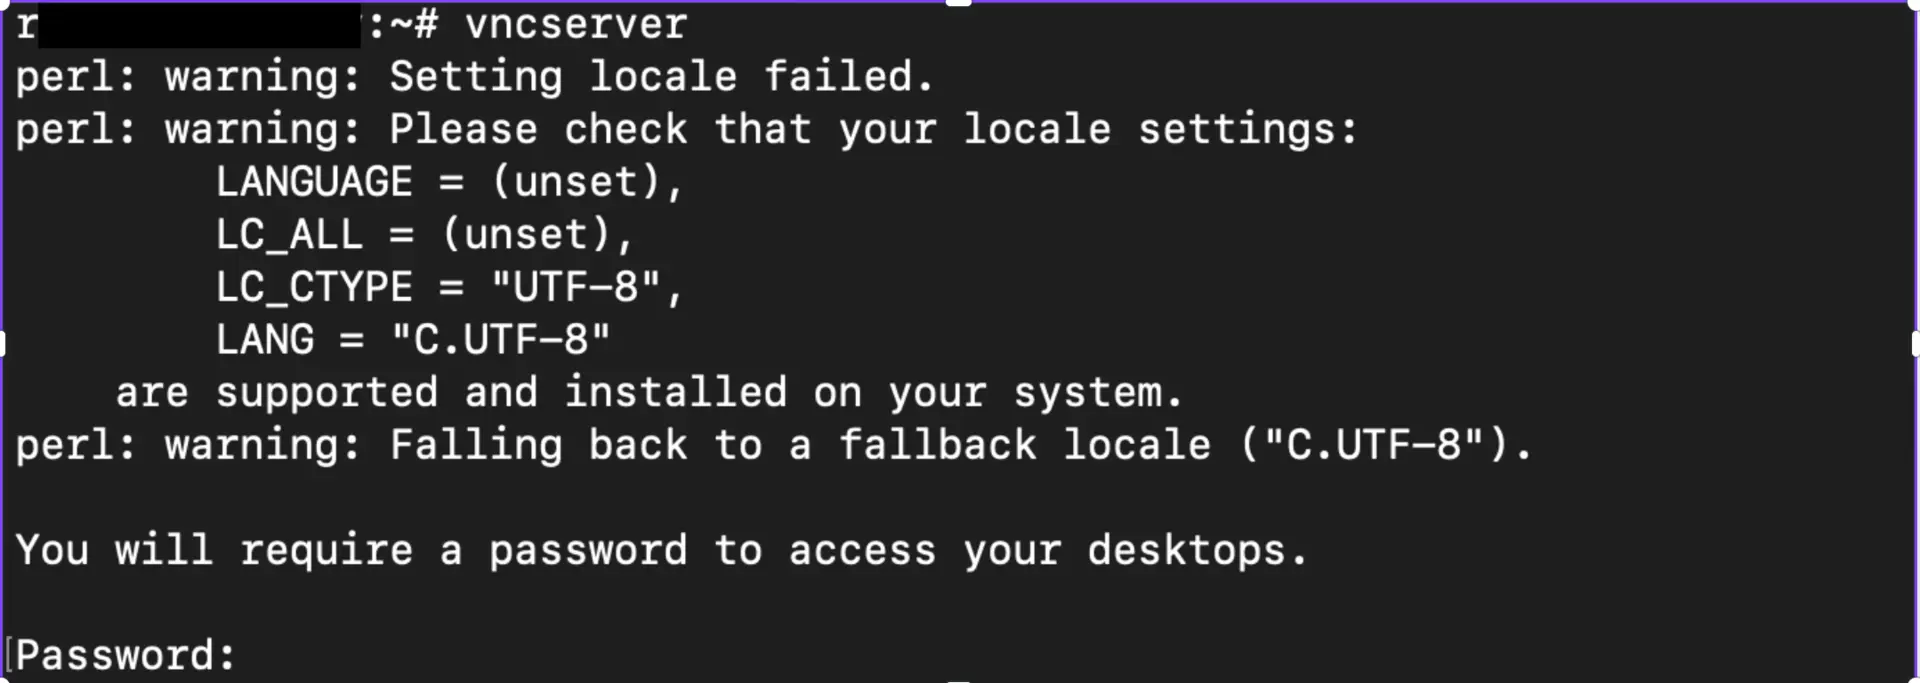
You’ll be prompted for:
- A mandatory access password
- An optional view-only password (can skip by pressing Enter)
Stop the current VNC instance:
- Configure VNC Startup File:
Safely backup the original startup configuration and create a custom script to run the XFCE desktop:
mv ~/.vnc/xstartup ~/.vnc/xstartup.bak
printf '#!/bin/bash\nxrdb $HOME/.Xresources\nstartxfce4 &\n' > ~/.vnc/xstartup
chmod +x ~/.vnc/xstartup
- Restart VNC Server:
The VNC server now listens on TCP port 5901 by default.
Step 3: Secure Remote Access Using Pinggy
To securely access your IoT device remotely, use Pinggy, a secure SSH tunneling service.
Execute the following command to establish a secure SSH tunnel to your IoT device’s VNC server:
ssh -p 443 -R0:localhost:5901 tcp@a.pinggy.io
After successful execution, Pinggy provides a publicly accessible URL like:
tcp://example-123.pinggy.link:43210

Use this URL for remote connectivity via your VNC client.
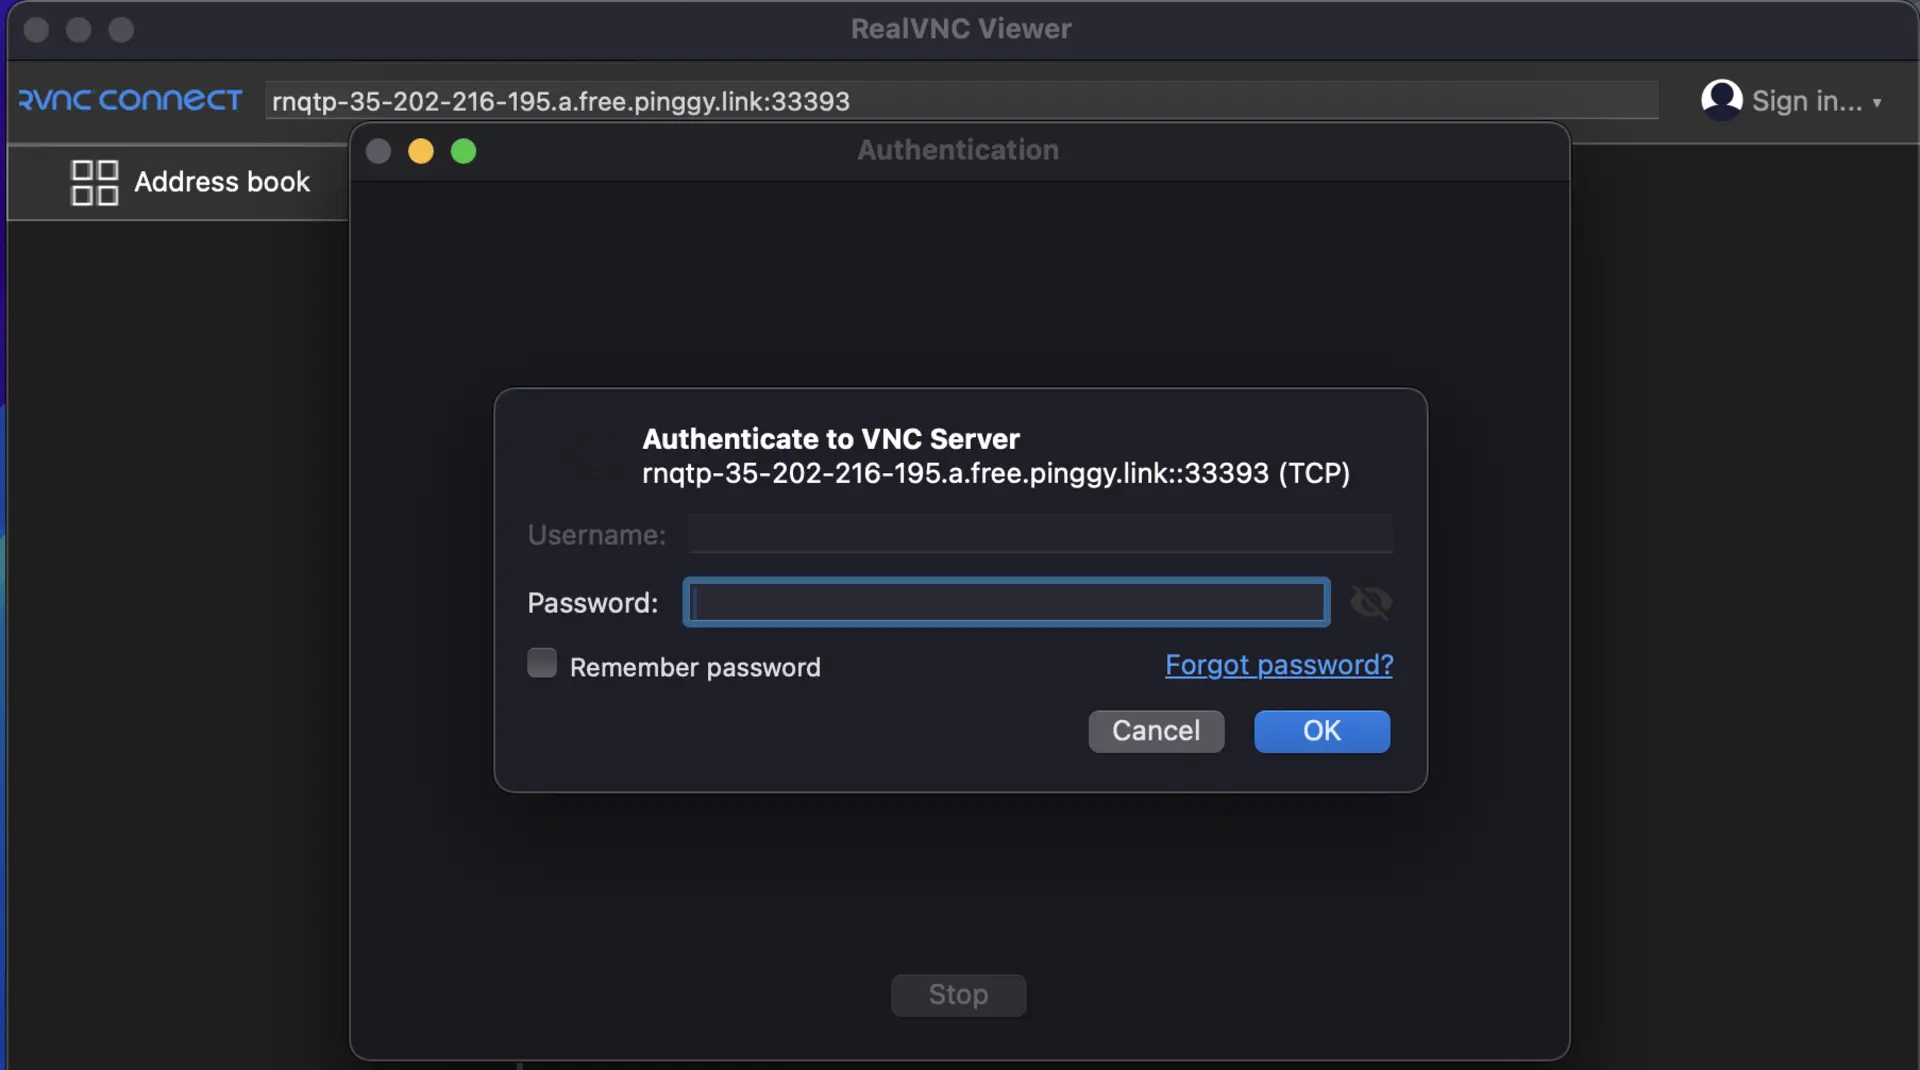
Step 4: Installing VNC Viewer on Your Laptop/PC
Install a VNC client application on your local machine. Two highly recommended options include:
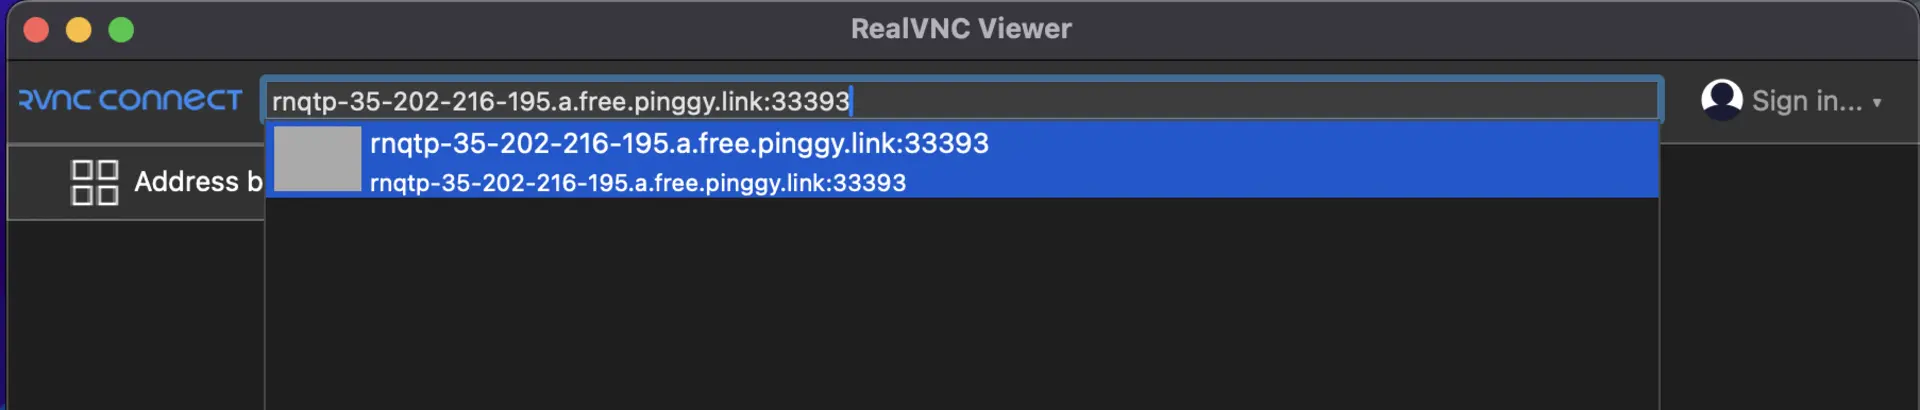
Once installed, open the VNC viewer and enter the provided public URL from Pinggy.
- Example Remote Host URL:
example-123.pinggy.link:43210
Click Connect, enter your VNC password, and gain remote desktop access to your IoT device instantly.
Best Practices and Security Tips
- Robust Passwords: Always use strong, unique passwords.
- SSH Tunneling: Opt for reliable tunneling services like Pinggy to encrypt remote sessions securely.
- Firewall Management: Limit your IoT device’s open ports, permitting only necessary connections (typically port
5901).
Conclusion
Remotely connecting to IoT devices using VNC provides powerful flexibility and control, enabling users to manage IoT resources seamlessly across global distances. By implementing the described setup using XFCE, TightVNC, and Pinggy SSH tunneling, users can achieve secure, reliable, and efficient remote desktop connectivity.
Always follow best practices for securing your VNC sessions, including using strong passwords and carefully managing firewall rules. Leveraging automation and monitoring tools further enhances the productivity and effectiveness of remote IoT device management. Embrace these strategies to fully harness the potential of your IoT devices from anywhere, at any time.