Cloud storage, calendar synchronization, and contact management are three of the most personal categories of data you can have. Every time you sync your photos to Google Drive, schedule an event in Google Calendar, or store a contact in iCloud, that data flows through servers you don’t control, under privacy policies that can change overnight. For developers and privacy-conscious users alike, this is an uncomfortable trade-off that has long felt unavoidable until now.
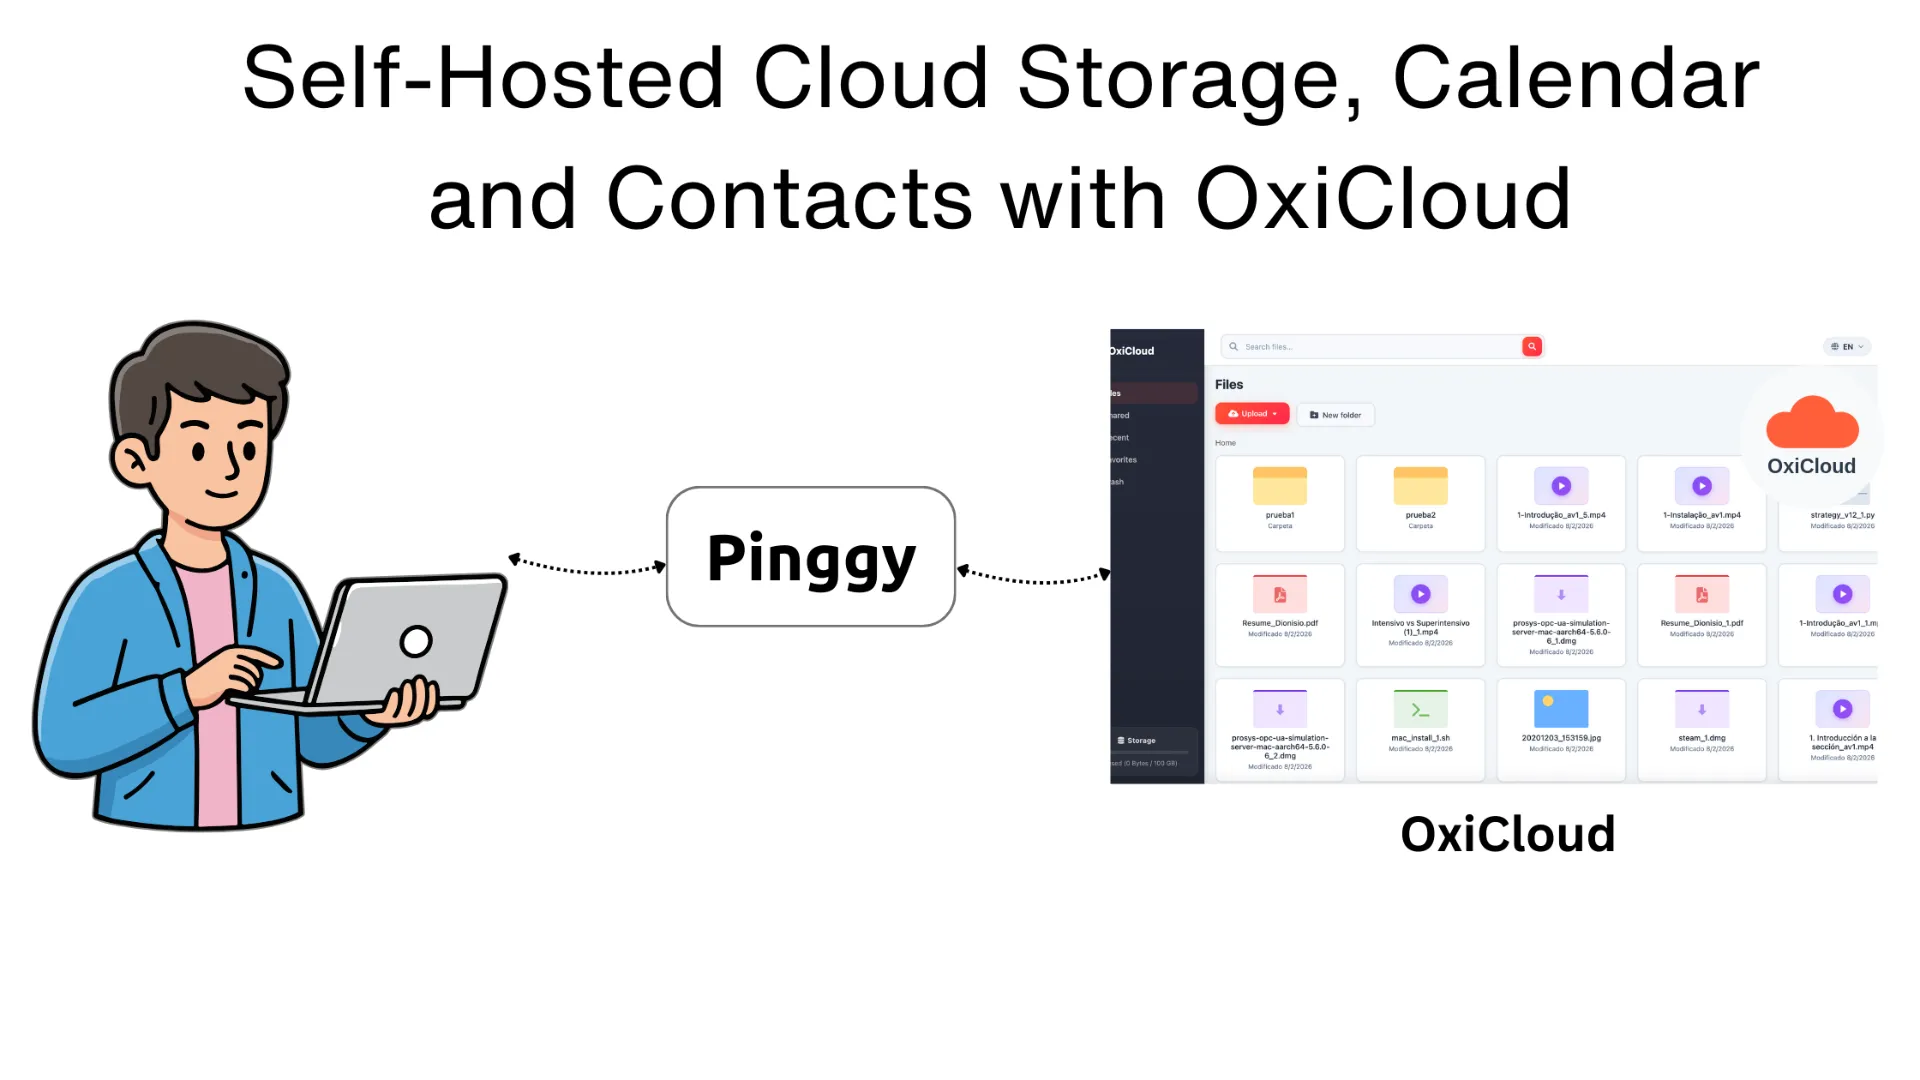
OxiCloud is an open-source, self-hosted cloud platform written in Rust that bundles file storage, CalDAV calendar sync, and CardDAV contact sync into a single, lightweight application. Built specifically to address the sluggishness of platforms like Nextcloud on resource-constrained hardware, OxiCloud delivers a modern cloud experience on a home server, Raspberry Pi, or a modest VPS without the overhead.
Summary
What is OxiCloud?
OxiCloud is a self-hosted, Rust-powered open-source cloud platform combining file storage, CalDAV calendars, and CardDAV contacts designed to be a fast, lightweight alternative to Nextcloud.
Key highlights:
- 30–50 MB idle memory vs. 250–512 MB for Nextcloud
- ~40 MB Docker image, under 1-second cold start
- WebDAV, CalDAV, CardDAV, and REST API support
- JWT authentication, Argon2id password hashing, OIDC/SSO support
- Content-addressable deduplication, resumable uploads, full-text search
Quick Setup:
git clone https://github.com/DioCrafts/oxicloud.git
cd oxicloud
cp example.env .env
docker compose up -d
Access at http://localhost:8086
Expose it remotely with Pinggy:
ssh -p 443 -R0:localhost:8086 -t free.pinggy.io
Resources:
Why Self-Host Your Cloud?
The modern internet runs on convenience and commercial cloud platforms deliver it beautifully. But that convenience comes at a price beyond the monthly subscription fee. Your files, calendar events, and contacts are indexed, analyzed, and potentially shared with third parties under terms you agreed to without reading. A change in pricing, a company acquisition, or a policy update can affect your data without your consent.
Self-hosting puts that control back in your hands. You decide where data is stored, who can access it, and how long it’s retained. You can run it on hardware you own, back it up the way you want, and upgrade it on your own schedule. The barrier has historically been complexity: platforms like Nextcloud require PHP, a web server, a database, and a fair amount of configuration to get right and they can feel sluggish on older hardware.
OxiCloud was created to remove that barrier. The project’s README is refreshingly honest about its origin: the author built it because “Nextcloud was too slow on my home server.” The result is a platform that takes minutes to deploy and runs comfortably on the kind of hardware most developers already have lying around.
What is OxiCloud?
OxiCloud is written entirely in Rust, which means it benefits from Rust’s famous memory safety guarantees and zero-cost abstractions. Unlike PHP-based alternatives, Rust applications compile down to a single native binary that starts in under a second and consumes a fraction of the resources of traditional cloud platforms.
The application provides a complete personal cloud experience through three core pillars: file management through a web interface and WebDAV protocol, calendar synchronization through CalDAV, and contact management through CardDAV. All three are industry-standard protocols, which means OxiCloud works out of the box with calendar and contact clients you already use including Thunderbird, Apple Calendar, DAVx⁵ on Android, and countless others.
OxiCloud uses PostgreSQL as its database and ships a ready-to-use docker-compose.yml that brings everything up in a single command. The Docker image weighs in at roughly 40 MB, running on Alpine Linux, and the application idles at 30–50 MB of RAM compared to 250–512 MB for a typical Nextcloud deployment.
Core Features
File Storage and Management
OxiCloud’s file management layer covers the essentials and goes further than you might expect from a lightweight platform. Drag-and-drop uploads work in the browser, and for large files, OxiCloud implements a TUS-like chunked, resumable upload protocol that survives interrupted connections. Files are deduplicated using SHA-256 content addressing, so uploading the same photo twice doesn’t consume twice the storage.
The built-in search covers file name, type, date, and size. A soft-delete trash system with configurable auto-purge policies means you can recover accidentally deleted files without having to dig into database backups. For image-heavy collections, OxiCloud automatically generates WebP and AVIF thumbnails and handles transcoding transparently.
Calendar with CalDAV
CalDAV support lets you sync calendars from any compatible client directly to your OxiCloud instance. You can manage multiple calendars, set up recurring events, and synchronize across all your devices without any data ever leaving your infrastructure. Standard clients like Apple Calendar, Google Calendar (via third-party sync tools), Evolution, and Thunderbird with the Lightning plugin connect with no custom configuration.
Contacts with CardDAV
The CardDAV integration brings the same self-hosted philosophy to your address book. Contact data names, phone numbers, email addresses, birthdays, notes stays on your server. CardDAV is supported natively by iOS, macOS, Android (via DAVx⁵), and most desktop contact managers, so the migration from a commercial provider is typically a matter of exporting a .vcf file and importing it into OxiCloud.
Security and Access Control
OxiCloud takes authentication seriously. Passwords are hashed with Argon2id, the current gold standard for password hashing, and sessions use JWT tokens with refresh token rotation. For teams or organizations, OxiCloud supports OIDC/SSO integration, enabling single sign-on through an existing identity provider. Per-folder permissions and per-user storage quotas round out the access control model, and shared links can be protected with passwords for controlled external access.
Protocol Support
Beyond the web interface, OxiCloud exposes a REST API for programmatic access, WebDAV for file synchronization with desktop clients like Cyberduck or Mountain Duck, and WOPI integration for in-browser office document editing with compatible document servers.
The performance advantage of OxiCloud over Nextcloud is substantial enough to be the primary motivation behind the project, and the numbers bear it out:
| Metric | OxiCloud | Nextcloud |
|---|
| Idle memory | 30–50 MB | 250–512 MB |
| Cold start time | < 1 second | 5–15 seconds |
| Docker image size | ~40 MB | 1+ GB |
| Idle CPU usage | ~0% | 1–5% |
For home servers, Raspberry Pi deployments, or budget VPS instances, these differences are decisive. A Pi running OxiCloud can also run other services without resource contention, whereas Nextcloud on the same hardware often feels unresponsive.
Prerequisites
Before deploying OxiCloud, make sure you have the following:
- Docker and Docker Compose installed on your host
- At least 512 MB of available RAM (OxiCloud itself needs very little, but PostgreSQL benefits from a modest allocation)
- A machine running Linux, macOS, or Windows with WSL2
Install Docker on Ubuntu/Debian:
sudo apt update
sudo apt install docker.io docker-compose-plugin
sudo systemctl enable docker --now
sudo usermod -aG docker $USER
Log out and back in after adding yourself to the docker group.
Install Docker Desktop on macOS or Windows: Download it from the
Docker website.
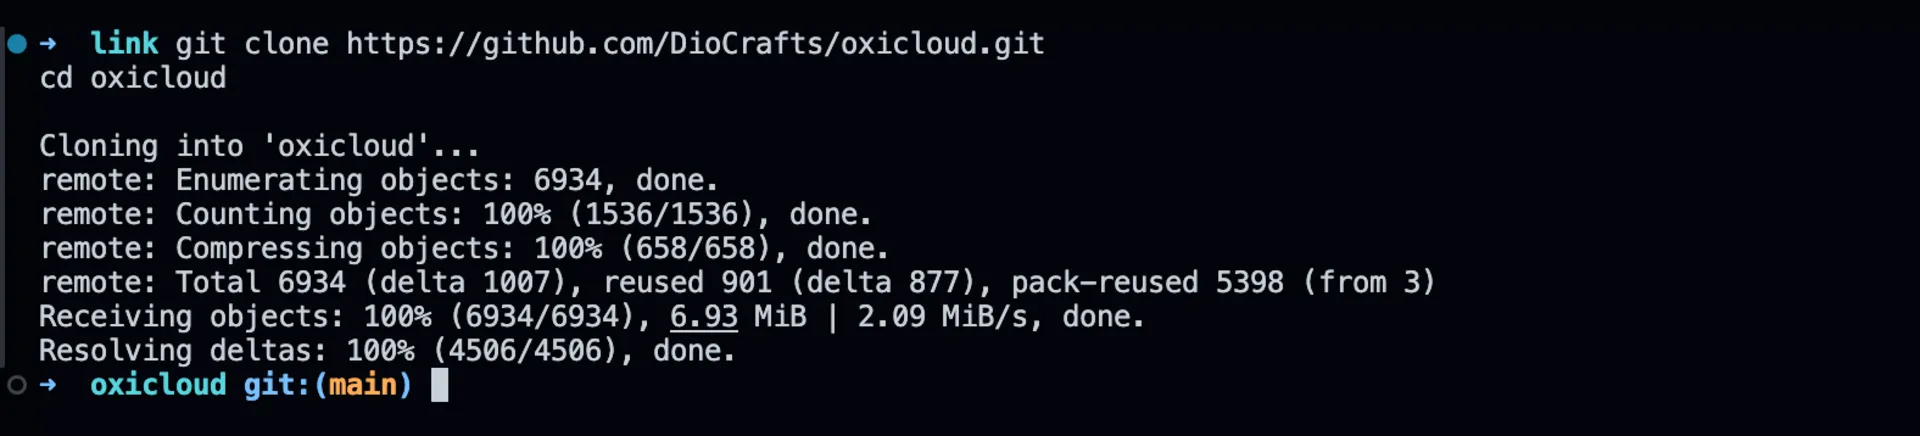
Clone the repository and set up your environment configuration:
git clone https://github.com/DioCrafts/oxicloud.git
cd oxicloud
cp example.env .env
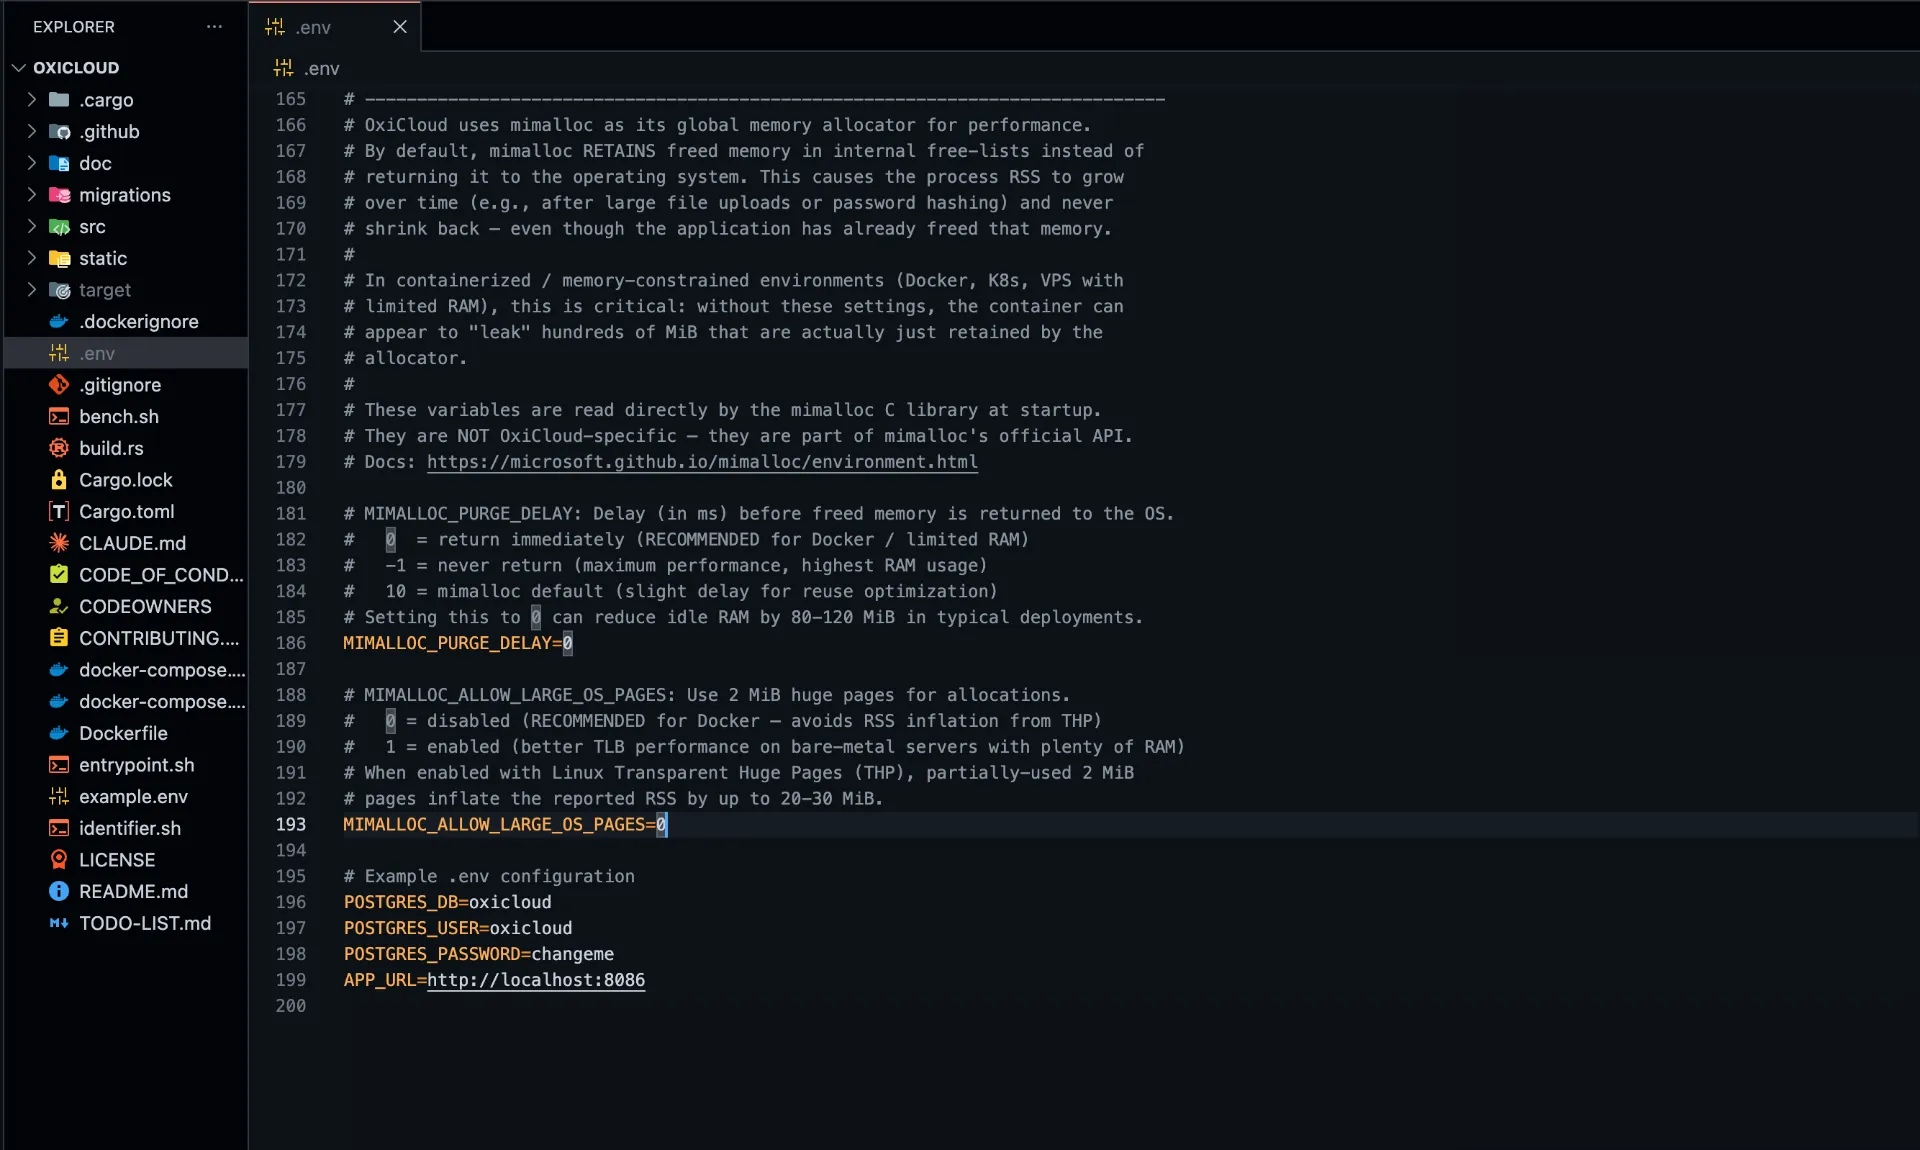
Open the .env file in your editor and review the defaults. The key variables to check are your PostgreSQL credentials and the application’s base URL. For a local-only deployment, the defaults work without modification. If you’re planning to expose OxiCloud to the internet with a custom domain, update APP_URL accordingly.
# Example .env configuration
POSTGRES_DB=oxicloud
POSTGRES_USER=oxicloud
POSTGRES_PASSWORD=changeme
APP_URL=http://localhost:8086
Set a strong POSTGRES_PASSWORD you’ll be storing real data here.
Step 2: Start OxiCloud with Docker Compose
With configuration in place, bring up the stack:
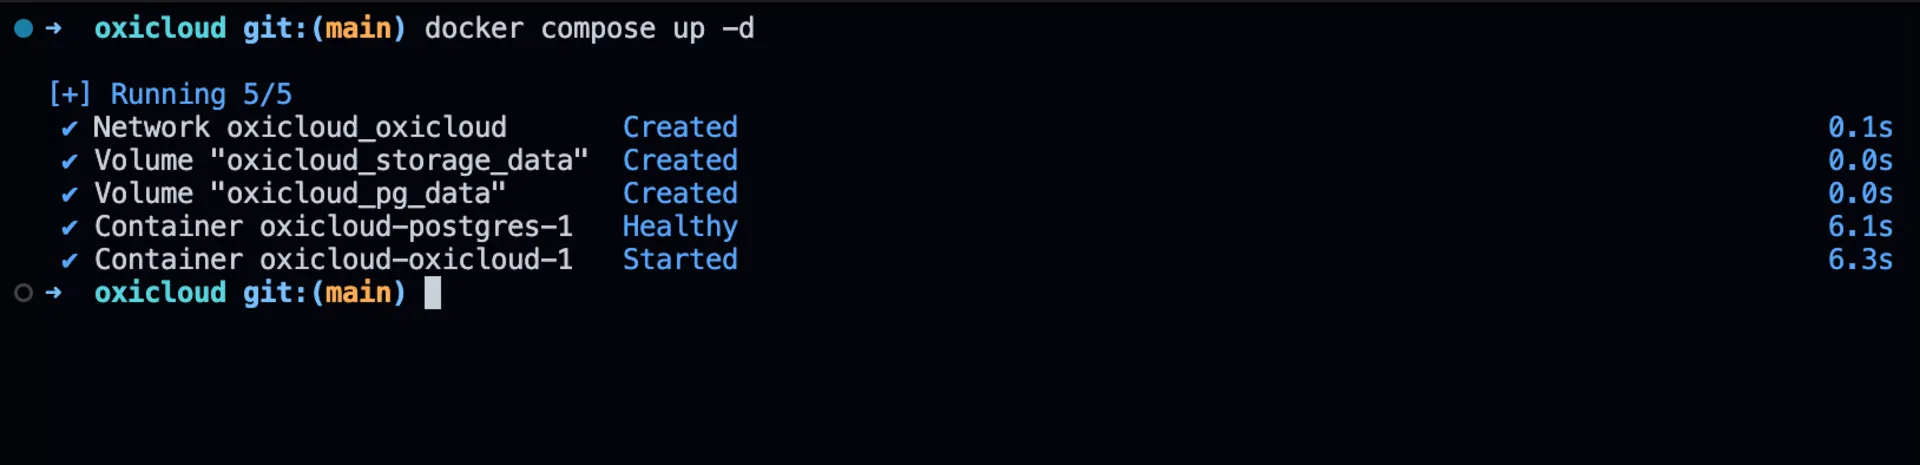
Docker will pull the OxiCloud application image and the PostgreSQL image, create the necessary volumes, and start both containers in the background. The first pull takes a moment; subsequent starts are nearly instant due to the small image size.
Verify that both containers are running:

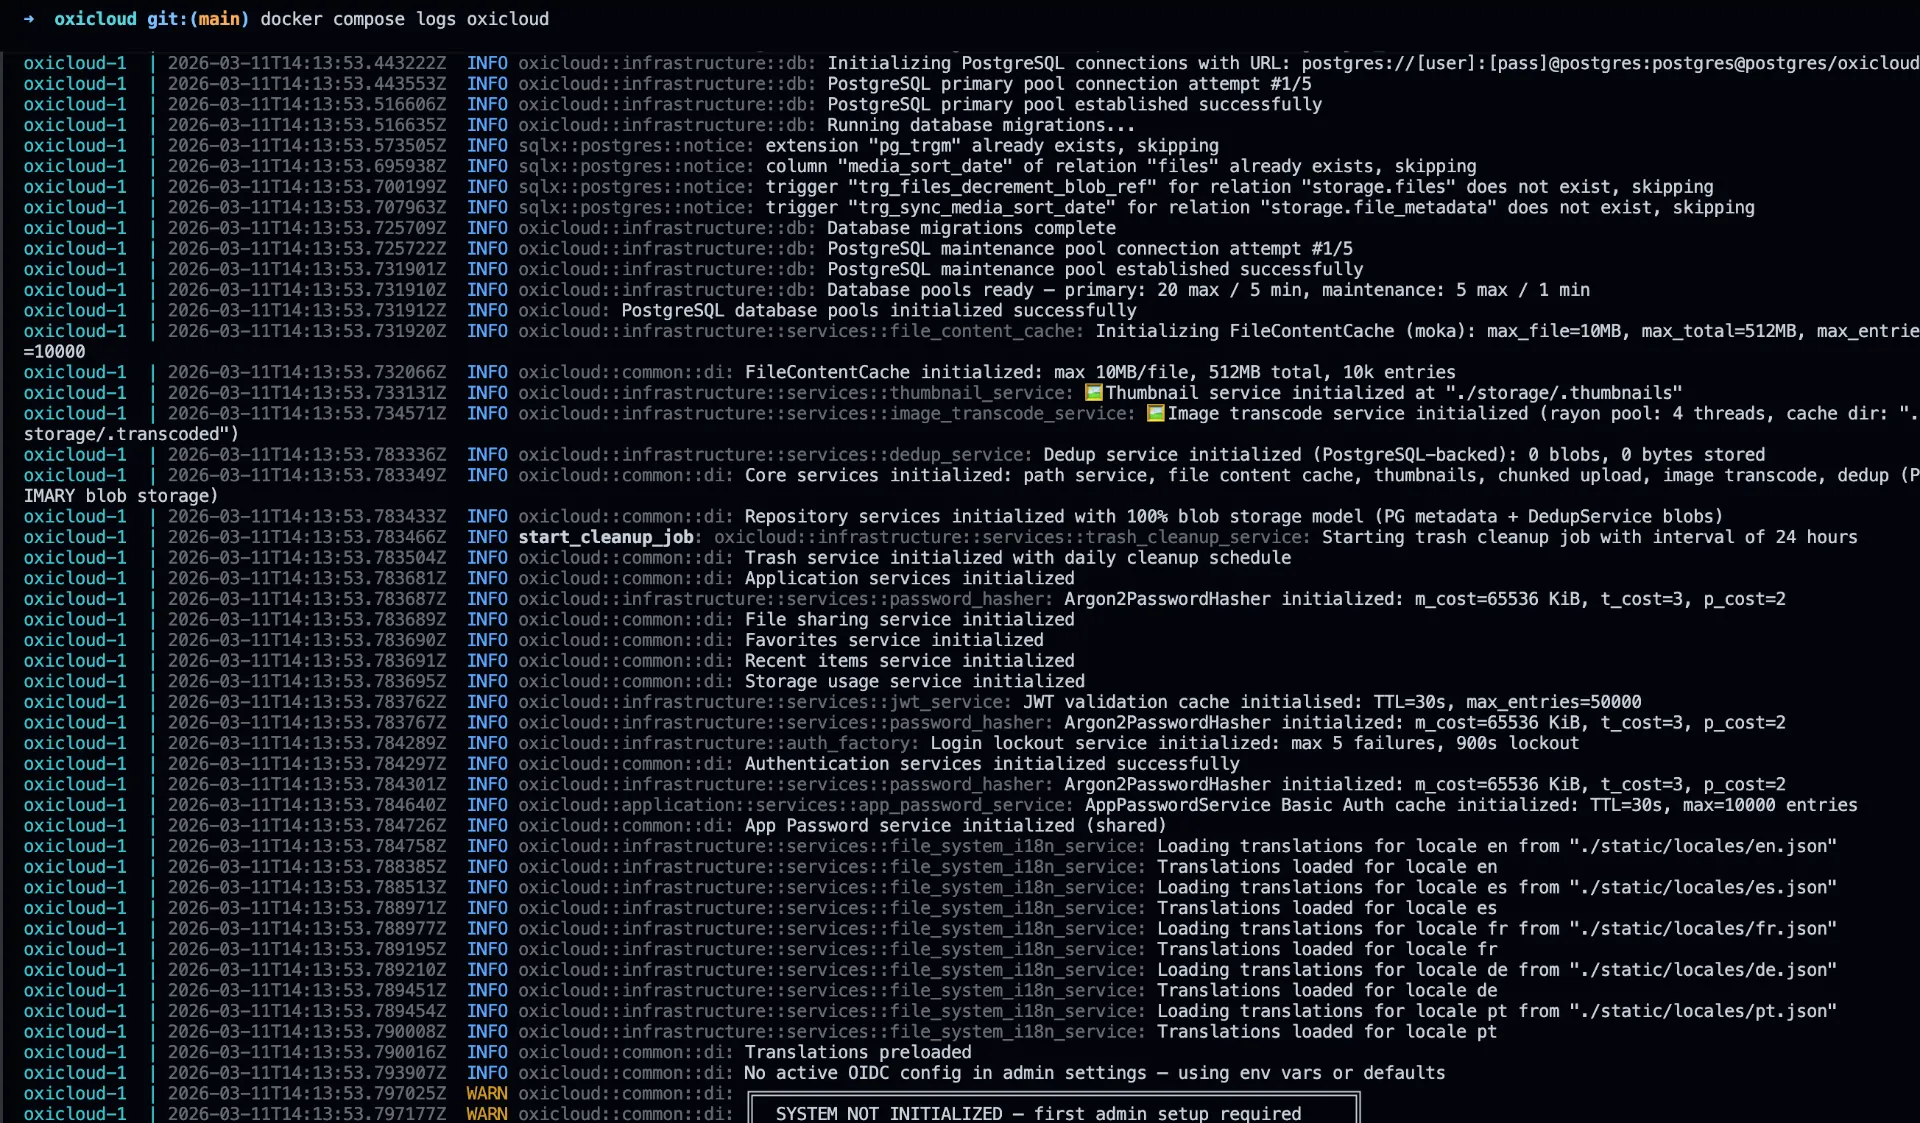
You should see both oxicloud and postgres listed as running. Check logs if anything looks off:
docker compose logs oxicloud
Step 3: Initial Setup and Account Creation
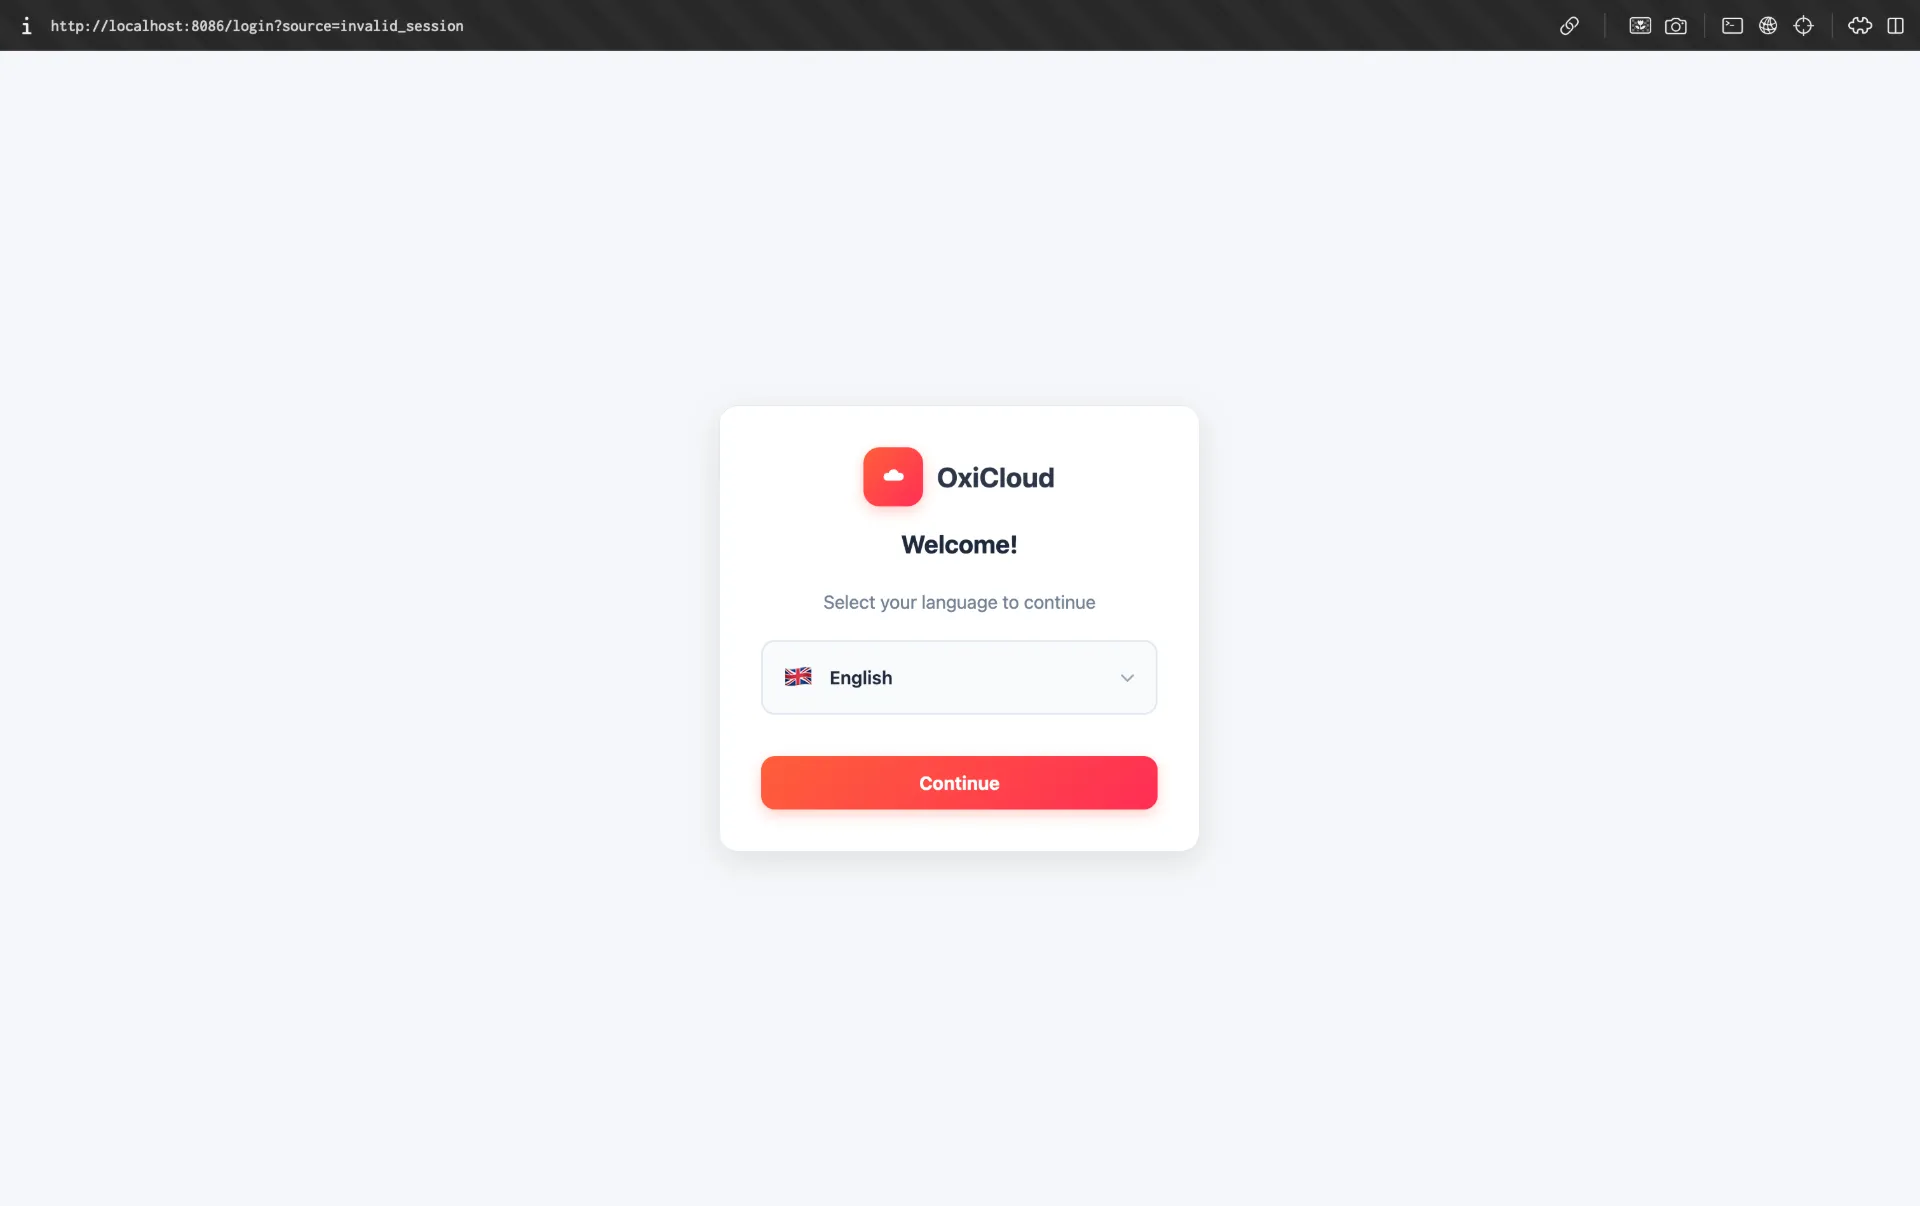
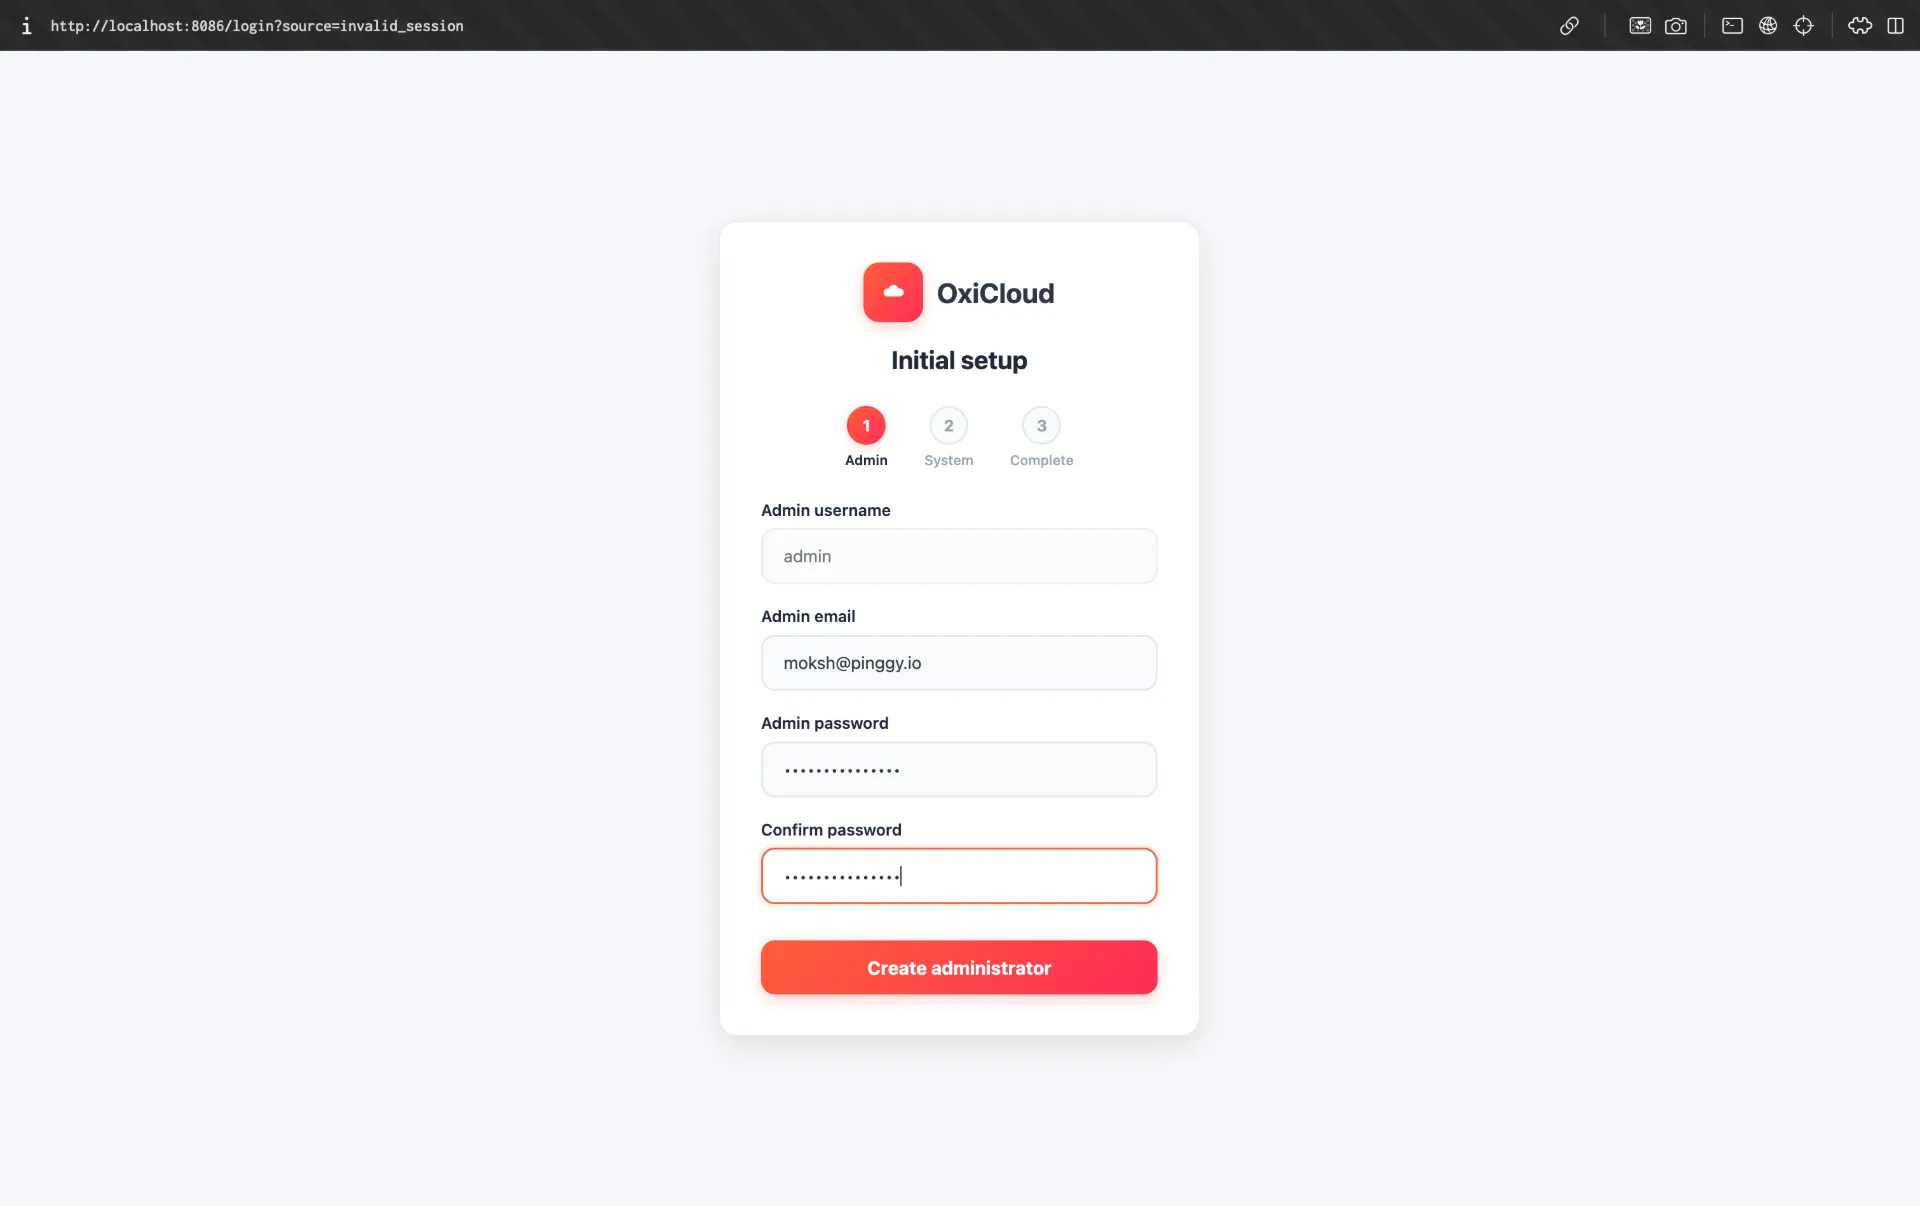
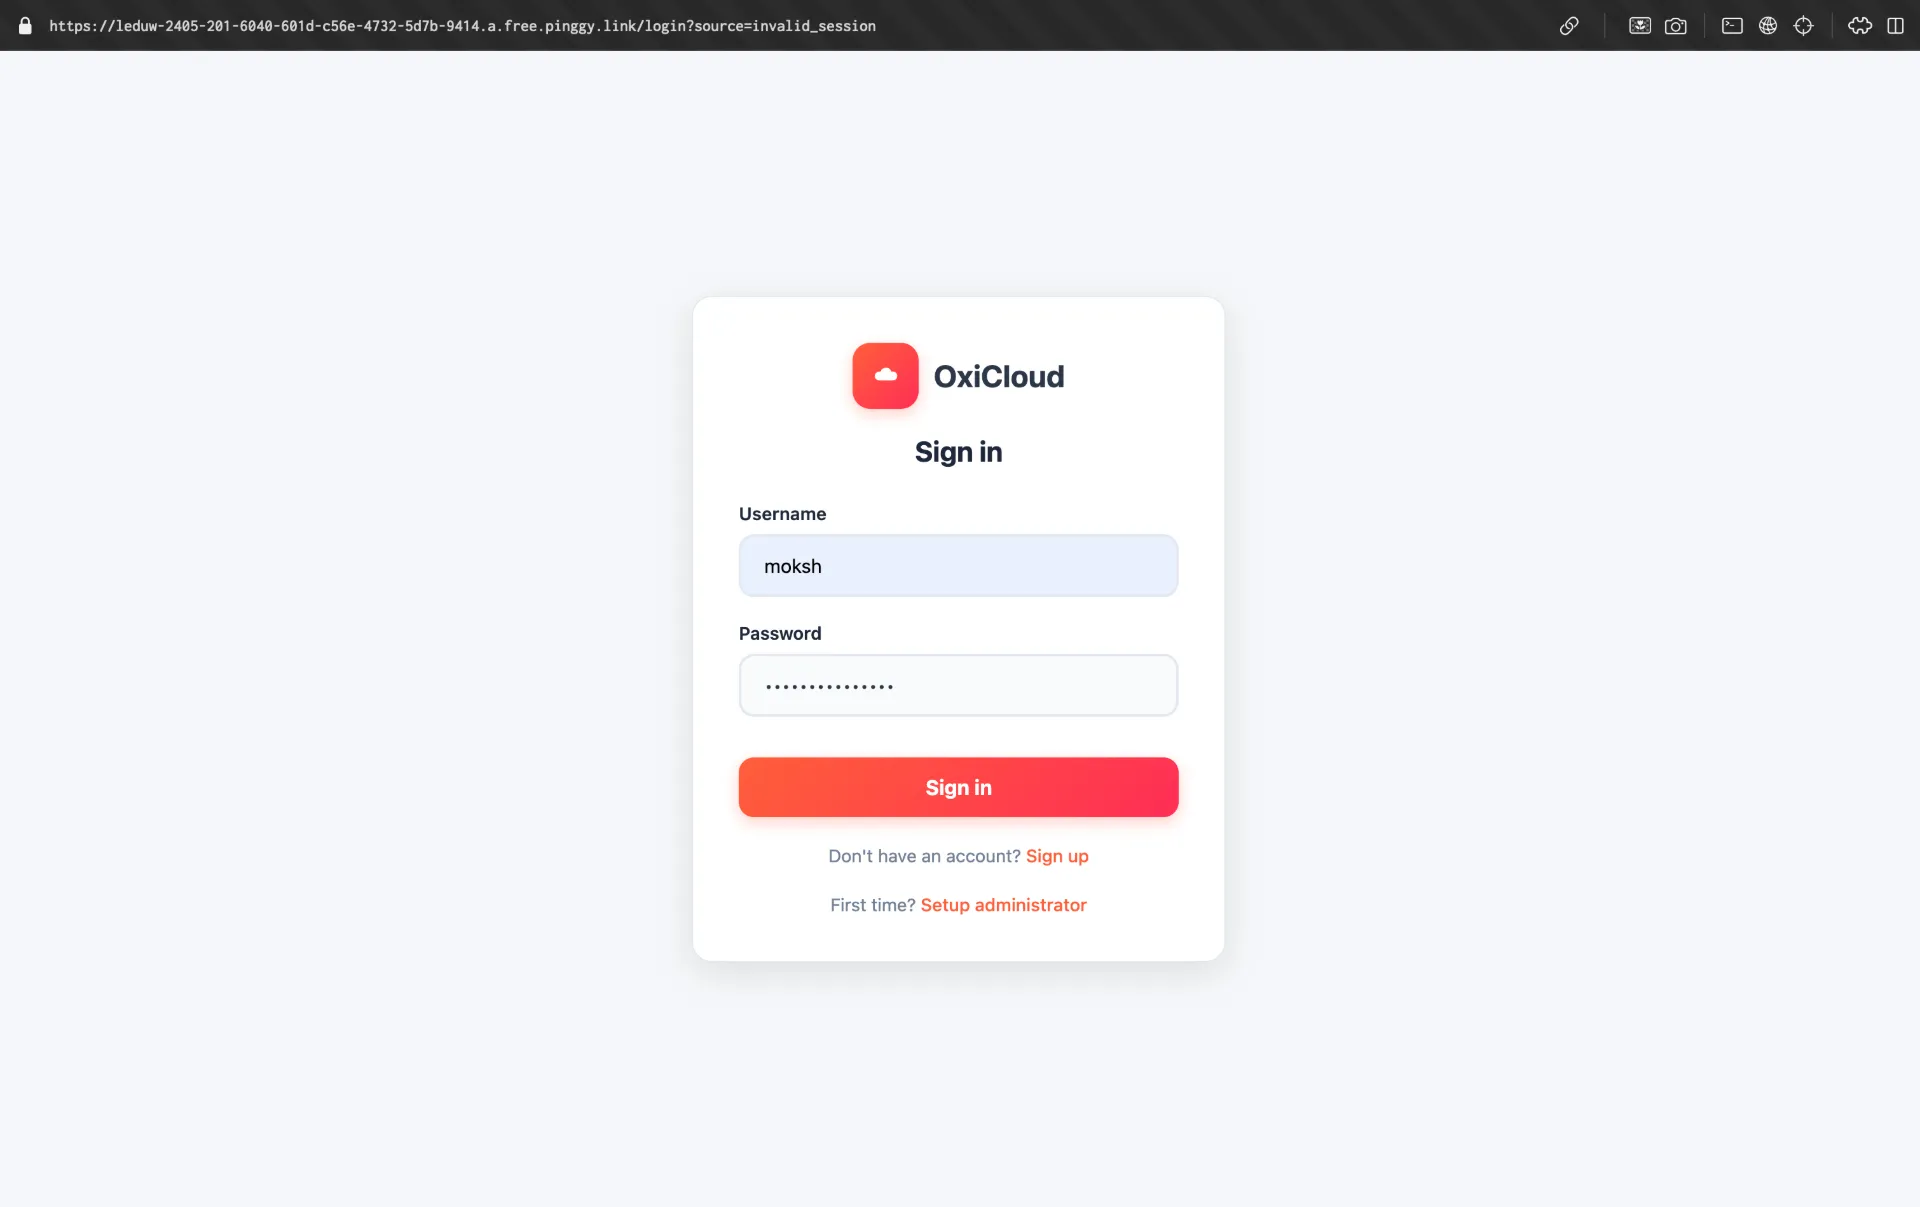
Open your browser and navigate to http://localhost:8086. OxiCloud’s web interface will greet you with a clean, minimal login screen. On a fresh installation, you’ll be prompted to create your first administrator account.
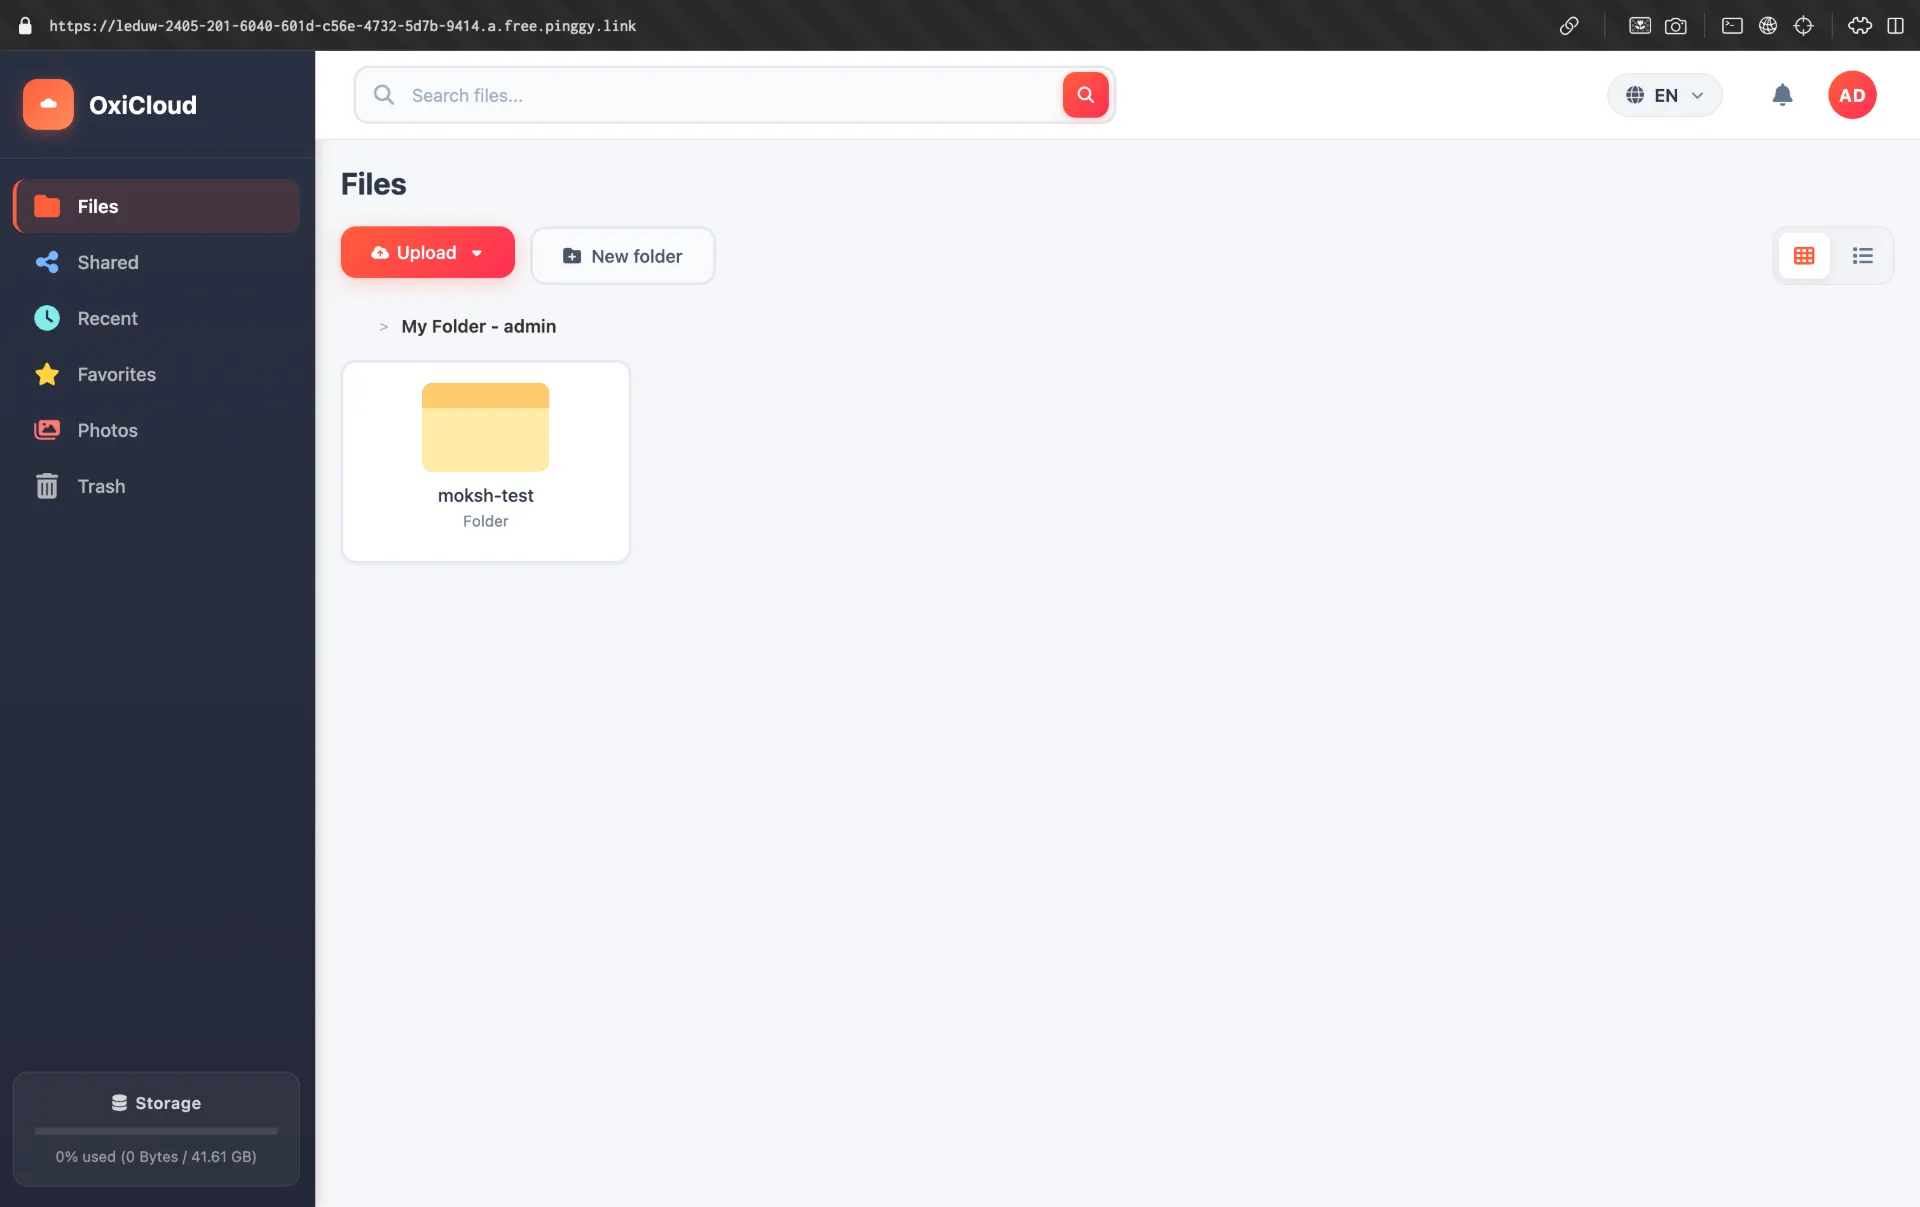
Choose a strong password this account has full administrative control over your instance. Once logged in, you’ll see the main file manager interface. The sidebar provides navigation between files, trash, and shared items. The top bar offers upload controls and search.
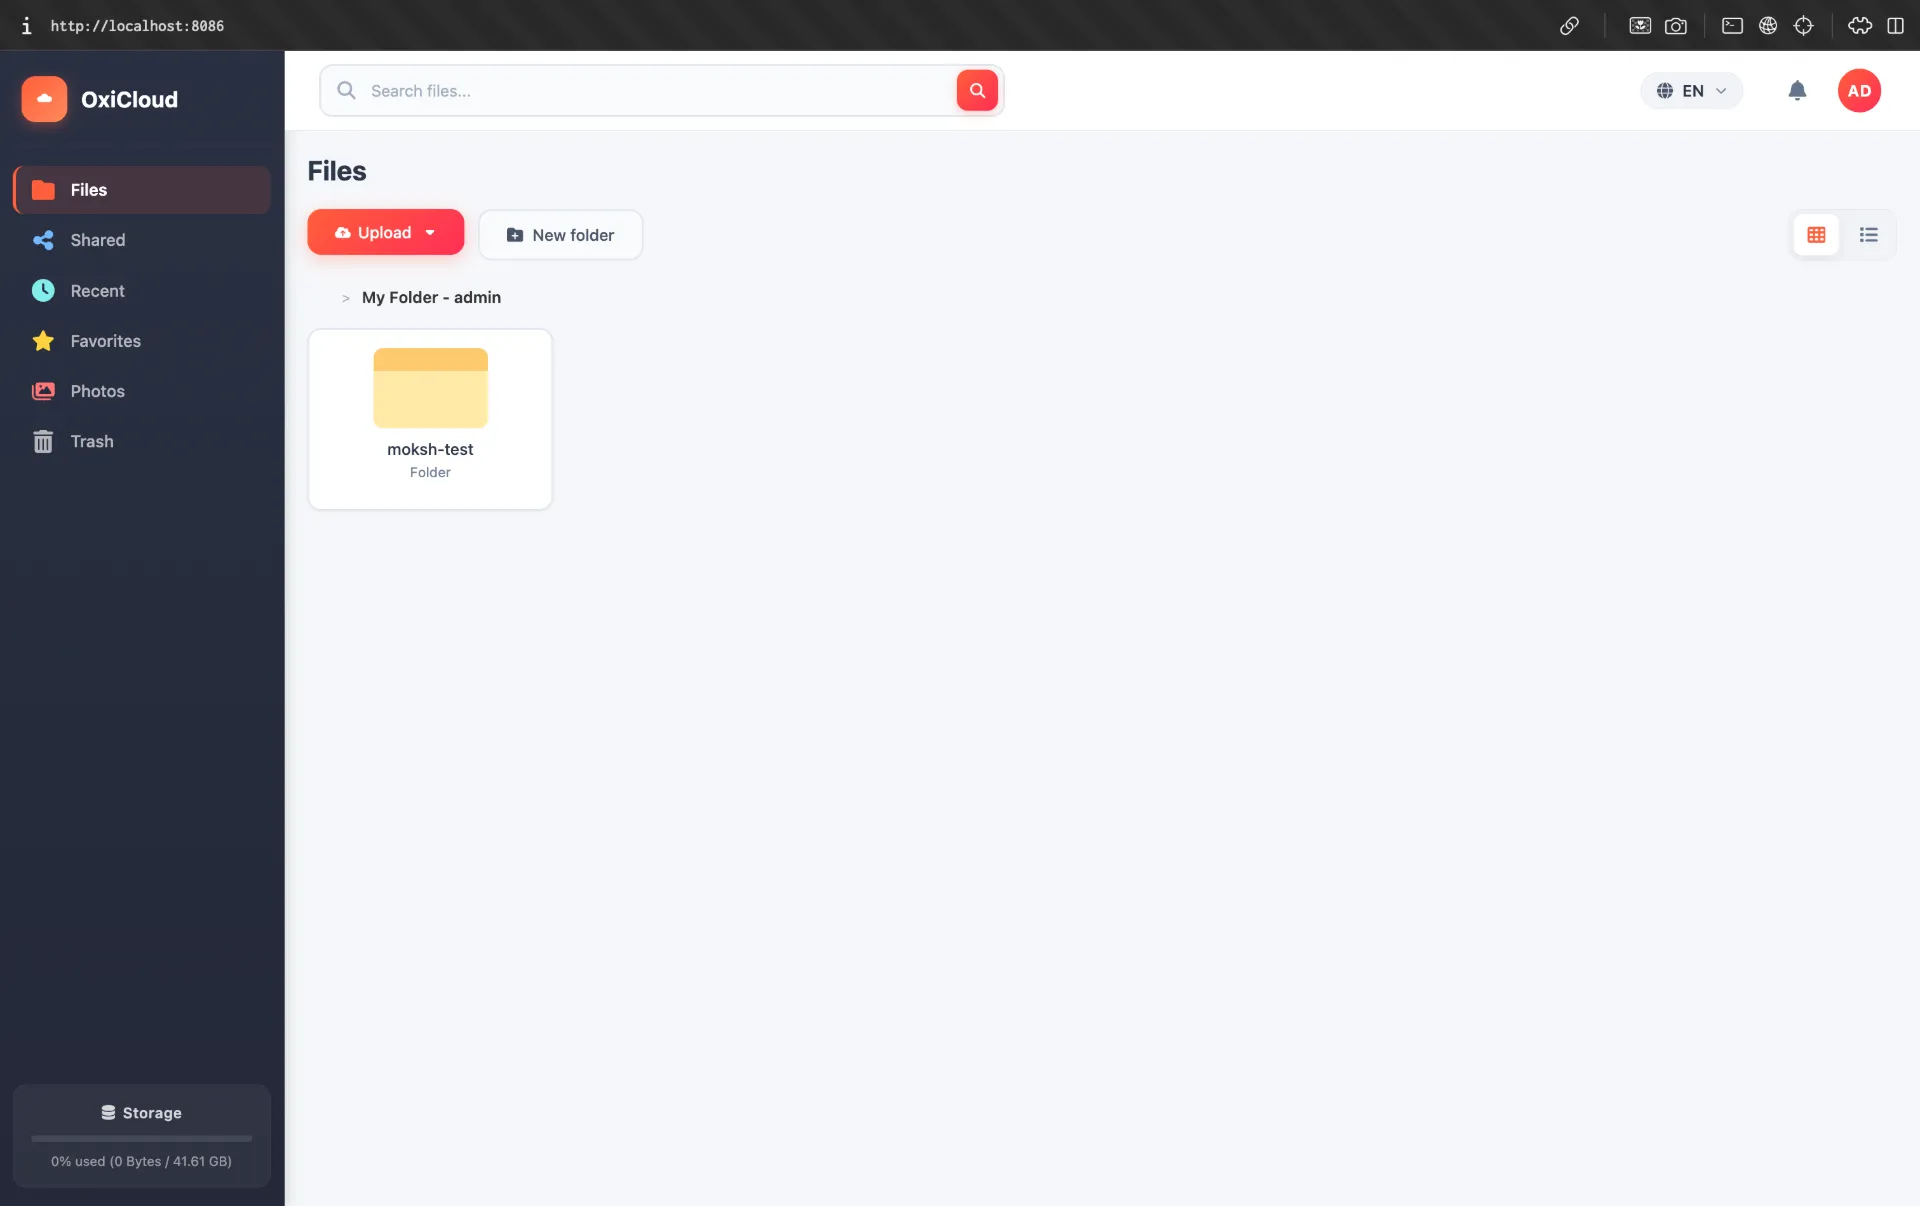
Take a moment to explore the Settings panel to configure storage quotas, manage additional user accounts if needed, and review the WebDAV, CalDAV, and CardDAV endpoint URLs you’ll need these when connecting external clients.
Step 4: Remote Access with Pinggy
Running OxiCloud locally is excellent for testing, but the real value of a personal cloud comes from accessing your files, calendar, and contacts from any device, anywhere.
Pinggy creates a secure public tunnel to your local OxiCloud instance without any additional setup, and it works through a standard SSH command no downloads required.
Open a new terminal and run:
Pinggy will output a public HTTPS URL like https://randomstring.a.pinggy.link. Use this URL to access your OxiCloud instance from any device. You can use this URL in your WebDAV, CalDAV, and CardDAV client configurations as well just replace http://localhost:8086 with the Pinggy URL.


For additional security, add HTTP Basic Authentication to protect the tunnel before the OxiCloud login page:
ssh -p 443 -R0:localhost:8086 -t free.pinggy.io "b:username:password"
Pinggy Pro provides a persistent subdomain, so your URL stays the same across reconnections. This is particularly useful when you’ve configured CalDAV and CardDAV clients to sync with a specific URL a persistent domain means no reconfiguration after a restart.
Building from Source (Optional)
If you prefer to run OxiCloud directly without Docker, you’ll need Rust 1.93 or later and a PostgreSQL 13+ instance. Install Rust via
rustup, then:
git clone https://github.com/DioCrafts/oxicloud.git
cd oxicloud
cargo build --release
OxiCloud uses Link-Time Optimization (LTO) and aggressive compiler settings, so the release build takes a few minutes but produces a highly optimized binary. Run it with:
Ensure your .env file is populated with the correct PostgreSQL connection string before running.
Data Privacy and Security Considerations
Self-hosting OxiCloud means you’re responsible for securing it. A few practices worth implementing before going live:
Run OxiCloud behind a reverse proxy like nginx or Caddy with a valid TLS certificate from Let’s Encrypt when exposing it to the internet directly, rather than through Pinggy. Restrict PostgreSQL to localhost binding the Docker Compose file does this by default, but it’s worth verifying. Enable firewall rules to limit access to port 8086. Regularly back up your PostgreSQL database with pg_dump and your uploaded files from the Docker volume.
For CalDAV and CardDAV data specifically, consider that these endpoints contain some of your most personal information. Ensure that only the OxiCloud application can reach the database, and rotate your PostgreSQL password if you’ve deployed the default credentials.
Migrating from Nextcloud or Google
From Nextcloud: Export files from Nextcloud’s web interface or sync them locally with a WebDAV client, then re-upload to OxiCloud. Export calendars as .ics files from Nextcloud’s calendar app and import them into OxiCloud. Export contacts as .vcf from the Nextcloud contacts app and import into OxiCloud.
From Google: In Google Takeout, select Google Calendar and Google Contacts to download .ics and .vcf archives respectively. Import these into OxiCloud. For Google Drive files, download them locally and upload through OxiCloud’s web interface or WebDAV.
The migration process is typically straightforward for calendars and contacts due to universal .ics and .vcf format support. File migrations depend on how much data you have, but OxiCloud’s chunked upload support handles large transfers reliably.
Conclusion
OxiCloud represents what self-hosted software should be: fast, focused, and easy to deploy. It replaces three commercial services cloud storage, calendar sync, and contact management with a single Rust binary that runs comfortably on hardware you already own. The performance advantage over Nextcloud is real and significant on constrained hardware, and the standard protocol support means your existing clients work without modification.
Pairing OxiCloud with
Pinggy closes the last gap between a local deployment and a true cloud experience. A single SSH command makes your instance reachable from anywhere, with HTTPS encryption handled automatically. If you’ve been looking for a reason to stop paying for commercial cloud services while maintaining the same functionality, OxiCloud makes the transition easier than it has ever been.