Hosting your Svelte app on the internet securely without deploying to a full server is simple with Pinggy. This guide will show you how to run your Svelte application locally and expose it publicly via a secure SSH tunnel in just a few steps.
Summary
- Run Svelte App
Create and set up your Svelte app:
npx sv create my-app
cd my-app
npm install
npm run dev
2 Create a Tunnel with Pinggy
Start SSH tunnel:
ssh -p 443 -R0:localhost:5173 -t qr@a.pinggy.io \"u:Host:localhost:5173\"
Access your Svelte app via the provided Pinggy public URL (e.g., https://your-app.pinggy.link).
What Is Svelte?
Svelte is an innovative, open-source JavaScript framework that shifts much of the work from runtime to compile time. Unlike traditional frameworks like React or Vue, Svelte compiles your code into vanilla JavaScript, resulting in:
- Zero Runtime Overhead: Faster load times and better performance.
- Reactive by Default: No need for complex state management libraries—reactivity is built-in.
- Simpler Syntax: Less boilerplate, making it easier to write and maintain code.
- Small Bundle Sizes: Efficient output for lightweight applications.
- Seamless Animation & Stores: Built-in tools for smooth UI transitions and state management.
Svelte is perfect for building everything from lightweight static sites to highly interactive applications with minimal fuss.
Sharing Your Local Svelte App
When developing a
Svelte application, it runs locally (e.g., on localhost:5173), but there’s a common challenge: others cannot access your local development server. This limitation exists because of network constraints like
CGNAT (Carrier-Grade NAT), firewalls, and standard NAT configurations that prevent direct incoming connections to your device.
Traditional solutions involve deploying your app to cloud services, but this approach is often:
- Time-consuming, requiring configuration and build processes
- Expensive, especially for temporary sharing needs
- Overkill for simple demos or quick feedback sessions
Using Pinggy, you can create a secure tunnel that instantly makes your locally-hosted
Svelte application accessible to anyone on the internet no complex configuration or cloud deployments required.
Prerequisites
- Node.js and npm: Installed on your system. You can download it from
Node.js official website.
- SSH client (macOS/Linux built‑in; Windows via Git Bash or OpenSSH)
- Pinggy account (Optional): if you wish to use custom domains or other advanced features.
- Basic Terminal Knowledge: Familiarity with running commands.
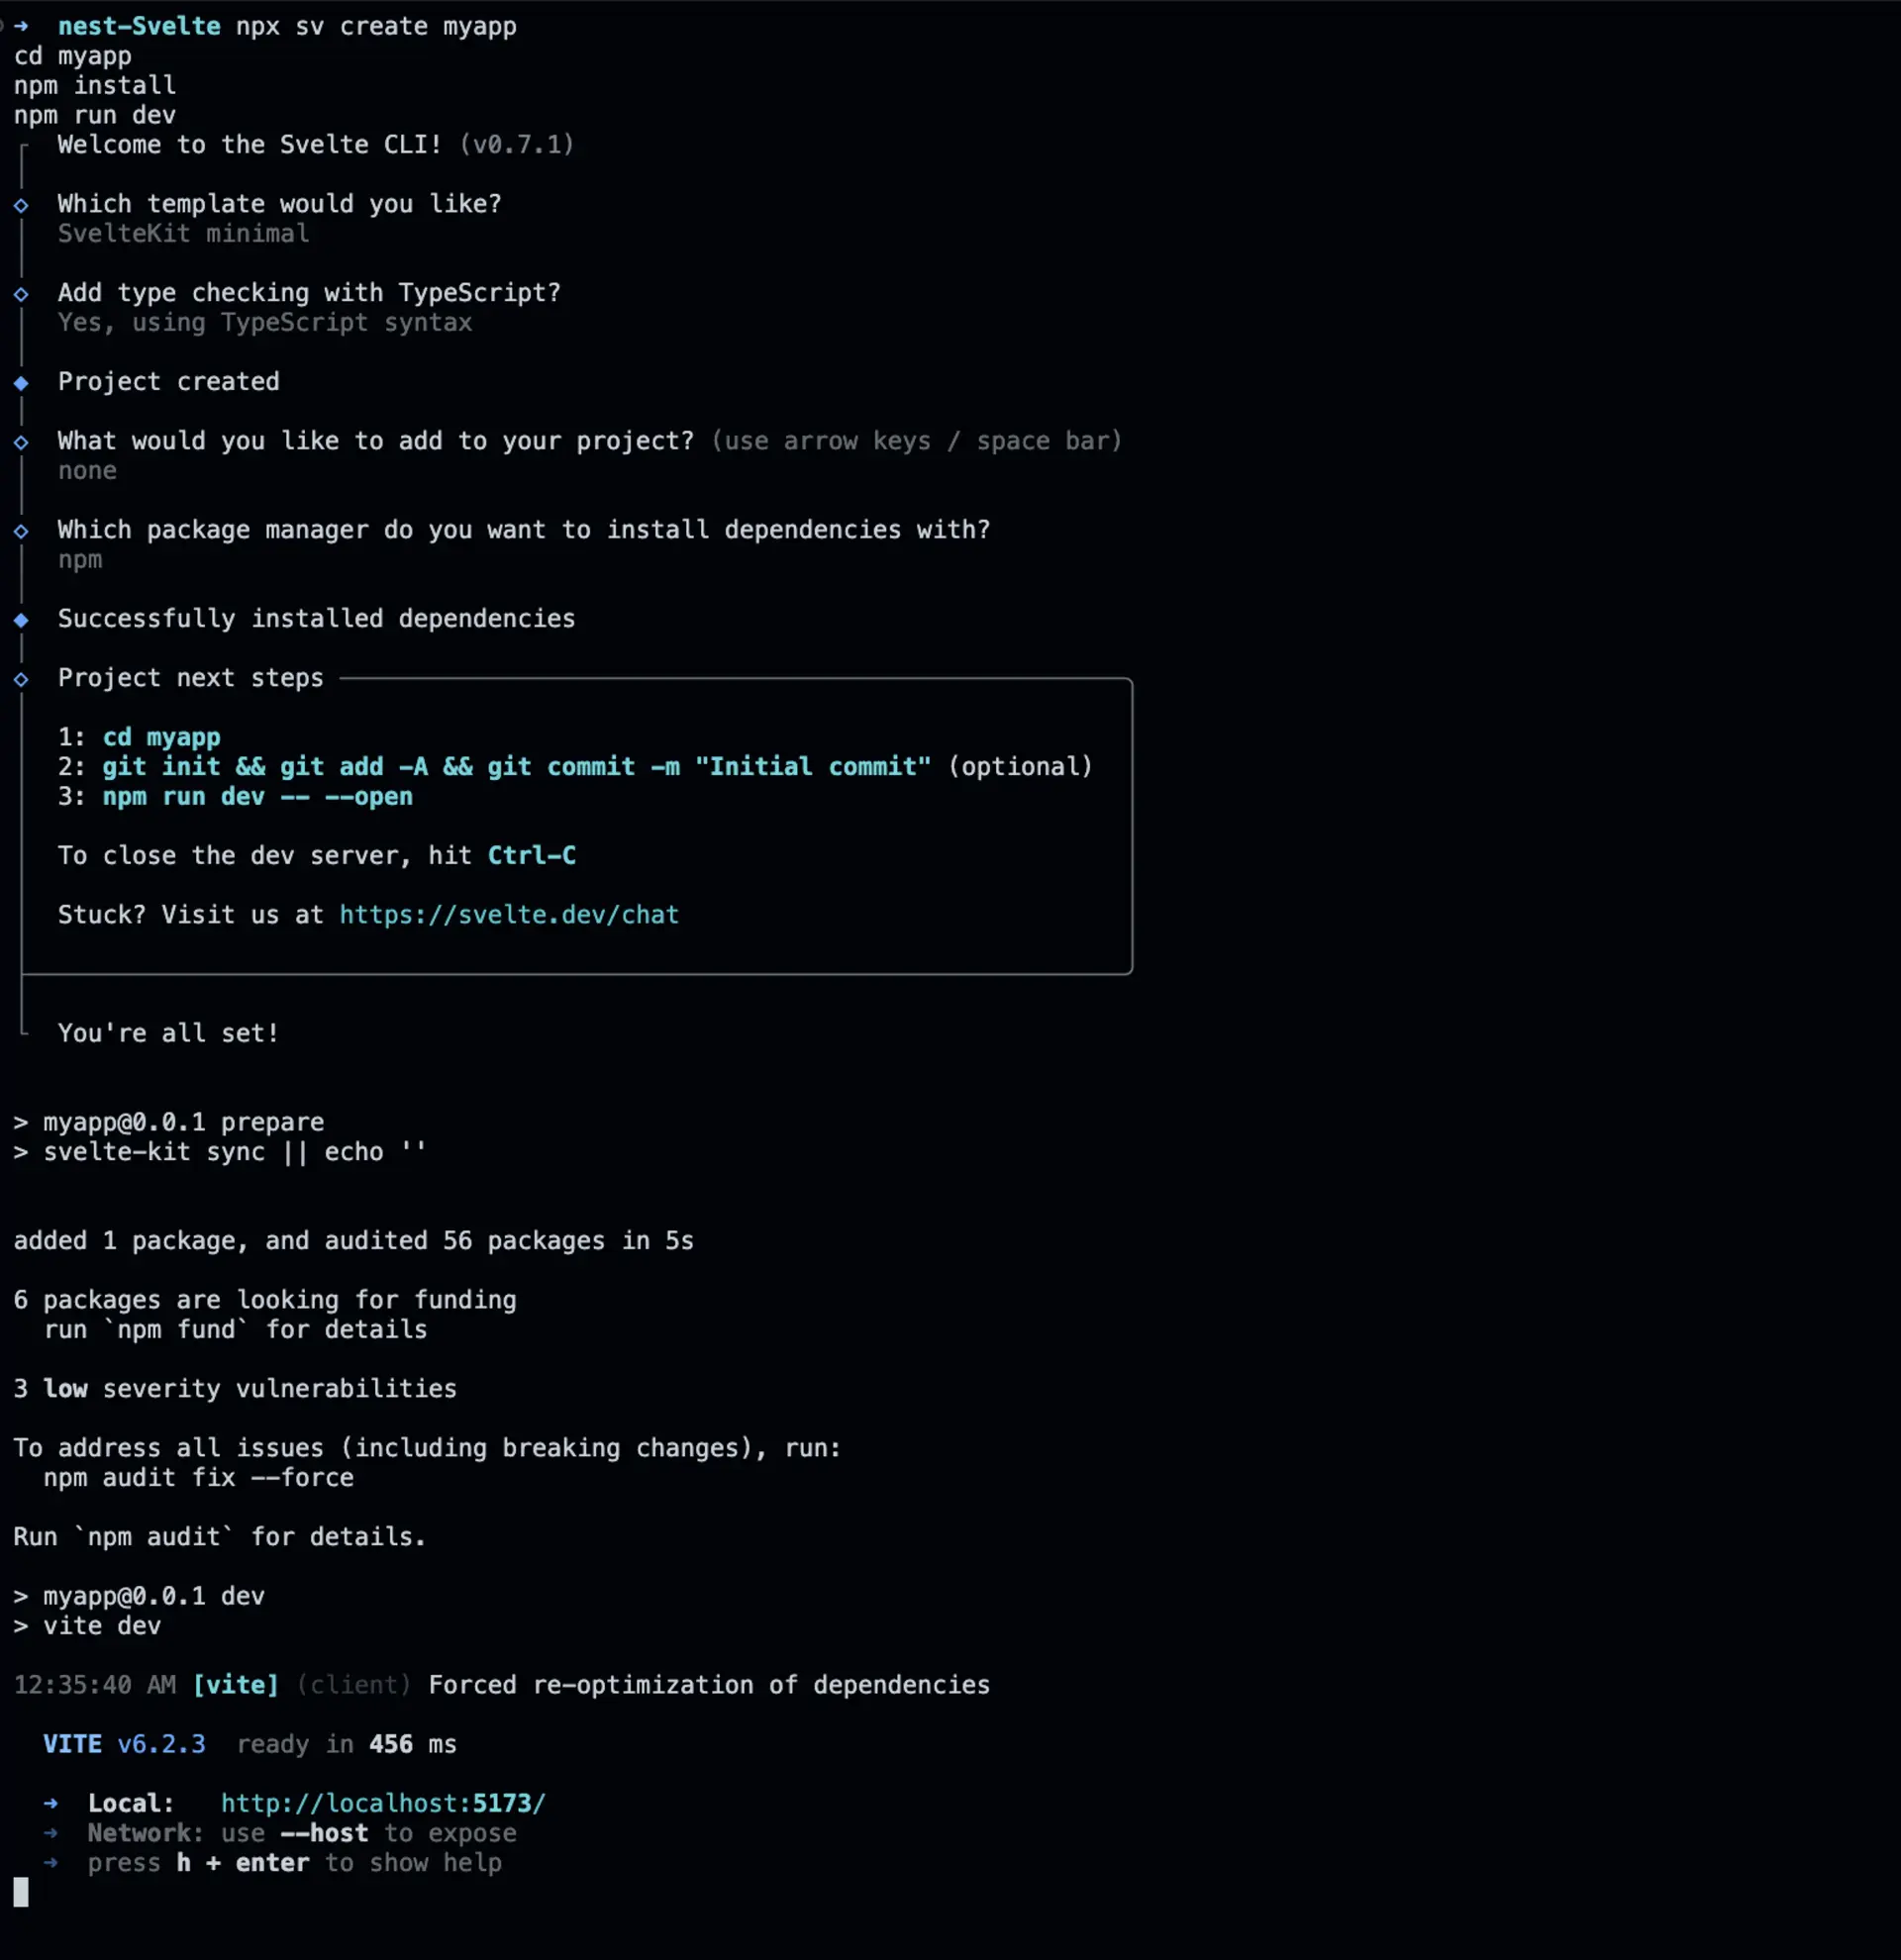
Step 1: Create & Run Your Svelte App
npx sv create my-app
cd my-app
npm install
npm run dev

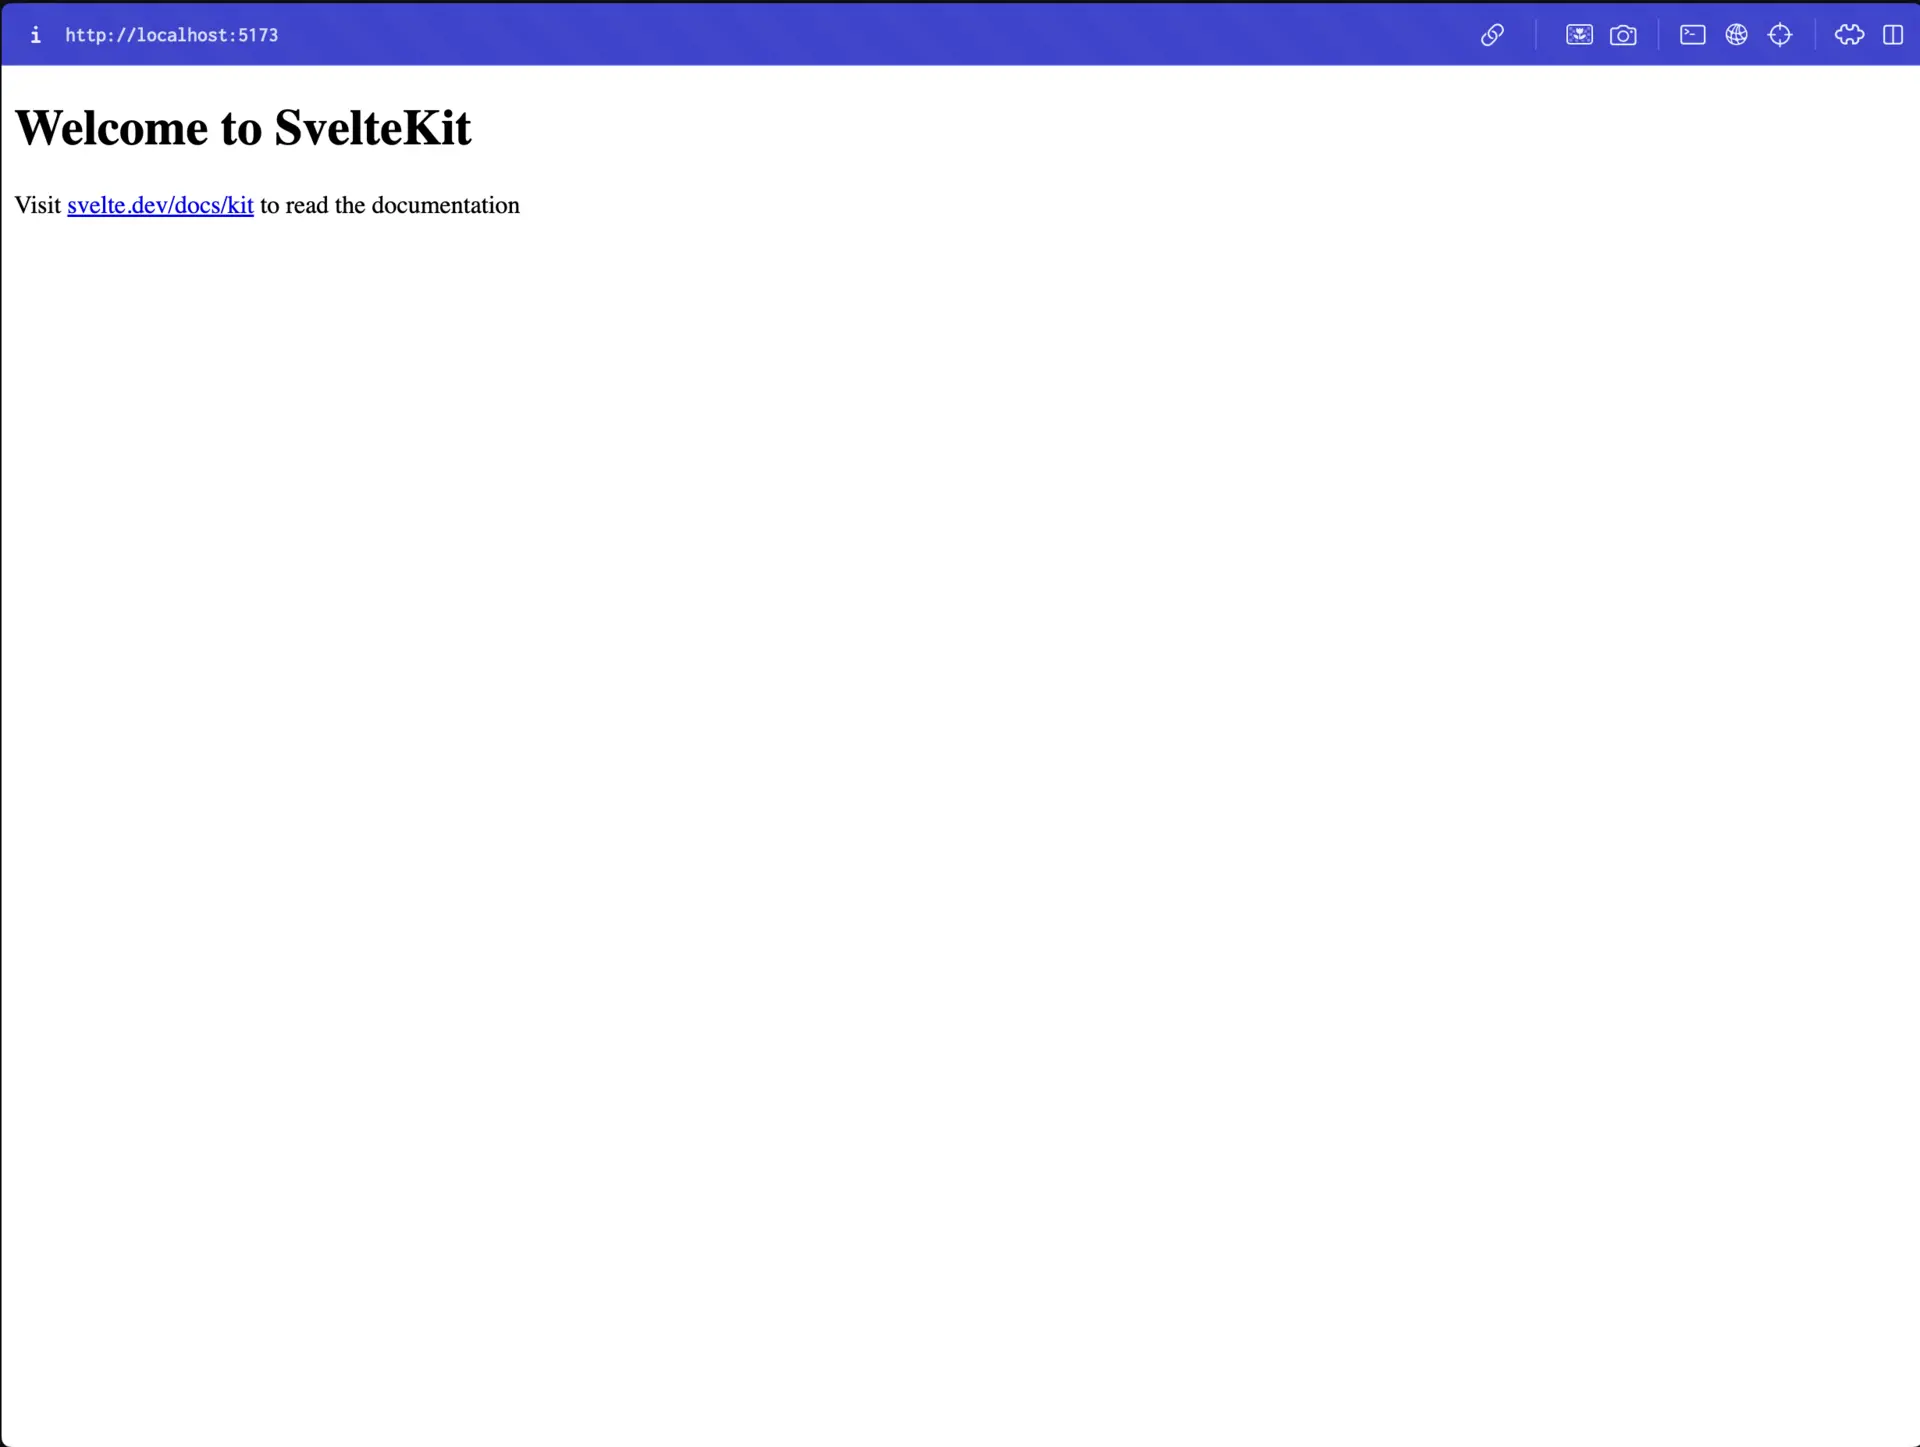
Visit http://localhost:5173 to verify your app is running locally.
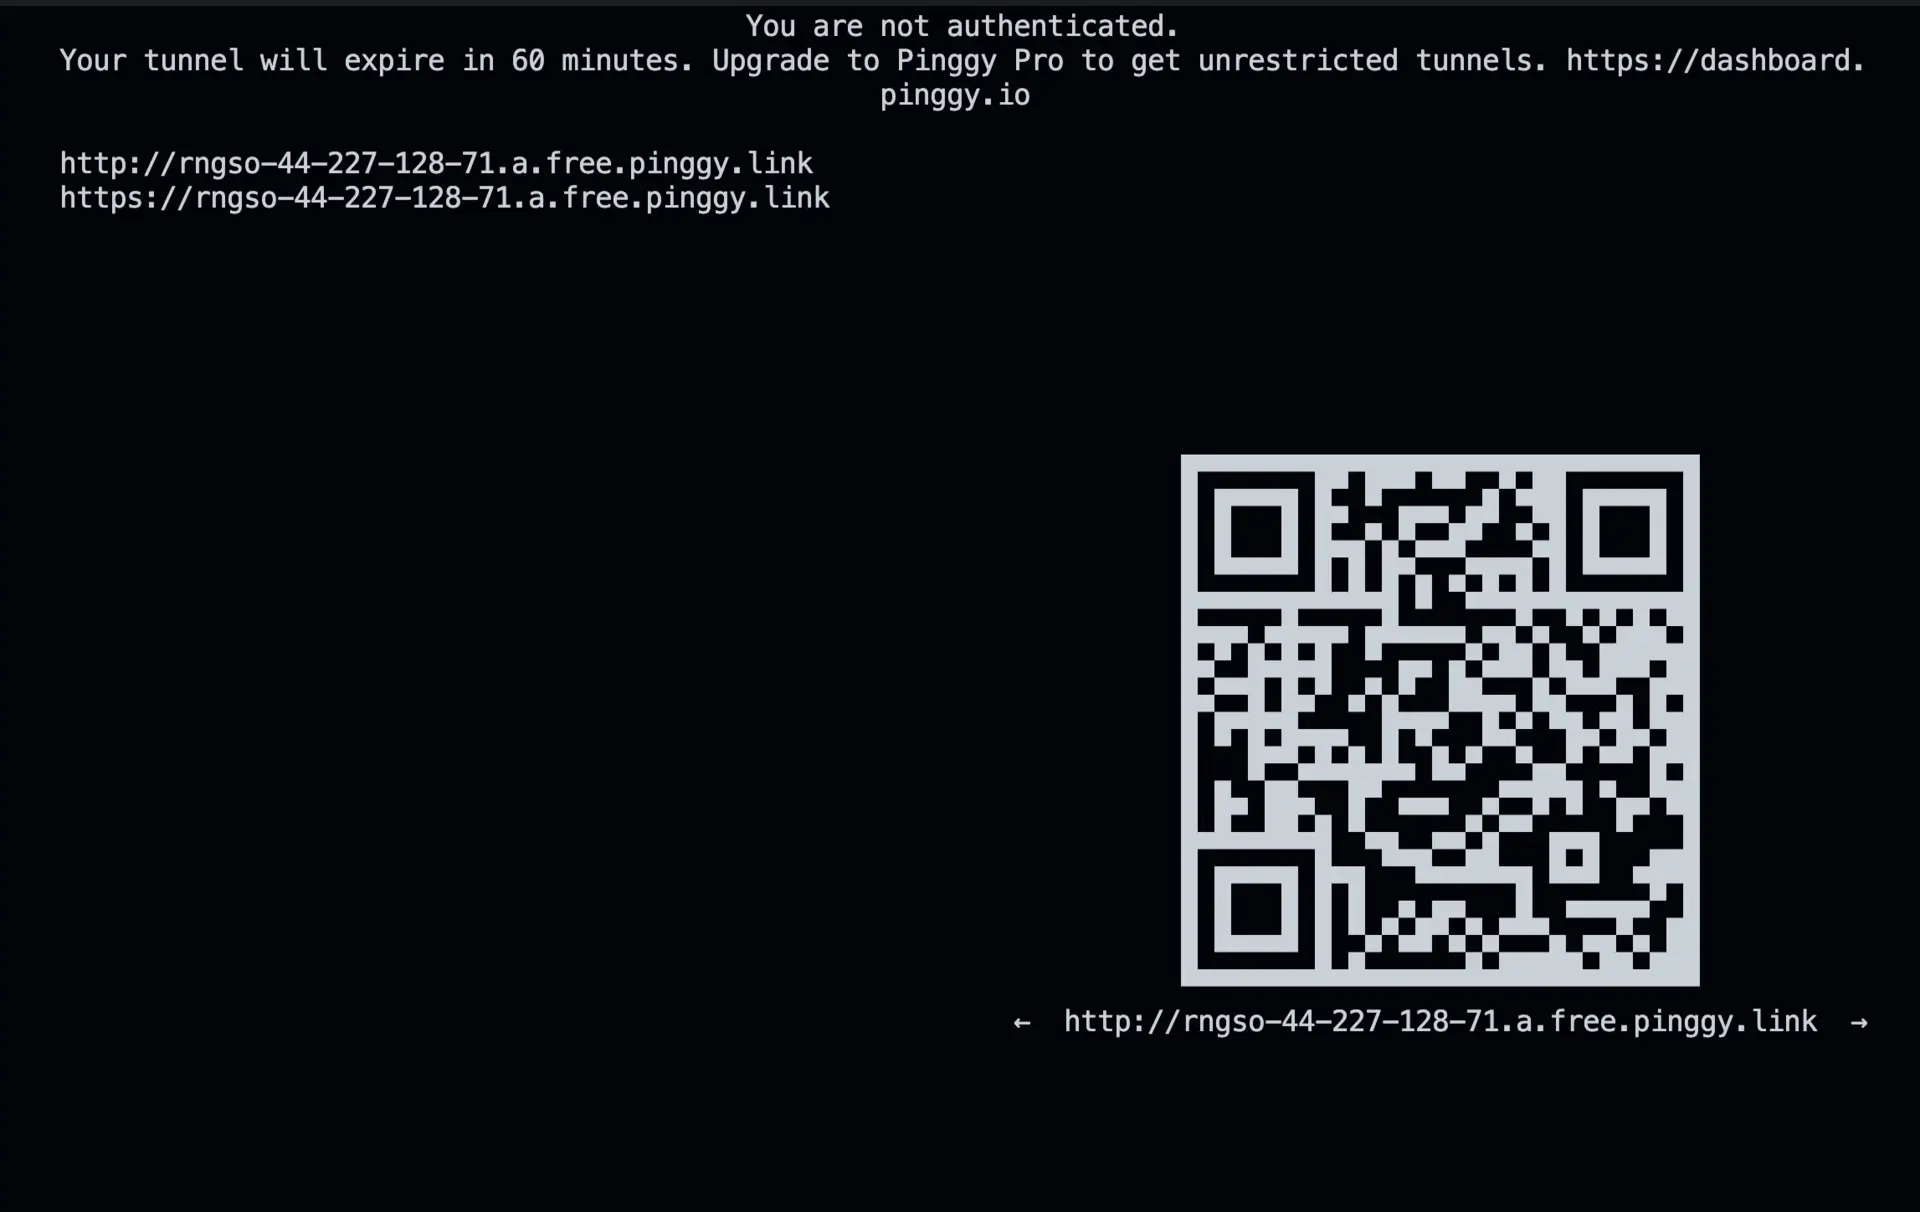
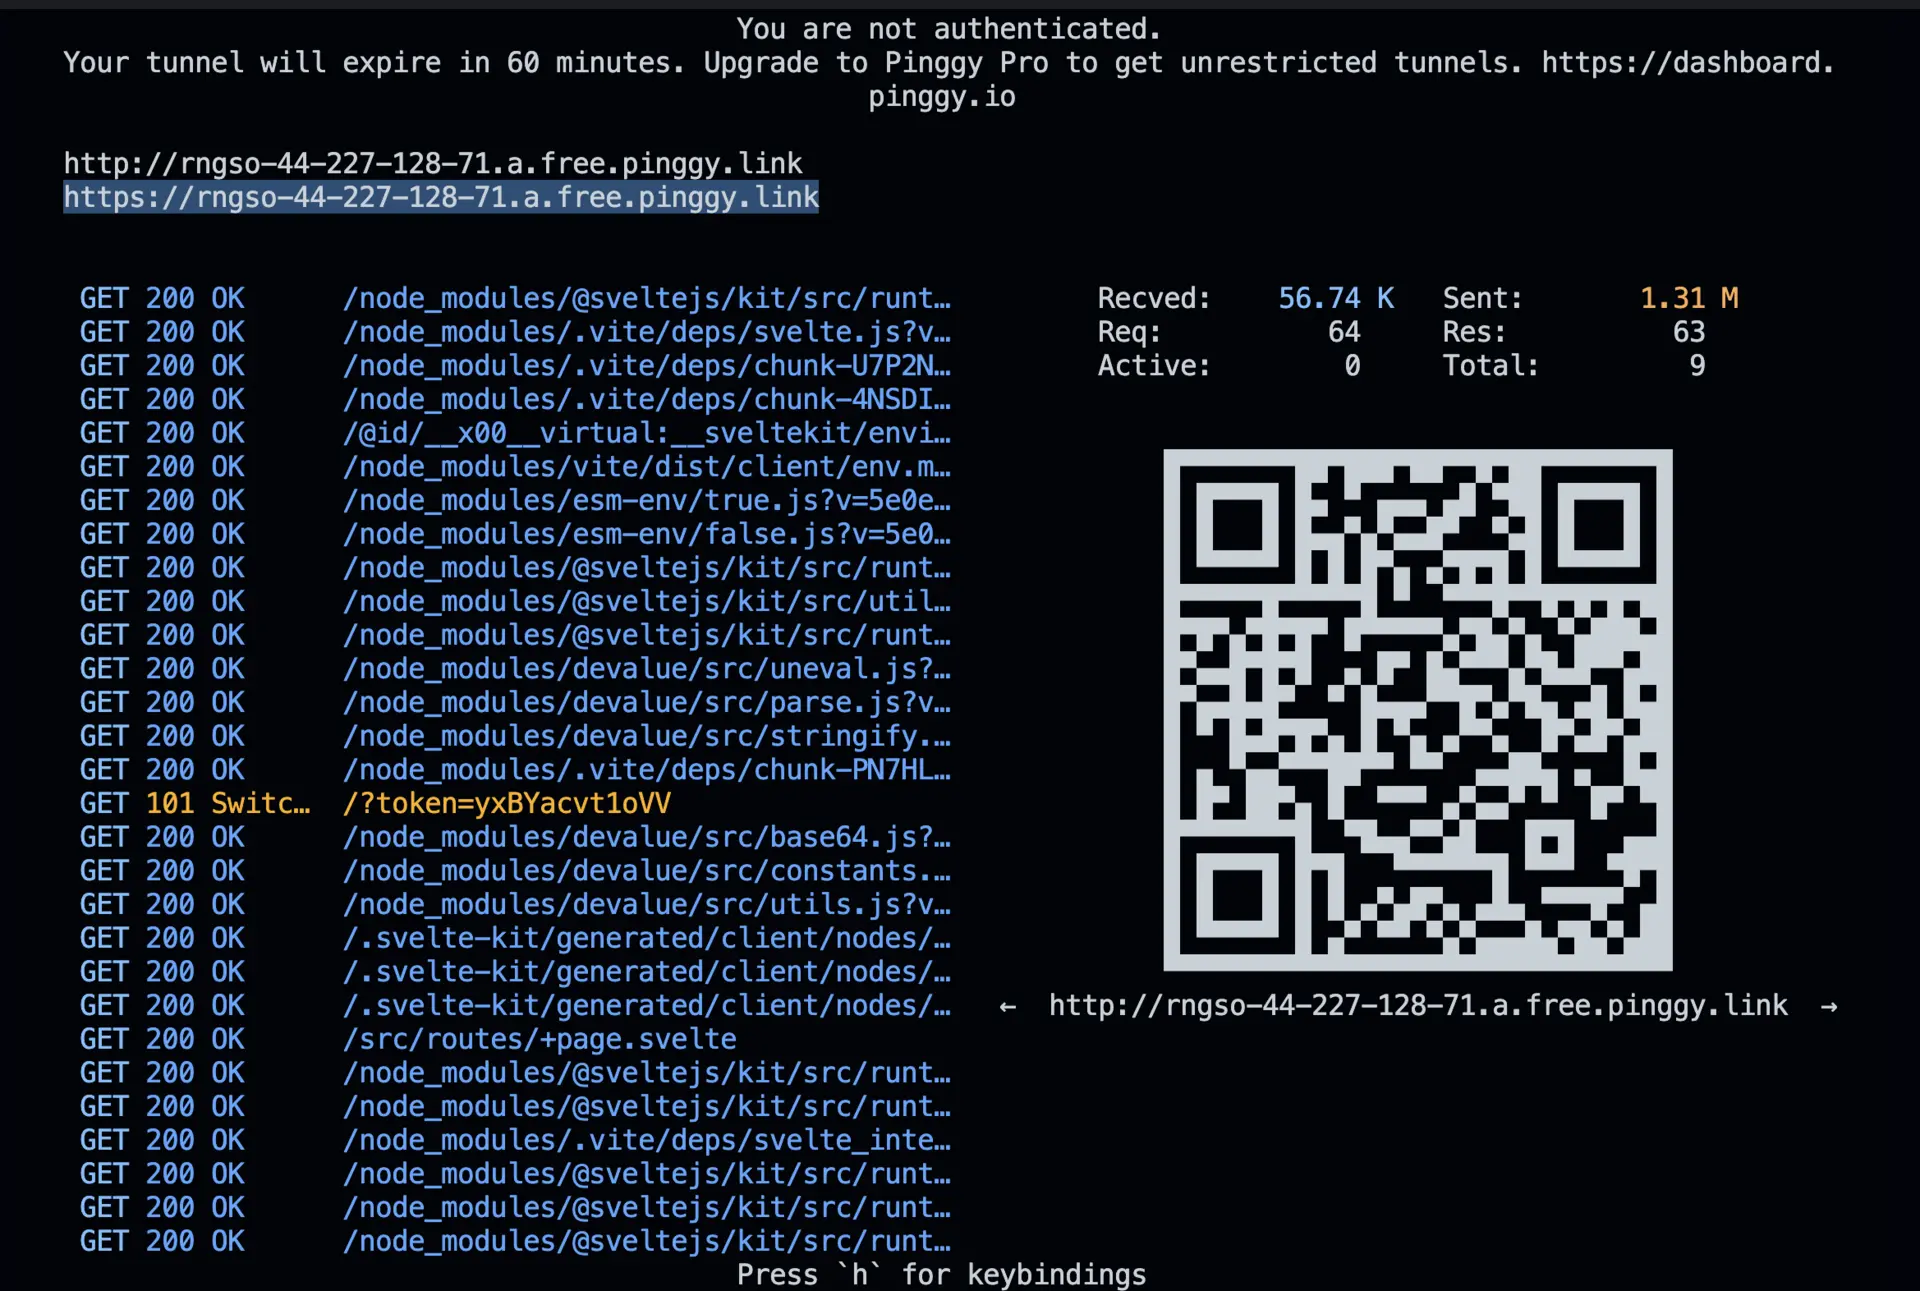
Step 2: Expose Your App via Pinggy
Open a new terminal window and run:
ssh -p 443 -R0:localhost:5173 -t qr@a.pinggy.io \"u:Host:localhost:5173\"

Command Breakdown:
ssh -p 443: Connects securely to Pinggy’s server.-R0:localhost:5173: Maps your local Svelte app (port 5173) to a public URL.a.pinggy.io: The Pinggy server endpoint.
Pinggy will provide a public URL (e.g., https://your-app.pinggy.link). Open it in your browser to access your Svelte app remotely.

Step 3: Customize Your Pinggy Tunnel
Pinggy offers advanced customization options to improve functionality and security.
Custom Domains
- You can use a personalized or branded domain name for your tunnel instead of the default Pinggy-generated link.
- This is especially useful for professional deployments, making links memorable and aligned with your branding.
Password Protection
- Add an extra layer of security by setting up password protection for your tunnel.
- Only those with the password can access your app, keeping it secure from unauthorized users.
To learn more about these features, refer to Pinggy’s official documentation.
Benefits of Hosting Svelte Apps with Pinggy
- No Server Setup: Share without provisioning a full server.
- Quick & Secure: Instant tunnels with SSH encryption.
- Perfect for Collaboration: Ideal for feedback, testing, or showcasing work.
Troubleshooting
Port Conflict
- Symptom: Tunnel fails due to port issues.
- Fix: Ensure Svelte runs on port
5173, or adjust -R0:localhost:<your_port>.
SSH Blocked
- Symptom: Connection refused or timeout.
- Fix: Allow outbound port
443 or switch networks.
Command Not Found
- Symptom:
ssh: command not found. - Fix: Install OpenSSH (Windows) or verify SSH (macOS/Linux).
Conclusion
Using Pinggy to share your Svelte app lets you skip complex deployments while keeping your work secure via SSH tunneling. With a few commands, your local app becomes globally accessible—perfect for demos, reviews, or testing. When it’s time for production, Svelte’s lightweight output pairs seamlessly with platforms like
Vercel or
Netlify.