Hosting your
Next.js app on the internet securely without deploying to a full server is easy with Pinggy. This guide will show you how to run your Next.js application locally and expose it publicly via a secure SSH tunnel in minutes.
Summary
- Run Next.js App
- Create and set up your Next.js app:
npx create-next-app@latest my-app
cd my-app
npm run dev
- Create a Tunnel with Pinggy
- Start SSH tunnel:
ssh -p 443 -R0:localhost:3000 a.pinggy.io
- Access your Next.js app via the provided Pinggy public URL (e.g.,
https://your-app.pinggy.link).
What Is Next.js?
Next.js is an open‑source React framework created by
Vercel that streamlines building production‑ready web applications. Out of the box it provides:
- Static Site Generation (SSG) for lightning‑fast, SEO‑friendly pages
- Server‑Side Rendering (SSR) to deliver dynamic content on request
- Incremental Static Regeneration (ISR) to update static content without redeploying
- Built‑in Routing & API Routes - no extra server configuration required
- Automatic Code Splitting & Optimization for smaller bundles and faster load times
- Image & Font Optimization, Internationalization (i18n), and Analytics integrations
Whether you’re prototyping a landing page, building a full e‑commerce storefront, or developing a complex dashboard, Next.js accelerates development while enforcing best practices.
Sharing Your Local Next.js App
When developing a
Next.js application, you can run it on your local machine (localhost), but there’s a common challenge: others cannot access your local development server. This limitation exists because of network constraints like
CGNAT (Carrier-Grade NAT), firewalls, and standard NAT configurations that prevent direct incoming connections to your device.
Traditional solutions involve deploying your app to cloud services, but this approach is often:
- Time-consuming, requiring configuration and build processes
- Expensive, especially for temporary sharing needs
- Overkill for simple demos or quick feedback sessions
Using Pinggy, you can create a secure tunnel that instantly makes your locally-hosted
Next.js application accessible to anyone on the internet no complex configuration or cloud deployments required.
Prerequisites
- Node.js and npm: Installed on your system. You can download it from
Node.js official website.
- SSH client (macOS/Linux built‑in; Windows via Git Bash or OpenSSH)
- Pinggy account (Optional): if you wish to use custom domains or other advanced features.
- Basic Terminal Knowledge: Familiarity with running commands.
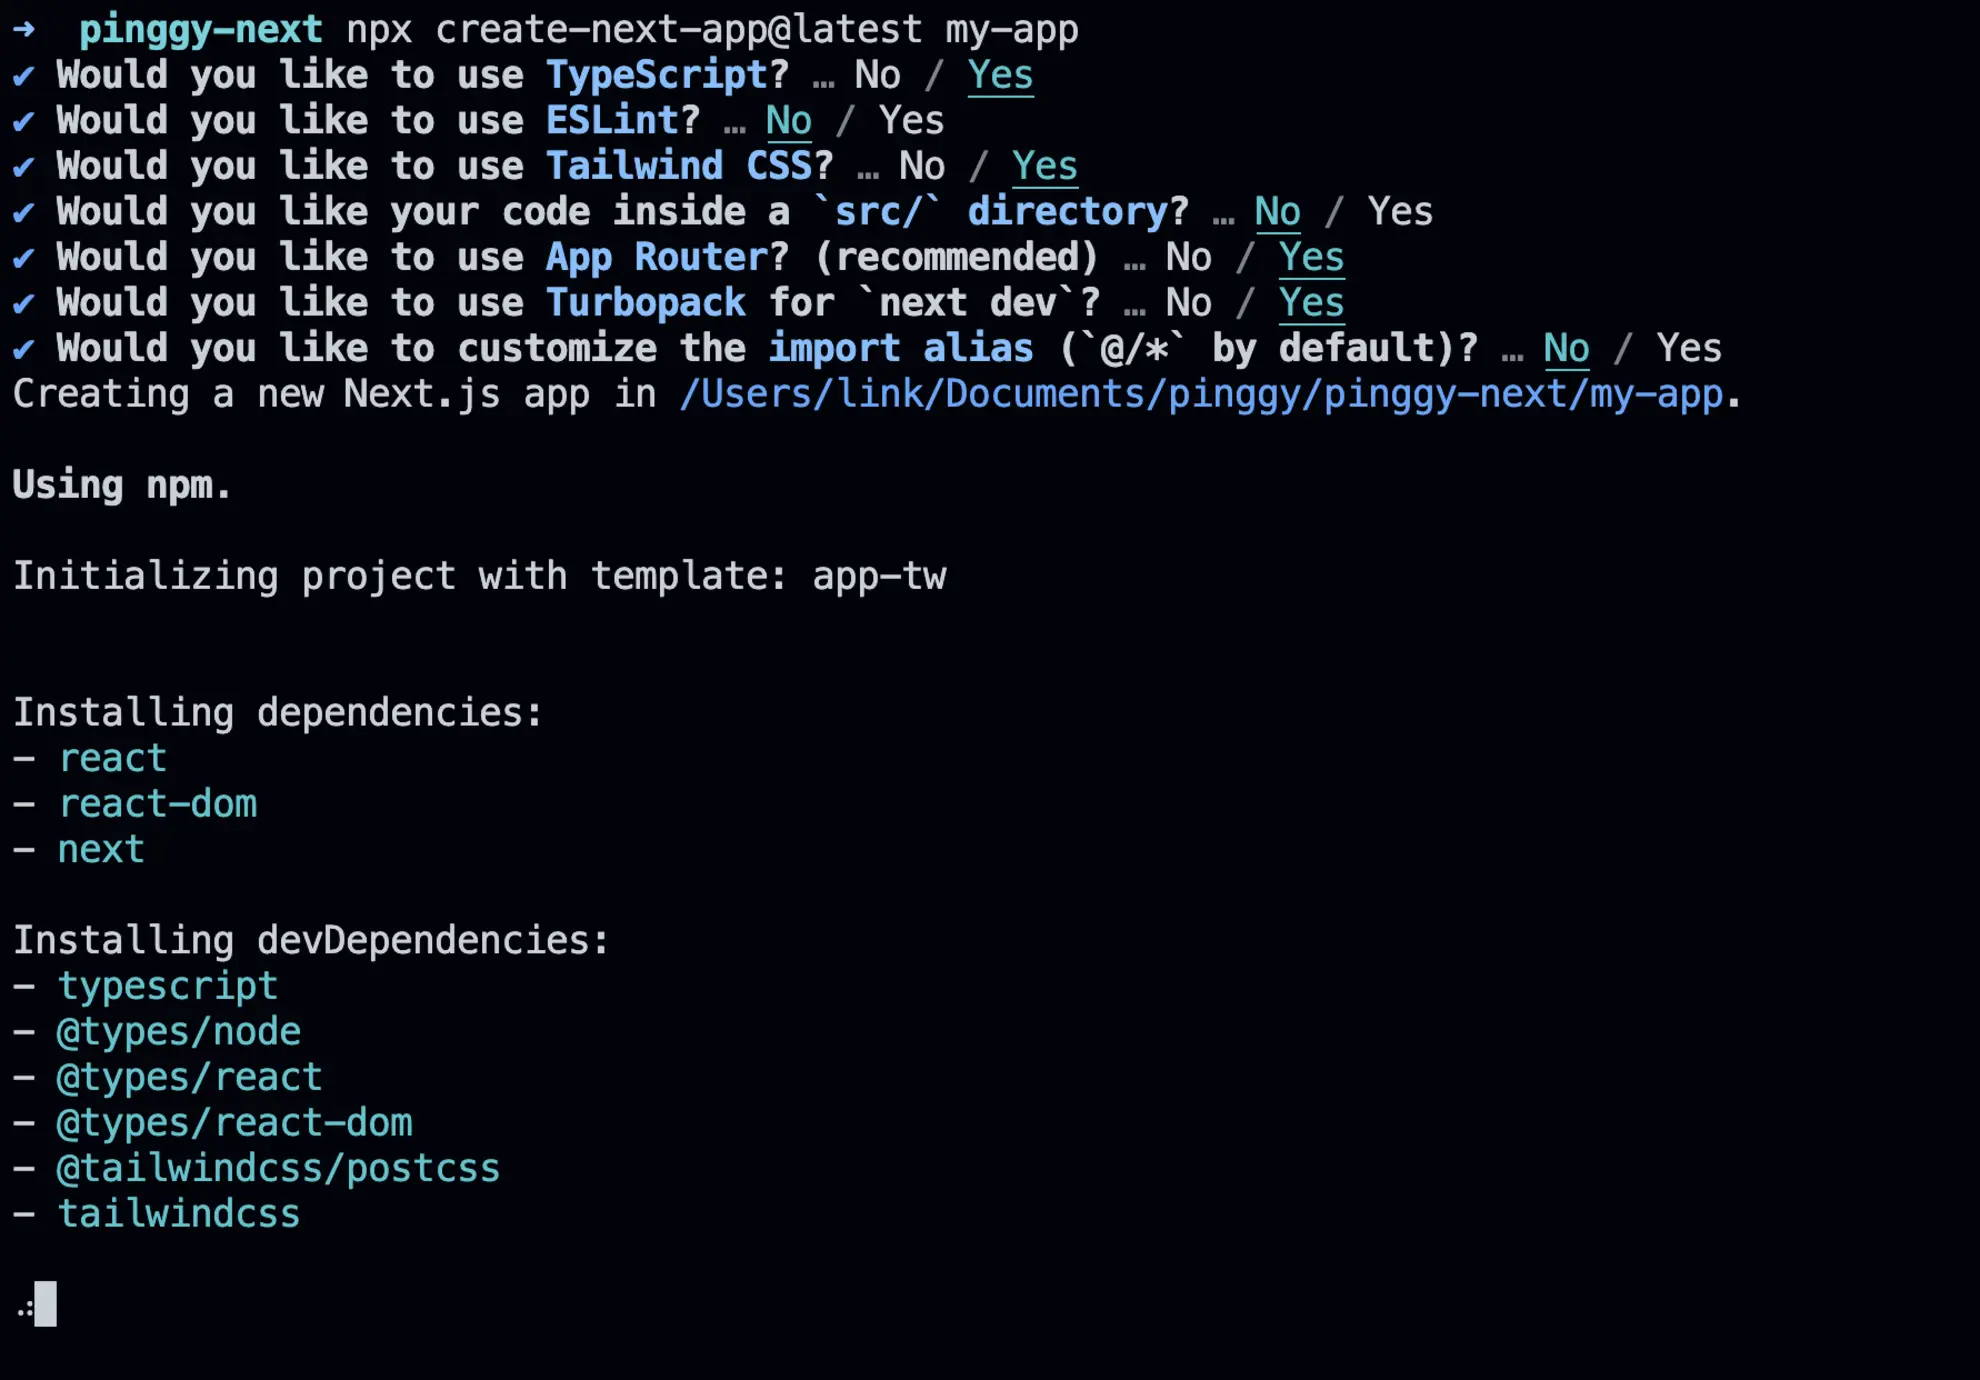
Step 1: Create & Run Your Next.js App
npx create-next-app@latest my-app
cd my-app
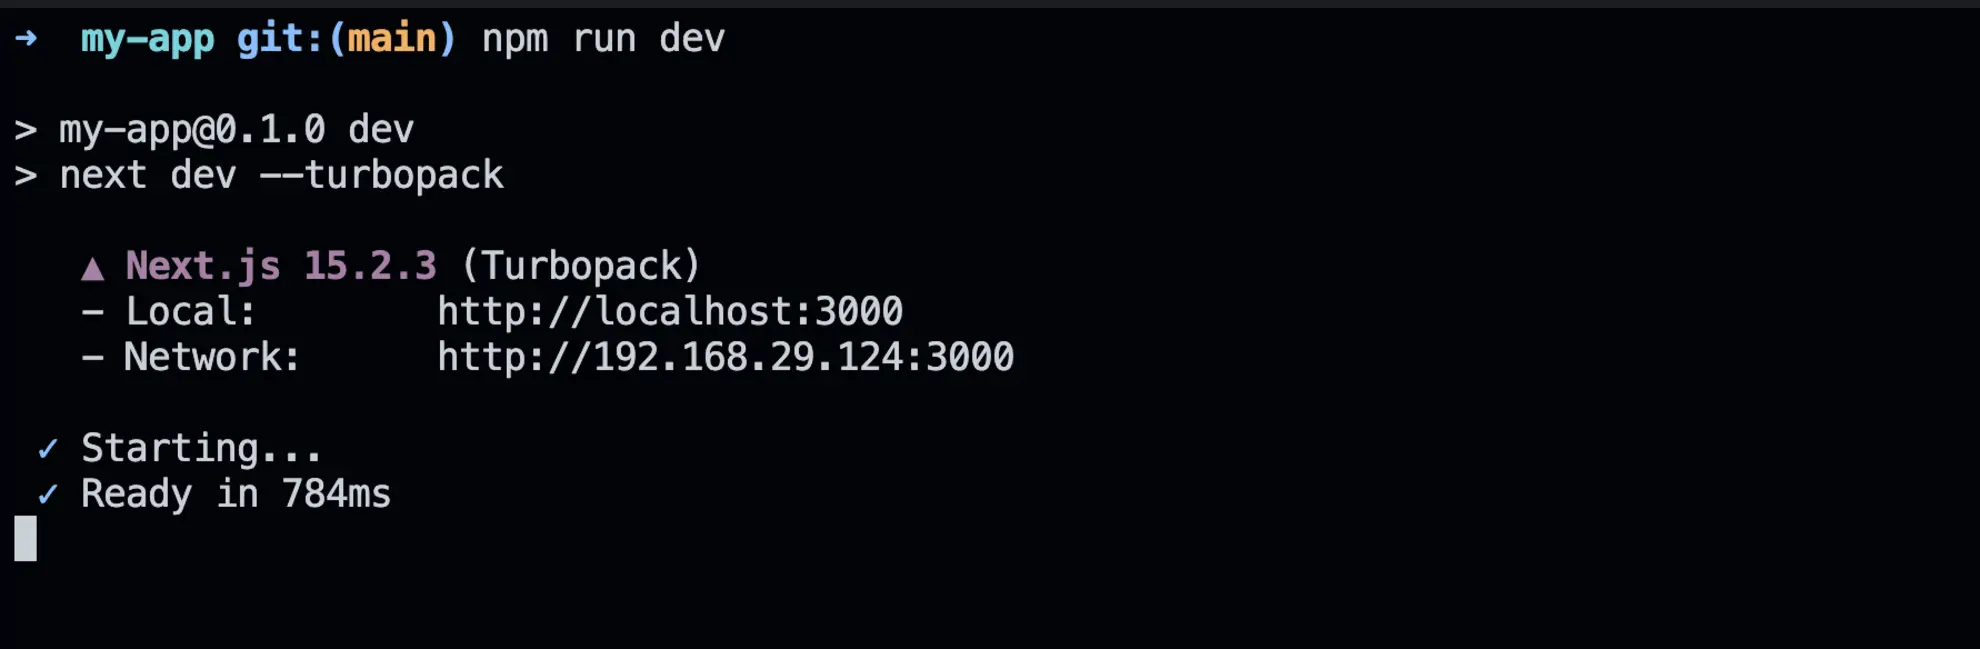
npm run dev
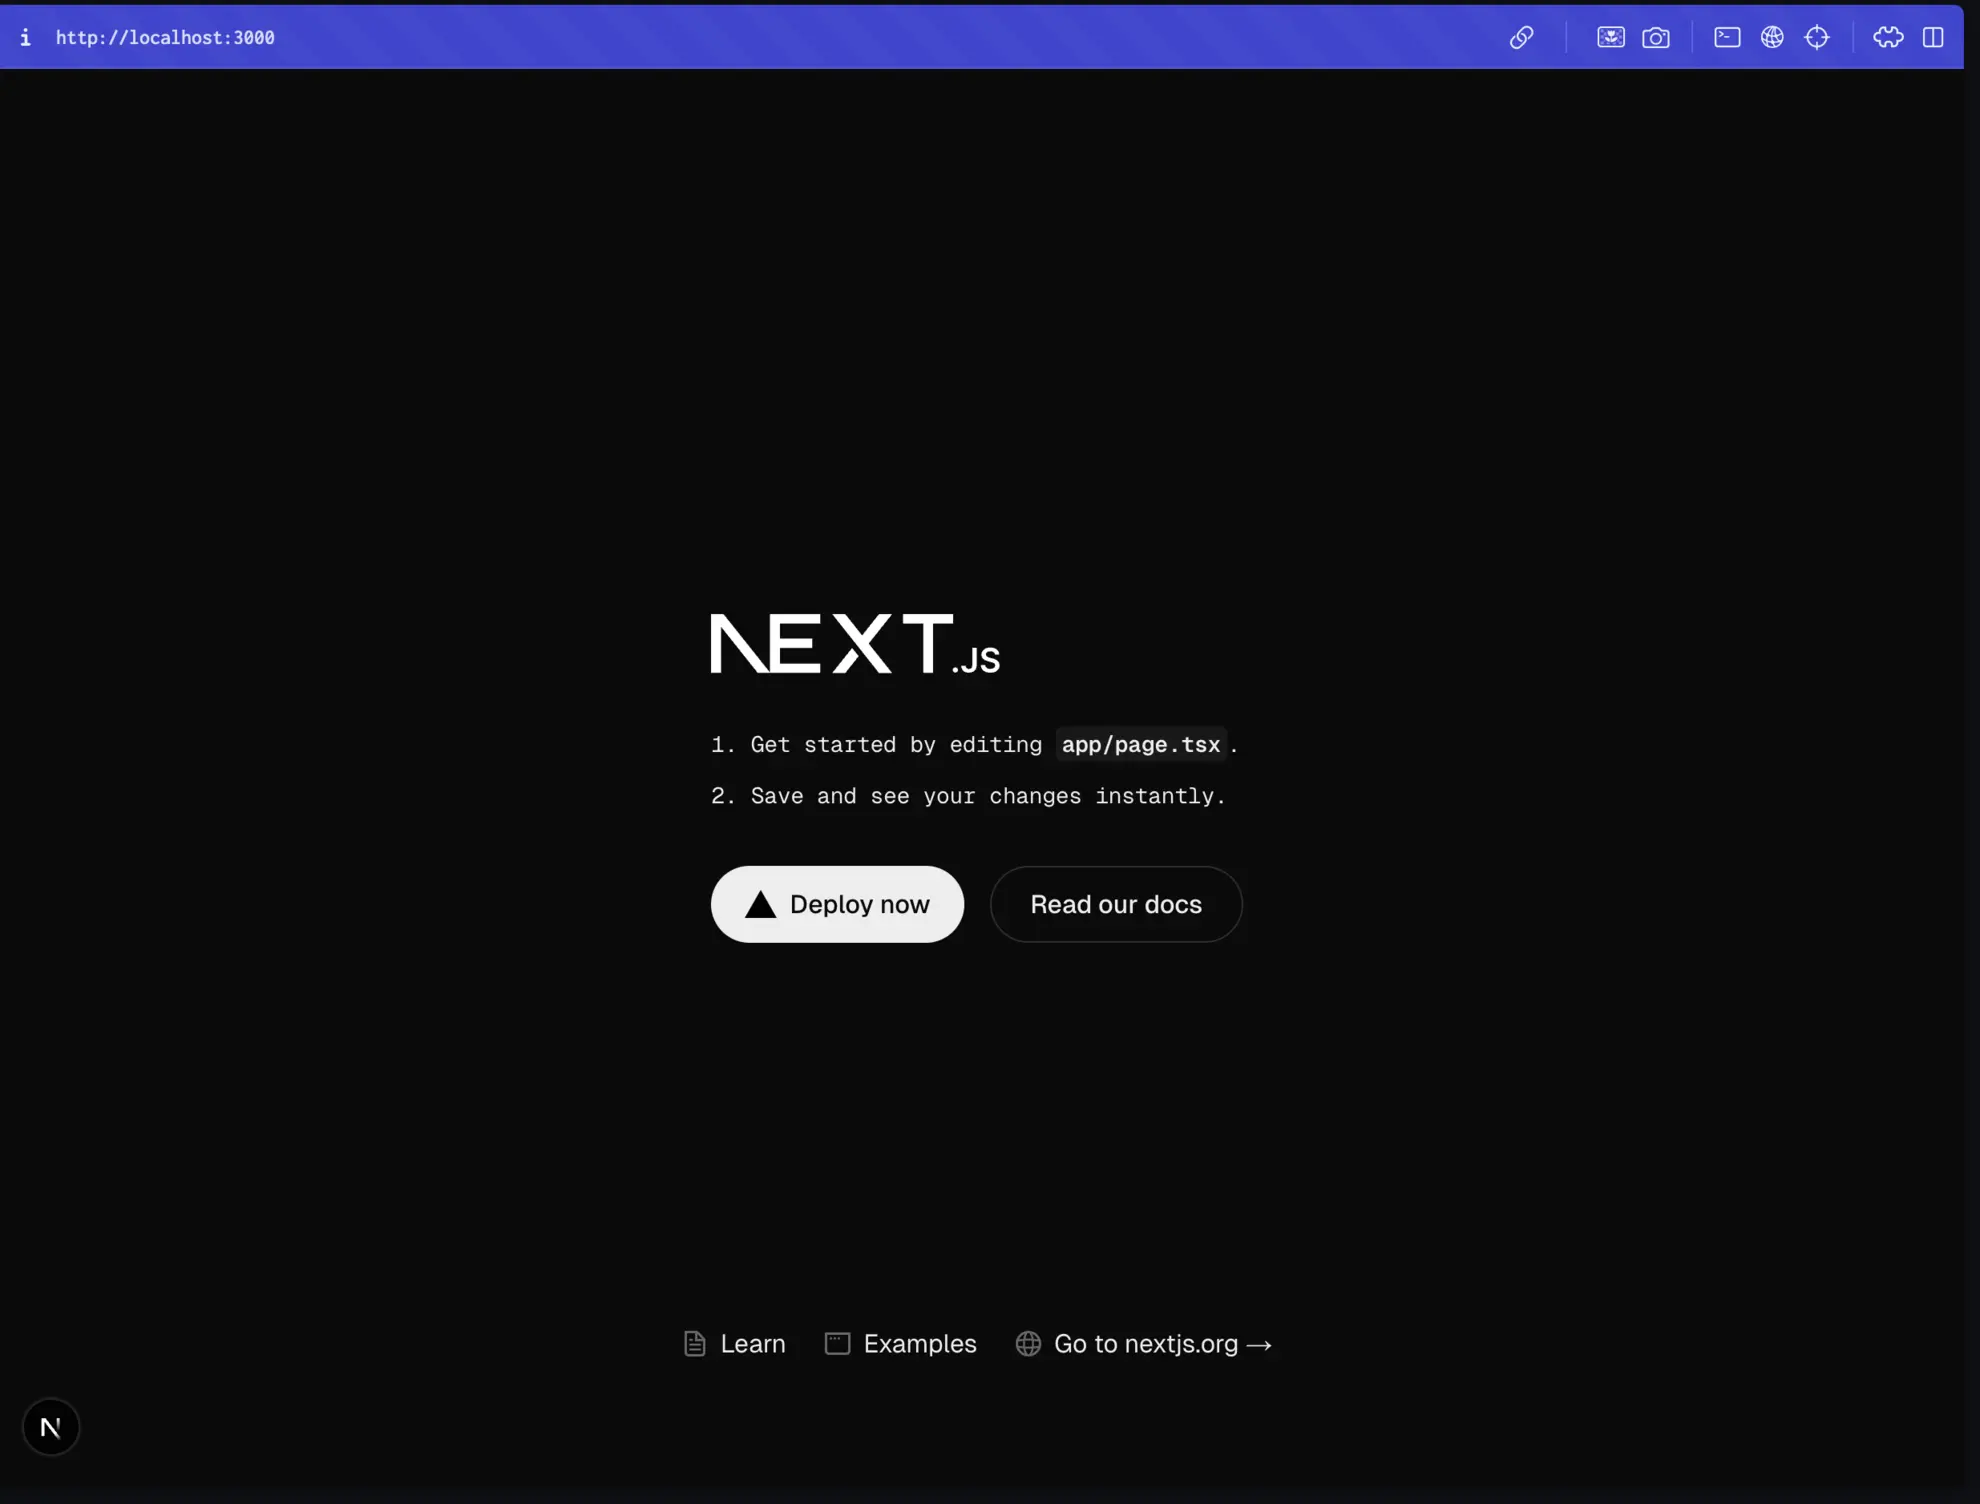
Visit http://localhost:3000 to confirm your app is live locally.
Step 2: Expose Your App via Pinggy
Open a new terminal window and run:
ssh -p 443 -R0:localhost:3000 a.pinggy.io
Command Breakdown:
ssh -p 443: Establishes a secure connection to Pinggy’s server.-R0:localhost:3000: Maps your local Nuxt.js app (running on port 3000) to Pinggy’s public URL.a.pinggy.io: Specifies the Pinggy server.

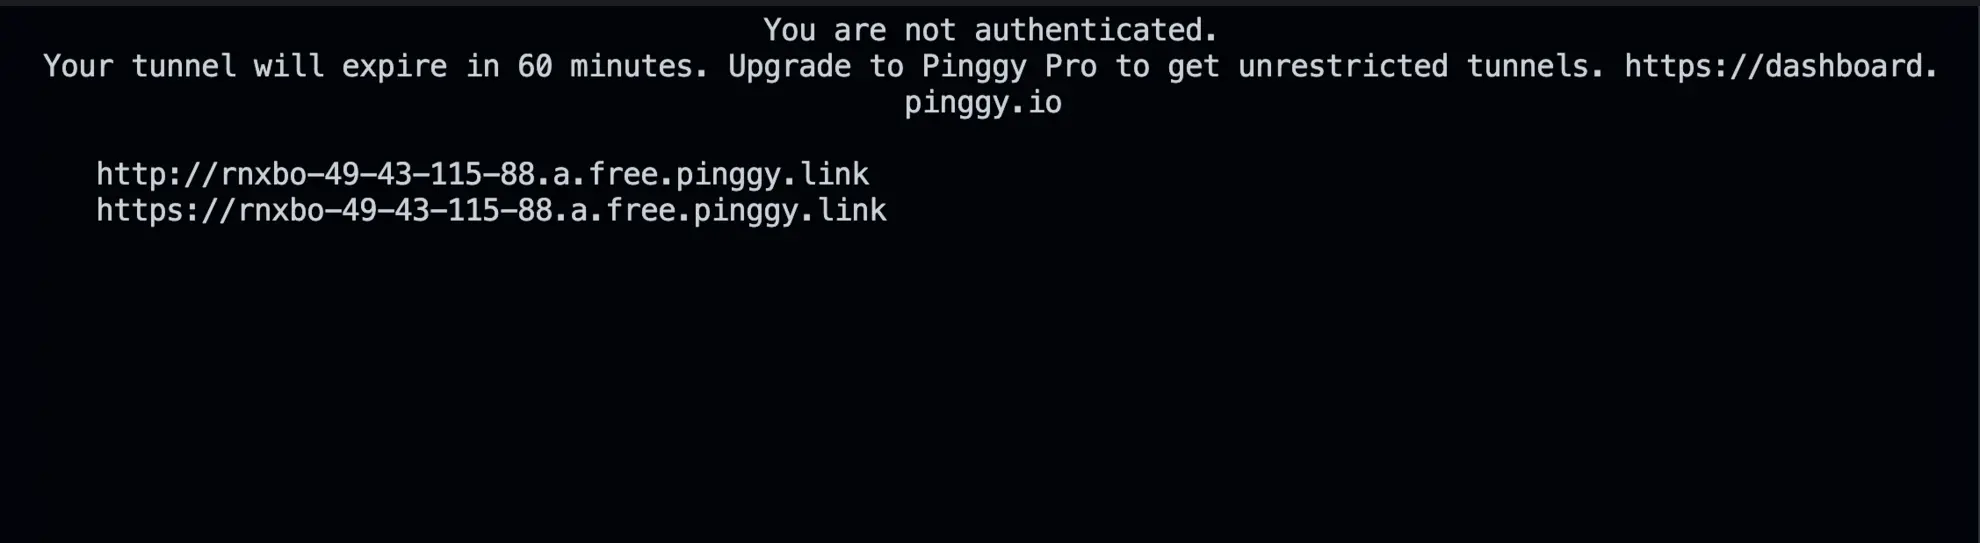
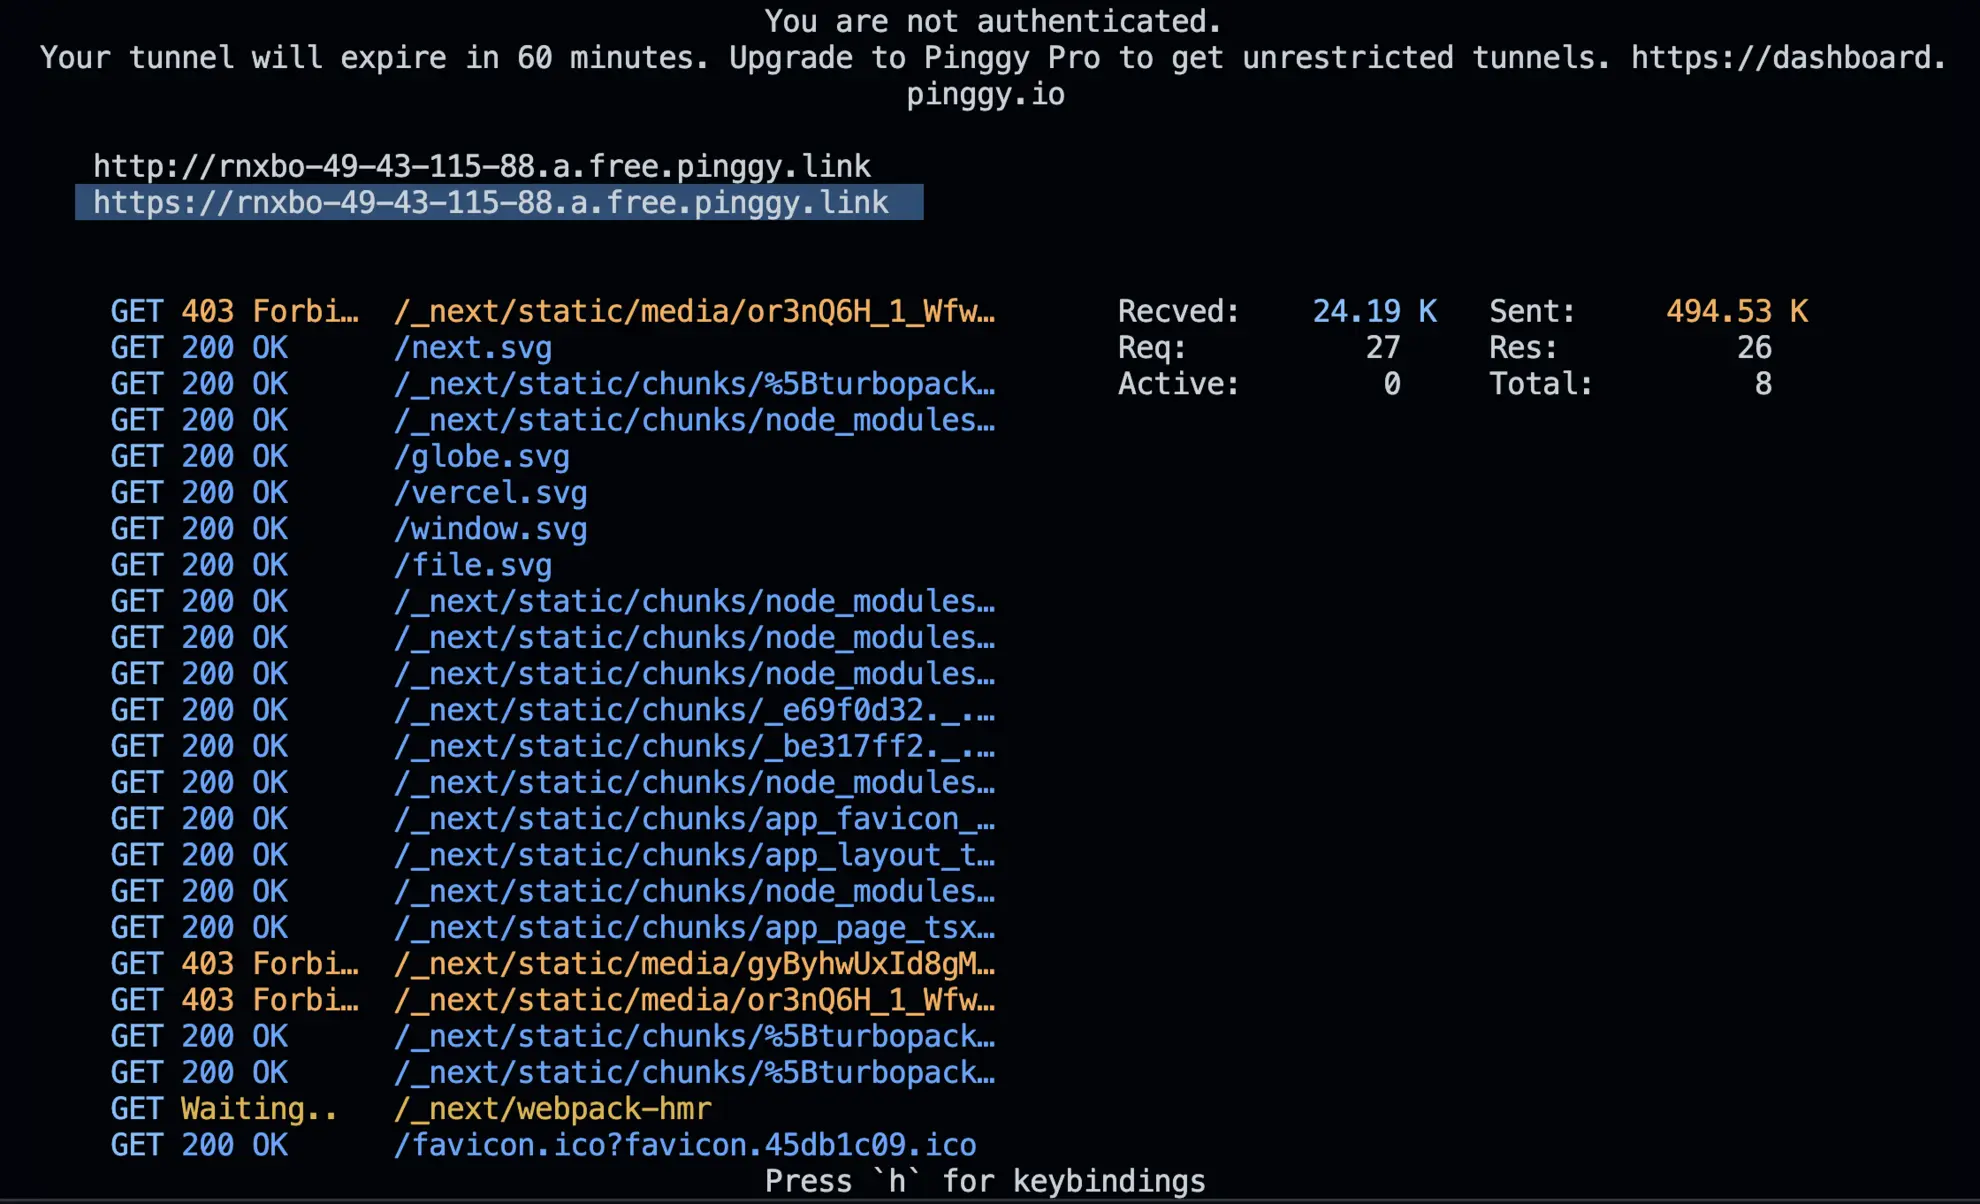
Pinggy will output a secure public URL (e.g., https://your-app.pinggy.link). Paste that URL in your browser - your Next.js app is now accessible from anywhere.

Step 3: Customize Your Pinggy Tunnel
Pinggy offers advanced customization options to improve functionality and security.
Custom Domains
- You can use a personalized or branded domain name for your tunnel instead of the default Pinggy-generated link.
- This is especially useful for professional deployments, making links memorable and aligned with your branding.
Password Protection
- Add an extra layer of security by setting up password protection for your tunnel.
- Only those with the password can access your app, keeping it secure from unauthorized users.
To learn more about these features, refer to Pinggy’s official documentation.
Benefits of Hosting Next.js Apps with Pinggy
- No Server Required: Simplify hosting by eliminating the need for a traditional server.
- Fast and Secure: Establish secure connections instantly.
- Ideal for Testing and Demos: Share your app with clients or team members during development.
Troubleshooting
- Port Conflict
- Symptom: Tunnel fails because port is already in use.
- Fix: Confirm your
Next.js dev server is running on port 3000 (or update
-R0:localhost:<your_port> to match).
- SSH Blocked by Firewall
- Symptom: Connection times out or is refused.
- Fix: Temporarily whitelist outbound port 443 in your firewall settings or switch to a less restrictive network.
- “Command Not Found” Error
- Symptom: Terminal returns “ssh: command not found.”
- Fix:
- macOS/Linux: SSH is pre‑installed.
- Windows: Install OpenSSH via Settings → Apps → Optional Features, or use Git Bash.
Conclusion
Hosting a
Next.js app with Pinggy empowers you to bypass traditional infrastructure overhead while maintaining enterprise‑grade security via SSH. In just three commands, you transform a local development server into a publicly accessible, shareable demo environment - ideal for stakeholder reviews, client feedback, or remote testing. When you’re ready for production, migrating to a managed platform (Vercel, Netlify, or AWS Amplify) is seamless thanks to Next.js’s deployment‑ready optimizations.