Self-hosting large language models has become increasingly popular as developers and organizations seek greater control over their AI infrastructure. Running models like Llama 3, Mistral, or Gemma on your own hardware gives you complete privacy, eliminates API costs, and lets you customize everything to your exact needs. The best part is that modern tools make this process surprisingly straightforward, even if you’re not a DevOps expert.
This comprehensive guide will walk you through setting up your own LLM hosting environment using
Ollama and
Open WebUI with Docker. You’ll have a ChatGPT-like interface running locally within minutes, and we’ll even show you how to share it securely outside your network when needed.
Summary
Install Docker
- Get Docker Desktop from docker.com
- Ensure Docker is running before proceeding (green whale icon in system tray)
- Verify installation:
docker --version
Run Ollama in Docker
docker run -d -v ollama:/root/.ollama -p 11434:11434 --name ollama ollama/ollama
- What this does: Creates persistent storage, exposes API on port
11434 - Verify: Check with
docker ps to see “ollama” container running
Download an LLM Model
# Pull a model into the Ollama container
docker exec -it ollama ollama pull llama3.2:3b
# Or try a more capable model
docker exec -it ollama ollama pull llama3.1:8b
- Model sizes: 3B (~2GB), 8B (~4.7GB), 70B (~40GB)
Getting a Chat interface using Open WebUI
docker run -d -p 3000:8080 --add-host=host.docker.internal:host-gateway -v open-webui:/app/backend/data --name open-webui --restart always ghcr.io/open-webui/open-webui:main
Access Your Self-Hosted LLM
- Open
http://localhost:3000 in your browser - First time: Create admin account (username/password of your choice)
- Model selection: Choose from dropdown in top-right corner
Why Self-Host Your LLMs?
Complete Control and Privacy
When you self-host language models, your data never leaves your infrastructure. This is crucial for businesses handling sensitive information, developers working on proprietary projects, or anyone who values privacy. Unlike cloud-based AI services, you control every aspect of the deployment, from model selection to data retention policies.
Cost Effectiveness at Scale
While cloud AI APIs seem affordable for small projects, costs can quickly spiral as usage grows. Self-hosting eliminates per-token charges and API rate limits. Once you’ve invested in the hardware, you can run unlimited queries without worrying about mounting bills. For teams or applications with heavy AI usage, the savings can be substantial.
Customization and Flexibility
Self-hosted setups allow you to fine-tune models for your specific use cases, experiment with different model configurations, and integrate AI capabilities directly into your applications without external dependencies. You can also run multiple models simultaneously and switch between them based on your needs.
Prerequisites and System Requirements
Hardware Considerations
The hardware requirements for self-hosting LLMs vary significantly based on the models you want to run. Smaller models like Llama 3.2 3B can run comfortably on systems with 8GB of RAM, while larger models like Llama 3.1 70B require 40GB or more. Most modern computers can handle smaller models perfectly fine, and you can always start small and upgrade later.
For optimal performance, having a dedicated GPU helps significantly, but it’s not strictly necessary. Ollama works well with both CPU and GPU setups, automatically detecting and utilizing available hardware. If you’re just getting started, don’t worry about having the perfect setup – you can experiment with smaller models and see how they perform on your current hardware.
Software Prerequisites
You’ll need Docker installed on your system, which will handle both Ollama and Open WebUI containers. Make sure you have a terminal or command prompt available, as we’ll be using command-line tools throughout this guide. The beauty of this containerized approach is that you don’t need to install Ollama directly on your system – everything runs in isolated Docker containers.
Step 1: Setting Up Docker
Installing Docker Desktop
Docker Desktop provides the easiest way to run containerized applications on your local machine. Visit
docker.com and download Docker Desktop for your operating system. The installation file is typically 400-500MB and requires administrator privileges to install.
System Requirements:
- Windows: Windows 10 64-bit Pro, Enterprise, or Education (Build 19041 or higher), or Windows 11
- macOS: macOS 10.15 or newer (Intel or Apple Silicon)
- Linux: 64-bit kernel and KVM virtualization support
The installation process is straightforward – just follow the installer prompts and restart your computer if prompted. On Windows, you may need to enable WSL 2 (Windows Subsystem for Linux) if it’s not already enabled. The installer will guide you through this process.
After installation, launch Docker Desktop and wait for it to fully start up. The initial startup can take 2-3 minutes as Docker initializes its services. You’ll know it’s ready when the Docker icon in your system tray shows a green status with “Docker Desktop is running” tooltip.
Configuring Docker Resources
Before proceeding, it’s important to allocate sufficient resources to Docker. Open Docker Desktop settings and navigate to the “Resources” section. For running LLMs, recommend allocating:
- Memory: At least 8GB (12GB+ for larger models)
- CPU: 4+ cores for better performance
- Disk Space: 50GB+ for models and container images
Confirming Docker is Running
Before proceeding, verify that Docker is working correctly by opening a terminal and running docker --version. You should see version information like “Docker version 24.0.x”. Also run docker info to confirm the Docker daemon is running properly. If Docker Desktop is running but you’re getting “command not found” errors, try restarting your terminal or logging out and back in to refresh your environment variables.
Step 2: Running Ollama in Docker
Setting Up the Ollama Container
Instead of installing Ollama directly on your system, we’ll run it inside a Docker container. This approach keeps everything isolated and makes management much easier. The official Ollama Docker image is approximately 1.5GB and handles all the complexity of running language models.
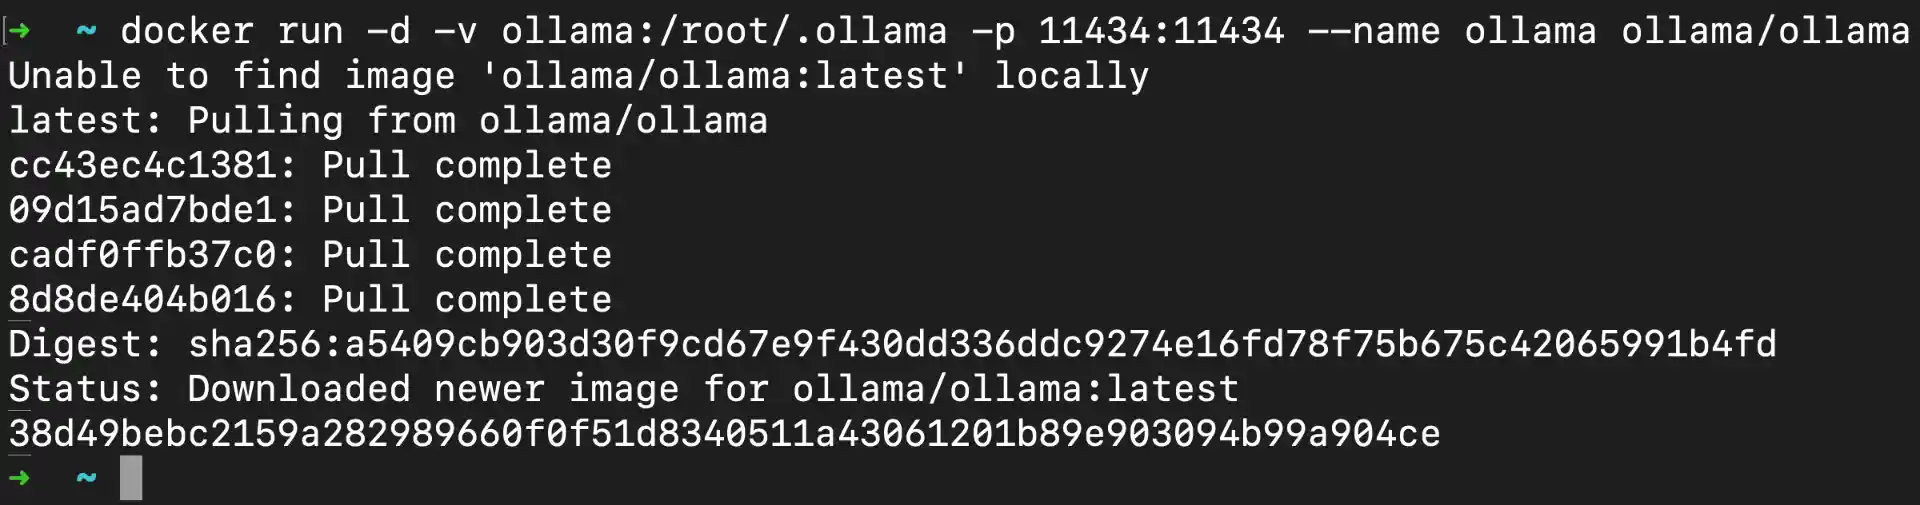
Run the following command to start the Ollama container:
docker run -d -v ollama:/root/.ollama -p 11434:11434 --name ollama ollama/ollama
Command Breakdown:
-d: Runs container in detached mode (background)-v ollama:/root/.ollama: Creates named volume “ollama” for persistent model storage-p 11434:11434: Maps host port 11434 to container port 11434 (Ollama API)--name ollama: Assigns container name “ollama” for easy referenceollama/ollama: Official Ollama Docker image from Docker Hub
What happens during startup:
- Docker downloads the Ollama image (first time only, ~1.5GB)
- Container starts and initializes Ollama service (~30-60 seconds)
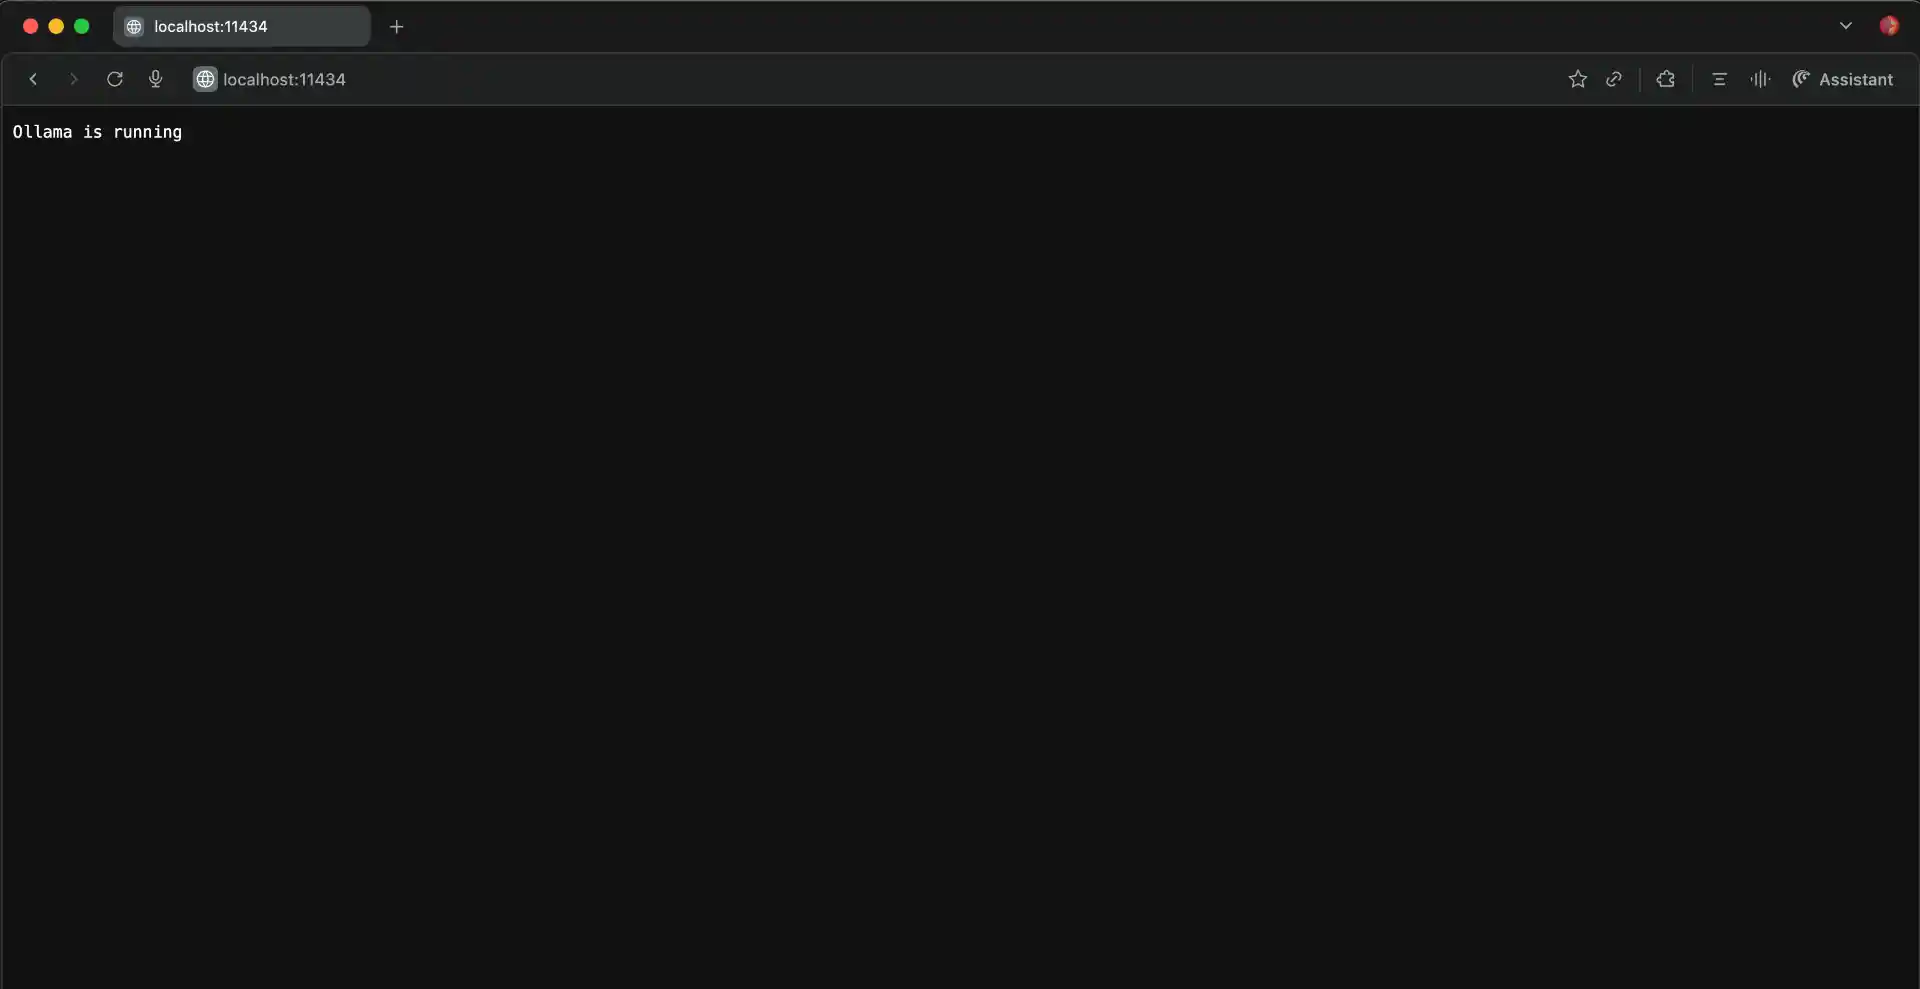
- API becomes available on
http://localhost:11434 - Volume is created for persistent model storage
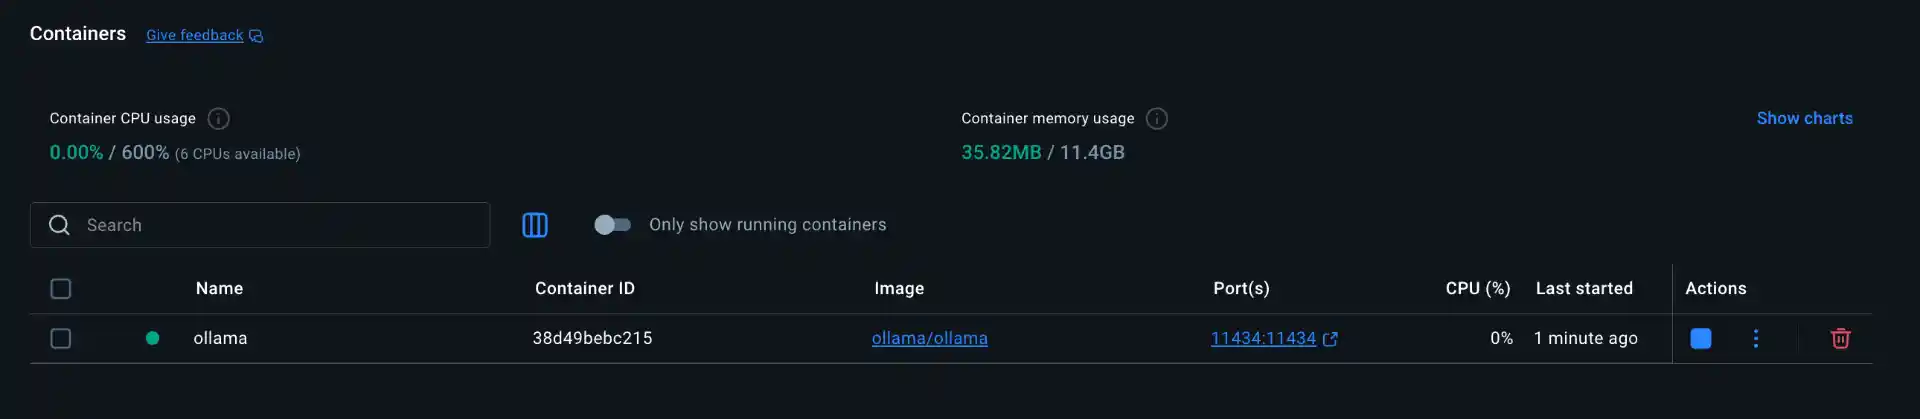
Verifying the Ollama Container
You can check that the Ollama container is running properly by using docker ps to see active containers. You should see output similar to:
CONTAINER ID   IMAGE           COMMAND               STATUS          PORTS                      NAMES
abc123def456   ollama/ollama   "/bin/ollama serve"   Up 2 minutes    0.0.0.0:11434->11434/tcp   ollama
Additional verification commands:
docker logs ollama: View container startup logscurl http://localhost:11434/api/tags: Test API connectivity (should return empty model list initially)docker exec -it ollama ollama --version: Check Ollama version inside container
Step 3: Downloading Your First LLM Model
Choosing the Right Model
Ollama supports dozens of popular open-source models, each with different capabilities and resource requirements. Here’s a breakdown of popular models and their specifications:
Recommended Starting Models:
- Llama 3.2 3B (~2GB): Great for beginners, handles basic tasks, runs on 8GB RAM systems
- Llama 3.1 8B (~4.7GB): Better performance, good for most tasks, needs 12GB+ RAM
- Mistral 7B (~4.1GB): Excellent reasoning, multilingual support
- CodeLlama 7B (~3.8GB): Specialized for programming tasks
Downloading Models into the Container
Since Ollama is running inside a Docker container, you’ll need to use Docker commands to interact with it. To download a model, you’ll execute commands inside the running Ollama container.
Note: You can explore the full list of available models here:
Ollama Model Library
Download your first model:
docker exec -it ollama ollama pull gemma3:270m
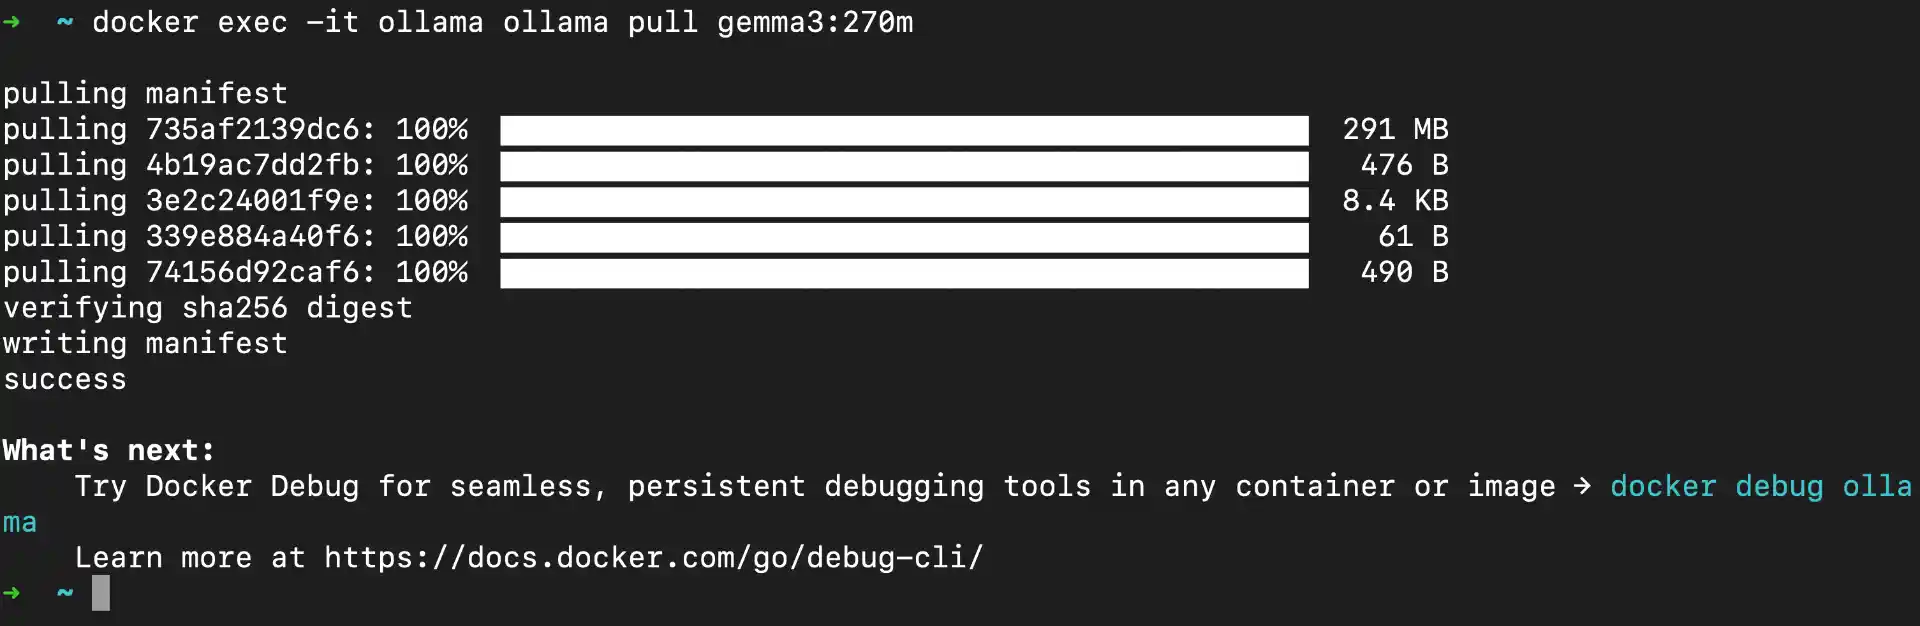
What happens during download:
- Ollama connects to Hugging Face model repository
- Downloads model files in chunks (shows progress bar)
- Verifies file integrity and extracts model
- Model becomes available immediately after download
Step 4: Setting Up Open WebUI with Docker
Understanding Open WebUI
Open WebUI provides a modern, ChatGPT-like interface for interacting with your containerized models. Instead of using command-line interactions, you get a clean web interface with features like conversation history, model switching, document uploads, and even image generation capabilities with compatible models. It’s designed to work seamlessly with Ollama and provides a much more user-friendly experience.
Since both Ollama and Open WebUI run in separate Docker containers, they communicate through Docker’s internal networking. This containerized approach keeps everything organized and makes it easy to manage, update, or troubleshoot each component independently.
Running the Open WebUI Container
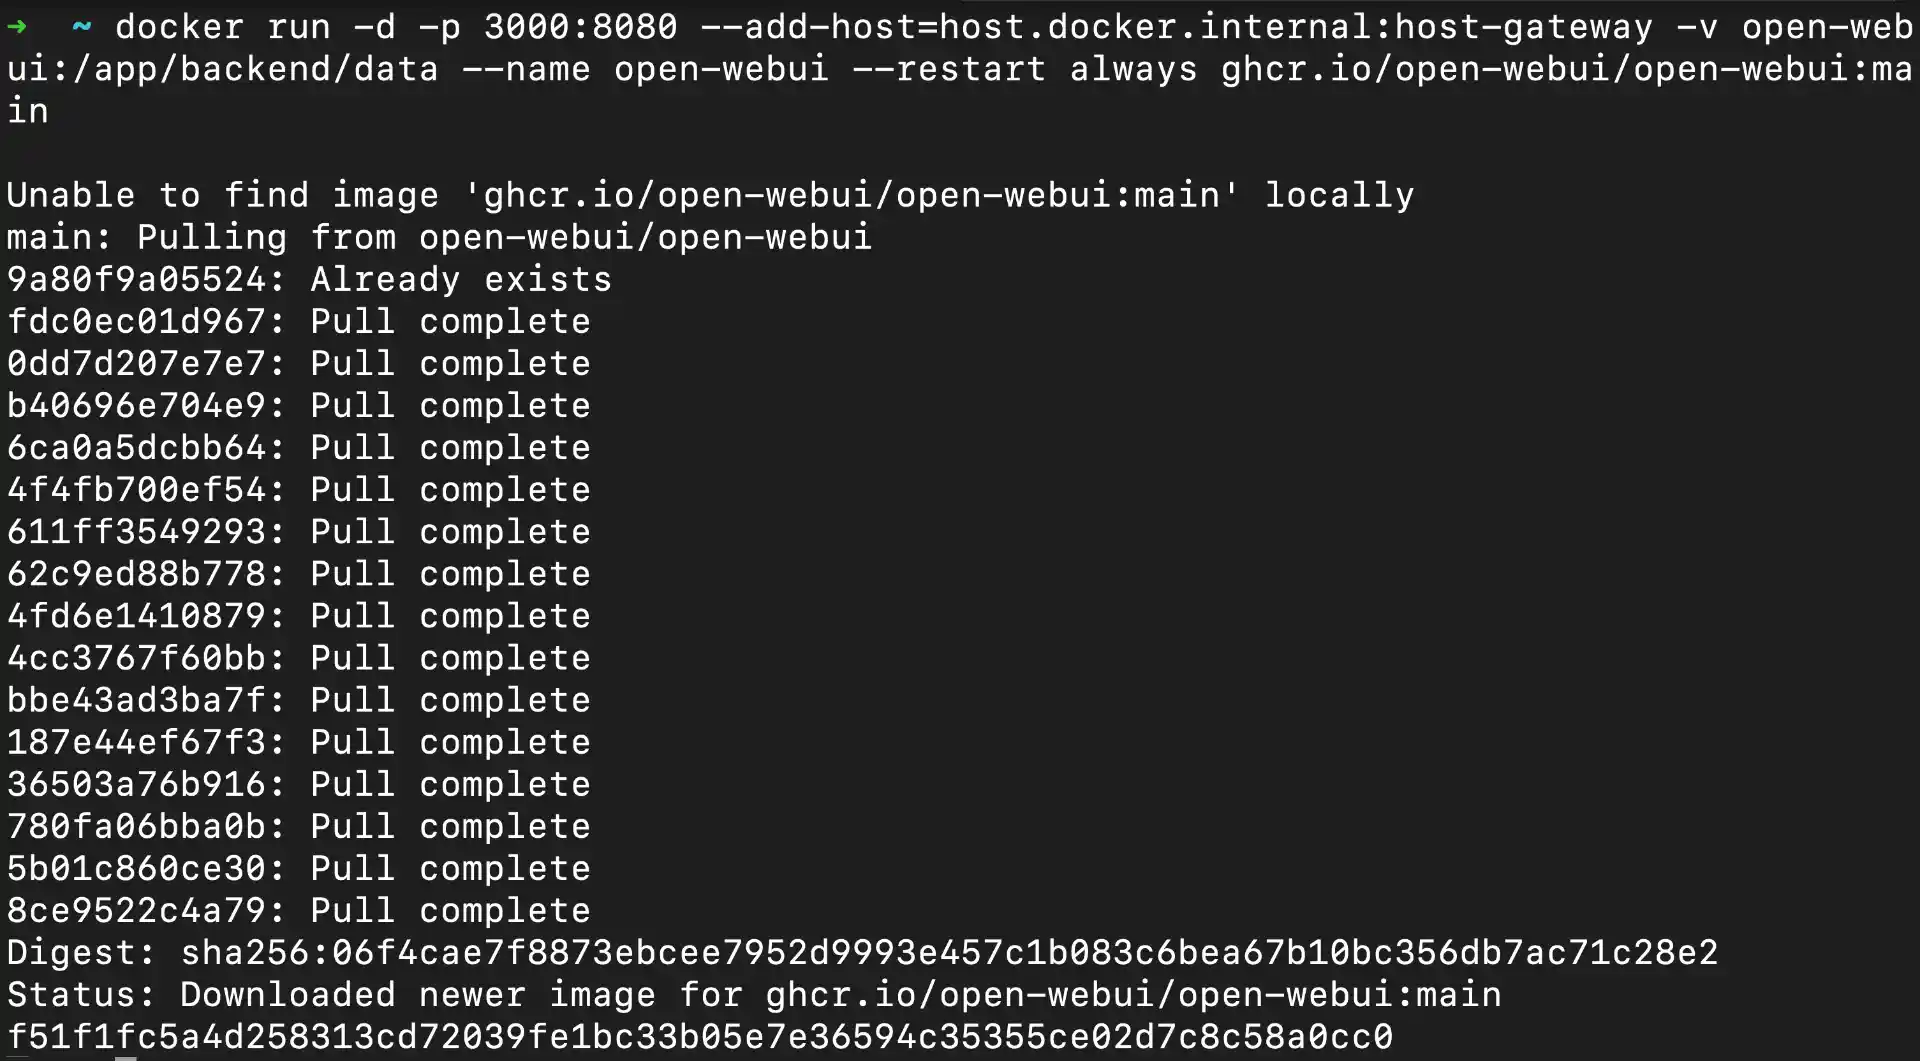
Setting up Open WebUI requires just one Docker command, but it’s a bit lengthy due to all the configuration options. The Open WebUI image is approximately 1.2GB and includes a complete web application with chat interface, user management, and model integration.
docker run -d -p 3000:8080 --add-host=host.docker.internal:host-gateway -v open-webui:/app/backend/data --name open-webui --restart always ghcr.io/open-webui/open-webui:main
Detailed Command Breakdown:
-d: Run container in detached mode (background)-p 3000:8080: Map host port 3000 to container port 8080 (web interface)--add-host=host.docker.internal:host-gateway: Enable container to reach host services (Ollama)-v open-webui:/app/backend/data: Persistent storage for user data, chat history, settings--name open-webui: Container name for easy reference--restart always: Auto-restart container on system rebootghcr.io/open-webui/open-webui:main: Official Open WebUI image from GitHub Container Registry
Container startup process:
- Docker downloads Open WebUI image (first time only, ~1.2GB)
- Container initializes web server and database (~30-45 seconds)
- Web interface becomes available at
http://localhost:3000 - Automatic connection attempt to Ollama API on port 11434
Verification steps:
# Check container status
docker ps

# View startup logs
docker logs open-webui

# Test web interface accessibility
curl http://localhost:3000
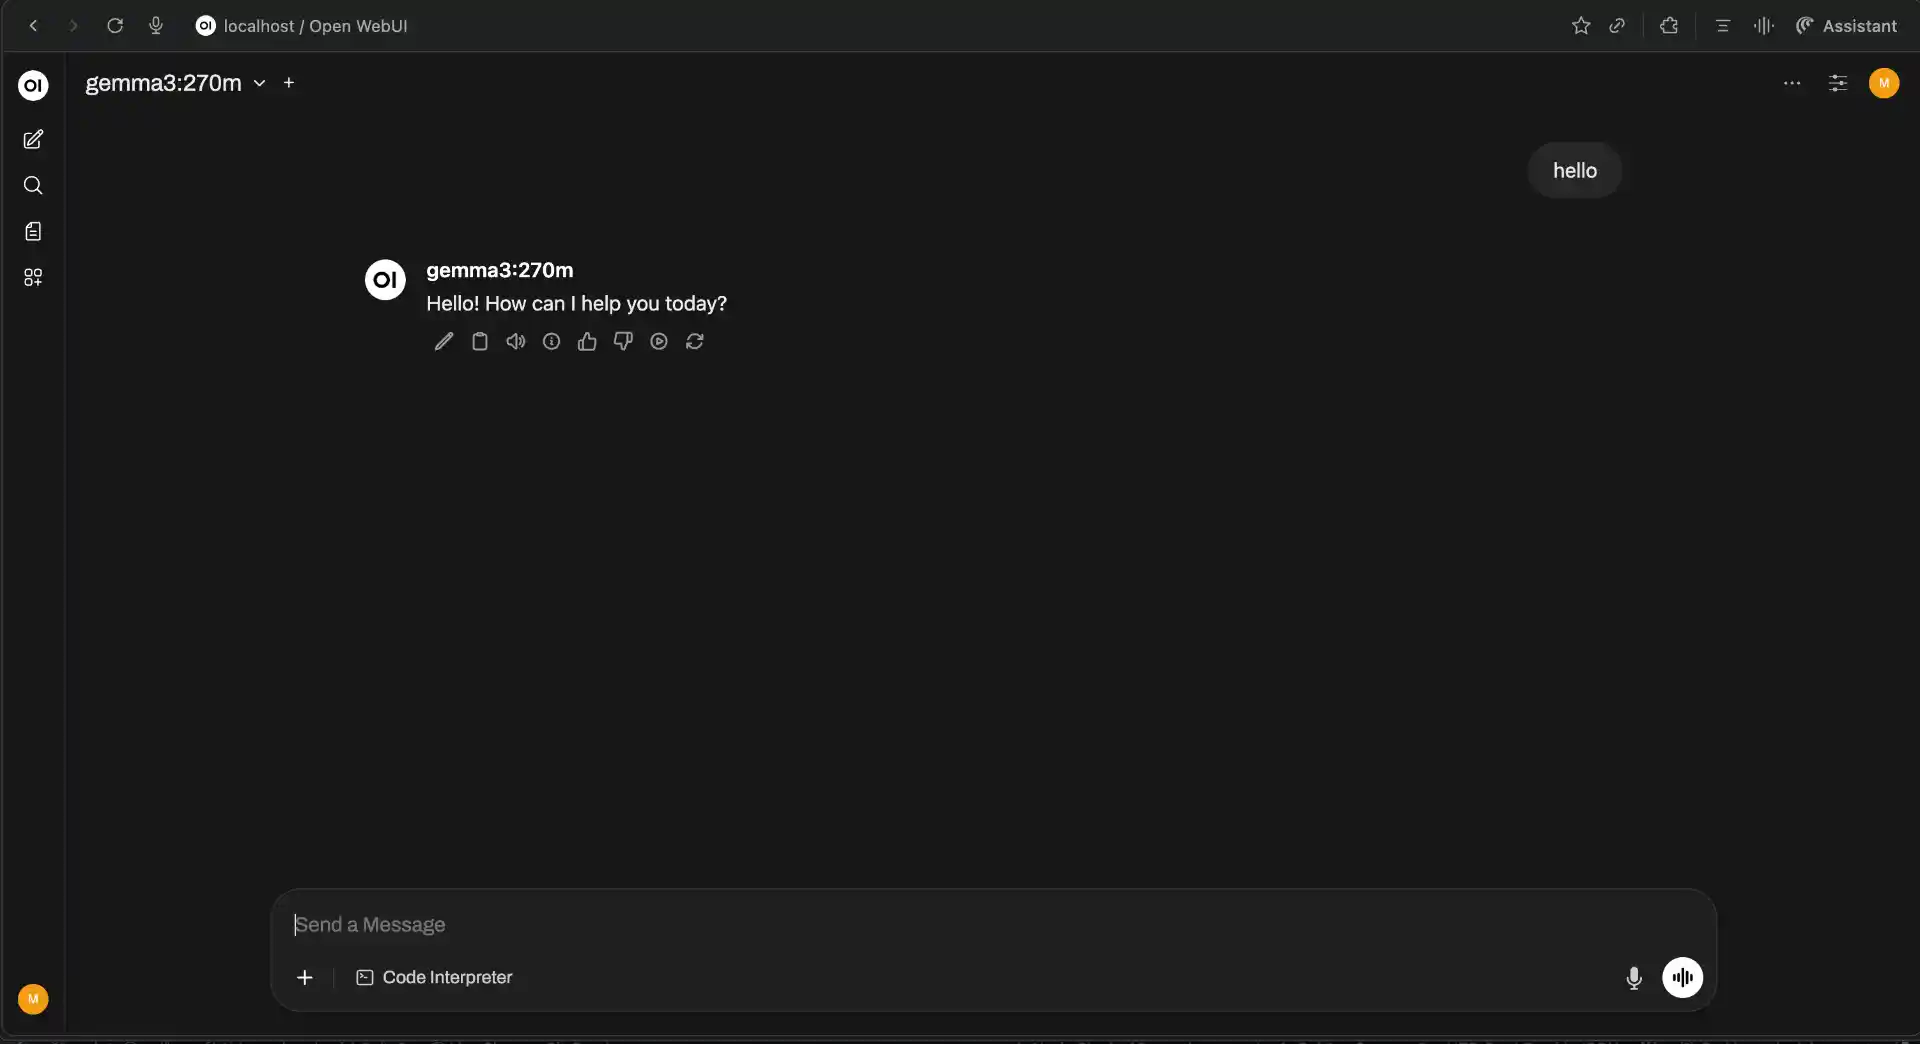
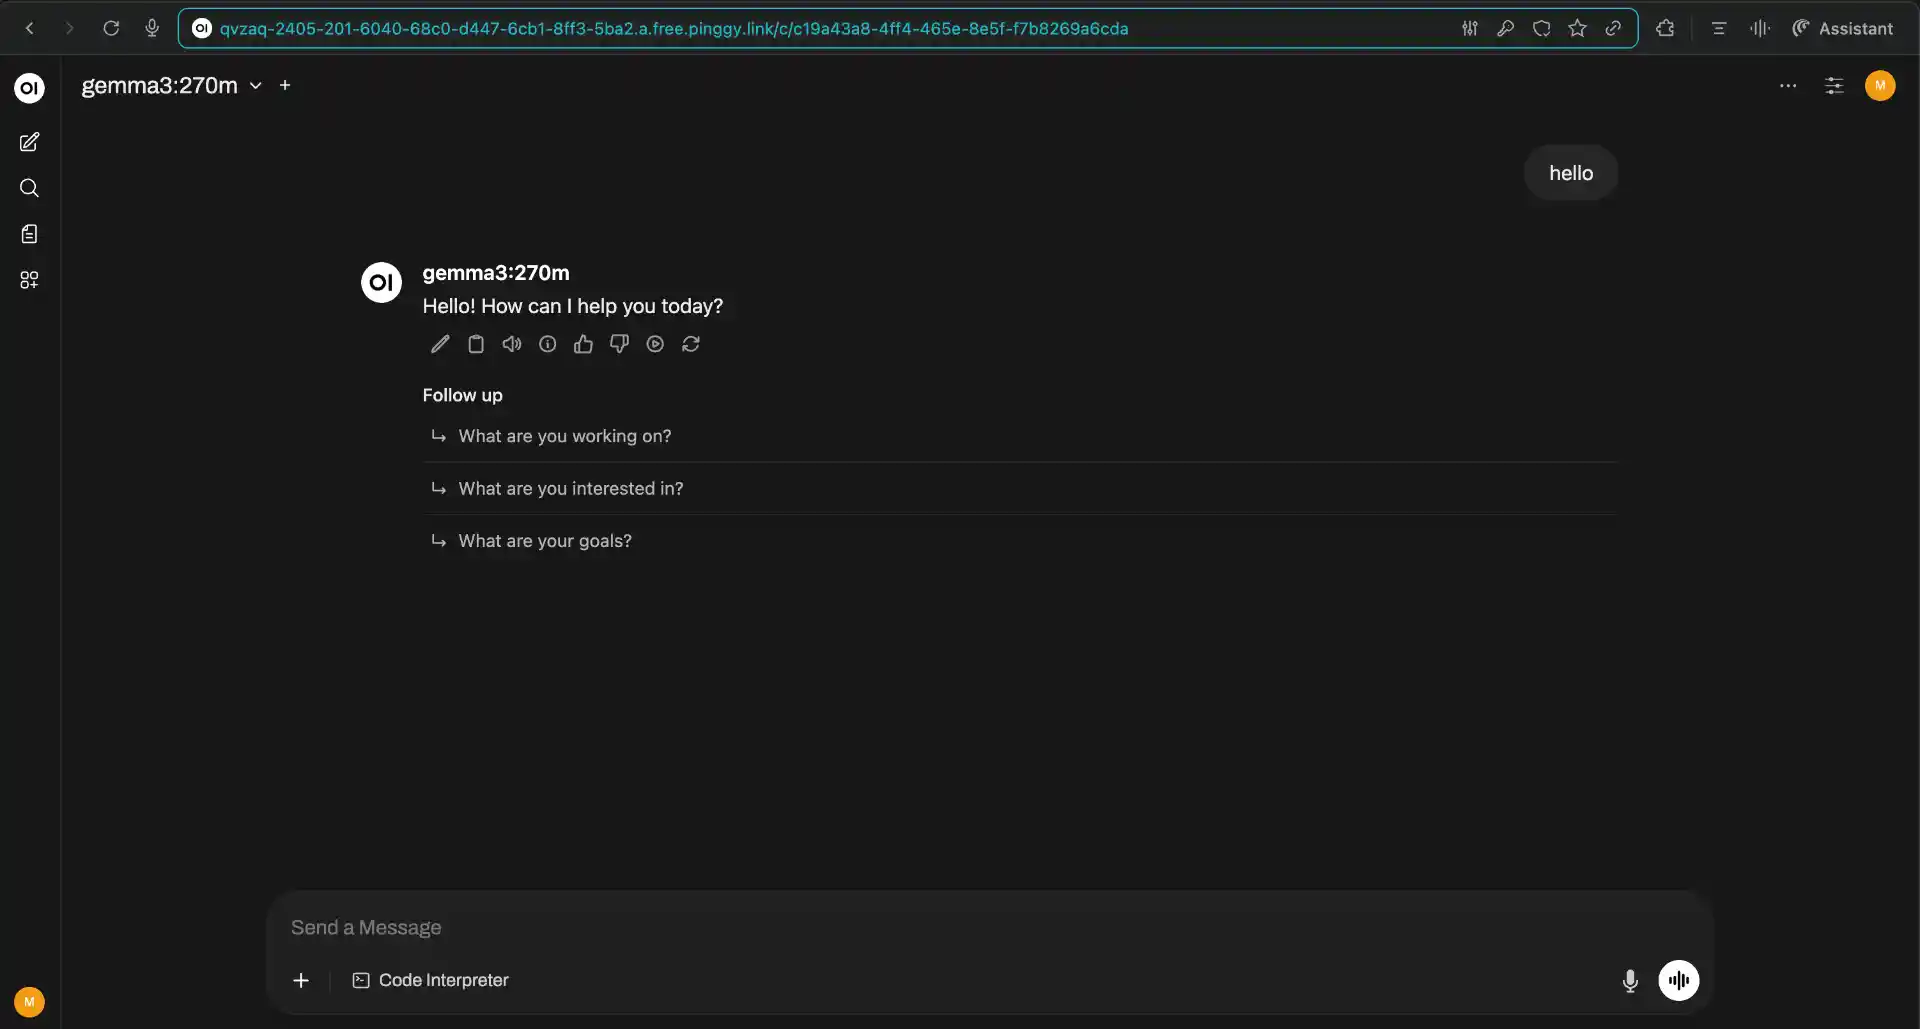
Accessing Your Web Interface
Once the Docker container is running, open your web browser and navigate to http://localhost:3000. You should see the Open WebUI login screen with a clean, modern interface.
First-time setup process:
- Create Admin Account: Enter your desired username and password (this stays local)
- Email (Optional): You can skip this field for local installations
- Account Creation: Click “Create Account” - you’ll be the admin user
- Automatic Login: You’ll be redirected to the main chat interface
Initial configuration checklist:
- Model Detection: Open WebUI automatically scans for Ollama models on
localhost:11434 - Model Selection: Available models appear in dropdown (top-right corner)
- Connection Status: Green indicator shows successful Ollama connection
- Interface Language: Default is English, but supports multiple languages
If models don’t appear:
- Wait 30-60 seconds for initial connection
- Check both containers are running:
docker ps - Verify Ollama API:
curl http://localhost:11434/api/tags - Restart Open WebUI container:
docker restart open-webui
Sharing Your Setup Outside Your Network
Sometimes you need to share your self-hosted LLM with remote team members or access it from different locations.
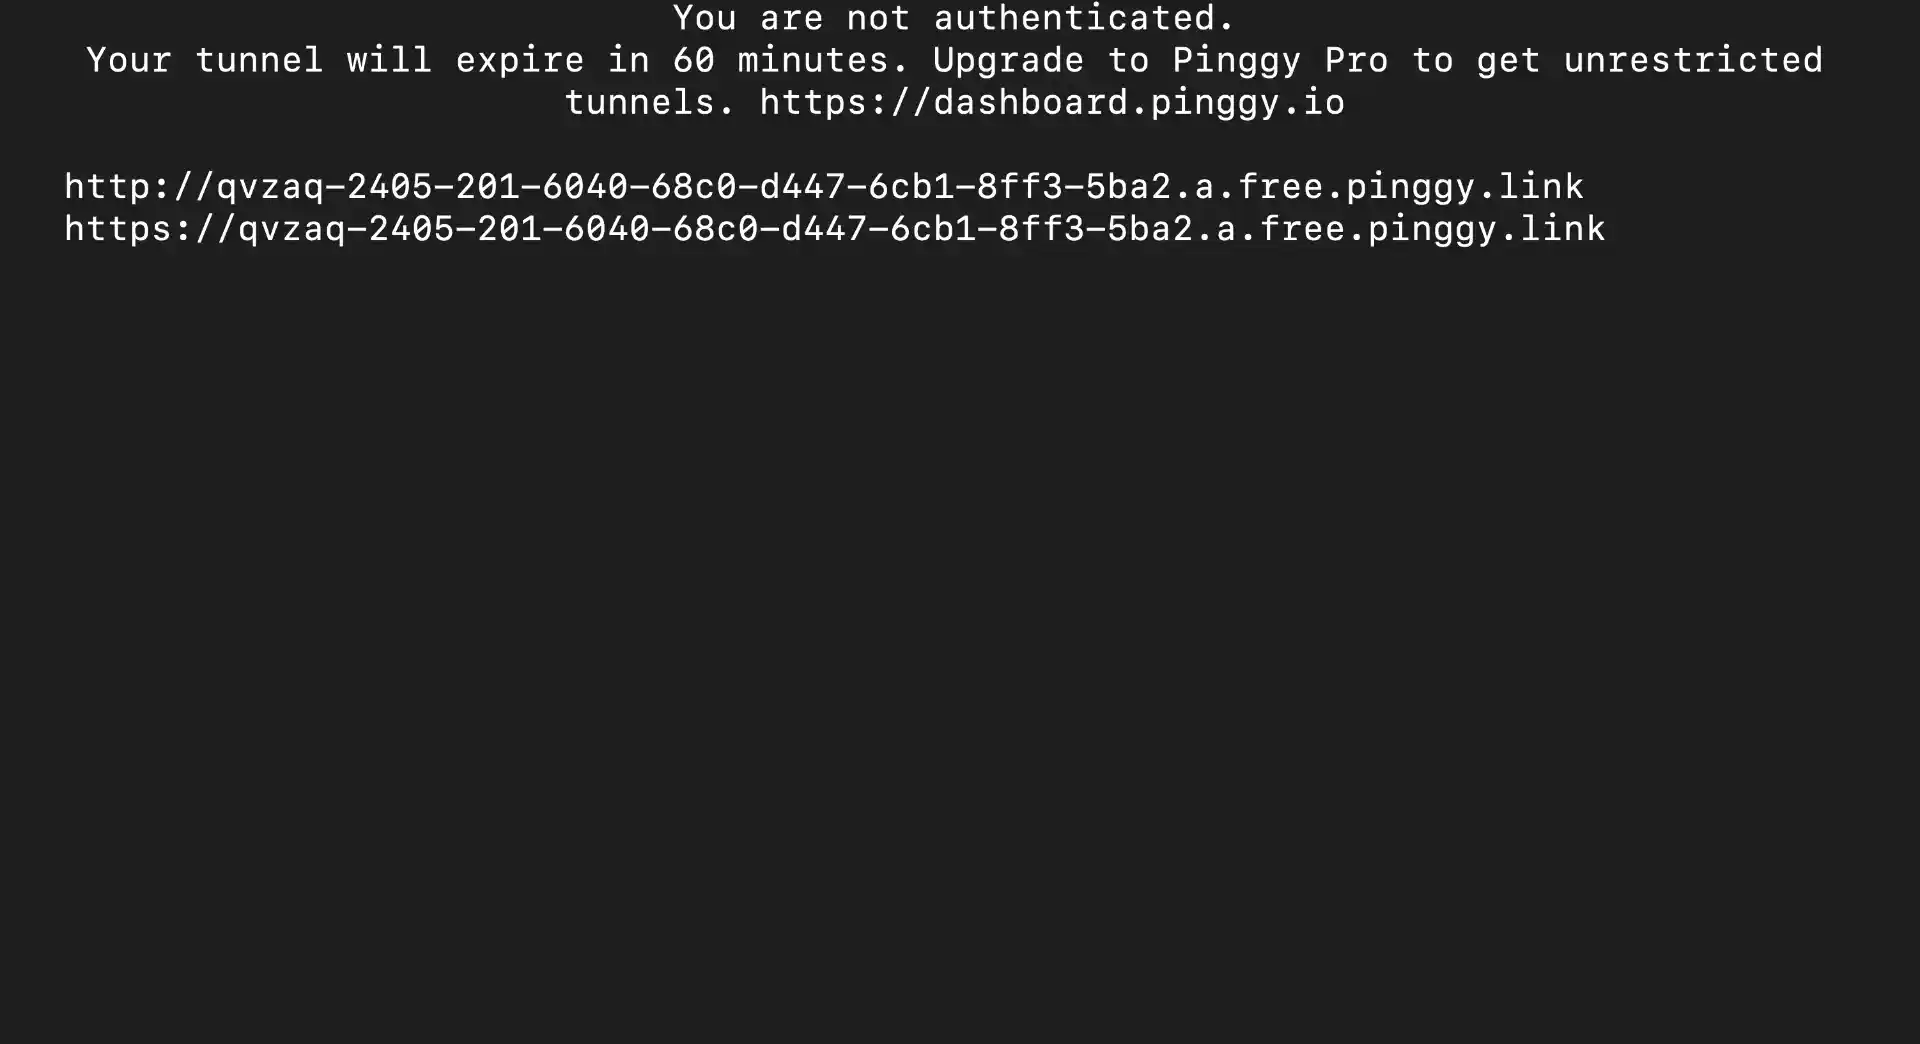
Pinggy provides a simple solution to expose your local Open WebUI online without complex router configuration.
Run this command to share your Open WebUI interface:
ssh -p 443 -R0:localhost:3000 free.pinggy.io
Pinggy will generate a public HTTPS URL like https://abc123.pinggy.link that you can share with others. The connection is encrypted and secure, and you can terminate the tunnel anytime by stopping the command.

Conclusion
Self-hosting LLMs with containerized Ollama and Open WebUI gives you a powerful, private AI setup that rivals commercial alternatives. You now have complete control over your AI infrastructure, from model selection to data privacy, all while eliminating ongoing API costs. The containerized approach makes everything portable, easy to manage, and simple to scale as your needs grow.
The combination of Docker containers running Ollama and Open WebUI creates a professional-grade AI platform that’s isolated from your host system while remaining fully accessible. As you become more comfortable with your setup, consider exploring additional models for specialized tasks, experimenting with fine-tuning for your specific use cases, or integrating your containerized LLMs into other applications through Ollama’s API. The foundation you’ve built today can scale and evolve with your needs, providing a robust platform for all your AI projects while keeping your data secure and your costs predictable.