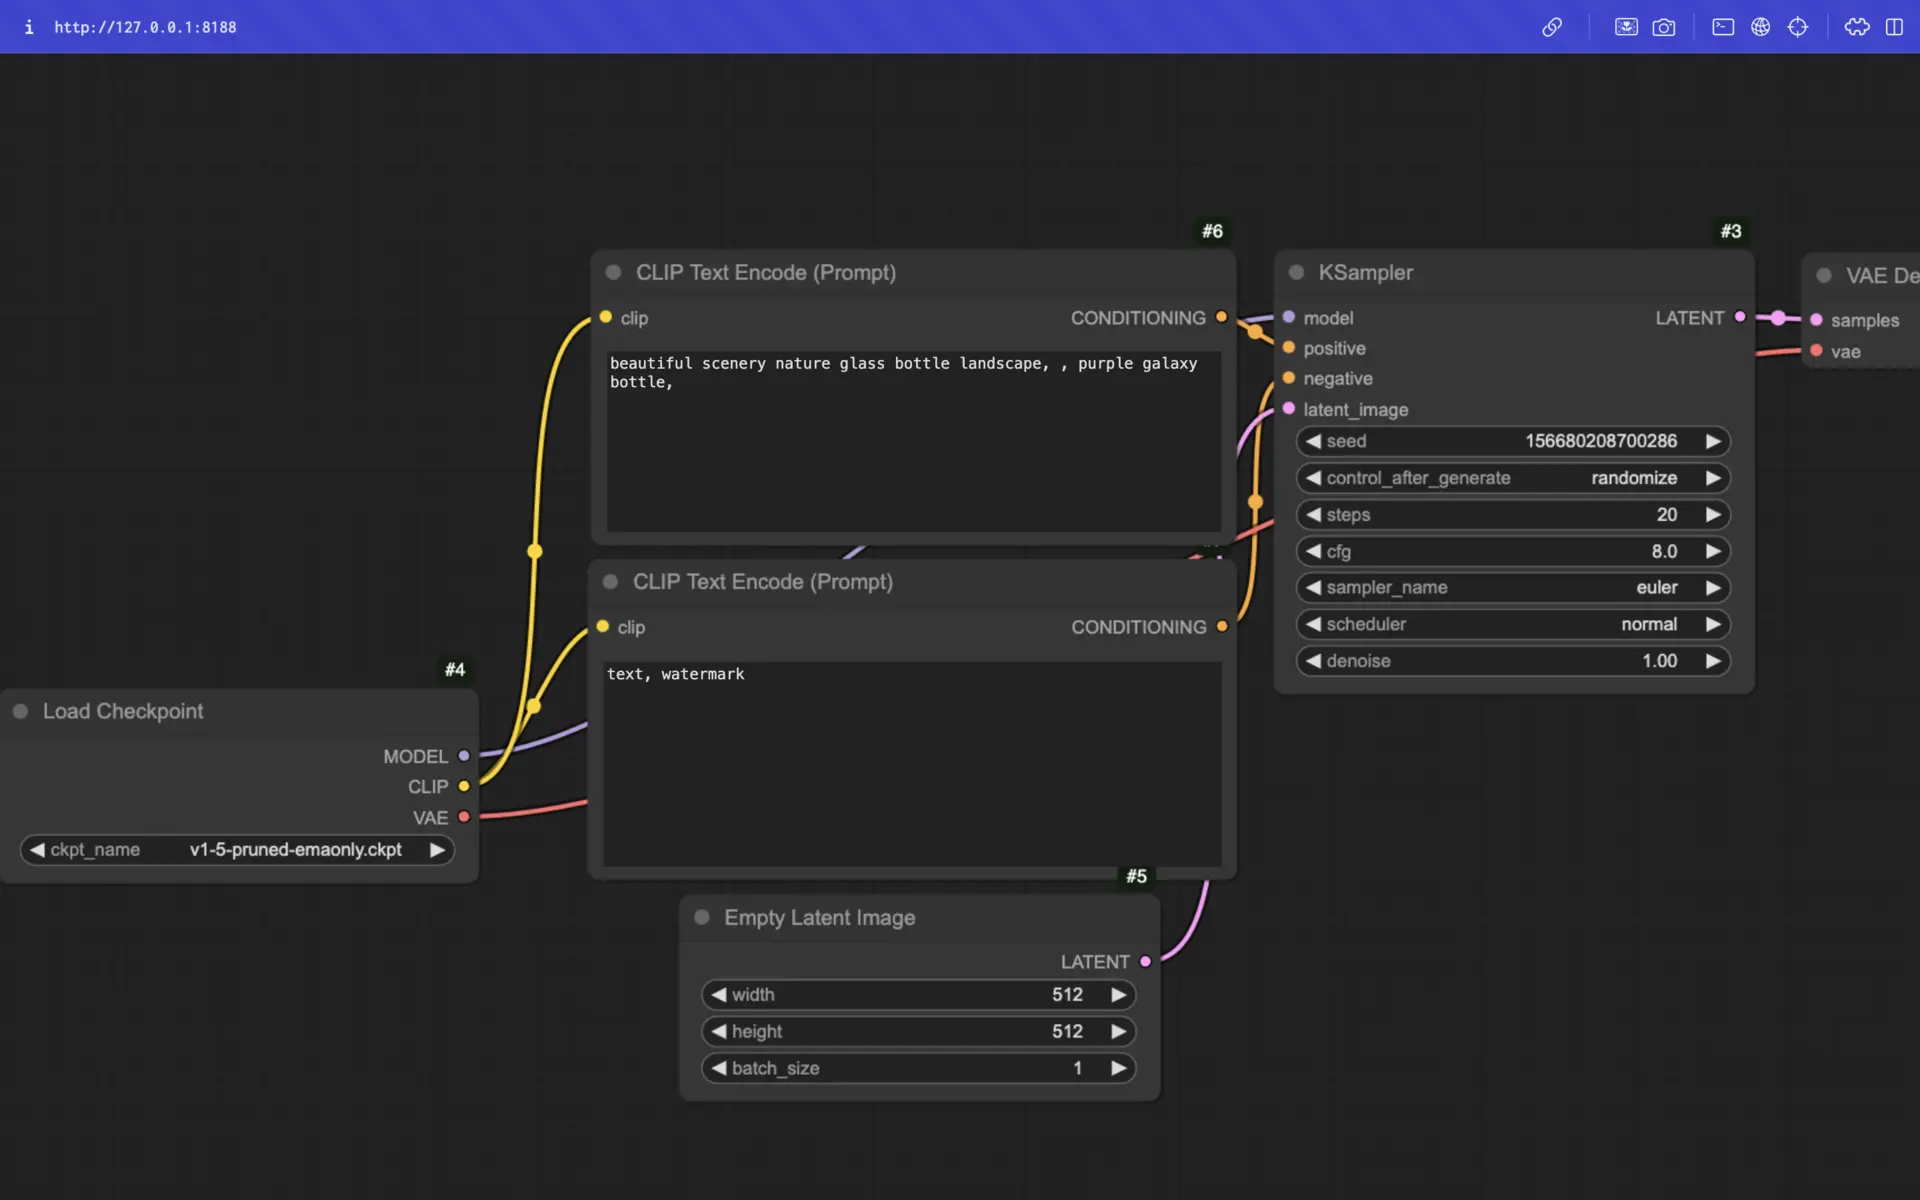
ComfyUI is a portable, locally run interface commonly used for AI-simulated art generation with models like Stable Diffusion. When collaborating with remote clients or teammates, you might want to make this locally hosted UI accessible via the internet. This is where Pinggy, a fast and effective tunneling service, helps by allowing you to share your local setup using a public link.
Summary
Run ComfyUI
- Clone and set up ComfyUI:
git clone https://github.com/ComfyUI/ComfyUI.git
cd ComfyUI
pip install -r requirements.txt
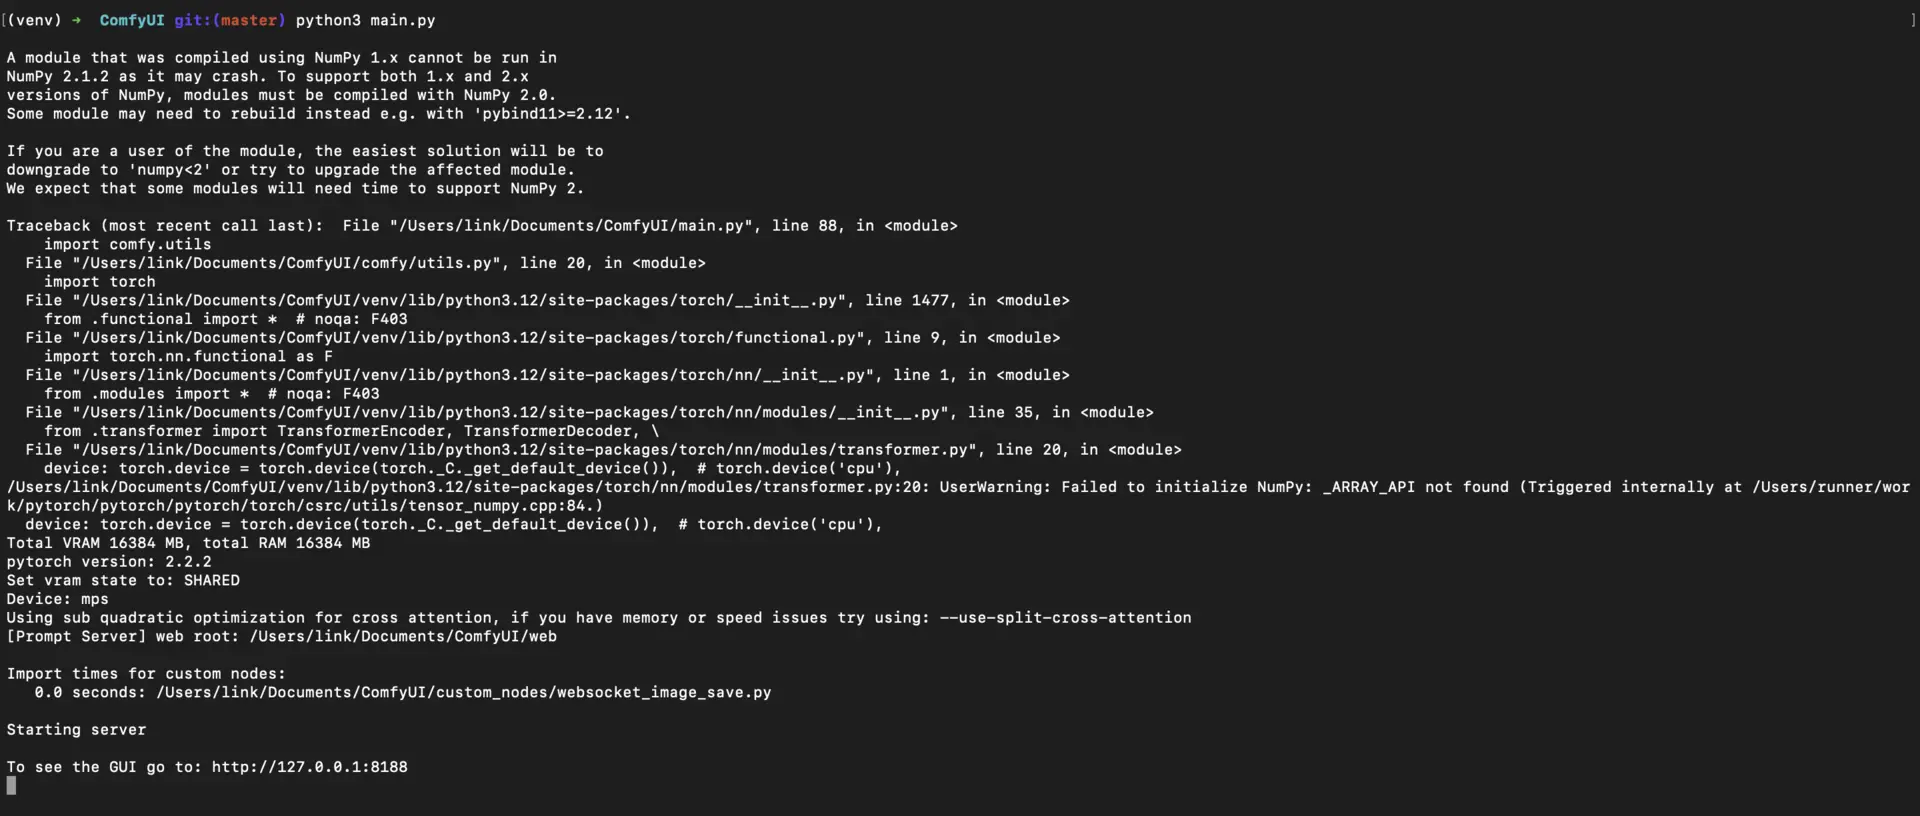
python3 main.py
Create a Tunnel with Pinggy
- Start SSH tunnel:
ssh -p 443 -R0:localhost:8188 a.pinggy.io
- Access your ComfyUI via the provided URL.
In this guide, we’ll walk through how to use Pinggy to make your ComfyUI instance accessible online.
What is ComfyUI?
ComfyUI is an open source web interface primarily developed for AI generated image creation usually utilizing some models such as Stable Diffusion. They are easy to use with the ability to host locally, thus making them suitable for developing as well as perfecting pieces of art. This interface is commonly employed by artists, researchers, and developers working with generative AI.

What is Pinggy?
Pinggy is a tunneling solution similar to Ngrok, which lets you expose your local network to the internet securely. It’s easy to use, and you don’t need extensive configuration—perfect for accessing local applications, web UIs, or APIs from remote locations.
Prerequisites
Before we begin, make sure you have:
- A ComfyUI instance running locally.
- Node.js installed on your system.
- Pinggy account (if you wish to use custom domains or other advanced features).
- Basic knowledge of terminal/command-line operations.
Step 1: Run ComfyUI Locally
If ComfyUI is not already running, follow these steps:
Clone the ComfyUI repository:
git clone https://github.com/ComfyUI/ComfyUI.git
cd ComfyUI
Install dependencies:
pip install -r requirements.txt
Start ComfyUI:
By default, ComfyUI will start at http://localhost:8188.

Step 2: Create a Tunnel with Pinggy
To expose your locally hosted ComfyUI instance, use Pinggy’s SSH tunneling command:
Open a terminal and enter:
Replace 8188 if ComfyUI is running on a different port.

Command Breakdown:
ssh -p 443: Establishes a secure connection to Pinggy’s server over port 443.-R0:localhost:8188: Connects your localhost to Pinggy’s server, forwarding the ComfyUI server.a.pinggy.io: Directs the command to Pinggy’s server.
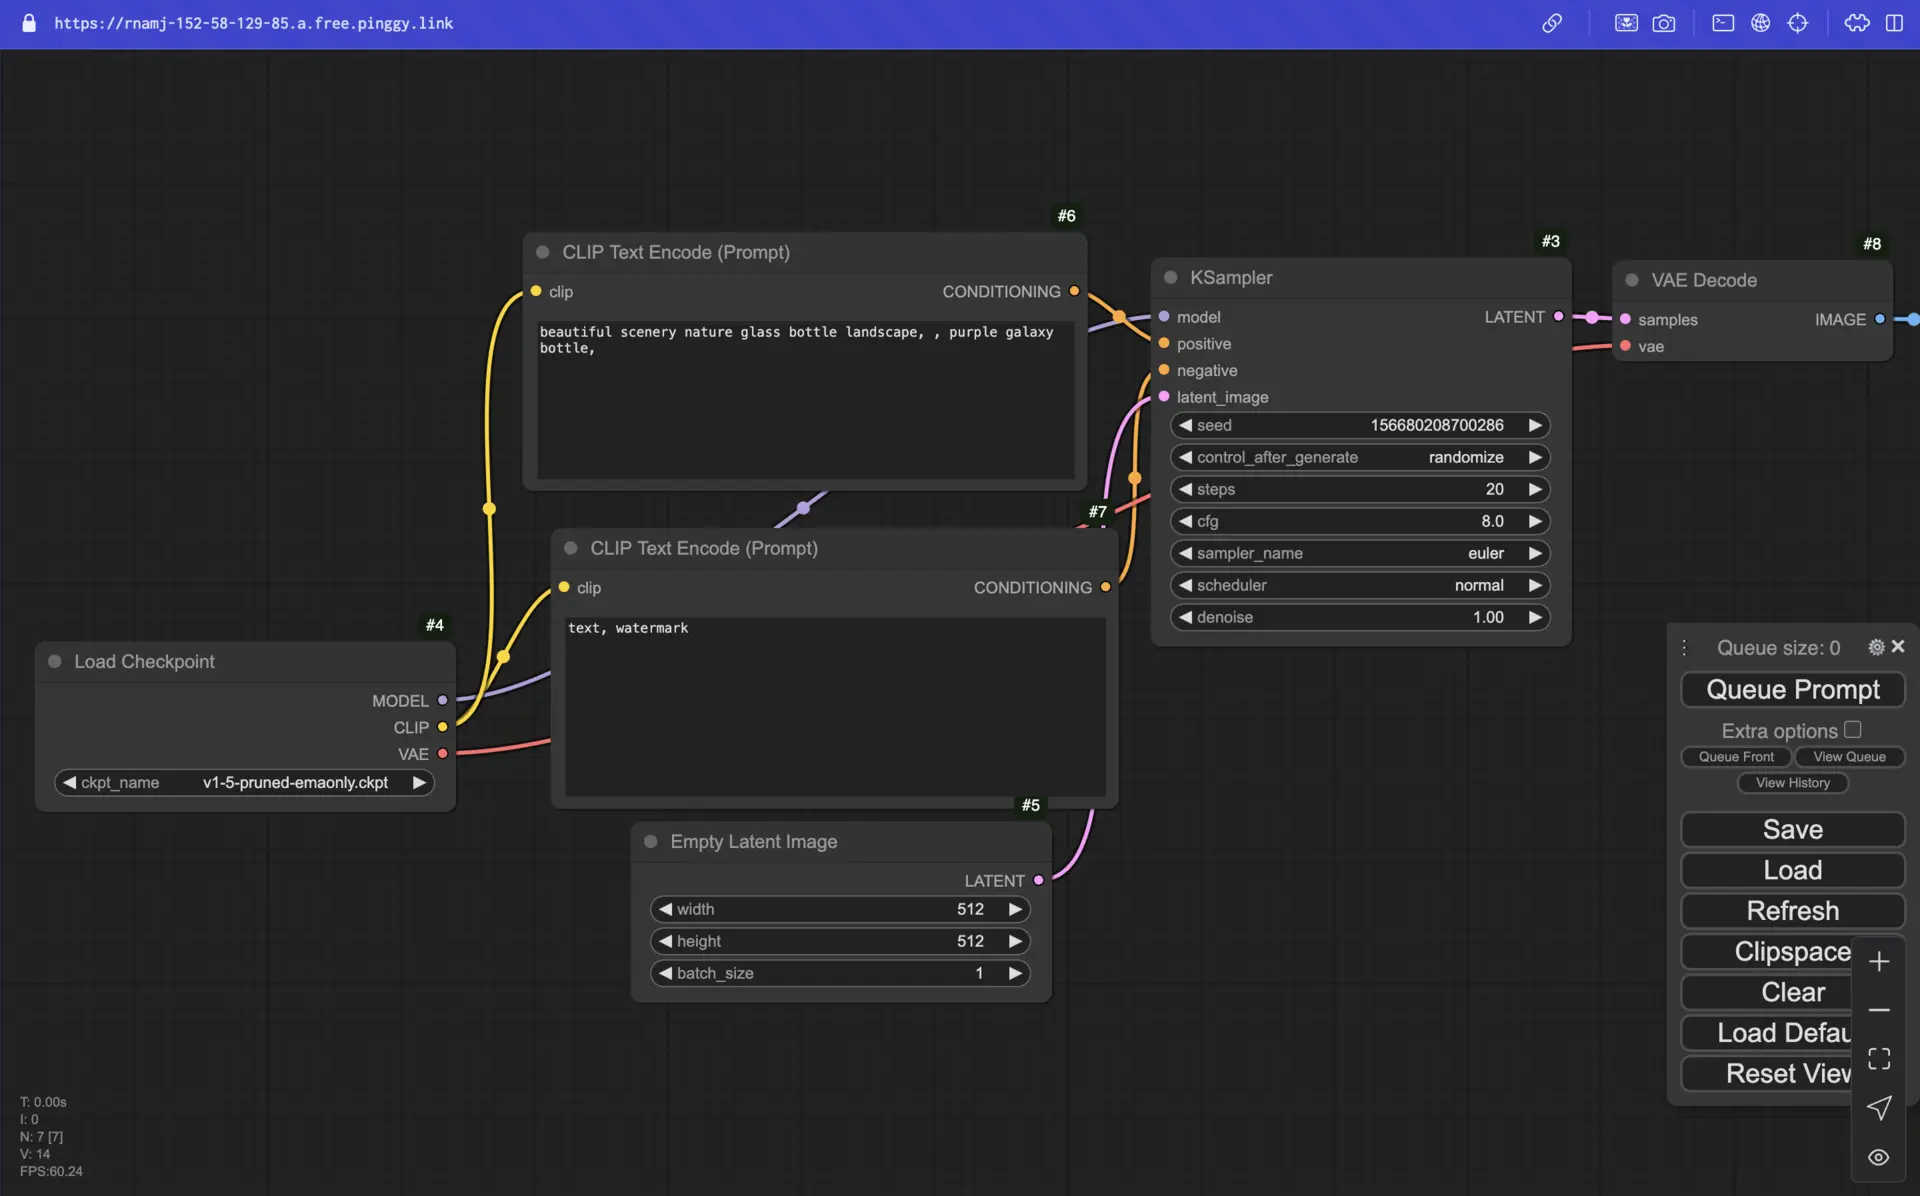
After executing, Pinggy will generate a public URL for your ComfyUI instance, which might look like:
http://fakqxzqrohxxx.a.pinggy.link
https://fakqxzqrohxxx.a.pinggy.link


Step 3: Customize Your Pinggy Tunnel
Pinggy provides additional options to enhance privacy and control over your tunnel, perfect for securely sharing ComfyUI:
- Custom Domains: Use a personalized or branded domain name instead of the Pinggy default link. This can improve on professionalism and also can make the access links easier to remember.
- Password Protection: Enhance the security of your tunnel and set password to your connection. You will be the only people who can access your ComfyUI instance with the password.
For more, refer to Pinggy’s documentation.
Troubleshooting Tips
If you run into issues with the Pinggy tunnel or ComfyUI setup, try these solutions:
- Port Conflicts: Make sure the port provided with the SSH command corresponds to the port used by ComfyUI, by default it is 8188. Mismatched ports will prevent a successful tunnel connection.
- Firewall Restrictions: Some of the network firewalls prevent tunneling connections. Make certain that SSH connection is authorised and if there are any firewalls active, then get them removed for some time.
- Command Not Found: Make sure SSH is installed on your machine. On macOS and Linux, SSH is pre-installed, but on Windows, you may need to install it or use tools like Git Bash.
Conclusion
Pinggy helps share your ComfyUI instance online instantly, and securely to perform AI projects in cooperation with other users without complicated configurations. In this manner, utilizing Pinggy’s tunneling options, you could grant dependable, restricted connectivity on your ComfyUI to your coworkers and customers, wherever they’re placing.