MariaDB is an open-source relational database management system (RDBMS) that has gained popularity due to its robust performance, reliability, and compatibility with MySQL. Whether you’re using
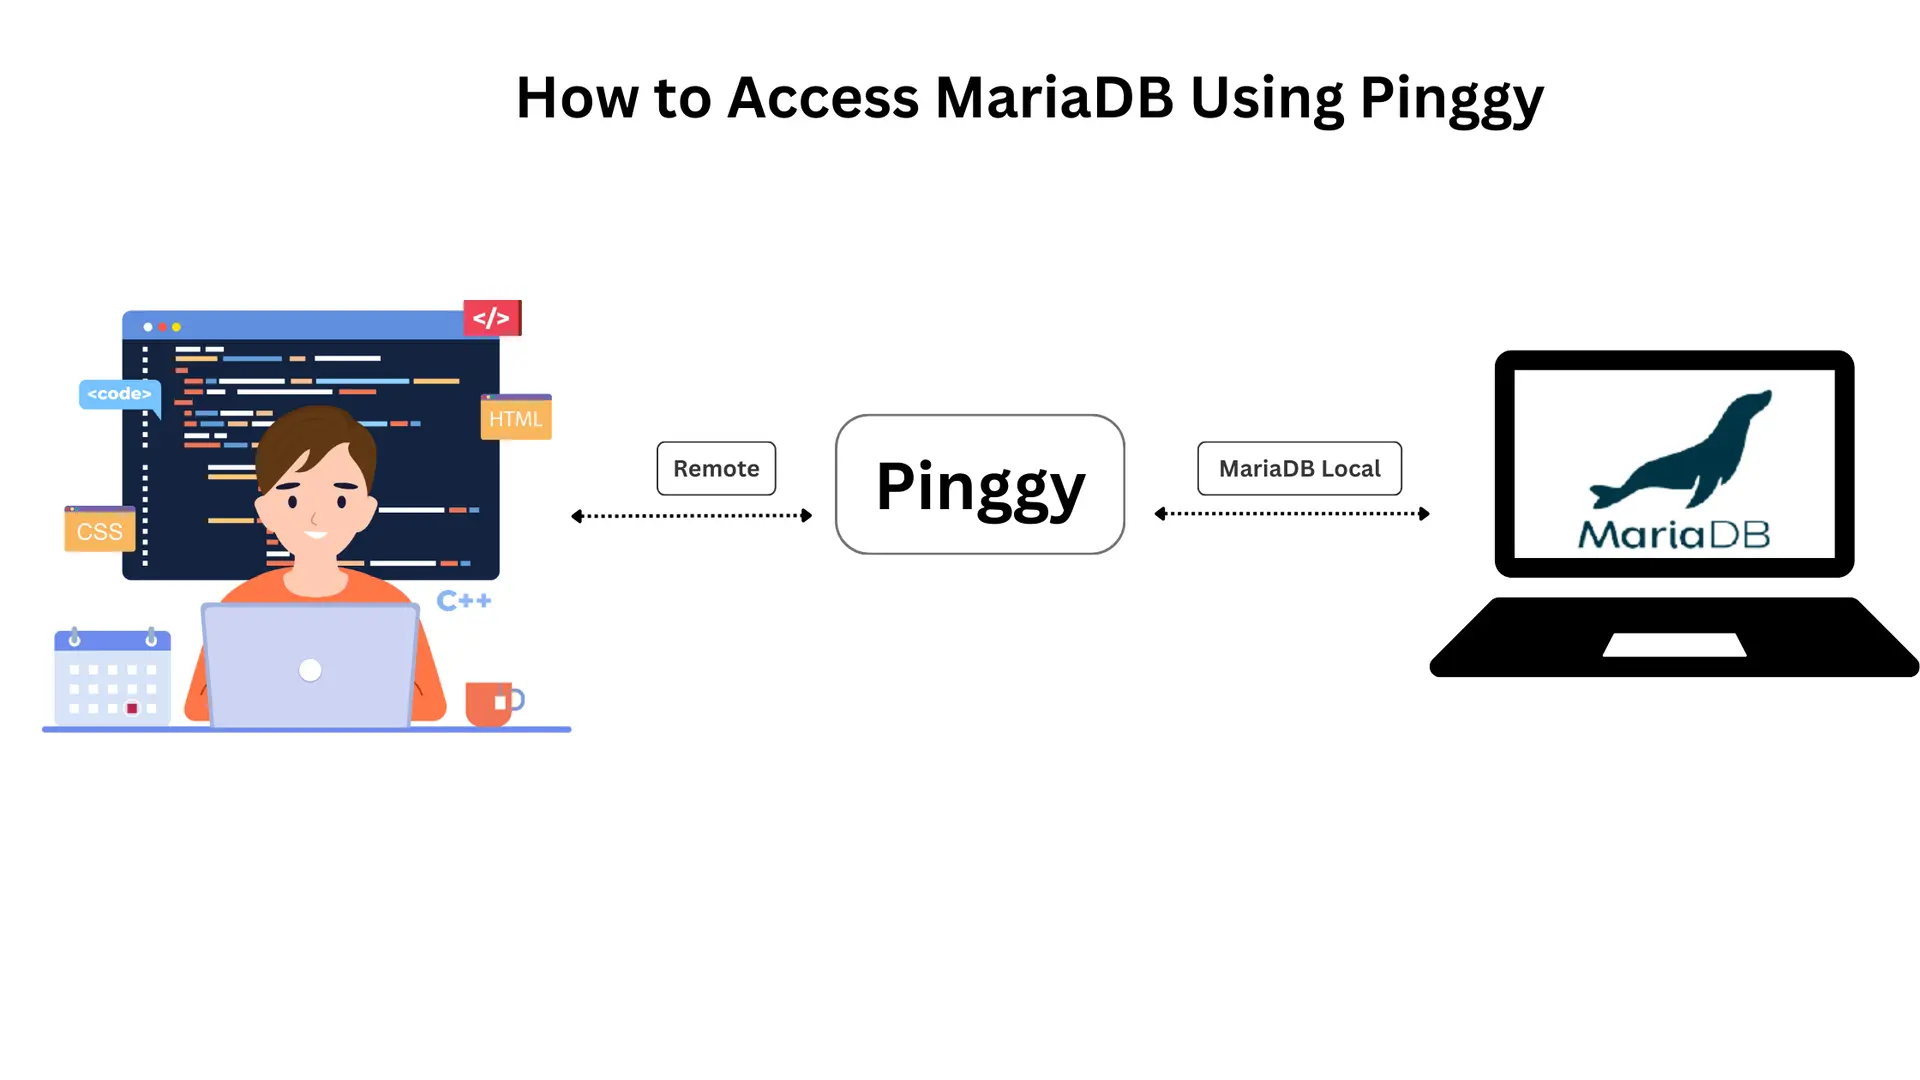
MariaDB for development, data storage, or analytics, one of the challenges developers face is accessing the database from outside their local network. This article will guide you on using Pinggy to overcome access challenges caused by NAT, CGNAT, and firewalls.

Summary
- MariaDB is a popular open-source database management system. Accessing a local MariaDB instance remotely is often hindered by NAT, CGNAT, and firewall restrictions.
- If you do not have MariaDB running, you may start it using Docker:
docker run --name mariadb-test -e MYSQL_ROOT_PASSWORD=yourpassword -p 3306:3306 -d mariadb
- Start a Pinggy TCP tunnel on port
3306:ssh -p 443 -R0:localhost:3306 tcp@a.pinggy.io
- Pinggy generates a public URL like
tcp://example.pinggy.io:48780.
- Use the Pinggy-provided hostname and port to connect to MariaDB with tools like
mariadb command, or DBeaver.
What Is MariaDB?
MariaDB is a fork of MySQL that offers advanced features and better licensing terms. Built with speed and scalability in mind, it supports standard SQL and is compatible with a wide range of tools and applications. It is commonly used in web applications, enterprise-grade systems, and cloud-based platforms.
Key Features of MariaDB:
- Open Source: Completely free to use and modify.
- Scalable: Suitable for small projects as well as large-scale enterprise systems.
- High Compatibility: Works seamlessly with MySQL and many third-party tools like DBeaver.
- Security: Supports data encryption, authentication plugins, and robust privilege systems.
The Problem: NAT, CGNAT, and Firewalls
When working with MariaDB locally, you might encounter issues when trying to access it from external devices or applications. These challenges often stem from:
- NAT (Network Address Translation): NAT hides private IP addresses behind a public IP, which prevents direct access to devices on a local network.
- CGNAT (Carrier-Grade NAT): Many internet service providers use CGNAT to manage public IPs, further complicating external access.
- Firewalls: Security measures on routers and servers block unauthorized inbound traffic, making it difficult to connect to your MariaDB instance.
These barriers make it challenging to access your local MariaDB instance for testing, debugging, or remote collaboration. This is where Pinggy comes in handy.
What is Pinggy?
Pinggy is a lightweight tunneling solution that creates a public endpoint for local services. It allows you to expose your local MariaDB database to the internet securely and easily, bypassing NAT, CGNAT, and firewall restrictions.
Advantages of Using Pinggy:
- No Configuration Hassles: No need to modify firewall or NAT settings.
- Secure Access: Provides secure tunnels with unique endpoints.
- Simple Setup: Minimal commands required to set up a tunnel.
Setting Up MariaDB with Pinggy
Here’s a step-by-step guide to accessing MariaDB using Pinggy.
Note: Using Docker to run MariaDB here is just an example. You can follow similar steps if your MariaDB instance is installed natively or hosted elsewhere.
Step 1: Run a Local MariaDB Instance (Example Using Docker)
If you don’t already have a MariaDB instance, you can use Docker to set up one for testing:
docker run --name mariadb-test -e MYSQL_ROOT_PASSWORD=yourpassword -p 3306:3306 -d mariadb

MYSQL_ROOT_PASSWORD: Replace yourpassword with a secure password for the MariaDB root user.-p 3306:3306: Maps MariaDB’s default port (3306) to your local machine for access.
To ensure the MariaDB instance is running, check the logs:
If you are using a native or pre-existing installation of MariaDB, make sure it is accessible locally on port 3306.
Step 2: Start a Pinggy TCP Tunnel
Create a Pinggy TCP tunnel to expose your local MariaDB instance securely. Run the following command:

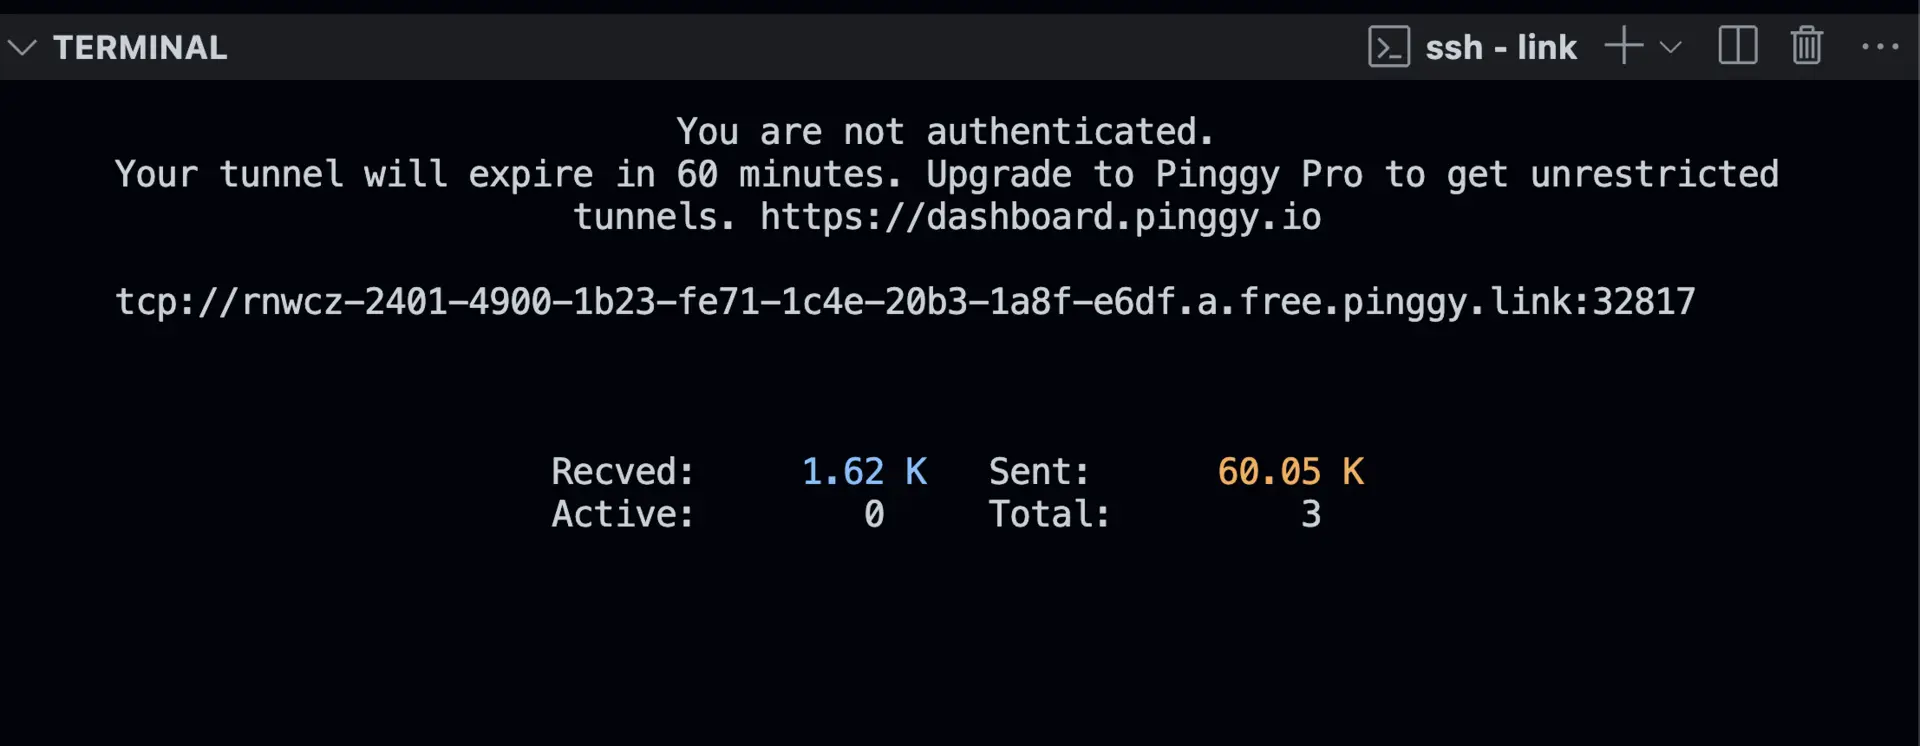
- This command establishes a secure connection and provides a public URL that maps to
localhost:3306 on your machine. - The command output will include a generated public TCP URL like
tcp://example.pinggy.io:XXXXX.
Step 3: Test the Connection
You can now connect to MariaDB remotely using the public endpoint provided by Pinggy:
MariaDB Command-Line Client:
mysql -h example.pinggy.io -P XXXXX -u root -p
Replace example.pinggy.io and XXXXX with the hostname and port provided by Pinggy. Enter the MariaDB root password when prompted.
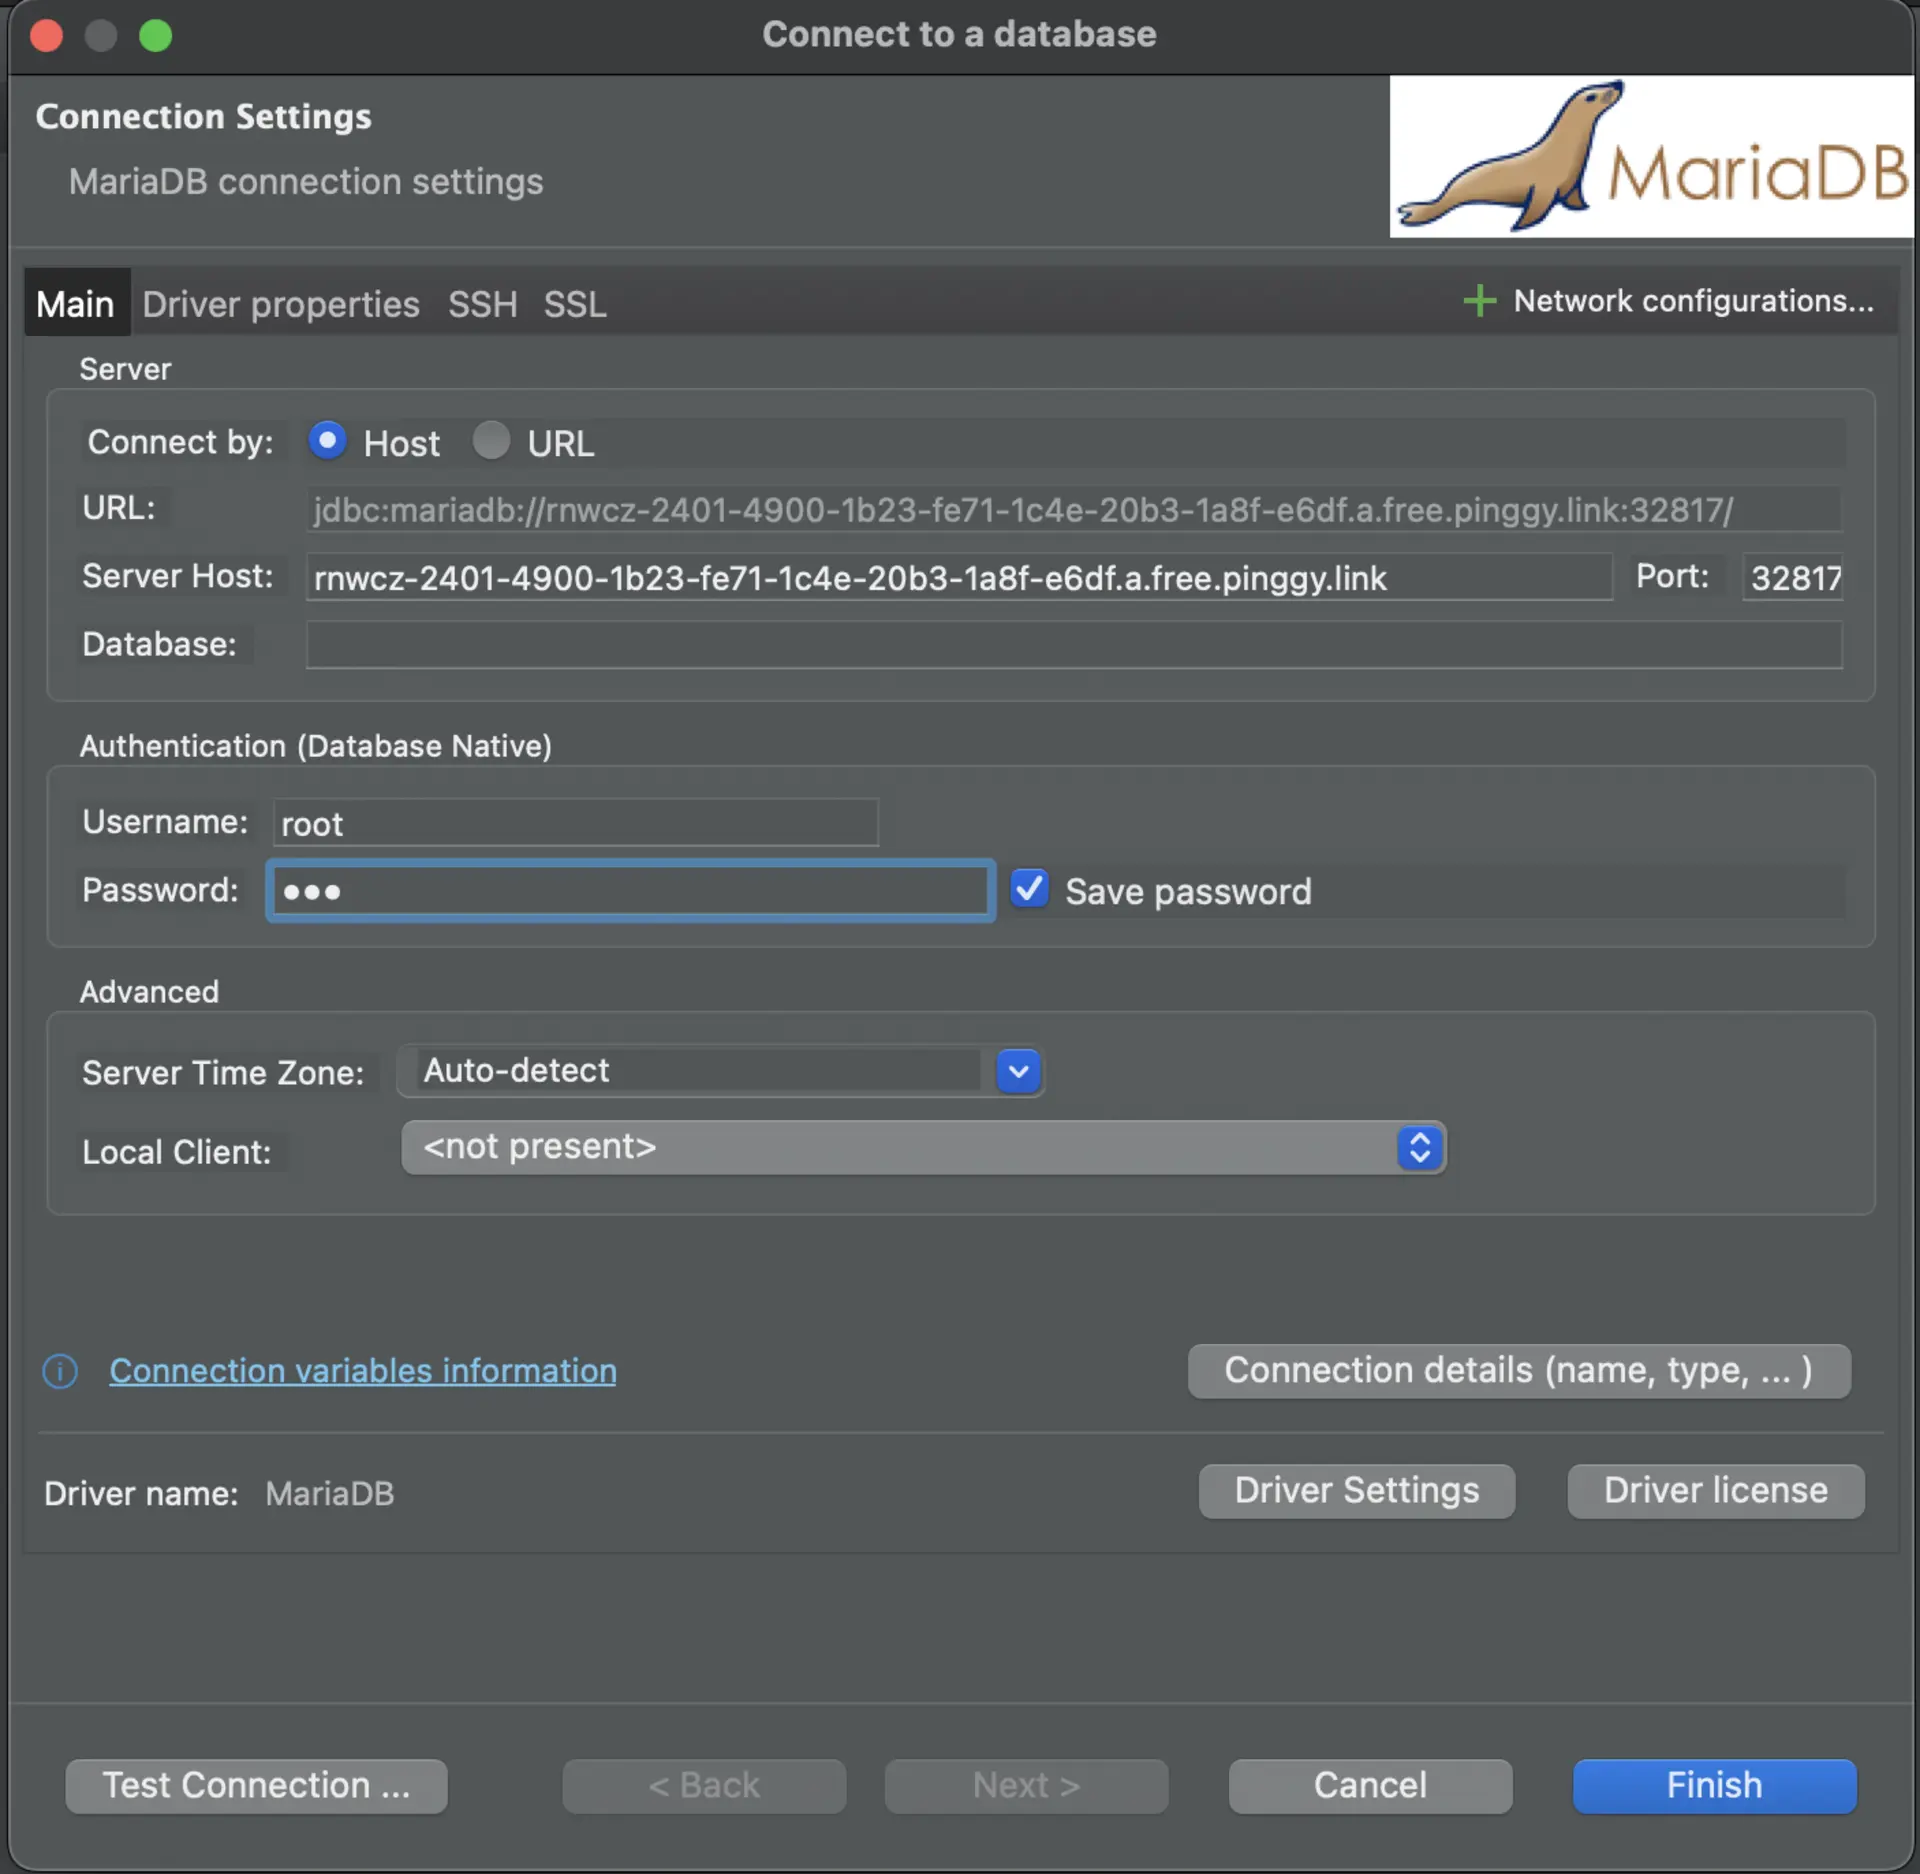
Using DBeaver:
- Launch
DBeaver and create a new database connection.
- Select MariaDB as the database type.
- Input the Pinggy-provided hostname, port, and your MariaDB username and password.
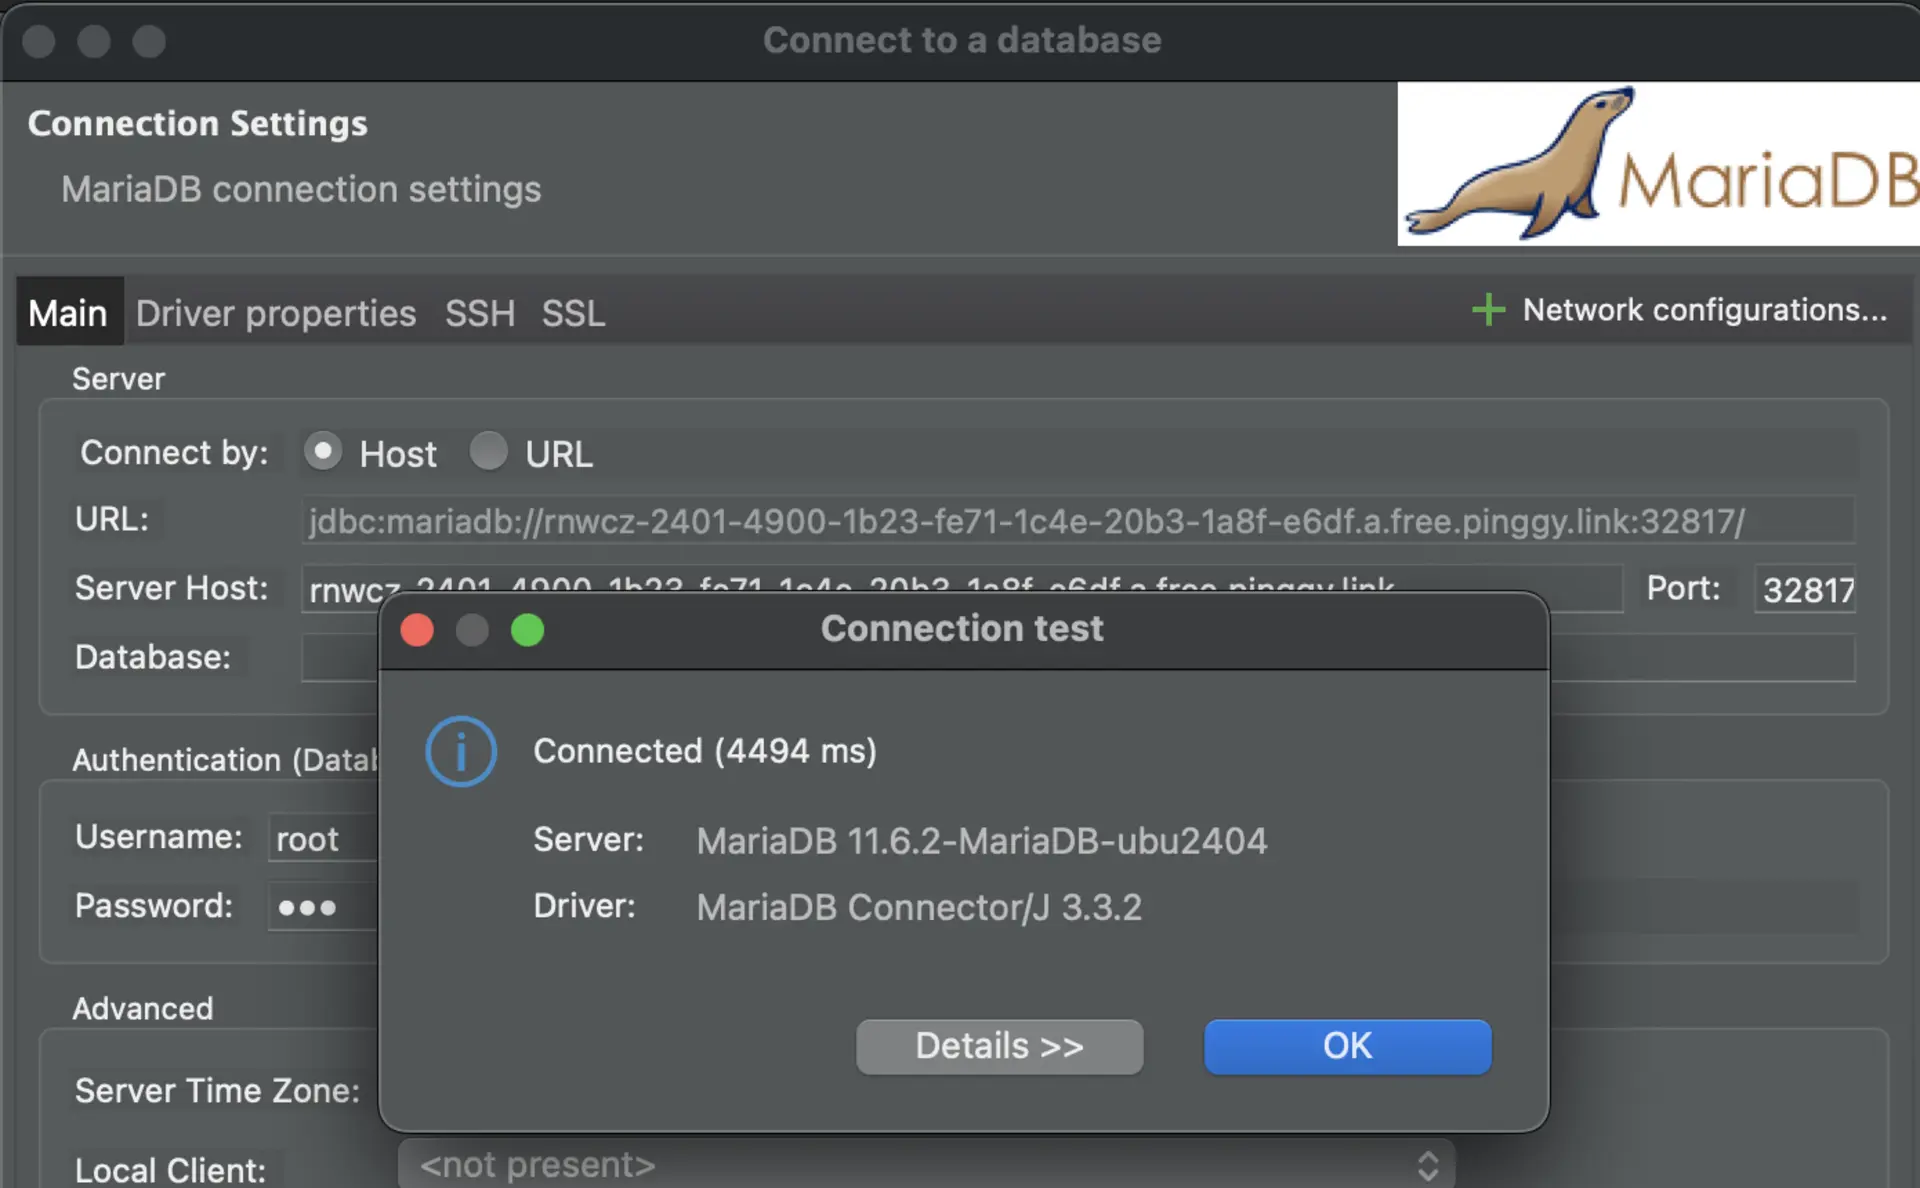
- Test and save the connection settings.


Note: You can also inspect the incoming requests in the Pinggy URL Terminal.

How Pinggy Solves Access Challenges
- Bypassing NAT and CGNAT: Pinggy’s tunneling allows seamless remote access without dealing with network configuration headaches.
- Firewall Compatibility: Because Pinggy uses SSH over port 443, it works even in networks with strict firewall rules.
- Ease of Use: No need for advanced setups—Pinggy’s lightweight command gets you connected in minutes.
Conclusion
Accessing MariaDB remotely can be challenging due to NAT, CGNAT, and firewall restrictions. However, Pinggy provides a quick and secure solution to expose your local MariaDB instance to the internet. Whether you use Docker or a native installation of MariaDB, Pinggy ensures a seamless experience with minimal configuration.
Start using Pinggy today and make remote access to your MariaDB instance hassle-free!