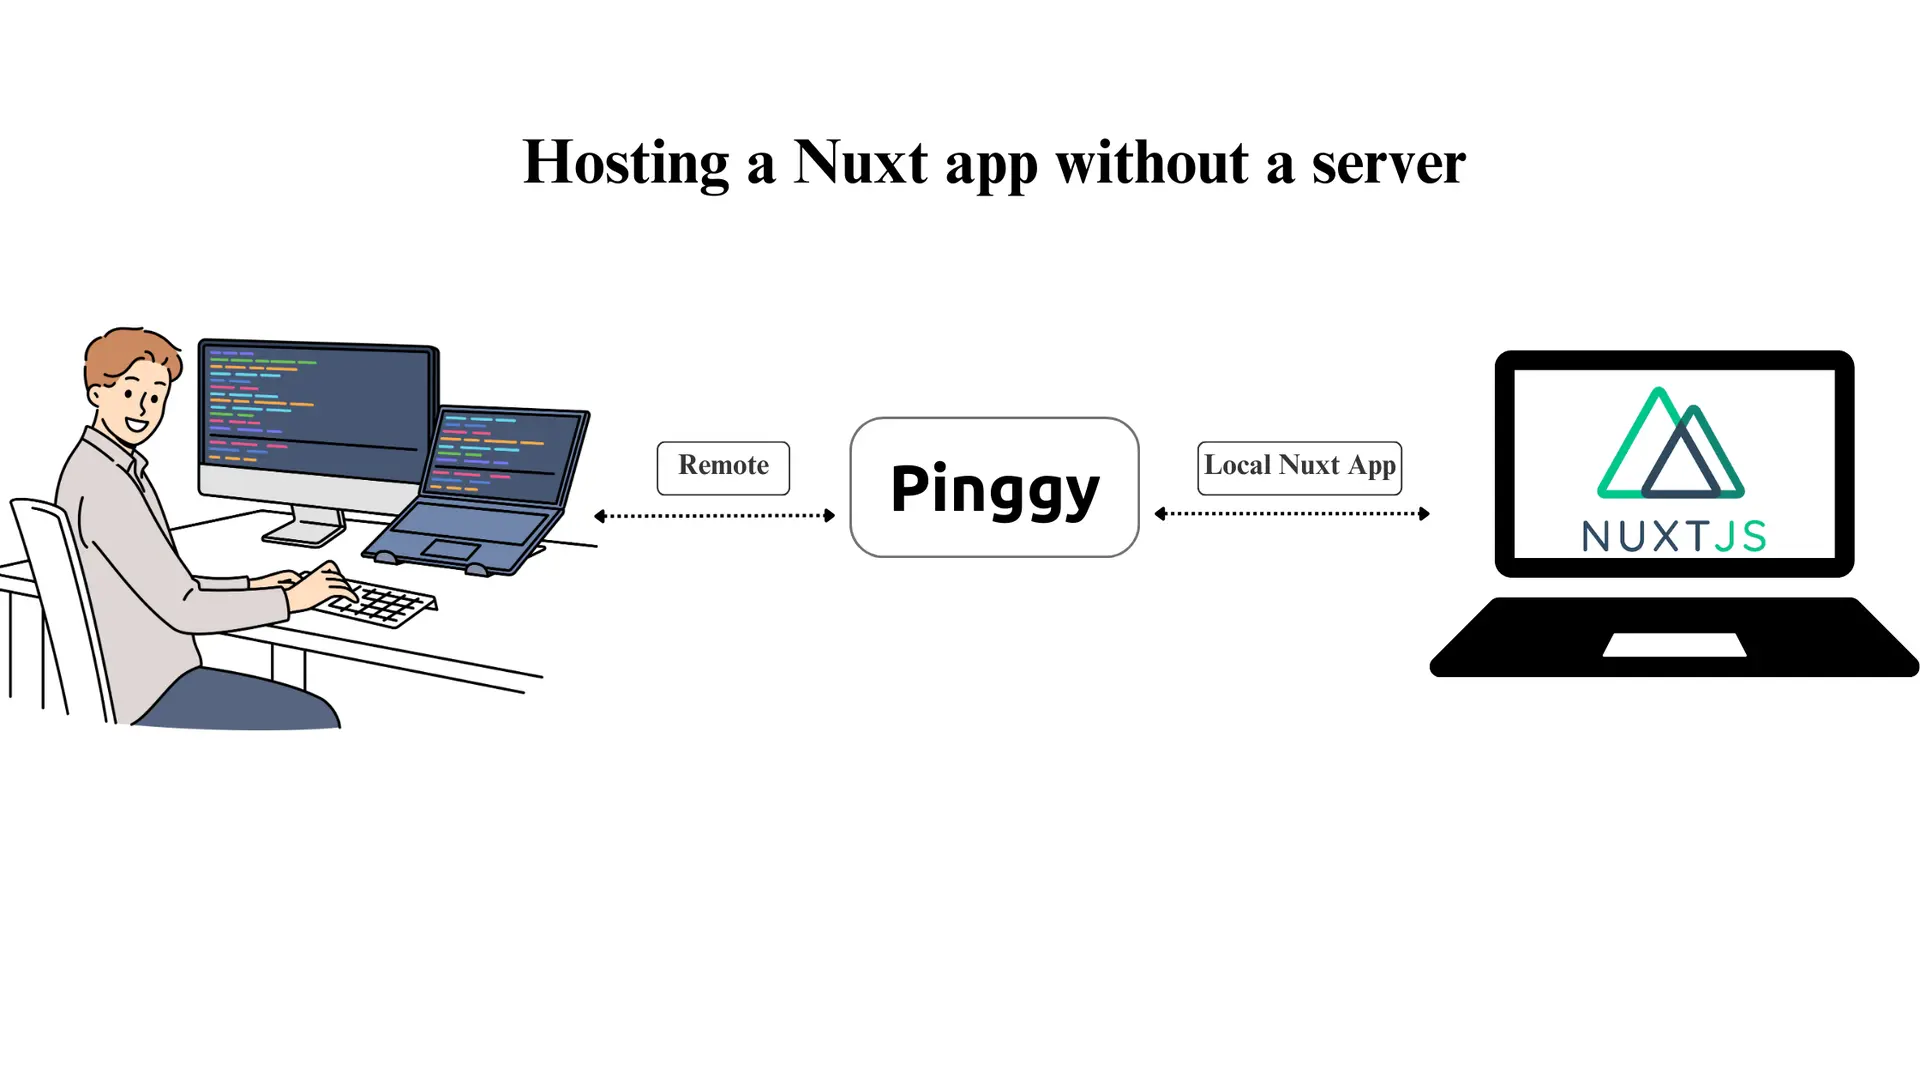
Hosting your
Nuxt.Js app on the internet securely and without complex server setups is now easier than ever, thanks to Pinggy. This guide explains how you can expose your locally hosted Nuxt app to the web using Pinggy, a tunneling solution similar to
Ngrok.
Summary
Run Nuxt.js App
- Create and set up your Nuxt.js app:
npx create-nuxt-app my-nuxt-app
cd my-nuxt-app
npm run dev
Create a Tunnel with Pinggy
- Start SSH tunnel:
ssh -p 443 -R0:localhost:3000 a.pinggy.io
- Access your Nuxt.js app via the provided Pinggy public URL.
What is a Nuxt.js App?
Nuxt.Js is a powerful framework based on
Vue.Js, designed for building fast, modern, and SEO-friendly web applications. It offers server-side rendering (SSR), static site generation (SSG), and client-side rendering (CSR) capabilities, making it versatile for various use cases. Whether you are building a portfolio, a blog, or a full-fledged web app, Nuxt.js simplifies development with its modular architecture and extensive feature set.
What is Pinggy?
Pinggy is a secure and straightforward tunneling solution that allows you to expose your local applications, APIs, or web UIs to the internet. It eliminates the need for complex configurations, making it perfect for developers who want quick and secure remote access. With Pinggy, you can create a public URL for your locally hosted Nuxt app in just a few steps.
Features of Pinggy:
- Ease of Use: Minimal configuration required.
- Secure Tunnels: Data is transmitted securely using SSH.
- Customization: Offers options like custom domains and password protection for enhanced control.
Prerequisites
Before you begin, ensure you have the following:
- Node.js and npm: Installed on your system. You can download it from
Node.js official website.
- Nuxt.js Installed: If not, we’ll guide you through setting it up.
- Pinggy account (if you wish to use custom domains or other advanced features).
- Basic Terminal Knowledge: Familiarity with running commands.
Step 1: Run Your Nuxt.js App Locally
The first step is to create and run your Nuxt.js app on your local machine.
Commands to Get Started:
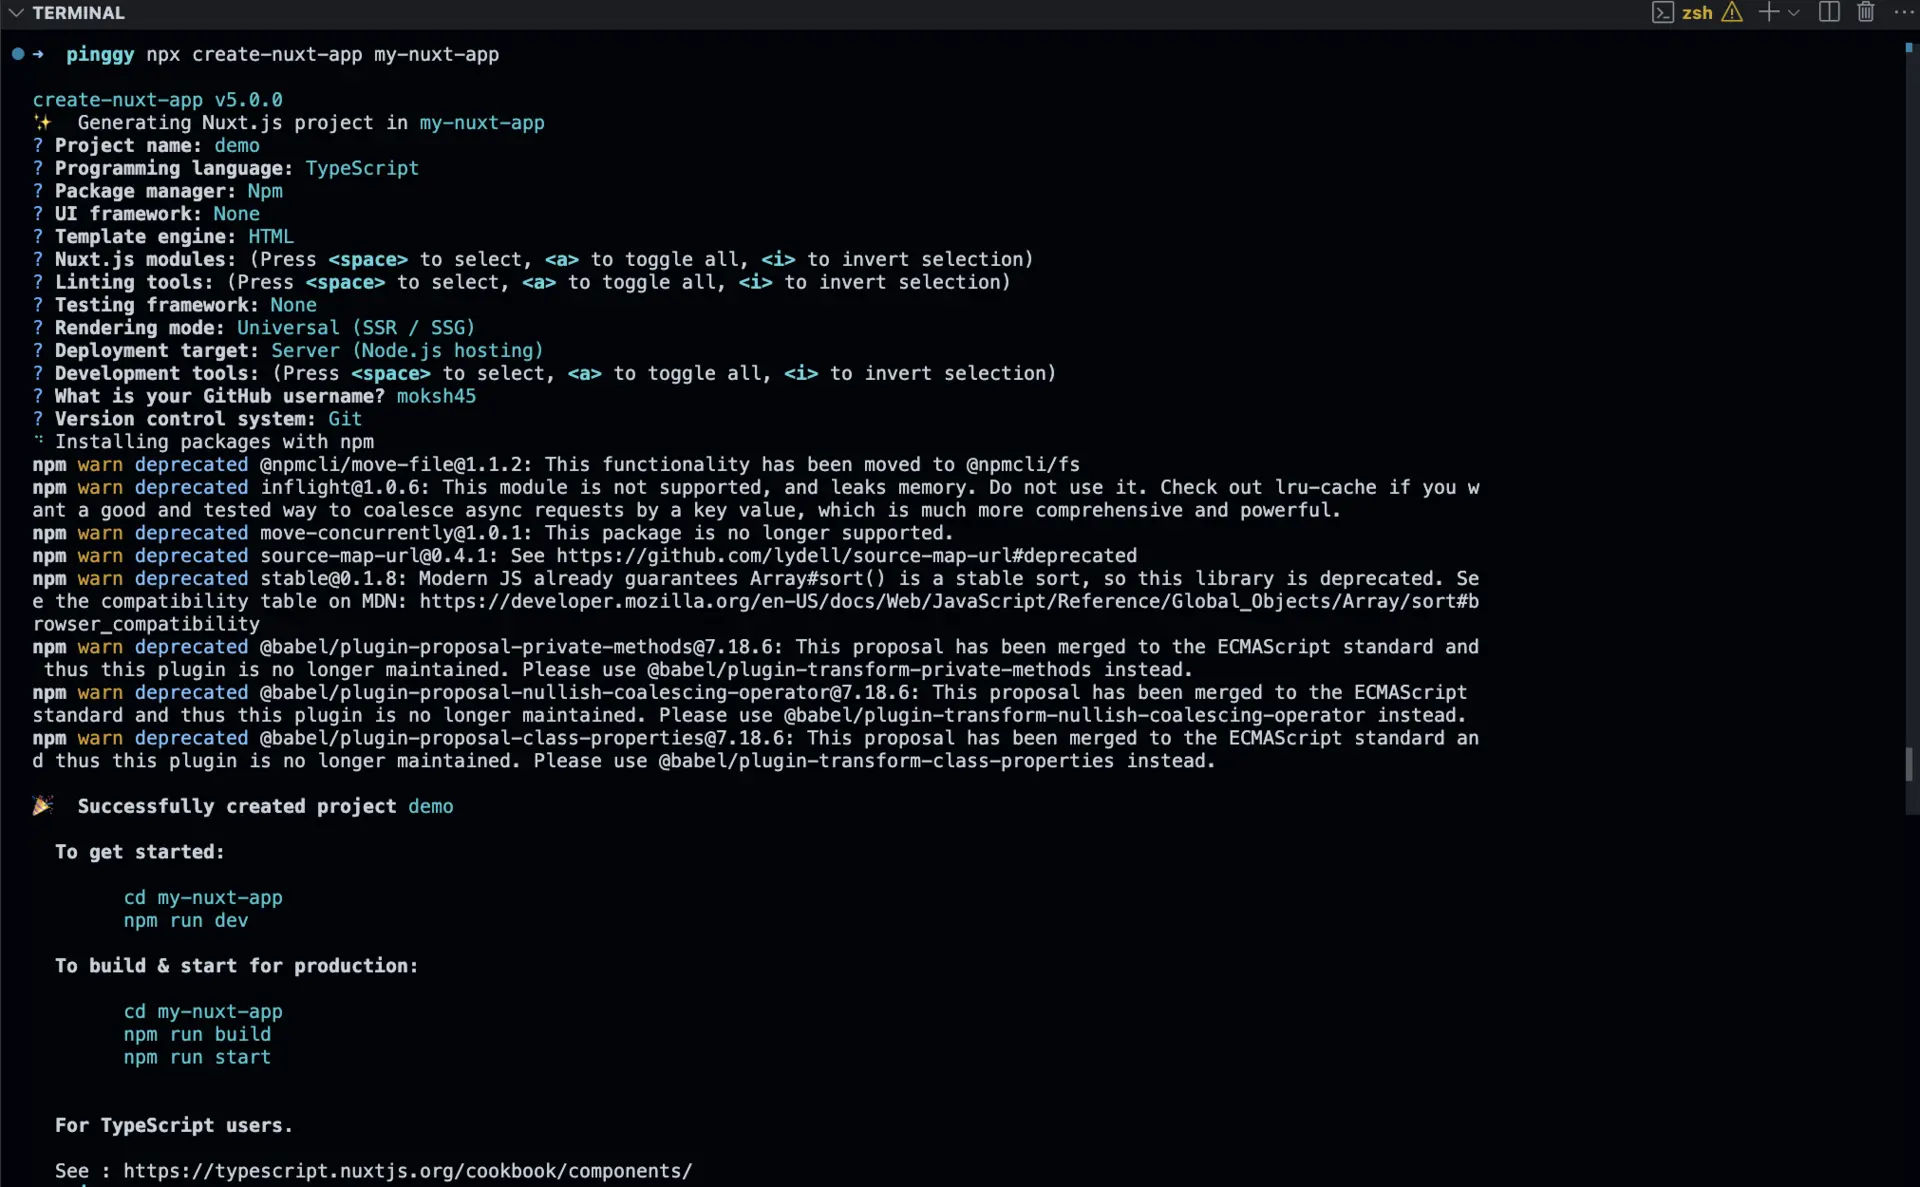
- Create a new
Nuxt.Js app:
npx create-nuxt-app my-nuxt-app
- Navigate to the project directory:
- Start the development server:
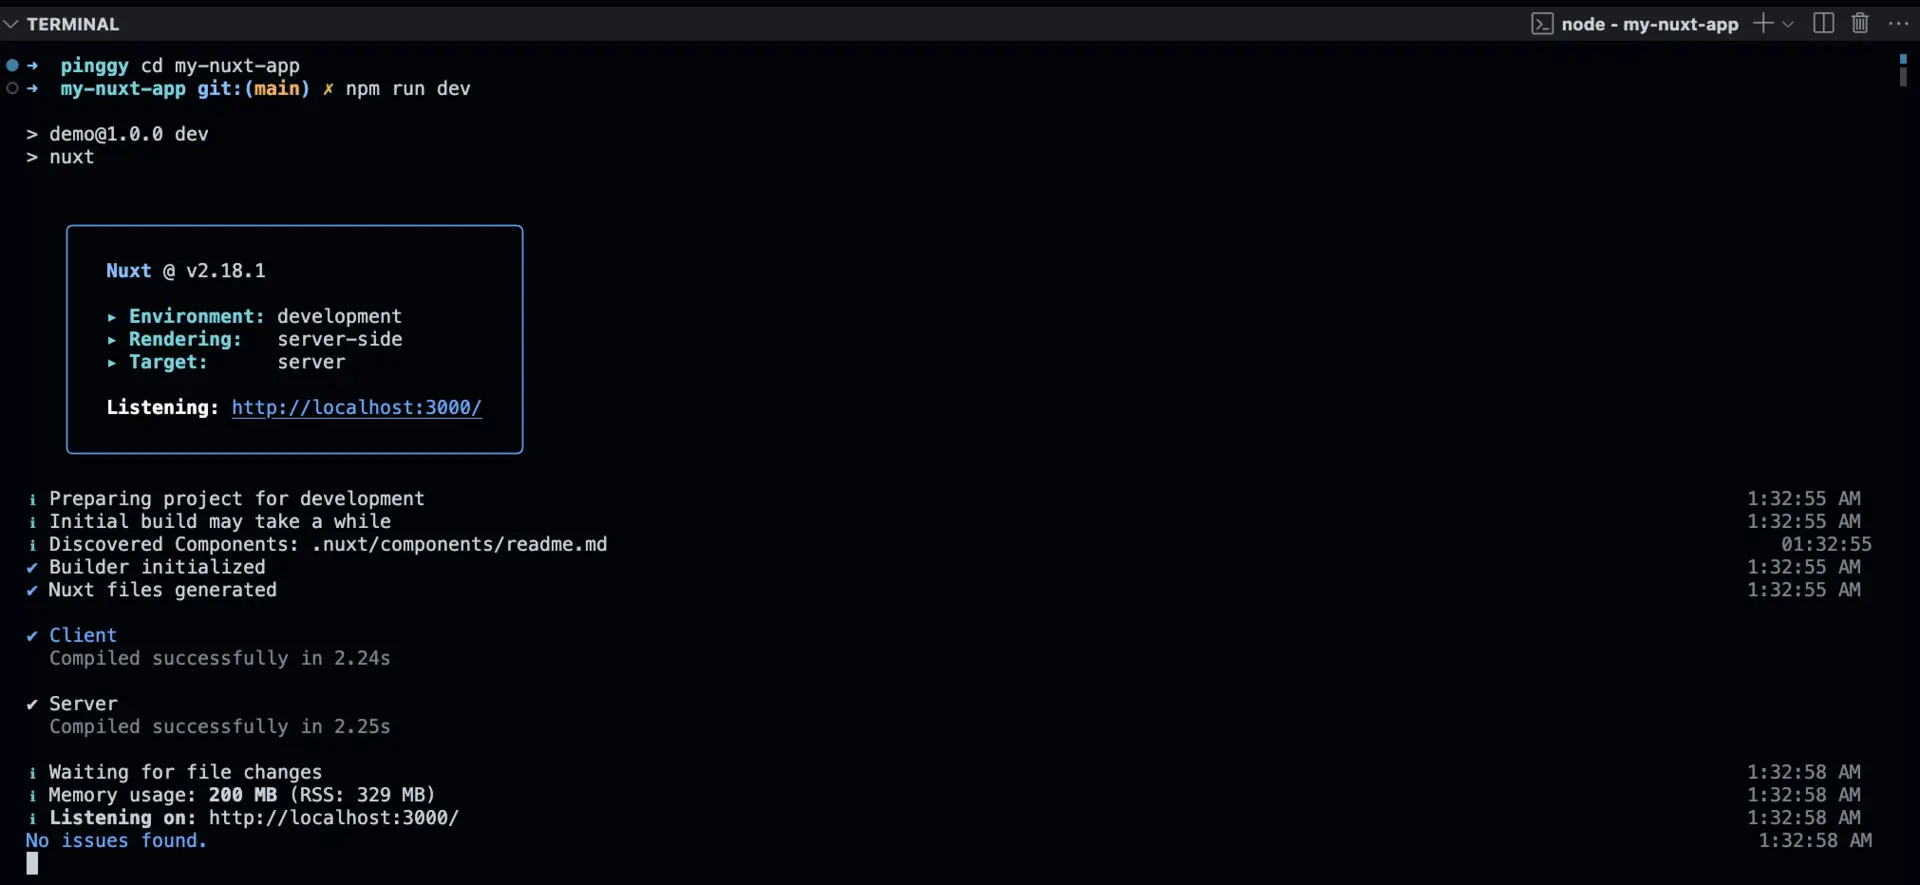
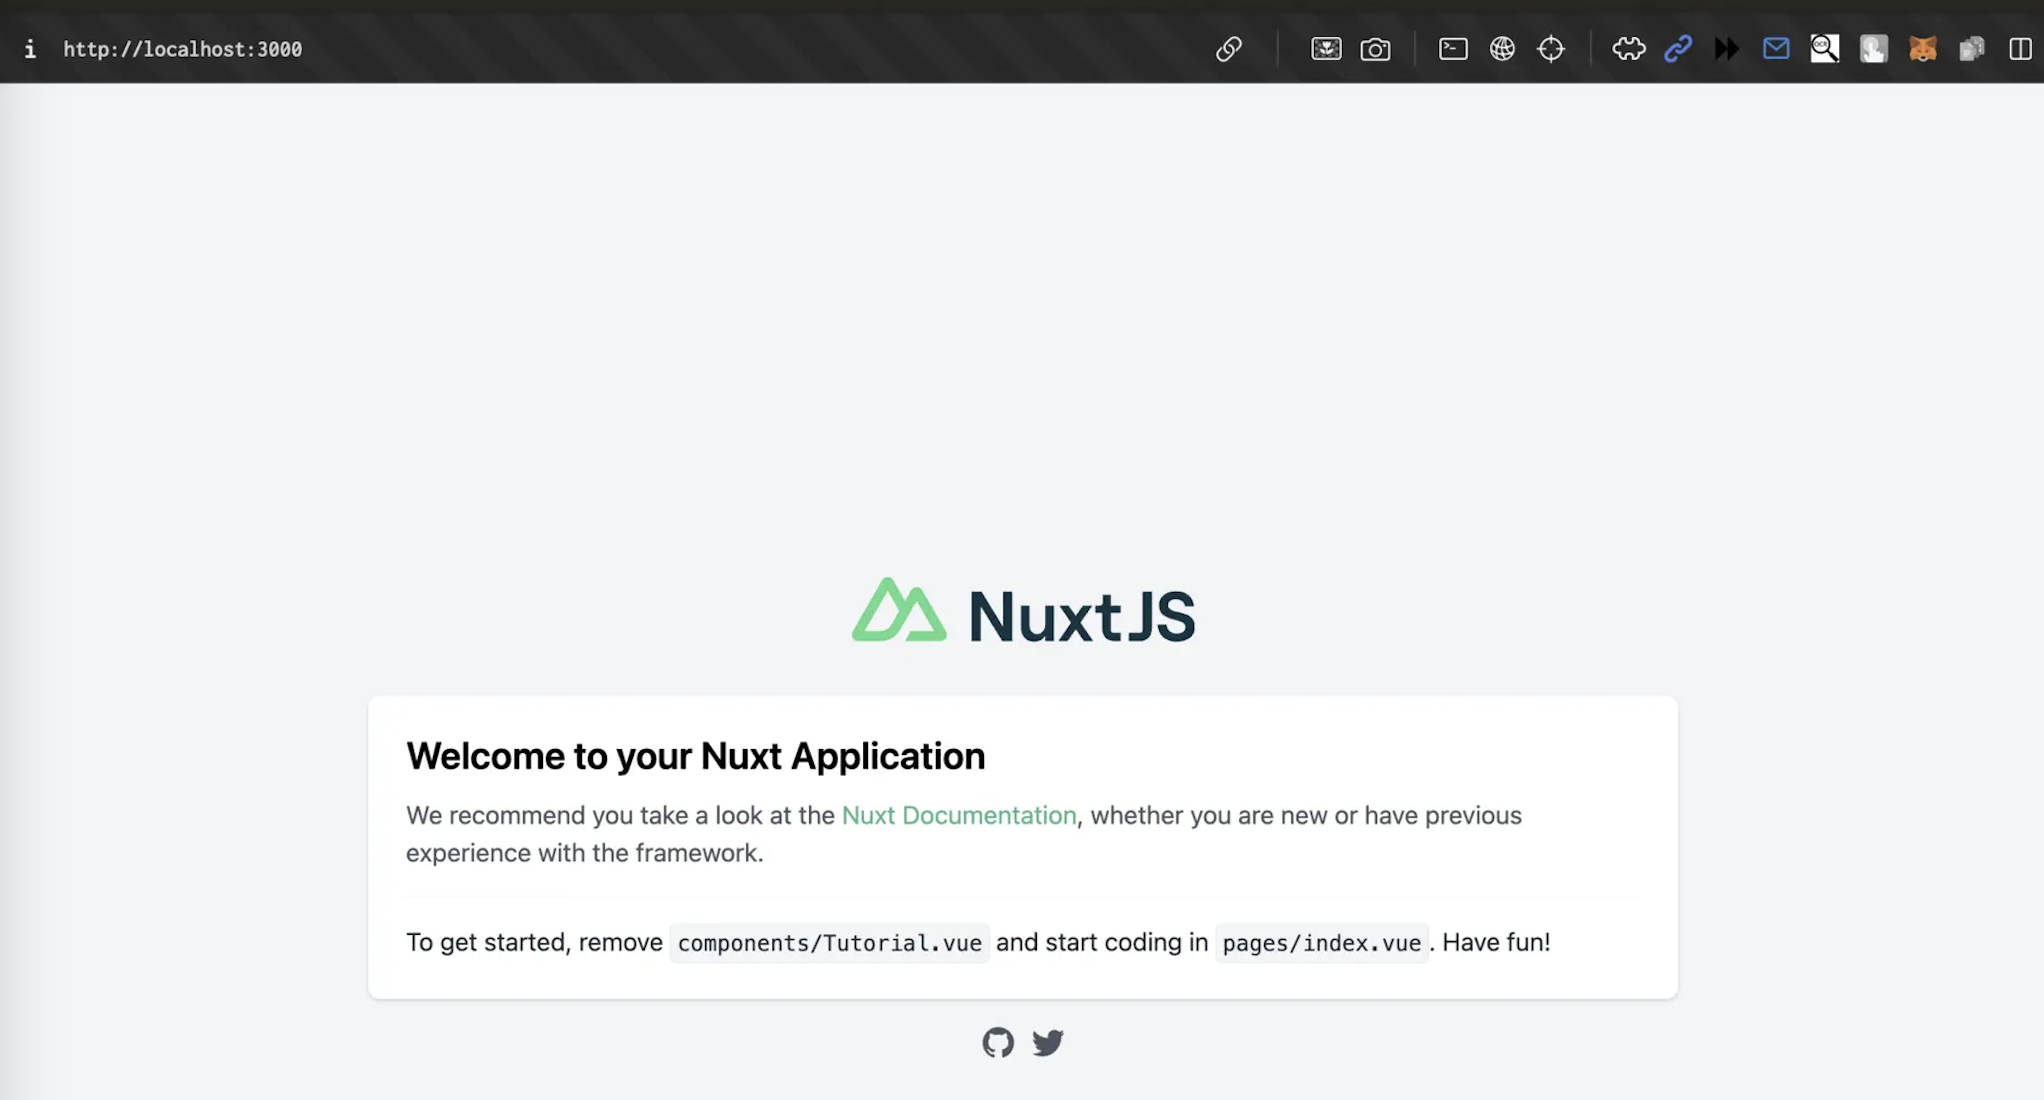
Your Nuxt.js app will now be available at http://localhost:3000.
Step 2: Create a Tunnel with Pinggy
Now, let’s expose your locally hosted Nuxt.js app using Pinggy.
Tunnel Creation Command:
Open your terminal and run the following command:
ssh -p 443 -R0:localhost:3000 a.pinggy.io
Command Breakdown:
ssh -p 443: Establishes a secure connection to Pinggy’s server.-R0:localhost:3000: Maps your local Nuxt.js app (running on port 3000) to Pinggy’s public URL.a.pinggy.io: Specifies the Pinggy server.
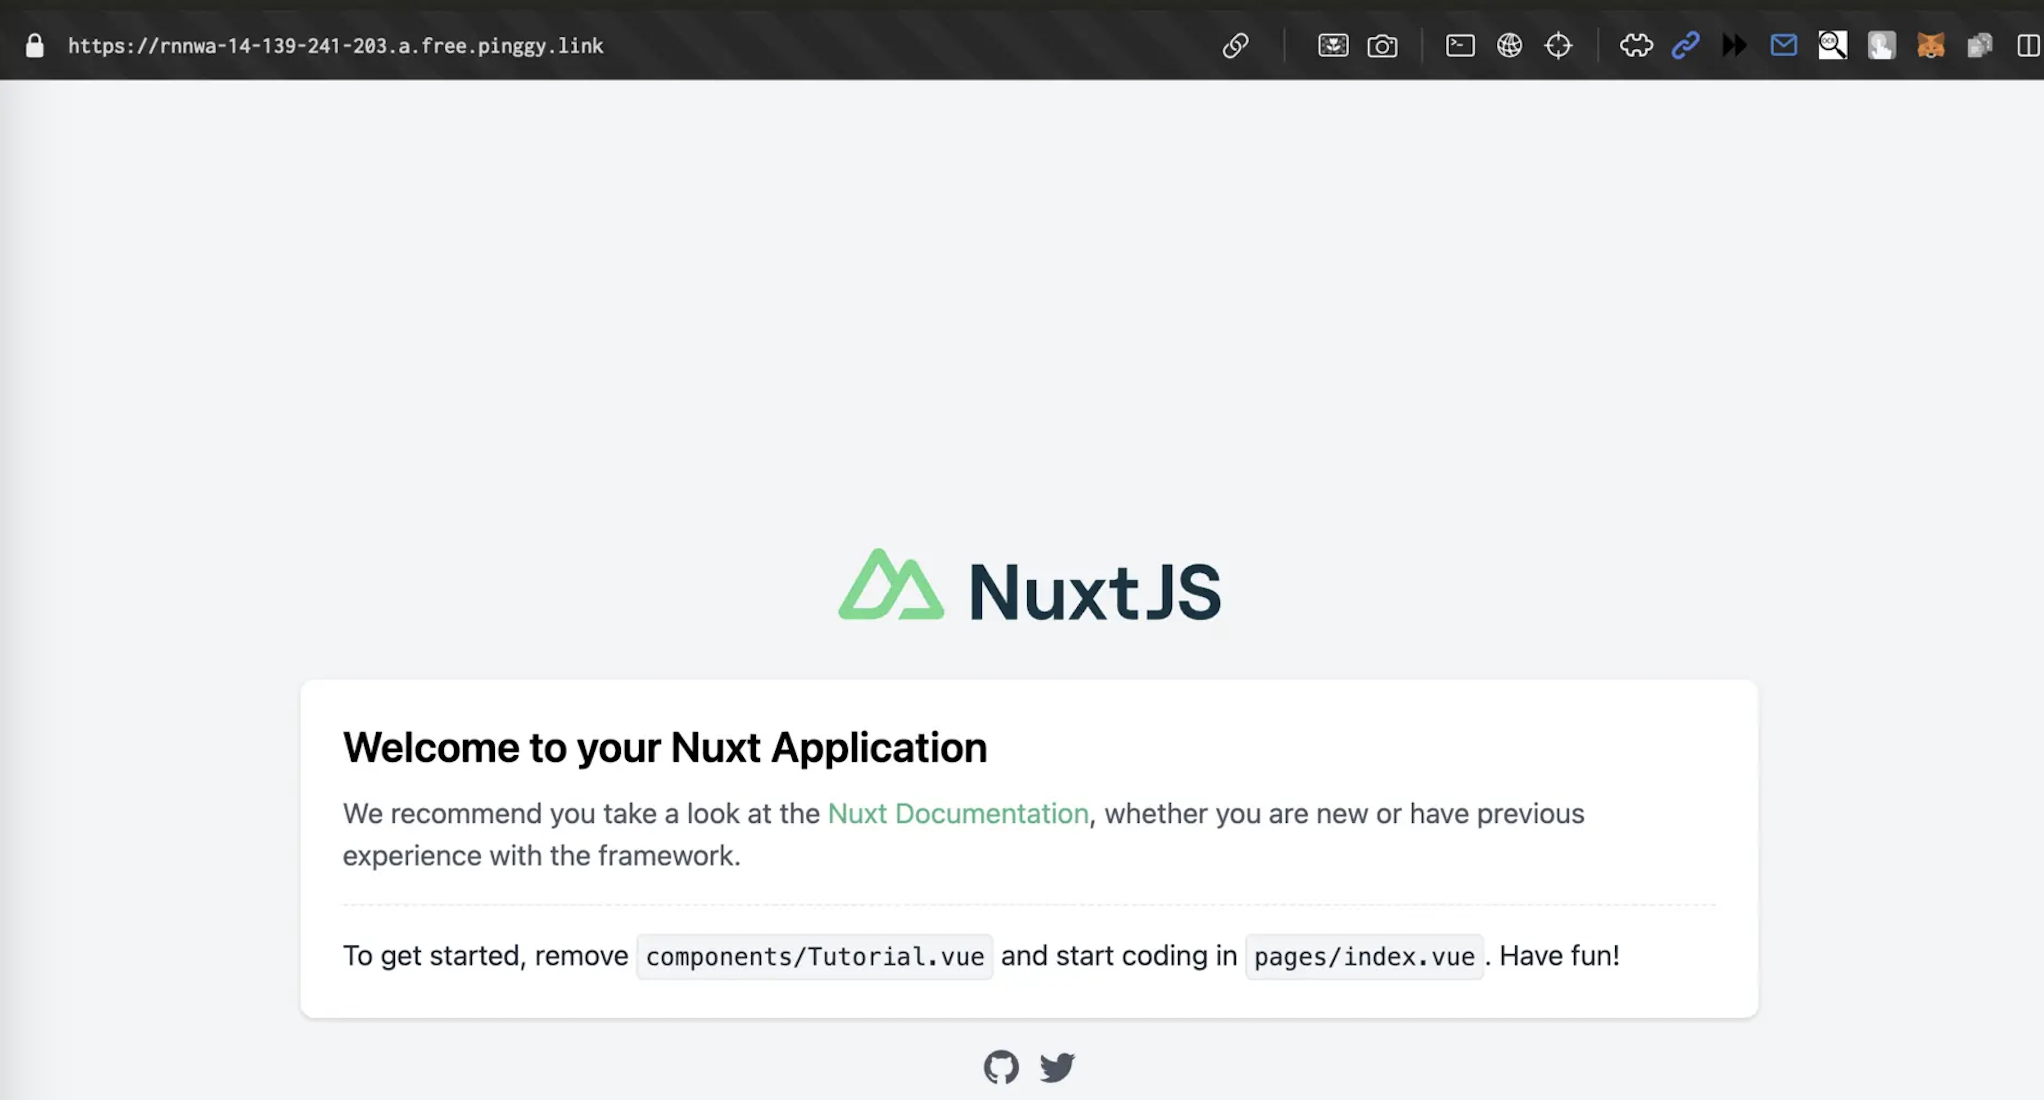
After executing the command, Pinggy will generate a public URL for your Nuxt.js app. It might look something like this:
http://example.pinggy.link
https://example.pinggy.link

Copy and paste the URL into your browser to access your app from anywhere!
Step 3: Customize Your Pinggy Tunnel
Pinggy offers advanced customization options to improve functionality and security.
Custom Domains
- You can use a personalized or branded domain name for your tunnel instead of the default Pinggy-generated link.
- This is especially useful for professional deployments, making links memorable and aligned with your branding.
Password Protection
- Add an extra layer of security by setting up password protection for your tunnel.
- Only those with the password can access your app, keeping it secure from unauthorized users.
To learn more about these features, refer to Pinggy’s official documentation.
Benefits of Hosting Nuxt.js Apps with Pinggy
- No Server Required: Simplify hosting by eliminating the need for a traditional server.
- Fast and Secure: Establish secure connections instantly.
- Ideal for Testing and Demos: Share your app with clients or team members during development.
Troubleshooting Tips
If you run into issues with the Pinggy tunnel or ComfyUI setup, try these solutions:
- Port Conflicts: Make sure the port provided with the SSH command corresponds to the port used by Nuxt App, by default it is 3000. Mismatched ports will prevent a successful tunnel connection.
- Firewall Restrictions: Some of the network firewalls prevent tunneling connections. Make certain that SSH connection is authorised and if there are any firewalls active, then get them removed for some time.
- Command Not Found: Make sure SSH is installed on your machine. On macOS and Linux, SSH is pre-installed, but on Windows, you may need to install it or use tools like Git Bash.
Conclusion
Using Pinggy to host your
Nuxt.Js app provides a secure, serverless solution for developers. Whether you’re showcasing your app to clients or testing it on the go, Pinggy simplifies the process, making it accessible to anyone with a few terminal commands.
With its advanced features like custom domains and password protection, Pinggy is an excellent tool for hosting and sharing your local projects effortlessly.