In this guide, we’ll walk through the process of exposing your localhost Minecraft server to the internet using Pinggy. By following these steps, you can seamlessly play with friends from around the world.
Summary
- In Minecraft, launch a map and initiate the server setup. Click on Open to LAN.
- Note the port number. Example: 25565.
- Open a terminal / cmd, and run the following command (replace 25565 with your port):
ssh -p 443 -R0:localhost:25565 tcp@free.pinggy.io
- This command creates a TCP tunnel and it will output a public URL like
tcp://tljocjkijs.a.pinggy.link:40527. - Your friends can use the endpoint provided by Pinggy
tljocjkijs.a.pinggy.link:42289 to connect to your Local game server.
Installing Minecraft Launcher
To embark on your Minecraft adventure, the first step is to install the Minecraft Launcher. Follow these detailed instructions to ensure a smooth installation process.
Visit the Official Minecraft Website:
Head over to the official Minecraft website by navigating to
minecraft.net. Once on the homepage, you’ll find various options and information related to Minecraft.
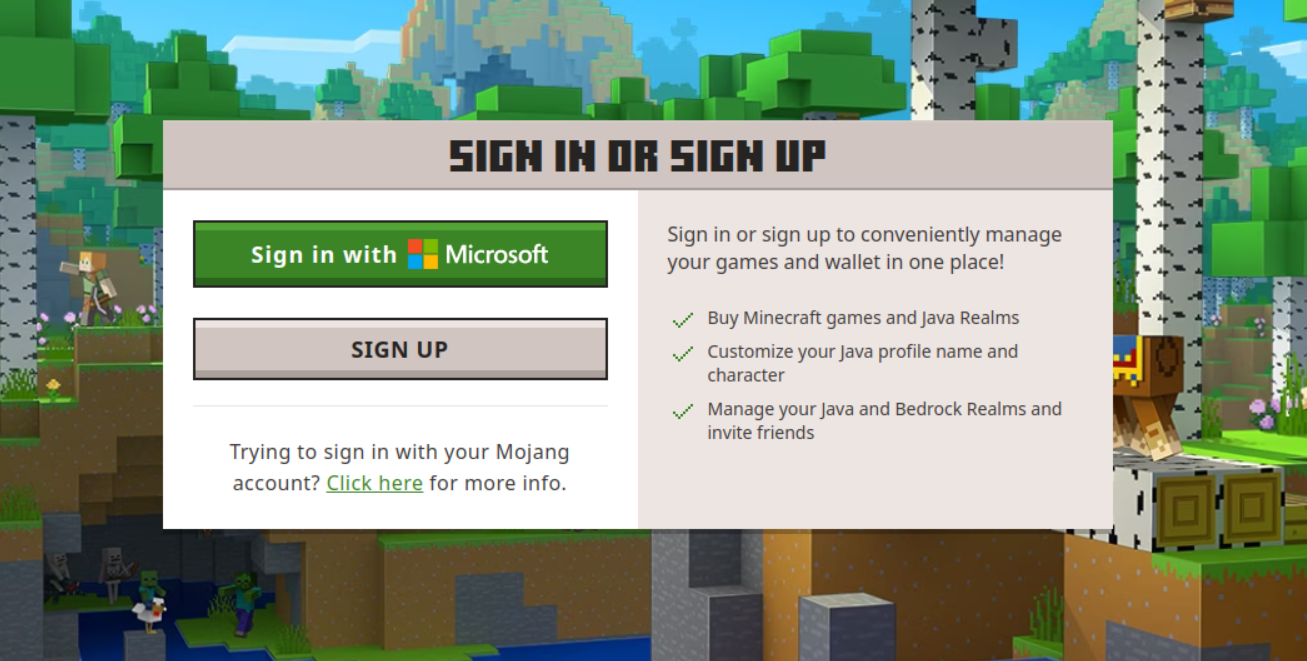
Create a Minecraft Account:
If you don’t already have a Minecraft account, you can create one by registering on the website. You can register by linking your Microsoft account. Follow the on-screen instructions to complete the registration process and verify your account.
Purchase Minecraft:
After successfully creating your account, you’ll need to purchase Minecraft. Look for the Get Minecraft section on the website. Choose the edition of Minecraft you want to purchase, such as Java Edition or Bedrock Edition, and complete the payment process.
Choose Your Platform:
Once you’ve purchased Minecraft, you can download the game for various platforms. On the Minecraft website, navigate to the “Download” section. Here, you’ll see options for different platforms, including Windows, macOS, Linux (Debian/Ubuntu), iOS, Android, and more.
Select Your Edition:
Depending on the edition you purchased, choose the appropriate download link. For example, if you bought Java Edition, click on the “Download for Windows” link if you’re using a Windows PC. If you purchased Bedrock Edition, select the relevant link for your device.
Run the Installer:
Once the download is complete, run the installer. Follow the on-screen instructions to install the Minecraft Launcher on your device. The installation process may vary slightly depending on your operating system.
Launch the Minecraft Launcher:
After installation, launch the Minecraft Launcher. You may need to log in with the account credentials you used during the signup process.
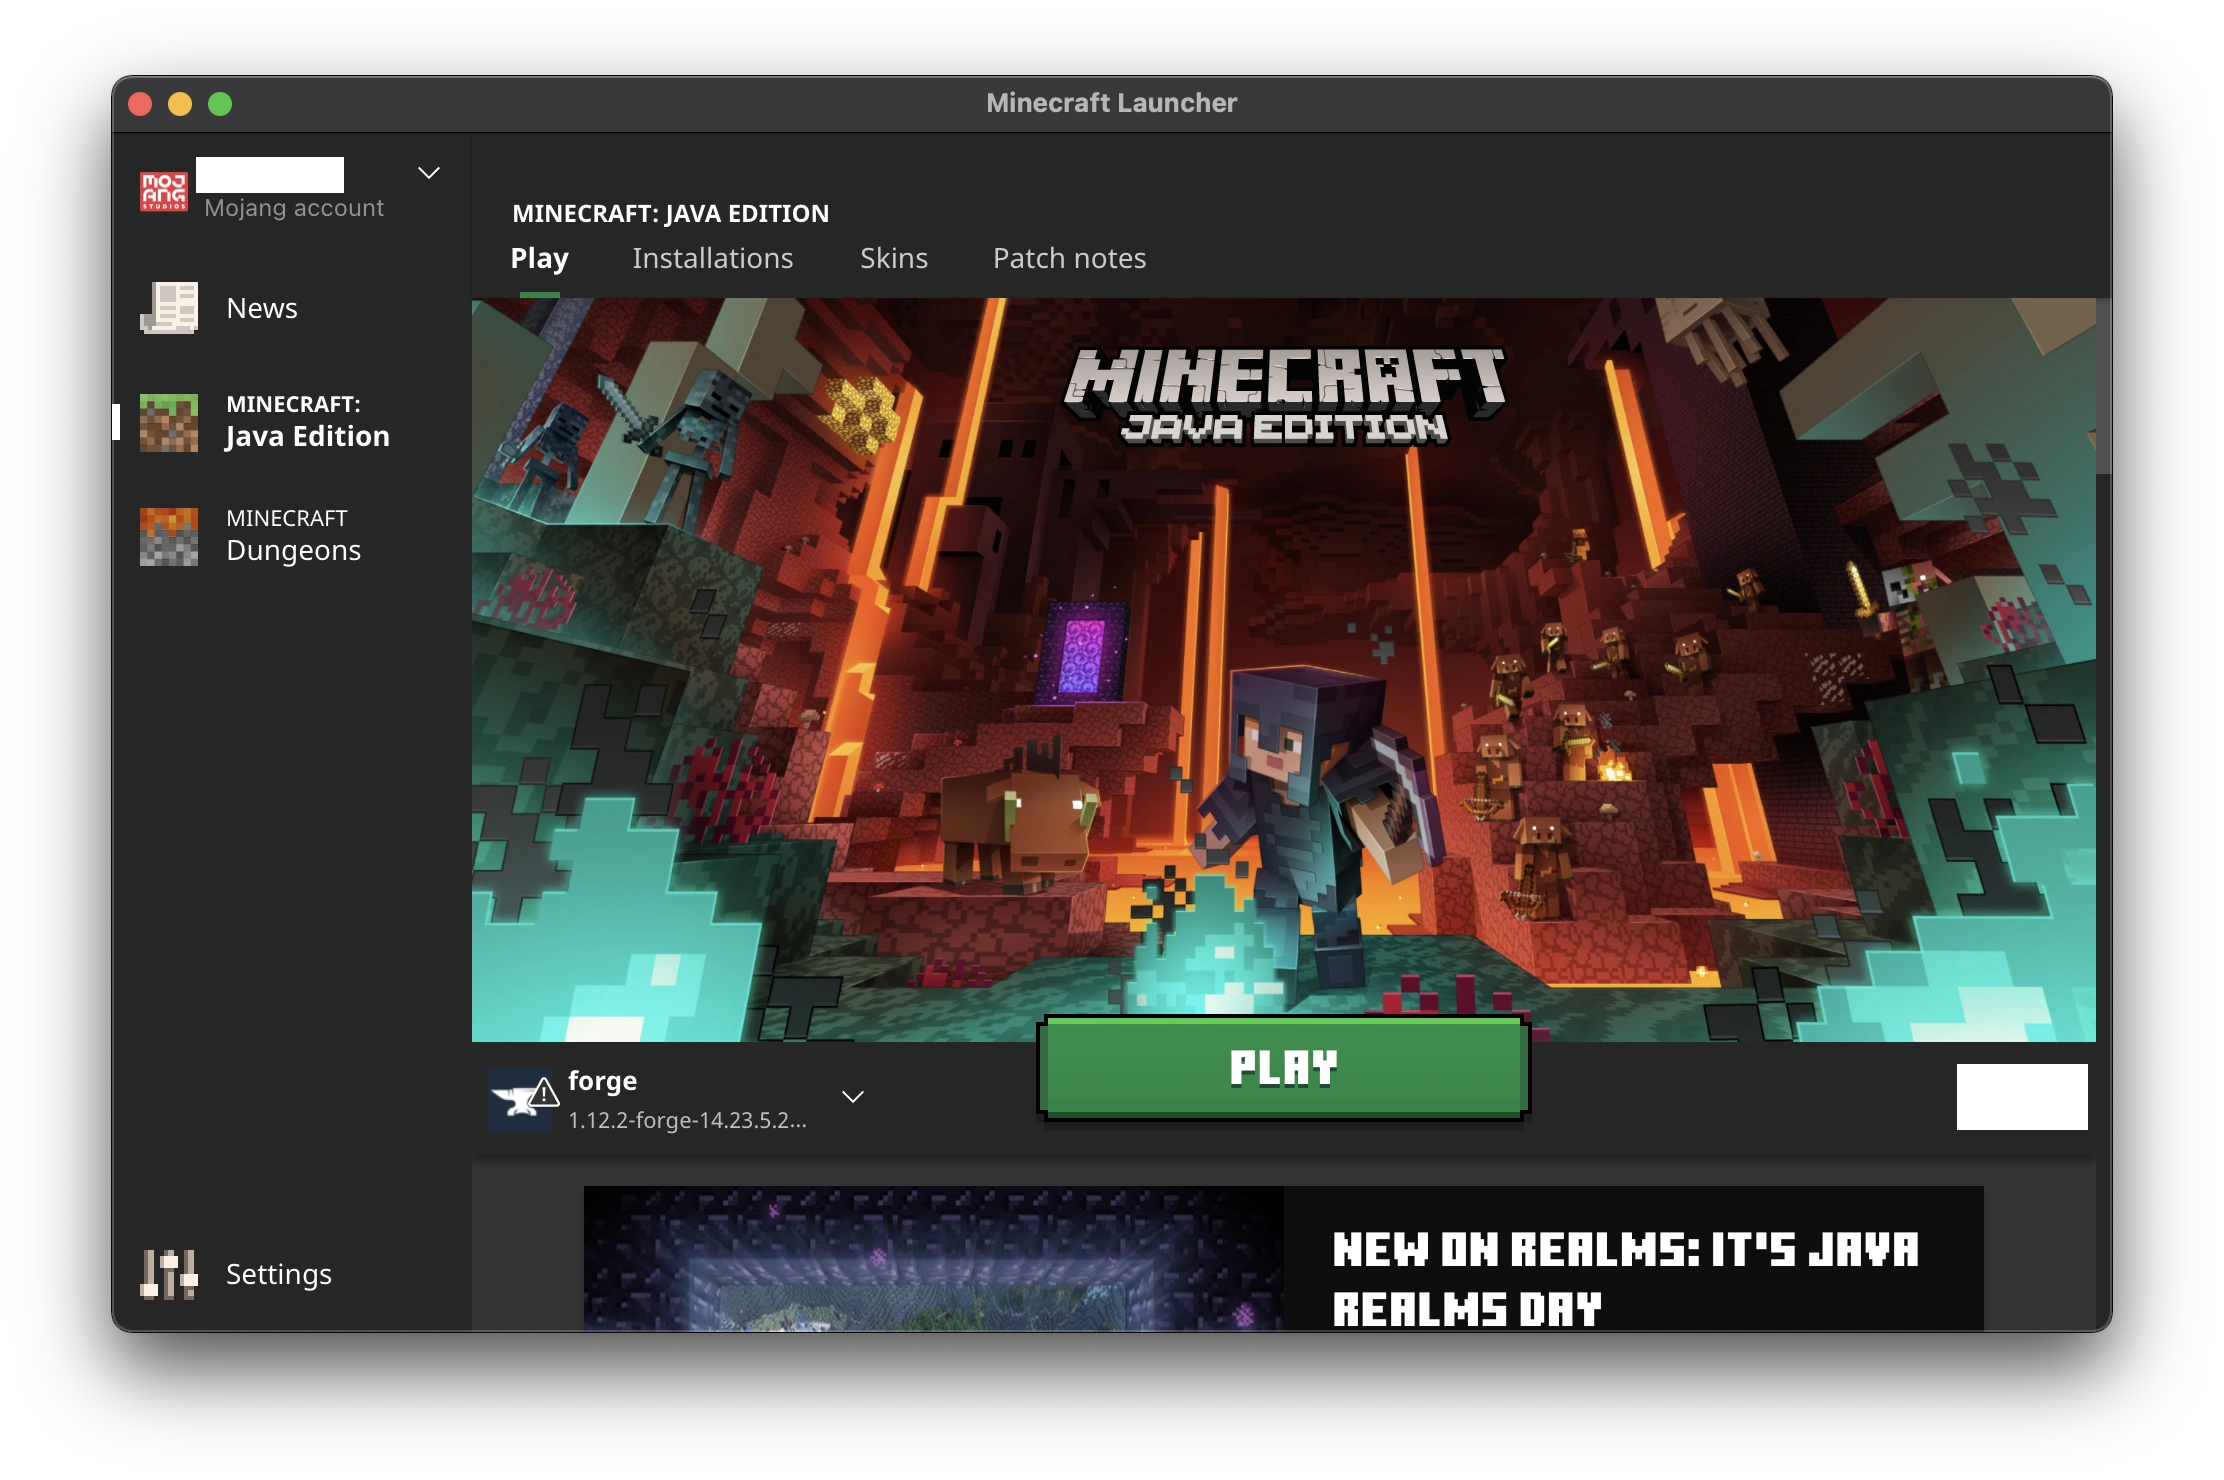
Congratulations! You’ve successfully installed the Minecraft Launcher on your device. Now, you’re ready to dive into the blocky and adventurous world of Minecraft. Whether you’re exploring solo or planning to host a multiplayer server, the Minecraft Launcher is your gateway to endless creativity and fun.
Starting a Map
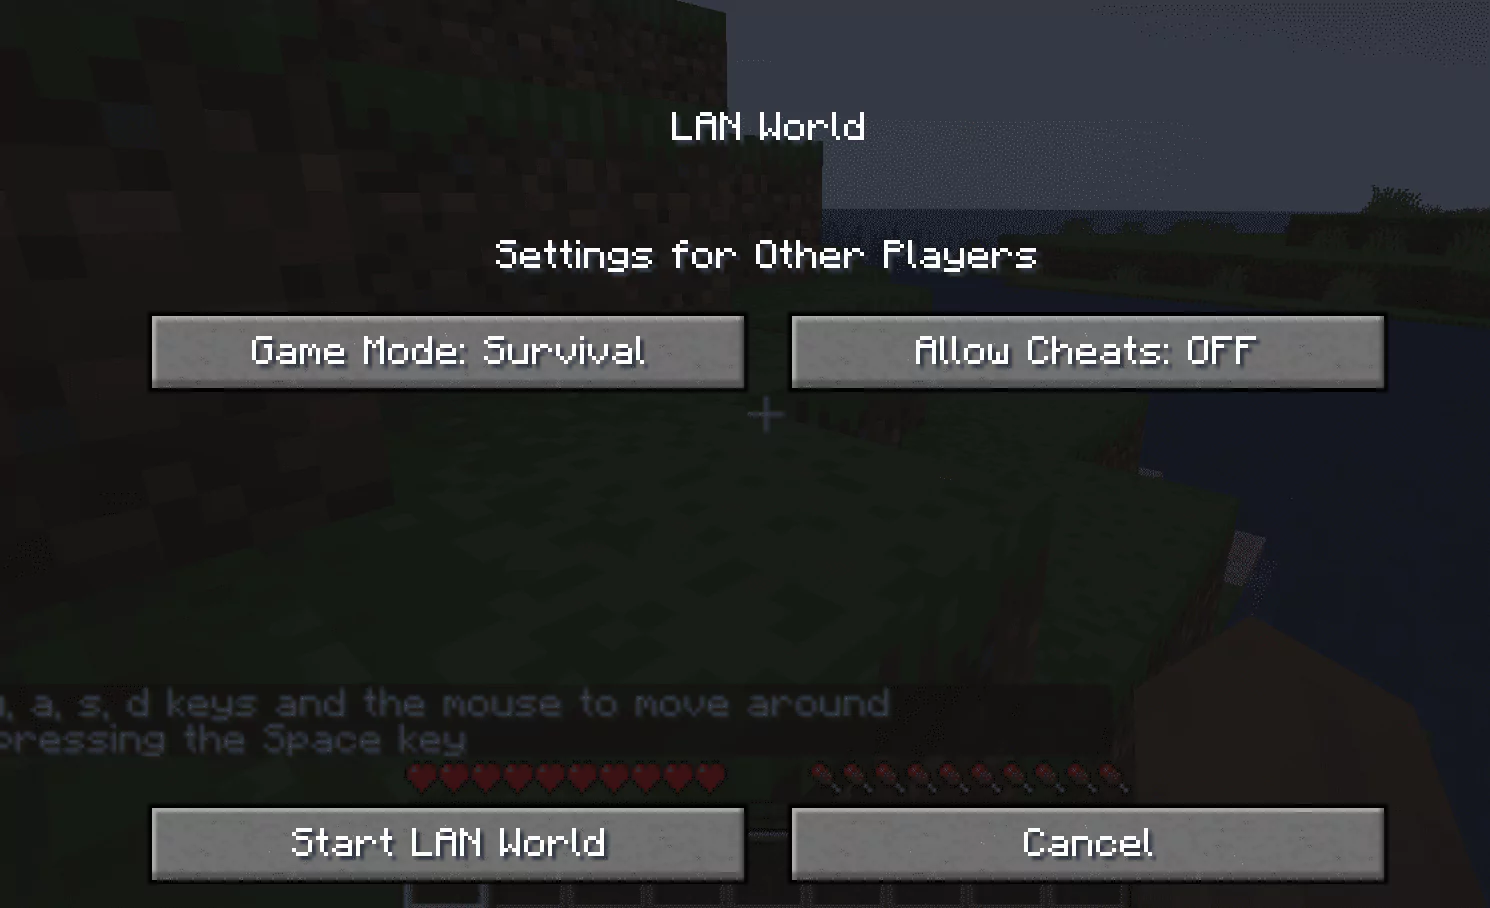
Once the Minecraft Launcher is installed, launch a map and initiate the server setup. Click on Open to LAN to configure your server settings.

Configure various settings, such as game mode and cheats. Once done, click on Start LAN World.
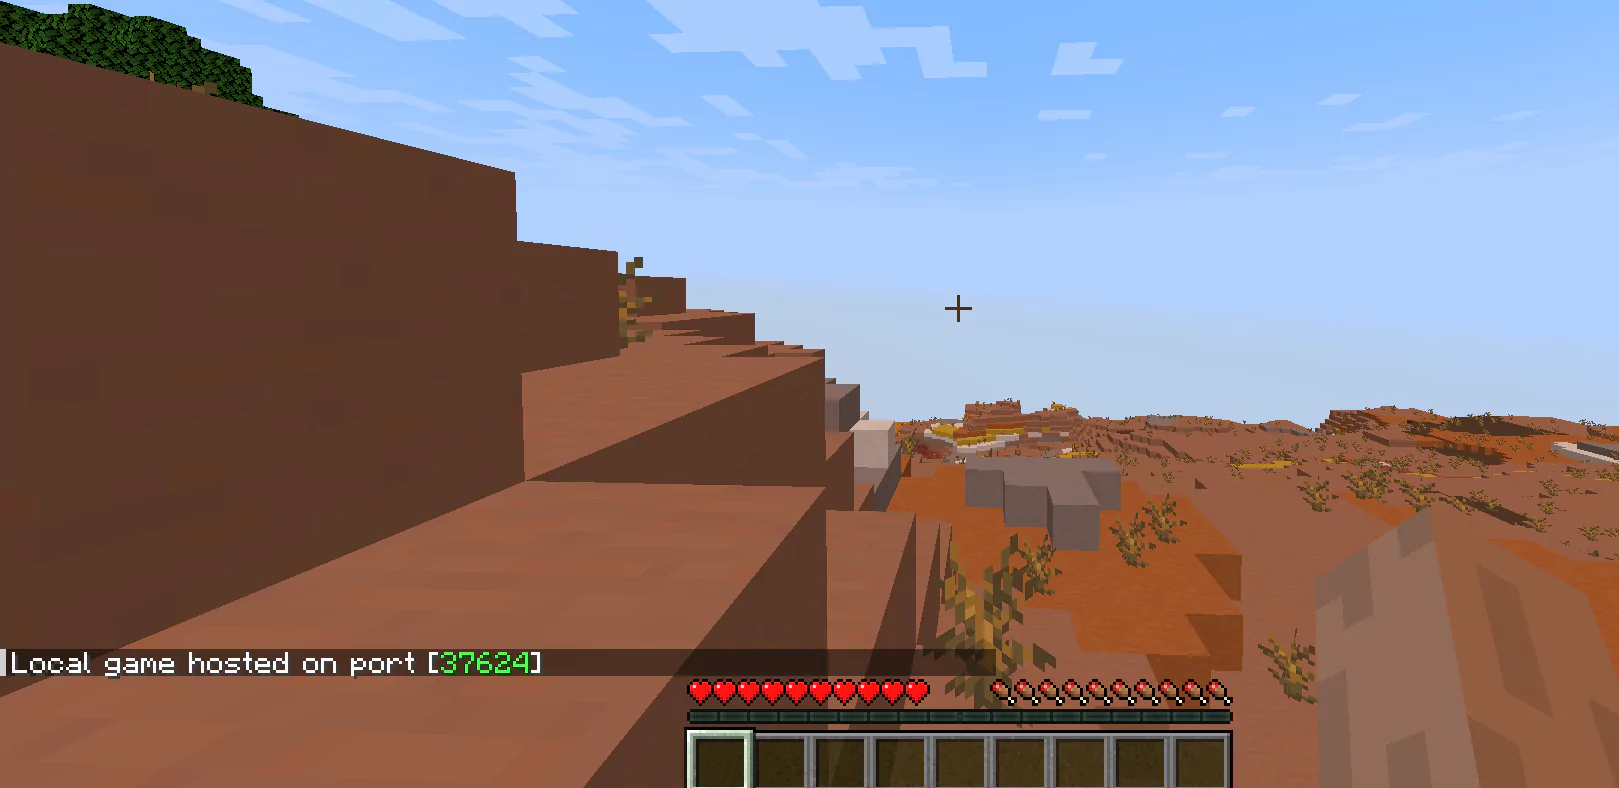
Minecraft will open a port for incoming multiplayer connections. Note the port number; in this case, it’s 25565.
Exposing the Server with Pinggy
Now, let’s use Pinggy to expose the server to the internet.
Open a terminal and run the following command:
ssh -p 443 -R0:localhost:25565 tcp@free.pinggy.io
After running the tunneling command, you will receive a public URL in the following format: tcp://rnsej-14-139-241-214.a.free.pinggy.link:42289. This URL can be used to connect to your Minecraft server from anywhere.
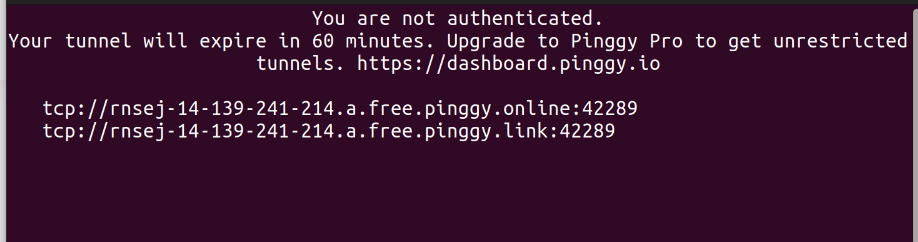
Joining the Server
Your friends can use the endpoint provided by Pinggy rnsej-14-139-241-214.a.free.pinggy.link:42289 to connect to your Local game server.
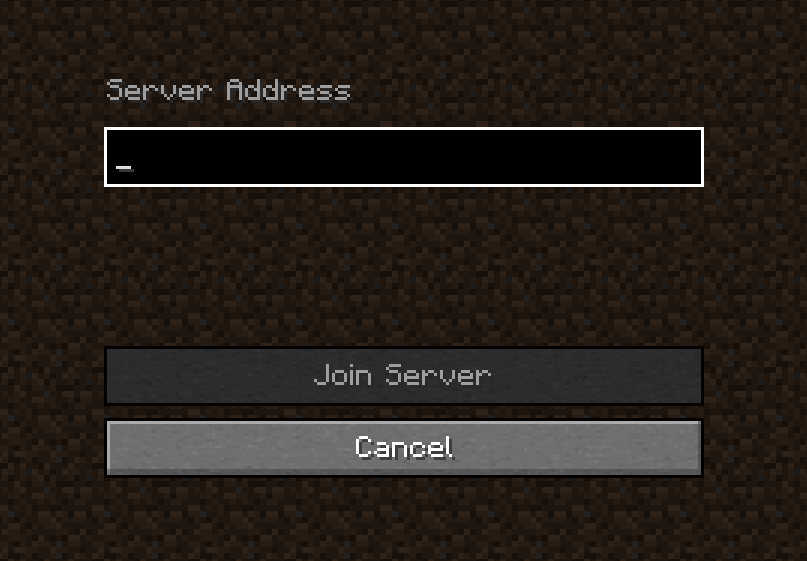
Ensure your Minecraft server and the Pinggy tunnel are running; otherwise, players won’t be able to connect.
Tips
Use Pinggy Dashboard to manage your tunnels, and advanced controls.
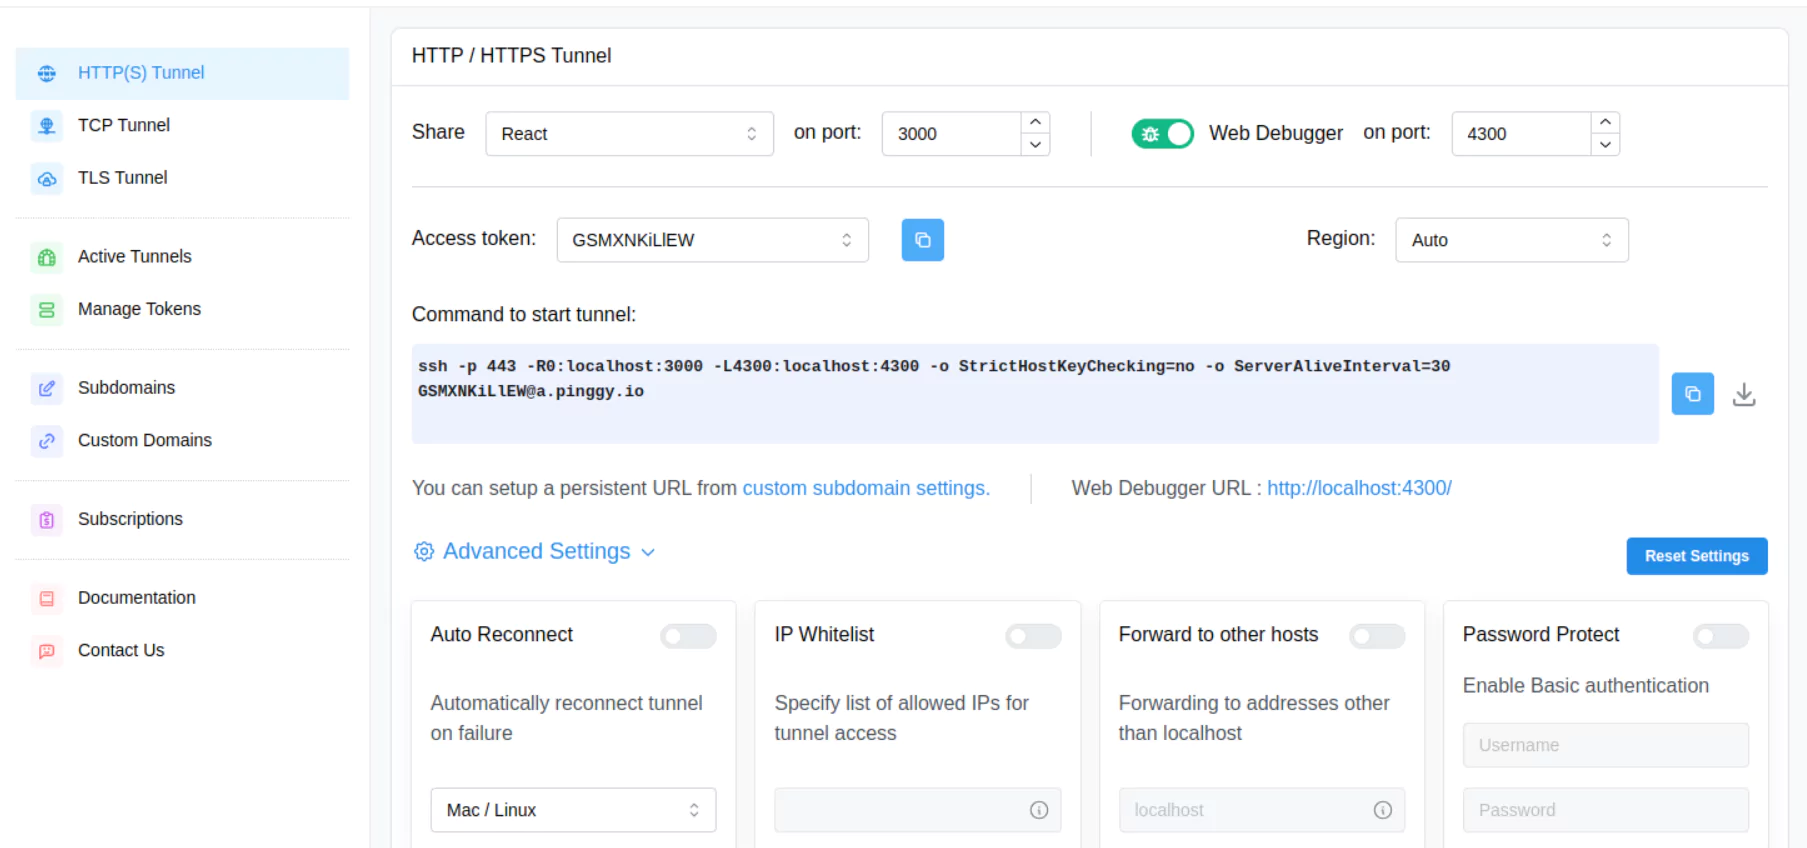
Pinggy gives you free tunnels for 60 minutes. For longer sessions, explore Pinggy’s pricing details here to find the most suitable plan for your needs and budget.