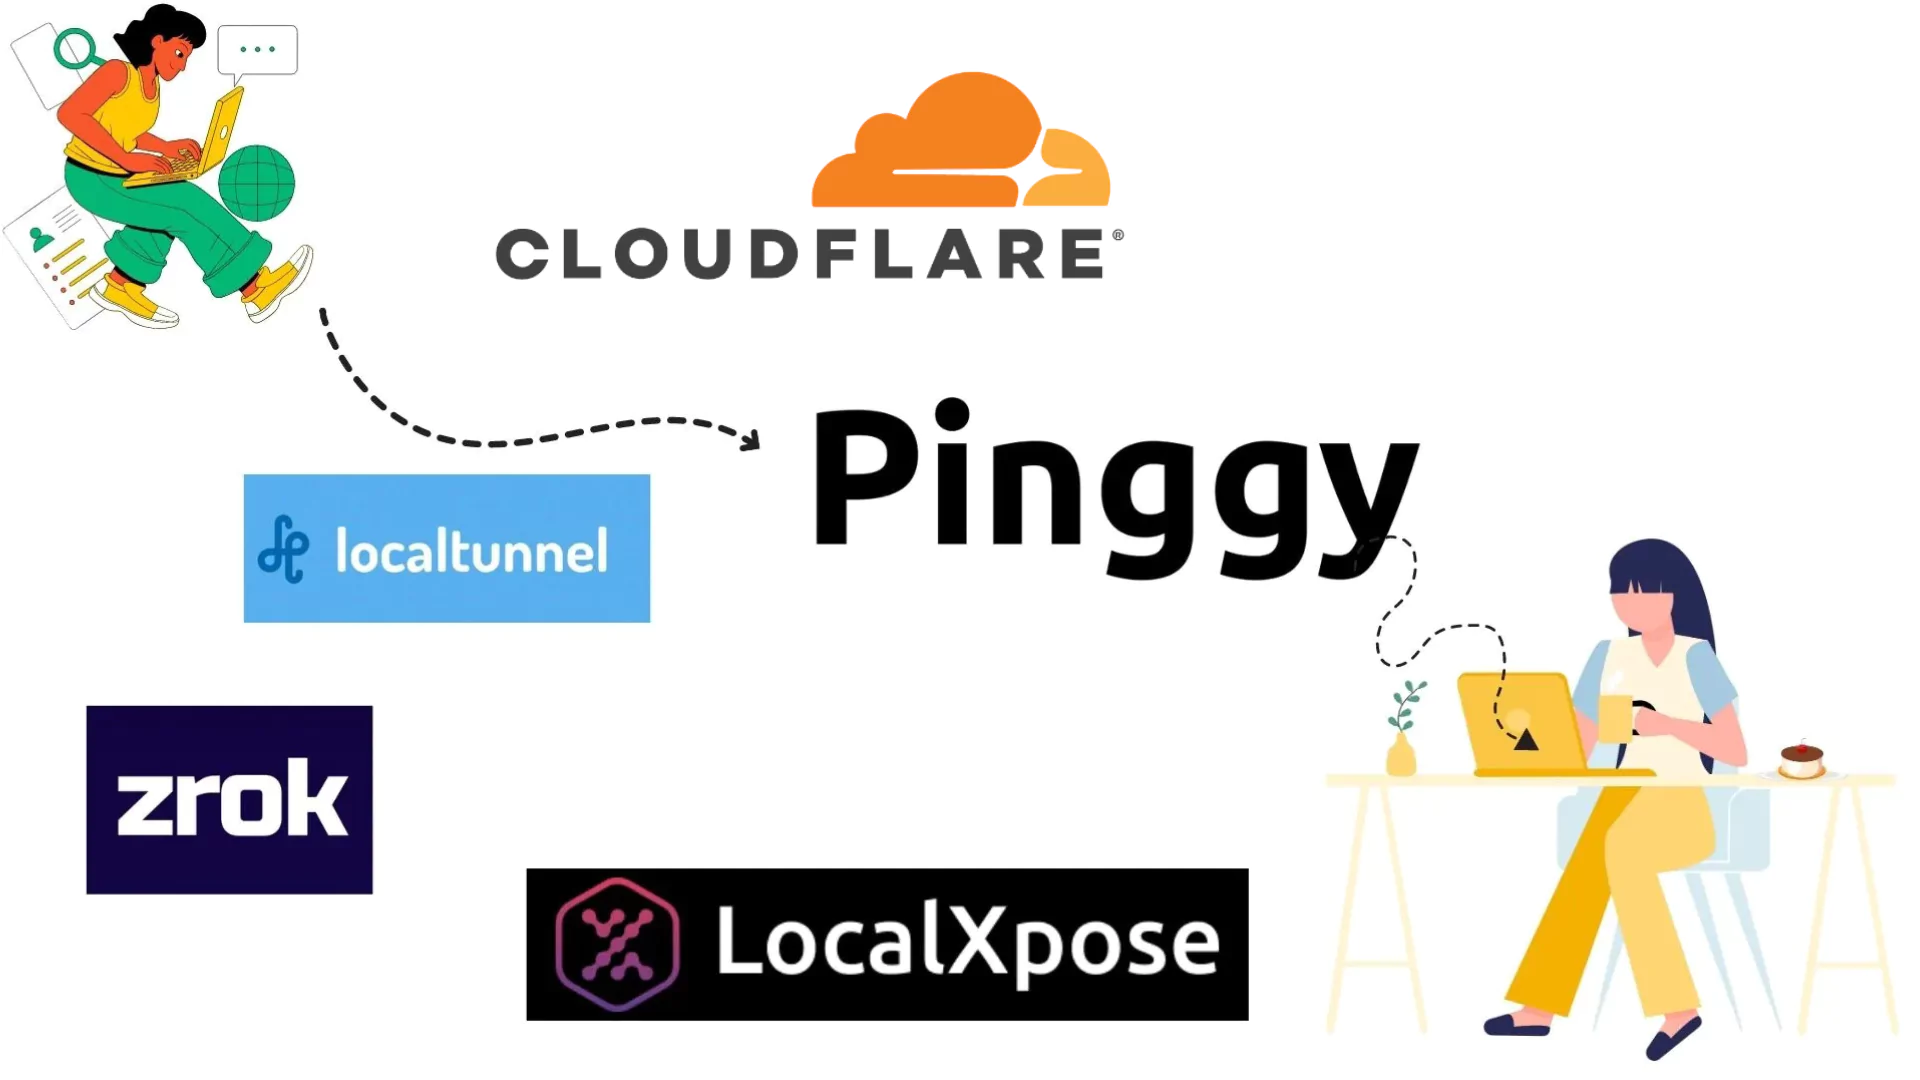
Cloudflare Tunnel provides a seamless way to connect applications and services to the Cloudflare infrastructure without needing a public IP address. While it’s a powerful tool, several alternatives offer similar capabilities with unique features and benefits. In this article, we’ll explore the top 10 Cloudflare Tunnel alternatives in 2026, covering their Pros, Cons,Uses, Installation process, and pricing to help you find the best solution for your needs.
List of best Cloudflare Tunnel alternatives
- Pinggy
- ngrok
- Tailscale
- LocalXpose
- Zrok
- Localtunnel
- localhost.run
- Rathole
- Tunnelmole
- Frp
Overview of Cloudflare Tunnel
Before jumping into the alternatives for Cloudflare Tunnel, we will have a brief overview of Cloudflare Tunnel itself.
Cloudflare Tunnel (formerly Argo Tunnel) is a service that allows you to securely expose your local applications to the internet without opening up ports or configuring a firewall. It creates a secure, outbound connection from your server to the Cloudflare network, ensuring that your application is protected by Cloudflare’s extensive security features.
Pros of Cloudflare Tunnel:
- Provides DDoS protection and firewall capabilities.
- Quick setup with minimal configuration required.
- Offers free SSL certificates to secure connections.
- Ensures fast response times by routing traffic through Cloudflare’s global network.
Cons of Cloudflare Tunnel:
- Requires a Cloudflare account and configuration.
- It can be costly for high-usage scenarios.
- Tying your application to Cloudflare’s ecosystem might limit flexibility.
- No UDP tunnels.
Pricing of Cloudflare Tunnel:
Cloudflare Tunnel is included in the Cloudflare Free plan, which offers basic functionality. However, advanced features and higher usage limits are available in the Pro, Business, and Enterprise plans, starting at $20/month, depending on the features and level of support you require.
1. Pinggy.io
Pinggy.io is a simple and affordable tunneling service that provides public access to your localhost even behind a firewall or NAT. It’s designed for developers seeking a quick, no-fuss solution to expose their local environments to the web.
Uses:
Pinggy is ideal for developers who need to share their development environments quickly. It’s beneficial for demos, testing webhooks, or remote debugging without complex setups.
Pros of Pinggy
- Easy setup with no complex installation.
- Works directly from the terminal, making it highly convenient for developers who prefer command-line interfaces.
- You can create
QR code which you can generate for tunnel URLs, making it easy to share your local applications with others quickly.
- Includes a built-in tool for monitoring and inspecting HTTP requests and responses, enabling real-time debugging.
- Supports custom domain mapping, which is beneficial for branding and user-friendly URLs.
- Provides tunneling for both TCP and UDP protocols, making it versatile for various applications.
- Allows for collaborative features that let team members access shared tunnels.
- More affordable than many alternatives, especially for startups and small businesses.
Cons of Pinggy
- No OAuth 2.0 authentication for tunnel visitors.
- No global server load balancing or edge routing.
Installation Process
To get how simple it is to open a tunnel, here is an example. If you want to share your React app running on localhost:3000, you can do so using pinggy with the command:
ssh -p 443 -R0:localhost:3000 a.pinggy.io
Pricing of Pinggy
Pinggy offers a free tier where tunnels last for 60 minutes. Paid plans start at $2.50 per month, which includes enhanced features like custom domain support, teams, etc.
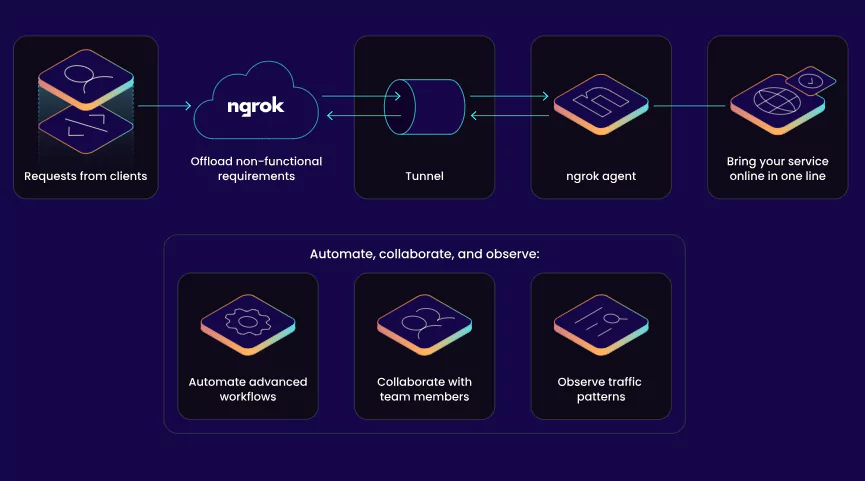
2. Ngrok
Ngrok is one of the most well-known and feature-rich tunneling services that allows you to expose local web servers securely to the internet. It’s packed with advanced features like request inspection, URL rewriting, and webhook verification, making it popular among developers and large organizations alike. Ngrok offers a smooth and secure way to access your localhost over HTTPS and provides dashboards for real time monitoring and analyzing traffic. The tool is extremely user-friendly with support for OAuth, JWT, and IP whitelisting, giving developers control over who can access their tunnels. Its customizable domain options and the ability to handle multiple simultaneous tunnels make it ideal for large-scale or team projects. However, its free tier has limited bandwidth and features, which may require users to upgrade for extended usage.
Uses:
Ngrok is perfect for developers who need a secure, quick, and feature-rich tunnel for testing APIs, integrating webhooks, or running demo applications.
Pros of Ngrok:
- Works on Windows, macOS, and Linux, making it versatile across environments.
- Offers OAuth, JWT, and IP whitelisting for better security.
- Ability to manage and monitor tunnels remotely via the Ngrok dashboard.
- Provides an extensive API for programmatic access and automation.
- Intuitive web interface to inspect requests and responses in real-time.
- Allows you to use your domain name, enhancing brand visibility.
Cons of Ngrok:
- No UDP tunnels.
- Requires account sign-up for use.
- Limited bandwidth in the free tier, which might not suffice for high-traffic applications.
Installation Process:
- Download Ngrok from the
Download Link.
- Extract and run the command:
./ngrok http 8080
Pricing of Ngrok:
Plans start at $8 per month, with various tiers depending on features such as concurrent connections and custom domains.
3. Tailscale
Tailscale is a peer-to-peer VPN tool built on WireGuard technology. It emphasizes security and ease of use, allowing you to create private mesh networks between devices with minimal configuration. Tailscale bypasses the need for public-facing IP addresses by creating direct connections between devices, regardless of firewalls or NATs. Although Tailscale is primarily a VPN solution, it can serve as an excellent tunneling alternative, providing encrypted access to services on your private network without exposing them to the public internet. It is particularly useful for developers working on sensitive projects that need to remain private and for teams looking to securely collaborate across distributed environments. With automatic NAT traversal and integration with identity providers like Google and Microsoft, Tailscale ensures that only authorized devices can access your network.

Uses:
Tailscale is perfect for securely connecting multiple devices in a private network. It’s often used in scenarios where access control and direct connections are essential.
Pros of Tailscale:
- Enhances speed and reliability by allowing direct connections without middlemen.
- Simple installation and setup process.
- Works seamlessly on all major platforms, including mobile devices.
- Ensures that each connection is authenticated and authorized.
- Automatically manages NAT traversal and firewall rules.
- Easy management of which devices can connect to your network.
Cons of Tailscale:
- Primarily a VPN solution, not dedicated solely to tunneling.
- Might require a learning curve for users unfamiliar with VPNs.
Installation Process:
- Install Tailscale on your device from the
Download Link.
- Run the following command:
sudo tailscale up
Pricing of Tailscale:
Tailscale offers a free plan for personal use, with paid plans starting at $5 per user per month for team features.
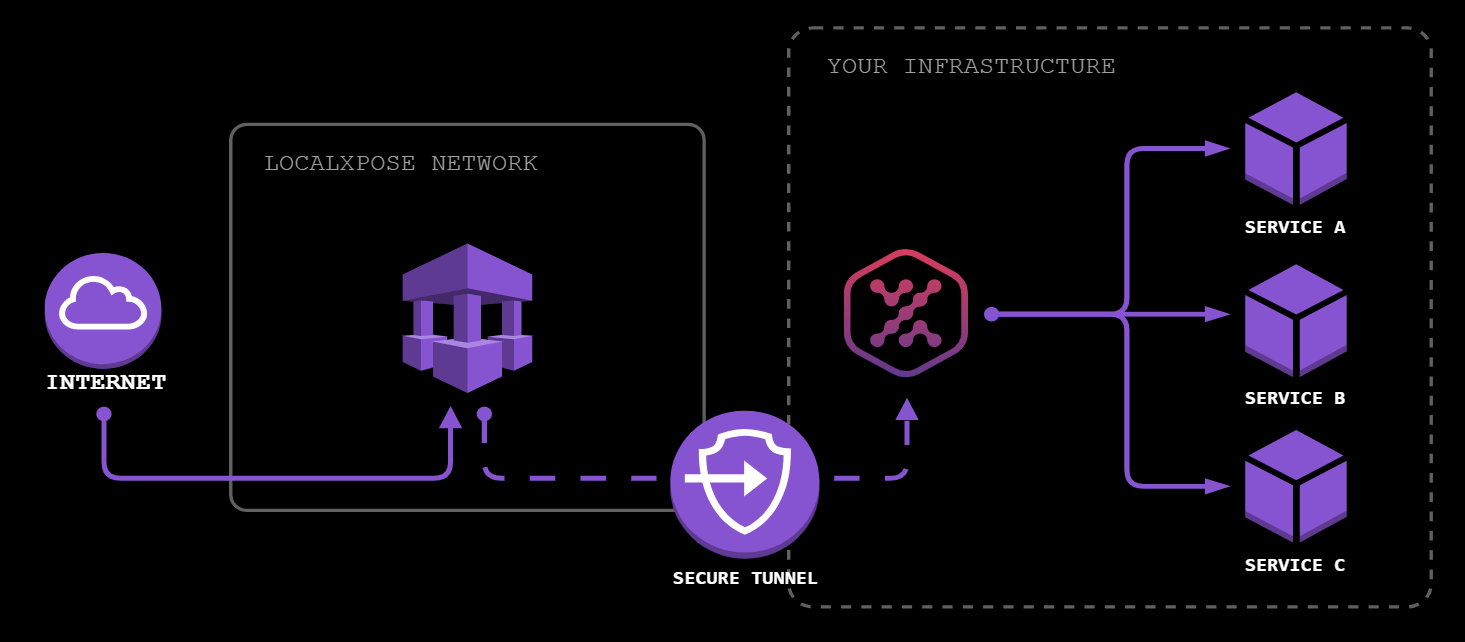
4. LocalXpose
LocalXpose is a feature-rich, user-friendly reverse proxy tool that allows developers to expose their local applications to the internet. Unlike other tunneling solutions, LocalXpose comes with a built-in graphical user interface (GUI), making it easy for non-developers to use as well. It supports various protocols, including HTTP, HTTPS, TCP, and UDP, providing flexibility for a wide range of use cases. Whether you need to test a web application, share a development environment, or enable remote access, LocalXpose allows you to do so securely. One of its standout features is its built-in file server, which allows you to easily share files with others via a public URL. Custom domain support and collaborative features make LocalXpose a strong choice for teams or professionals who want to maintain control over their online presence without complex setup procedures.
Uses:
Great for sharing web applications or files with others without complicated setups. It’s especially useful for those who want a GUI for tunnel management.
Pros of LocalXpose:
- Provides tunneling for HTTP, HTTPS, TCP, and UDP.
- Allows the use of custom domain names for user-friendly URLs.
- Offers a graphical user interface for easier management and control of tunnels.
- Includes a built-in file server for easy sharing of files through the tunnel.
- Can handle wildcard domains, providing flexibility for subdomains.
- Supports multiple user access, enabling team collaboration.
Cons of LocalXpose:
- Requires client download for installation.
- Lacks extensive documentation compared to some competitors.
Installation Process:
Download and install the LocalXpose client from the
Download Link, then run:
./localxpose http 3000
Pricing of LocalXpose:
Plans start at $6 per month, with a free tier available for limited usage.
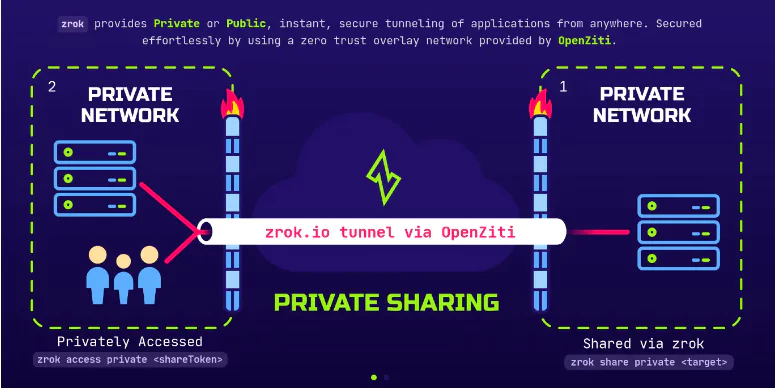
5. Zrok
Zrok is a cutting-edge, open-source alternative to traditional tunneling services, built on zero-trust networking principles. It enables secure sharing of local resources, such as web applications, databases, or internal tools, without exposing them to the public internet. Zrok is designed for users who prioritize control and transparency over convenience, making it an excellent fit for tech-savvy developers and teams with strong security needs. With Zrok, every connection is authenticated, and no resource is accessible without explicit permission, ensuring that even sensitive services remain private. Its open-source nature allows for customization to fit specific requirements, and its zero-trust architecture provides an added layer of security, ensuring that only trusted users and devices can access the tunnels.
Uses:
Zrok is ideal for secure resource sharing and file transfer within a zero-trust environment. It’s suited for users who want full control over their network configuration.
Pros of Zrok:
- Offers transparency and customization options for tech-savvy users.
- Provides private, secure access to resources without exposing them publicly.
- Automatically manages IP addresses and connections, reducing manual configurations.
- Allows for easy file sharing through tunnels.
- Supports TCP and UDP protocols, making it adaptable for various use cases.
Cons of Zrok:
- Initial setup can be complex for less technical users.
- Lacks traffic introspection features.
Installation Process:
Since it’s open-source, users need to clone the repo and follow the setup guide:
git clone https://github.com/openziti/zrok
Download LinkPricing of Zrok:
Free to use; requires self-hosting.
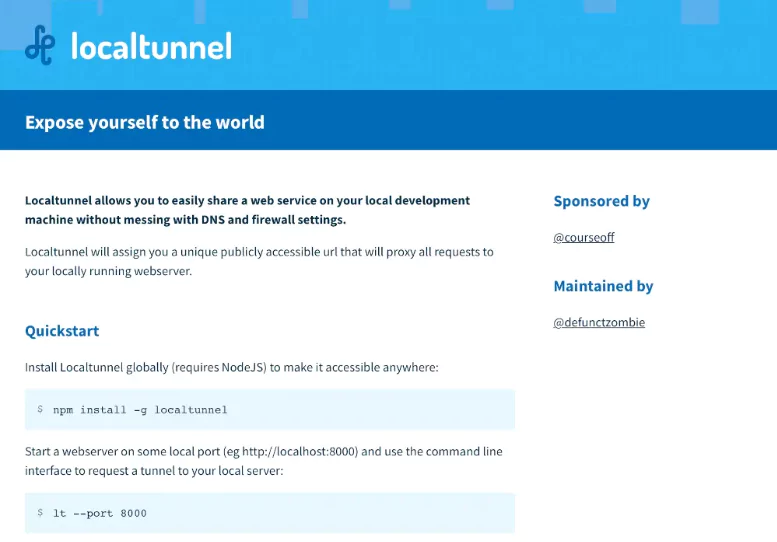
6. Localtunnel
Localtunnel is a popular, lightweight tool for quickly sharing your local development server with the world. It operates via a simple Node.js package, which means it can be set up with just a few commands. Despite its simplicity, Localtunnel offers several useful features, such as the ability to select custom subdomains, making it perfect for quick tests or sharing work in progress with clients or collaborators. It’s especially handy for front-end and back-end developers who need to showcase changes to external stakeholders without deploying to a live environment. While Localtunnel doesn’t offer the advanced features of competitors like Ngrok or LocalXpose, its ease of use and free-to-access nature make it a reliable choice for small projects or individual developers looking for a straightforward tunneling tool.
Uses:
It’s great for developers looking for a fast and simple way to test or demo applications without complex setup processes.
Pros of Localtunnel:
- A simple setup process through npm makes it convenient for JavaScript developers.
- Works on any platform that supports Node.js.
- Just run a command, and you’re good to go.
- Allows users to choose subdomains for their tunnels, enhancing usability.
- A community-driven project that welcomes contributions.
Cons of Localtunnel:
- No support for TCP or custom domains.
- Requires Node.js installation, which may not suit all users.
Installation Process:
Install via npm and expose a port:
npm install -g localtunnel
lt --port 3000
Pricing of Localtunnel:
Free to use.
7. localhost.run
localhost.run is a simple and effective tunneling service that uses SSH to expose local applications to the internet. Unlike other alternatives, localhost.run doesn’t require you to install any additional software—just an SSH command to create a public tunnel. This clientless approach makes localhost.run an attractive option for users who want quick, one-time access to local services. It supports both HTTP and HTTPS and works across various operating systems as long as SSH is available. While it lacks more advanced features like traffic monitoring or custom domains, localhost.run’s minimalist approach is perfect for those who need to share local services temporarily without a lot of configuration or overhead. It’s often used for one-off demos or quick access to webhooks and testing environments.
Uses:
Perfect for users who need to expose local apps quickly without setting up any software.
Pros of localhost.run:
- No installation or configuration is required; just use the provided command.
- Start tunneling immediately without creating an account.
- Community-driven, allowing for public contributions and improvements.
- Works on any OS that can execute SSH commands.
Cons of localhost.run:
- Limited features compared to other alternatives.
- No support for non-HTTP protocols.
Installation Process:
Simply run this SSH command:
ssh -R 80:localhost:3000 localhost.run
Pricing of localhost.run:
Free to use.
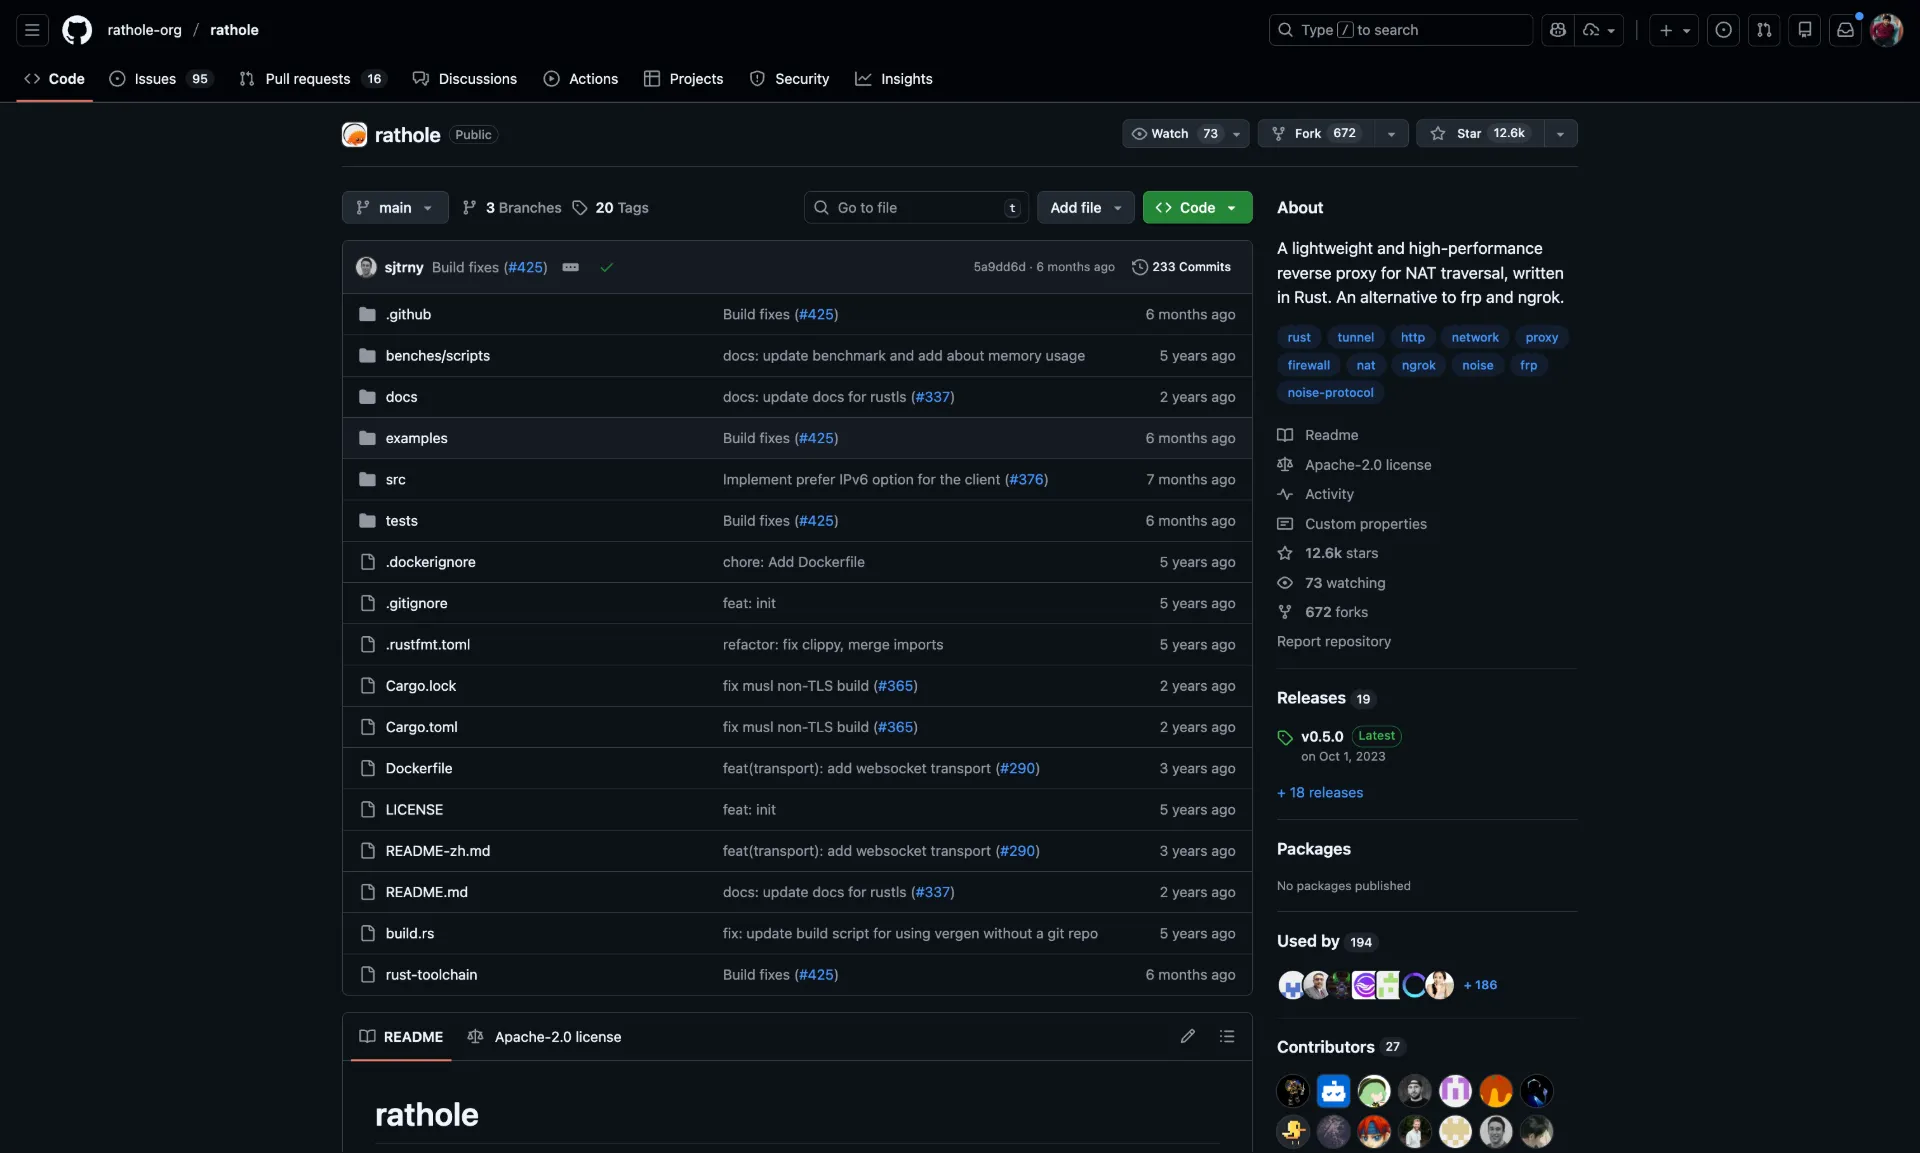
8. Rathole
Rathole is a high-performance, open-source reverse proxy written in Rust. It is designed for speed and efficiency, making it an excellent choice for users who need to expose services on resource-constrained devices or high-throughput environments. Unlike some other tools, Rathole is self-hosted, meaning you run the server component on your own infrastructure (like a cheap VPS), giving you full control over your data and traffic. It supports secure communication via Noise Protocol and can handle NAT traversal effectively.
Uses:
Perfect for self-hosters, home lab enthusiasts, and users needing a high-performance, low-latency tunnel for services like game servers or media streaming.
Pros of Rathole:
- High Performance: Written in Rust for minimal resource usage and high speed.
- Secure: Uses Noise Protocol for encryption by default.
- Open Source: Completely free and open-source (MIT/Apache 2.0).
- Cross-platform: Runs on Linux, macOS, Windows, and more.
- No third-party limits or bandwidth caps (limited only by your VPS).
Cons of Rathole:
- Self-Hosting Required: You must have a server with a public IP to run the server component.
- Configuration is file-based (TOML), which might be less intuitive than a CLI-only flow for some.
Installation Process:
Download the binary from
GitHub Releases. Create a configuration file client.toml:
[client]
remote_addr = "your-server-ip:2333"

[client.services.myservice]
local_addr = "127.0.0.1:3000"
Then run:
Pricing of Rathole:
Free (Open Source). You pay for your own server hosting.
9. Tunnelmole
Tunnelmole is a modern, open-source tunneling tool that focuses on simplicity and standard compliance. It provides a quick way to get a public URL for your localhost server with automatic HTTPS. Tunnelmole is designed to be a lightweight alternative to heavier tools, offering a “zero config” experience. It’s a great option for web developers who just need a quick, reliable HTTPS endpoint for testing.
Uses:
Best for web developers needing a quick secure URL for webhook testing or sharing local sites.
Pros of Tunnelmole:
- Open Source: Client code is open source.
- Automatic HTTPS: Gives you a secure URL out of the box.
- Simple: Very easy to install and run.
- Lightweight: Minimal overhead.
Cons of Tunnelmole:
- Fewer enterprise features compared to Ngrok or Cloudflare.
- Relatively newer tool with a smaller community.
Installation Process:
Install via npm or curl:
npm install -g tunnelmole
tmole 3000
Pricing of Tunnelmole:
Free and open source.
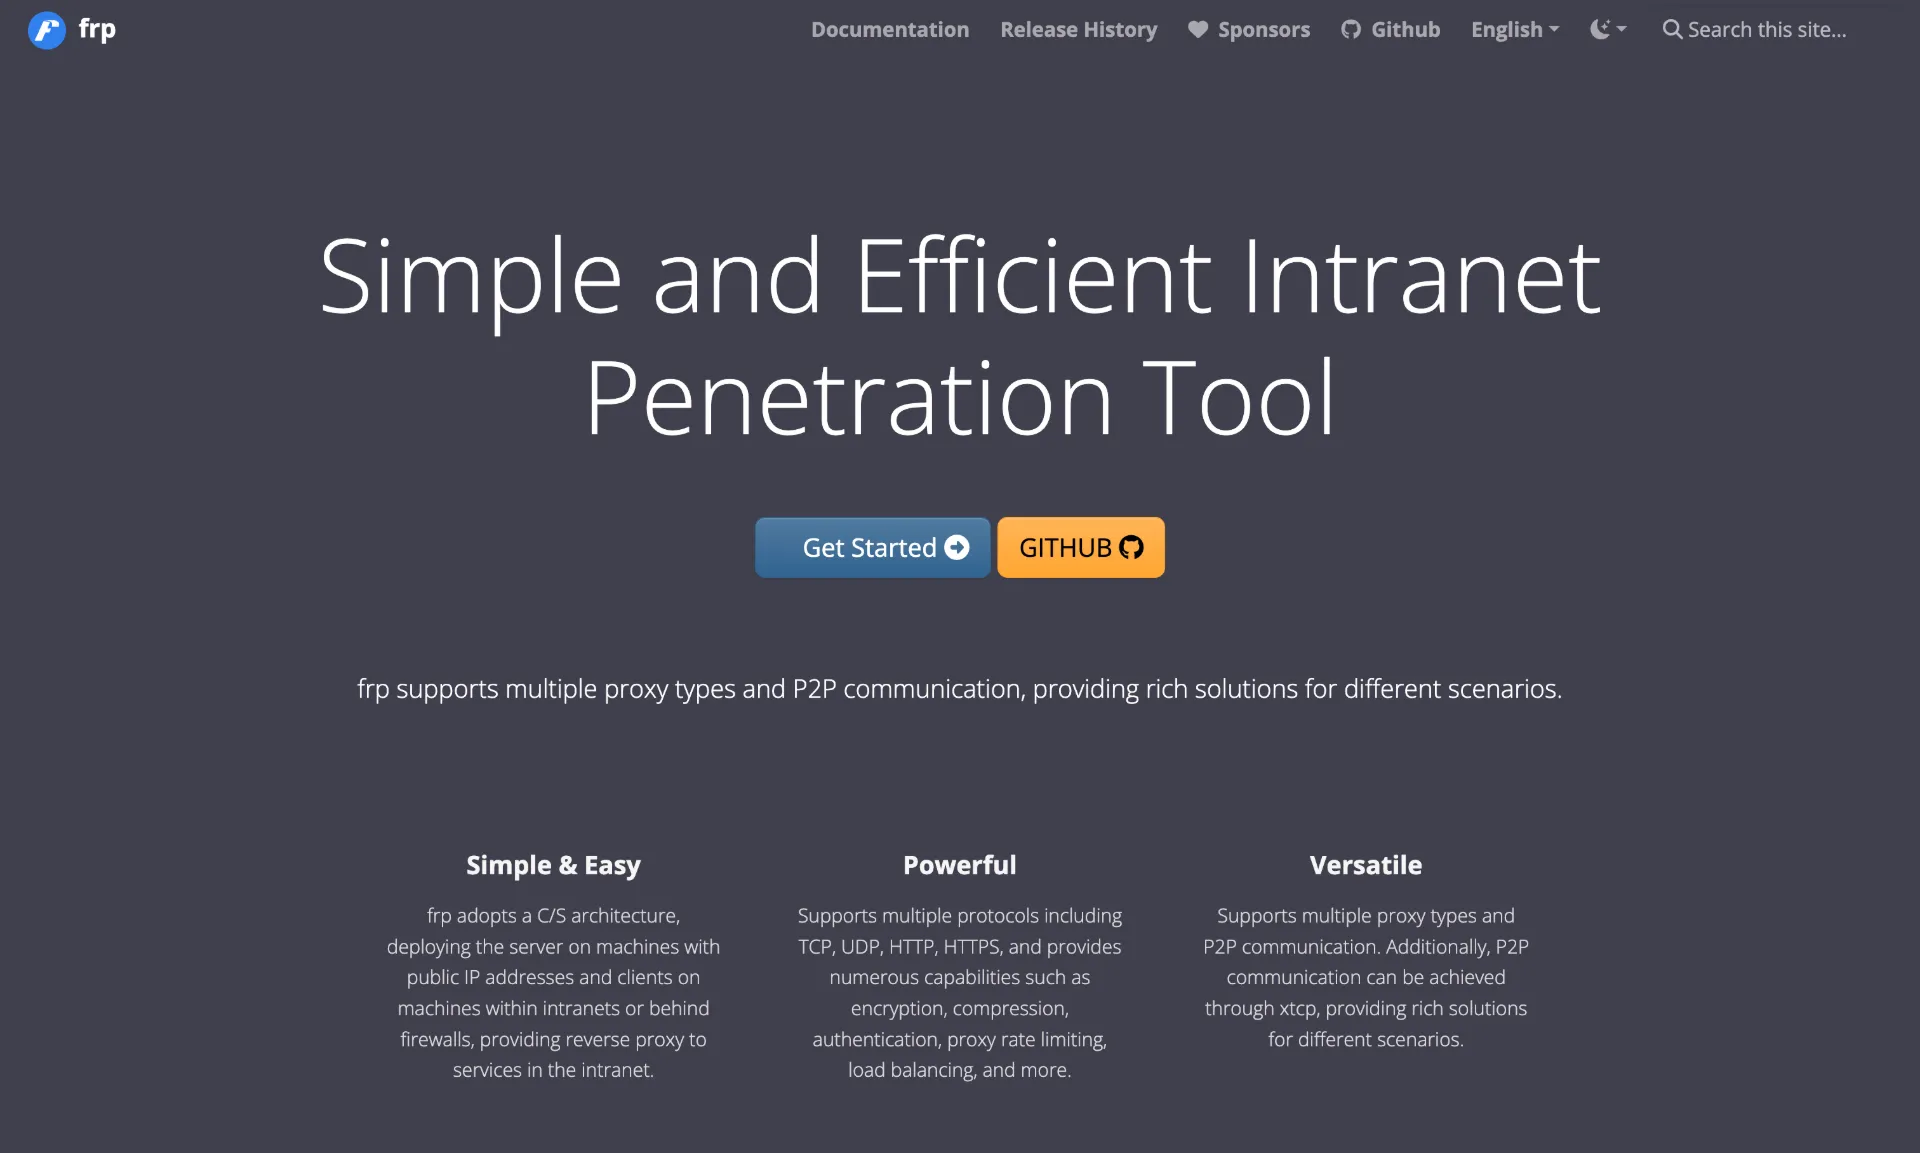
10. Frp (Fast Reverse Proxy)
Frp (Fast Reverse Proxy) is a high-performance reverse proxy application that allows you to securely expose local services to the internet over TCP, UDP, HTTP, and HTTPS protocols. As an open-source solution, Frp provides the flexibility and control needed for complex tunneling scenarios, making it popular among developers, system administrators, and DevOps teams. Frp can be configured to handle multiple tunnels at once, and it supports load balancing, which is useful for high-traffic applications. Its powerful access control features, combined with its robust protocol support, make it ideal for scenarios where performance and security are critical. Whether you’re working with microservices, APIs, or full-fledged applications, Frp offers the scalability and efficiency needed for demanding environments.
Uses:
Frp is ideal for exposing services to the web securely, especially in high-traffic environments. It’s used for tunneling private networks and services to the public internet.
Pros of Frp:
- Built for speed and efficiency, making it suitable for high-traffic applications.
- Can handle TCP, UDP, and HTTP/HTTPS protocols, providing versatility.
- Extensive options for configuring tunnels according to specific needs.
- Well-documented for ease of setup and troubleshooting.
- Offers granular access control settings for enhanced security.
Cons of Frp:
- Requires server setup, which can be complex for some users.
- May involve more configuration steps compared to simpler alternatives.
Installation Process:
Download and set up Frp on your server, then configure it to start your tunnel:
./frpc -c ./frpc.ini
Pricing of Frp:
Free and open-source.
Conclusion
Choosing the right tunneling solution depends on your needs—whether it’s simplicity, security, or domain management. Cloudflare Tunnel is ideal for those seeking robust security and scalability but may lack flexibility for some users.
Pinggy stands out as the top choice, offering a perfect blend of simplicity, affordability, and useful features like collaborative capabilities, TCP/UDP support, and easy QR code sharing, making it especially suited for small teams and developers.
Other options like Ngrok, Tailscale, and LocalXpose are worth considering based on your specific requirements for security or advanced features. This guide helps you find the best tool for your tunneling needs.