Modern development teams ship code faster than ever. With AI coding assistants, CI/CD pipelines, and rapid iteration cycles, new features and endpoints land in production daily. But there is a problem: penetration testing has not kept up. Most teams still rely on manual pentests that happen once or twice a year, leaving months of untested code exposed. Shannon, an open-source AI-powered pentester built by
Keygraph, changes this entirely by automating the full penetration testing workflow from reconnaissance to proof-of-concept exploit delivery.
In this guide, we will walk through what Shannon is, how it works under the hood, and how to set it up step by step. We will also cover how to use
Pinggy to expose locally running applications so Shannon can pentest them through a public HTTPS tunnel, no deployment required.
Summary
What is Shannon?
- An open-source, fully autonomous AI pentester that discovers real exploits in web applications
- Achieves a 96.15% success rate on the XBOW Benchmark (hint-free, source-aware)
- Delivers proof-of-concept exploits instead of just flagging potential issues
- Covers OWASP categories: Injection, XSS, SSRF, and Broken Authentication/Authorization
Quick Setup
- Install Docker and get an Anthropic API key
- Clone the repo:
git clone https://github.com/KeygraphHQ/shannon.git - Place your application source code in
./repos/ - Run:
./shannon start URL=https://your-app.com REPO=your-repo
Test Local Apps with Pinggy
- Expose your local app with:
ssh -p 443 -R0:localhost:3000 free.pinggy.io - Use the generated Pinggy HTTPS URL as Shannon’s target
- No deployment or
host.docker.internal workarounds needed
Results: Shannon generates a comprehensive security assessment report with actionable findings and copy-paste proof-of-concept exploits in ./audit-logs/
Why Automated Penetration Testing Matters
Traditional penetration testing is expensive, slow, and infrequent. A typical engagement costs thousands of dollars, takes weeks to schedule, and produces a report that is already outdated by the time it arrives. Meanwhile, your team has shipped dozens of new features and API endpoints since the last test.
This gap between deployment velocity and security testing creates a growing attack surface. Vulnerabilities like SQL injection, cross-site scripting (XSS), and server-side request forgery (SSRF) can sit undetected in production for months. Static analysis tools catch some issues, but they generate mountains of false positives and cannot validate whether a vulnerability is actually exploitable.
Shannon takes a fundamentally different approach. Instead of flagging potential issues and leaving you to figure out the rest, it behaves like a human pentester. It reads your source code, explores your running application through a real browser, crafts actual exploits, and only reports vulnerabilities it can prove. If it cannot produce a working proof-of-concept, it does not file a report. This “No Exploit, No Report” policy eliminates false positives entirely.
What is Shannon?
Shannon is a fully autonomous AI-powered penetration testing tool developed by Keygraph. It combines white-box source code analysis with black-box dynamic exploitation to discover real, exploitable vulnerabilities in web applications. Shannon Lite, the open-source version, is licensed under AGPL-3.0 and is freely available for security teams and personal use.
Shannon achieved a 96.15% success rate on the hint-free, source-aware XBOW Benchmark, which is a standardized benchmark for evaluating automated vulnerability discovery tools. In real-world testing, it has found 20+ critical vulnerabilities in OWASP Juice Shop (including complete authentication bypass and database exfiltration), 15 critical/high-severity findings in c{api}tal API, and 15+ critical findings in OWASP crAPI through JWT algorithm confusion and SSRF exploitation.
The tool currently targets four major OWASP vulnerability categories:
- Injection (SQL injection, command injection, etc.)
- Cross-Site Scripting (XSS)
- Server-Side Request Forgery (SSRF)
- Broken Authentication and Authorization
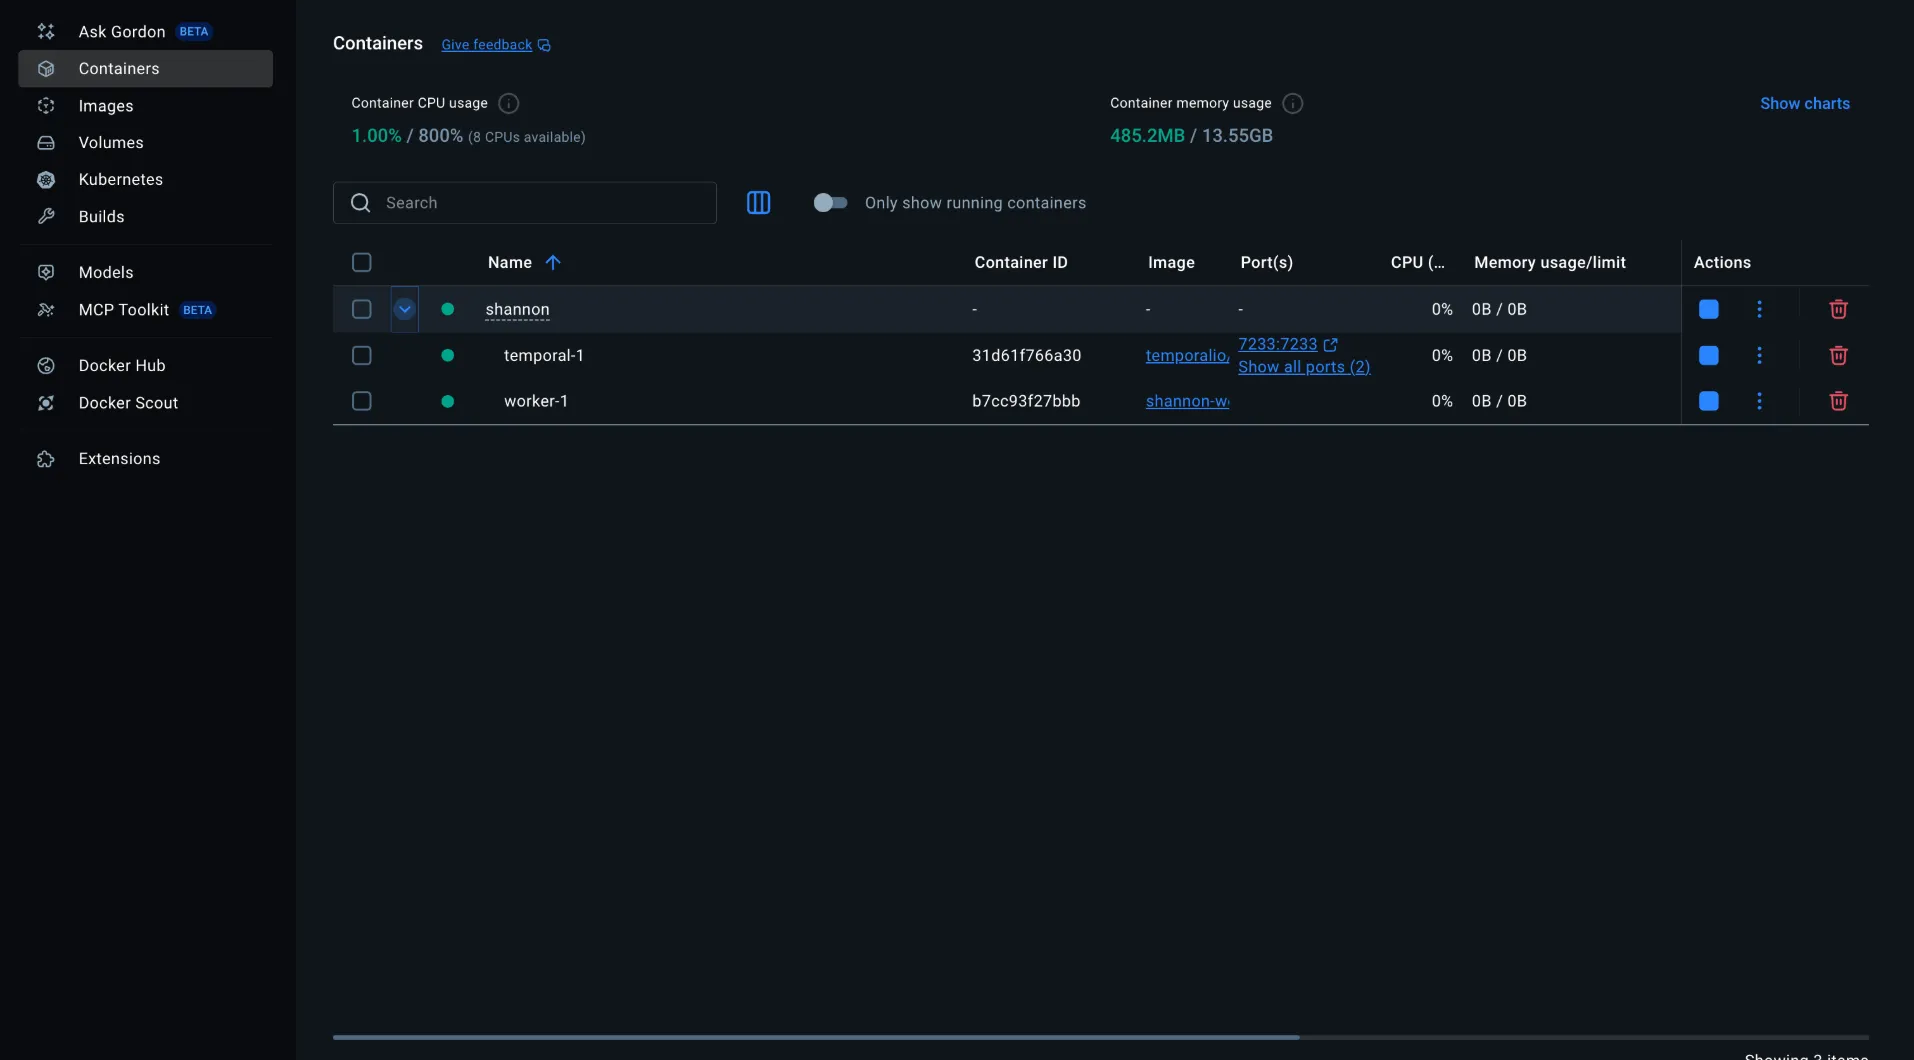
Shannon runs entirely in Docker containers and uses Anthropic’s Claude as its AI backbone, along with the Claude Agent SDK for orchestrating its multi-agent workflow. It also integrates industry-standard security tools like Nmap, Subfinder, WhatWeb, and Schemathesis for reconnaissance.
How Shannon Works: The Four-Phase Workflow
Shannon’s architecture is built around a four-phase workflow orchestrated by Temporal, a durable execution engine. Each phase uses specialized AI agents that work in parallel to maximize coverage and speed.
Phase 1: Reconnaissance
Shannon starts by mapping your application’s attack surface. It combines source code analysis with live application exploration using browser automation. During this phase, it identifies endpoints, API routes, authentication mechanisms, input fields, and any other entry points that could accept user input. Think of it as the AI equivalent of a pentester spending the first day poking around your application and reading your code.
Phase 2: Vulnerability Analysis
Once the attack surface is mapped, specialized agents for each OWASP category begin working in parallel. Each agent performs data flow analysis, tracing user input from entry points to dangerous sinks (database queries, system commands, HTML output, outbound requests). The result is a set of hypothesized exploitable paths, essentially a roadmap of where vulnerabilities are most likely to exist.
Phase 3: Exploitation
This is where Shannon separates itself from every other automated security tool. Dedicated exploitation agents take the hypothesized paths from Phase 2 and attempt real-world attacks using browser automation and CLI tools. They craft actual payloads, submit them through the application’s UI or API, and verify whether the vulnerability triggers. If an exploit does not work, the hypothesis is discarded. Only validated vulnerabilities make it to the report.
Phase 4: Reporting
Shannon generates a comprehensive penetration test report with actionable findings. Each vulnerability includes a description, severity rating, the affected endpoint, and a copy-paste proof-of-concept exploit that your team can use to reproduce the issue. The report is saved as a Markdown file in the output directory.
Prerequisites
Before setting up Shannon, you will need the following:
- Docker: Shannon runs entirely in containers. Install Docker Desktop from
docker.com if you do not already have it.
- Anthropic API Key: Shannon uses Claude as its AI backbone. Get an API key from
console.anthropic.com. Alternatively, you can use a Claude Code OAuth token.
- Application Source Code: Shannon performs white-box testing, so it needs access to your application’s source code repository.
- A Running Target Application: The application you want to test must be running and accessible via a URL.
Setting Up Shannon Step by Step
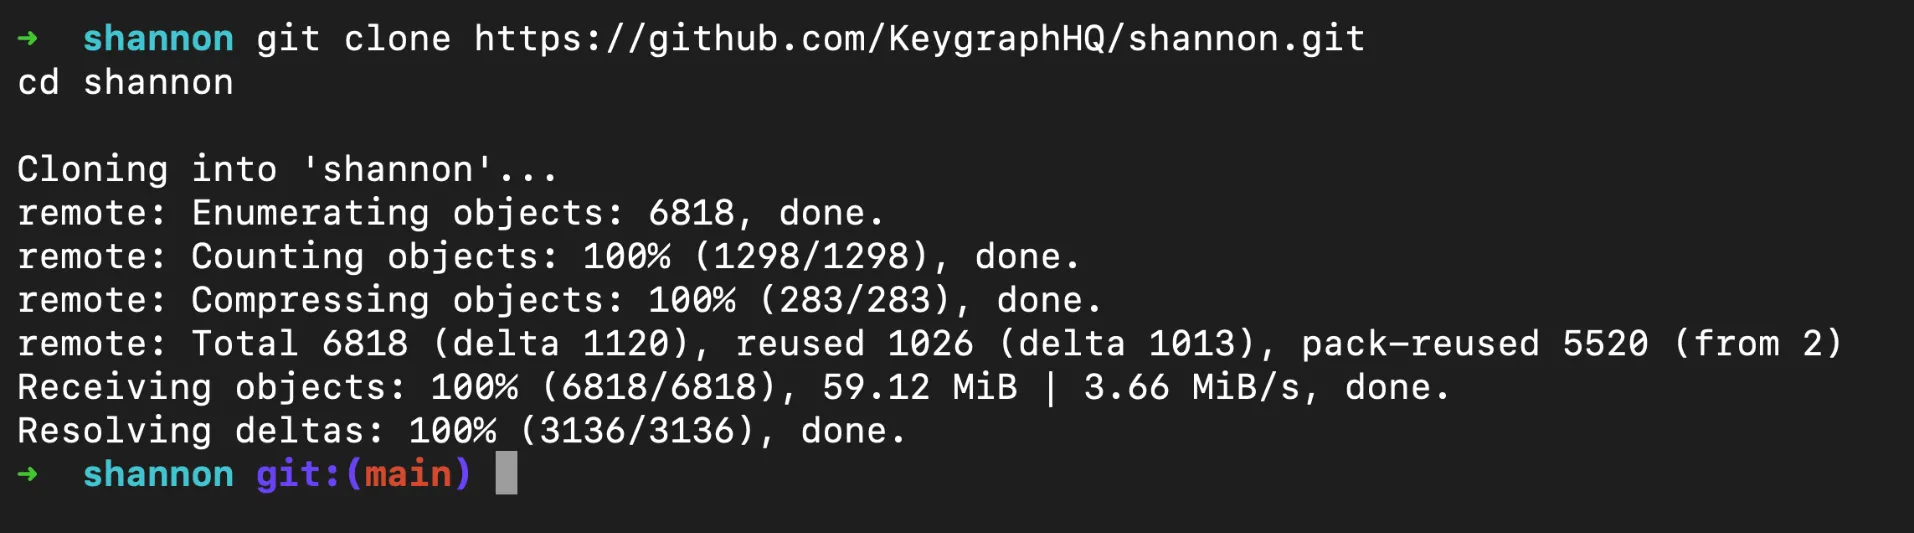
Step 1: Clone the Repository
Start by cloning Shannon from GitHub:
git clone https://github.com/KeygraphHQ/shannon.git
cd shannon
Create a .env file in the Shannon root directory or export the environment variable directly:
export ANTHROPIC_API_KEY="your-api-key-here"
If you prefer using a .env file, add the key there:
ANTHROPIC_API_KEY=your-api-key-here
Step 3: Prepare Your Target Repository
Shannon needs your application’s source code for white-box analysis. Clone your repo into the ./repos/ directory. For this walkthrough, we will use
vuln-demo-app, a small intentionally vulnerable Express server we put together specifically for testing tools like Shannon. It packs SQL injection, XSS, SSRF, and broken authorization flaws into a single file, so it is a quick way to see what Shannon can do:
git clone https://github.com/Moksh45/vuln-demo-app.git ./repos/vuln-demo-app

For your own projects, the same pattern applies:
# Single repository
git clone https://github.com/your-org/your-app.git ./repos/your-app

# Monorepo
git clone https://github.com/your-org/your-monorepo.git ./repos/your-monorepo

# Multi-repo application (frontend + backend)
mkdir ./repos/your-app
cd ./repos/your-app
git clone https://github.com/your-org/frontend.git
git clone https://github.com/your-org/backend.git
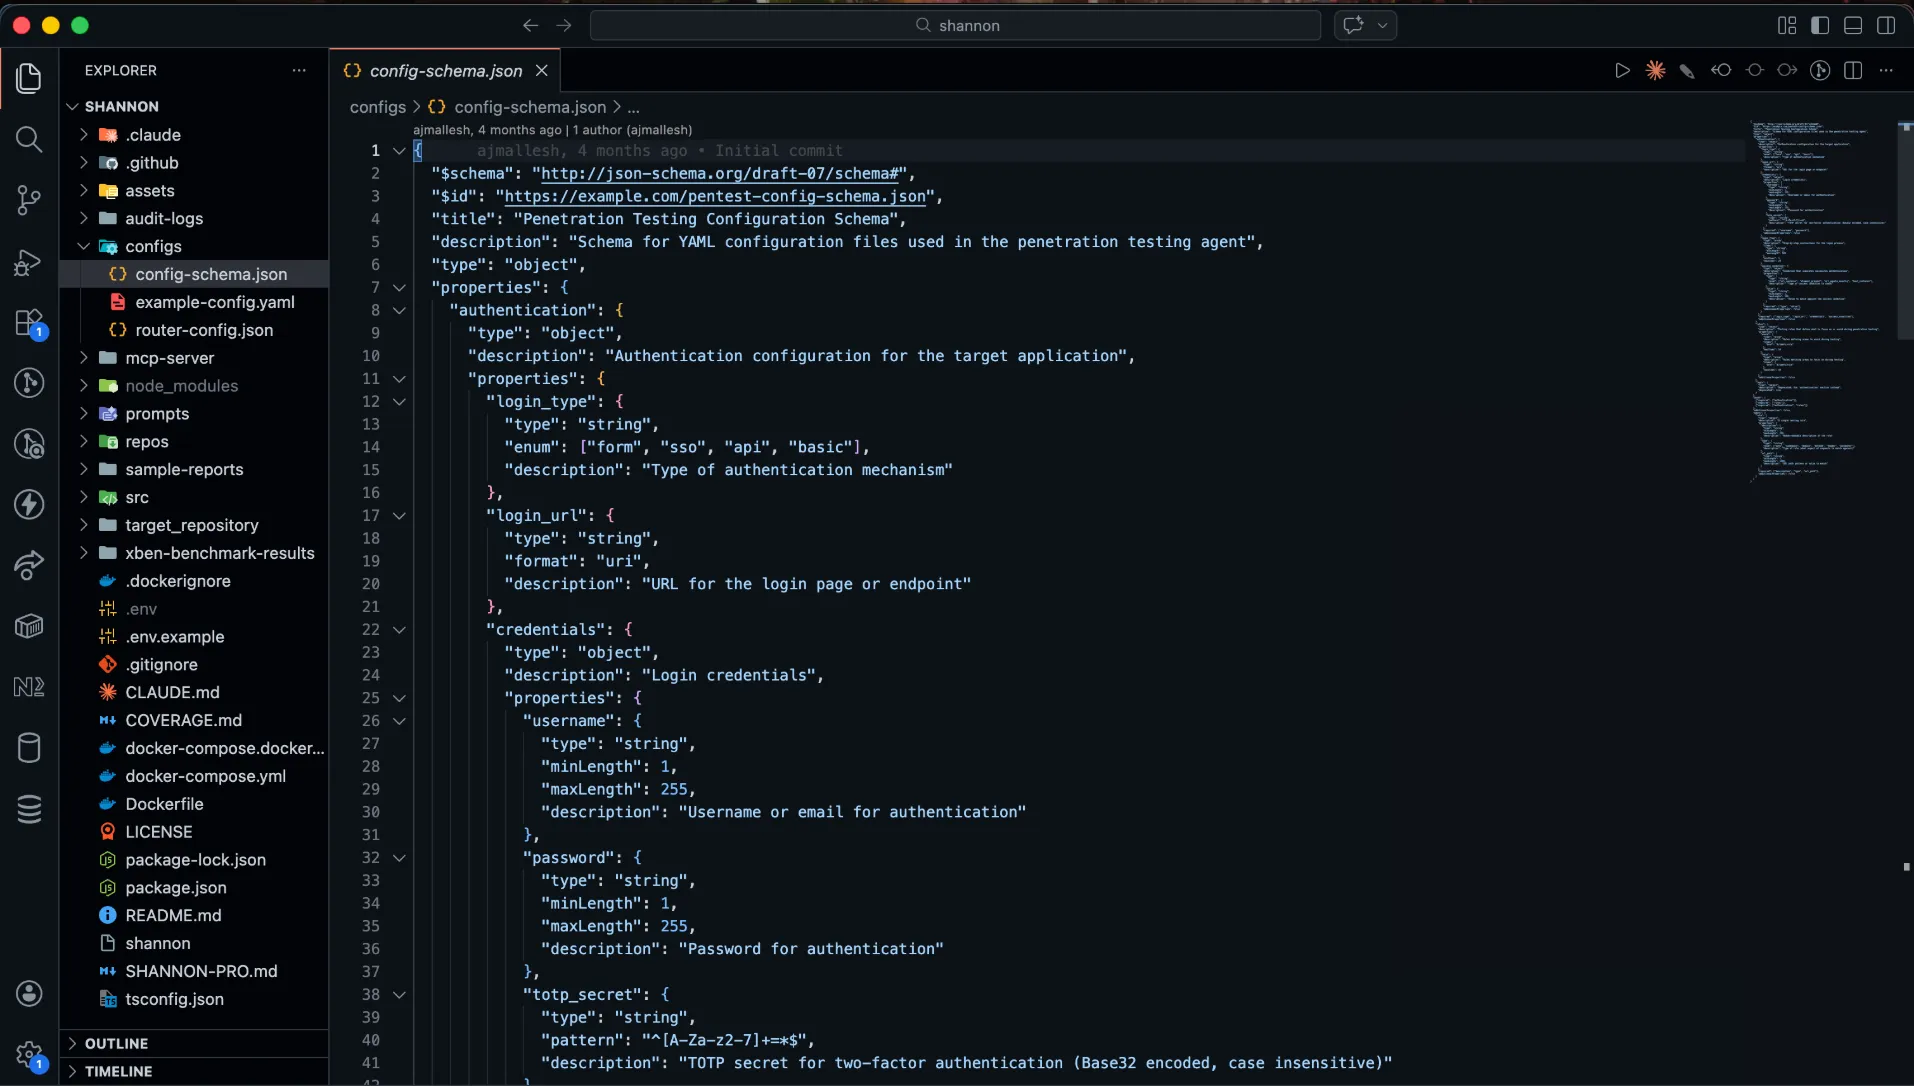
Step 4: Create a Configuration File (Optional)
For applications with authentication, create a YAML configuration file in ./configs/. This tells Shannon how to log in and which areas to focus on or avoid:
authentication:
  login_type: form
  login_url: "https://your-app.com/login"
  credentials:
    username: "test@example.com"
    password: "testpassword123"
    totp_secret: "YOUR_TOTP_SECRET"  # Optional, for 2FA apps

  login_flow:
    - "Type $username into the email field"
    - "Type $password into the password field"
    - "Click the 'Sign In' button"

  success_condition:
    type: url_contains
    value: "/dashboard"

rules:
  avoid:
    - description: "Skip logout functionality"
      type: path
      url_path: "/logout"
    - description: "Skip admin deletion endpoints"
      type: path
      url_path: "/admin/delete"

  focus:
    - description: "Prioritize API endpoints"
      type: path
      url_path: "/api"
    - description: "Focus on user profile actions"
      type: path
      url_path: "/user"
The login_flow uses natural language instructions that Shannon’s browser automation agent follows to complete the login process. If your application uses TOTP-based two-factor authentication, provide the TOTP secret and Shannon will automatically generate the required codes.
Step 5: Launch the Pentest
With everything configured, start the pentest with a single command. Using the demo app as our example:
./shannon start URL=https://your-app-url REPO=vuln-demo-app
If you created a configuration file, include it:
./shannon start URL=https://your-app-url REPO=vuln-demo-app CONFIG=./configs/my-config.yaml
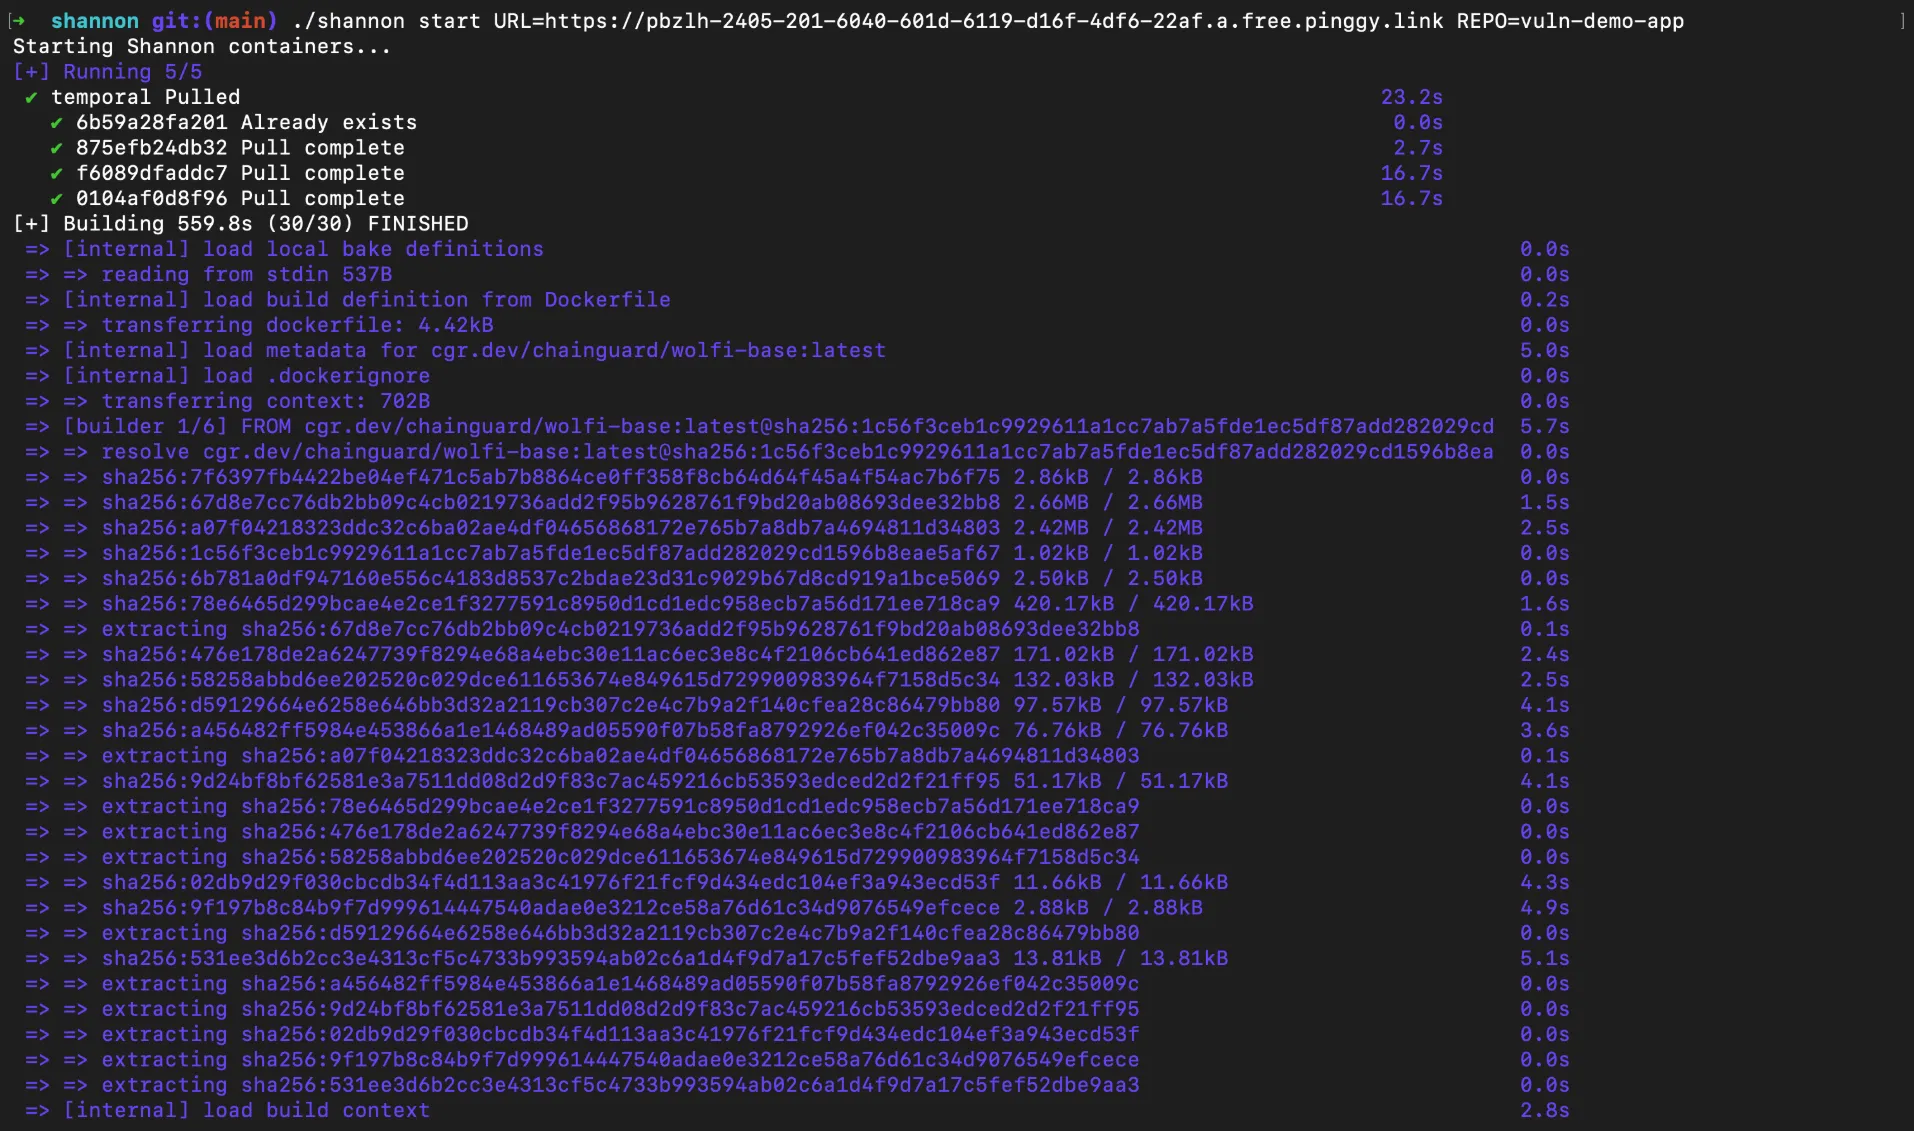
On the first run, Shannon will automatically pull the required Docker images before starting. This can take a few minutes depending on your internet connection. Subsequent runs will skip the download and start immediately.
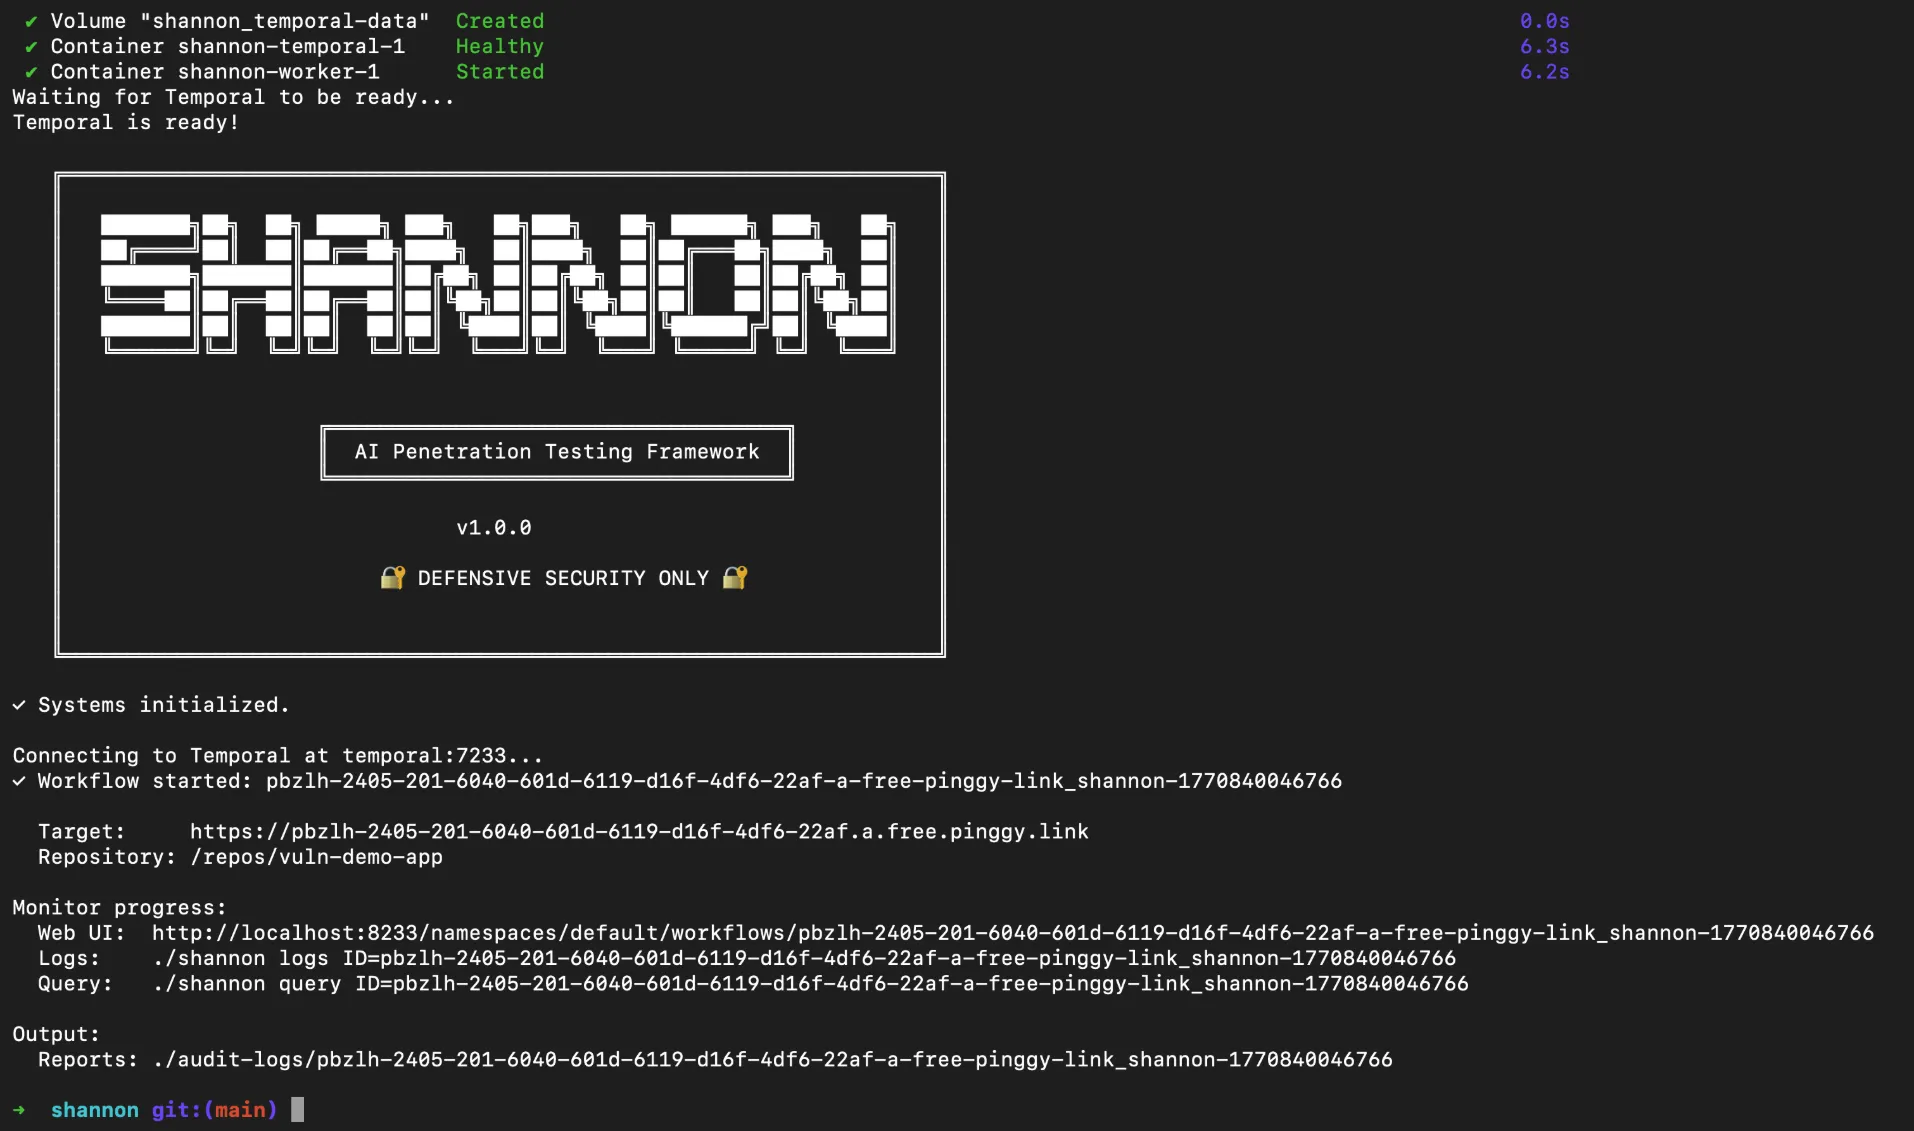
Once everything is ready, Shannon will return a workflow ID that you can use to track progress.
Step 6: Monitor Progress
Shannon provides several ways to monitor the pentest as it runs:
# View real-time logs
./shannon logs

# Query a specific workflow
./shannon query ID=shannon-1234567890
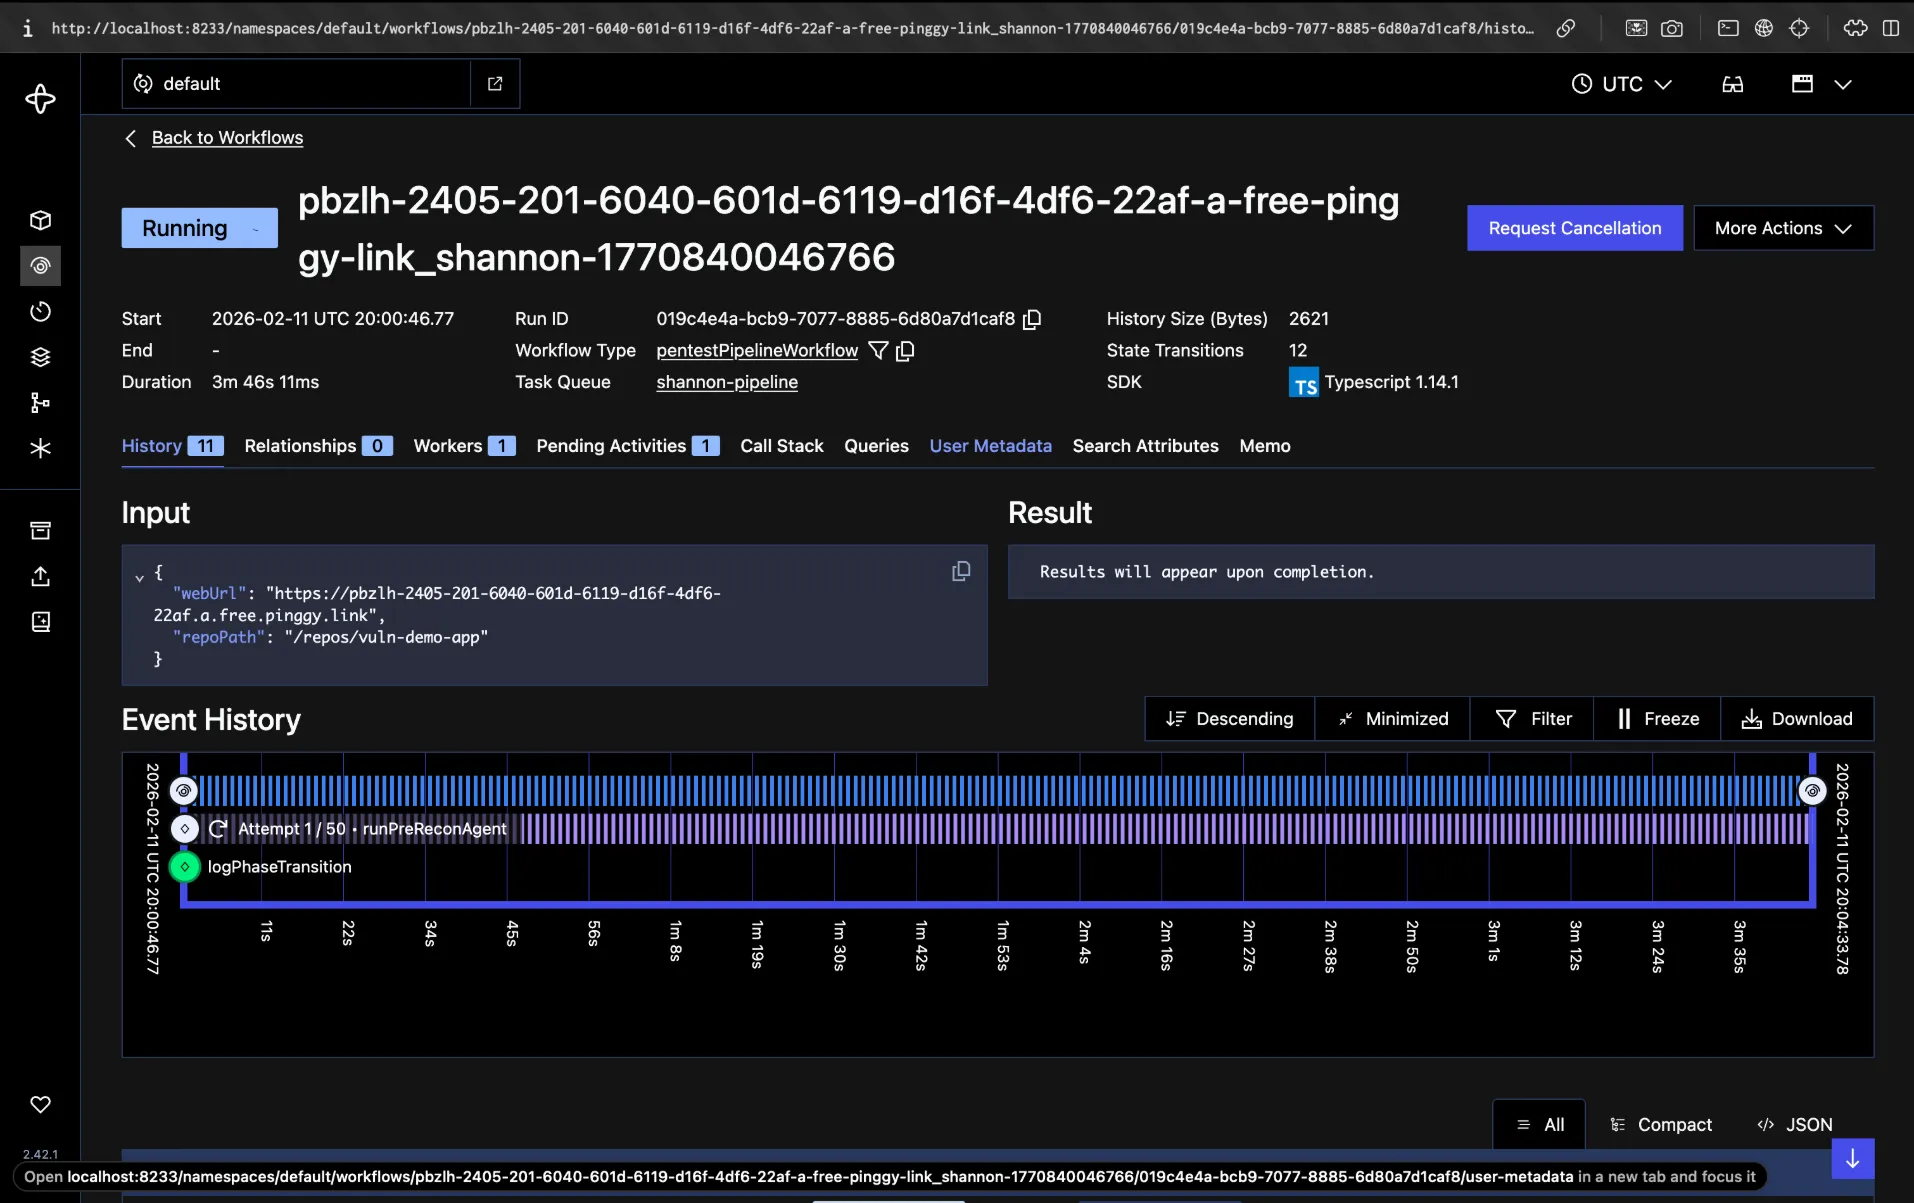
Shannon also spins up a Temporal Web UI at http://localhost:8233/namespaces/default/workflows where you can monitor every workflow in real time. Open it in your browser to see all running agents, their current phase, execution history, and any findings discovered so far. It is the easiest way to follow what Shannon is doing under the hood.
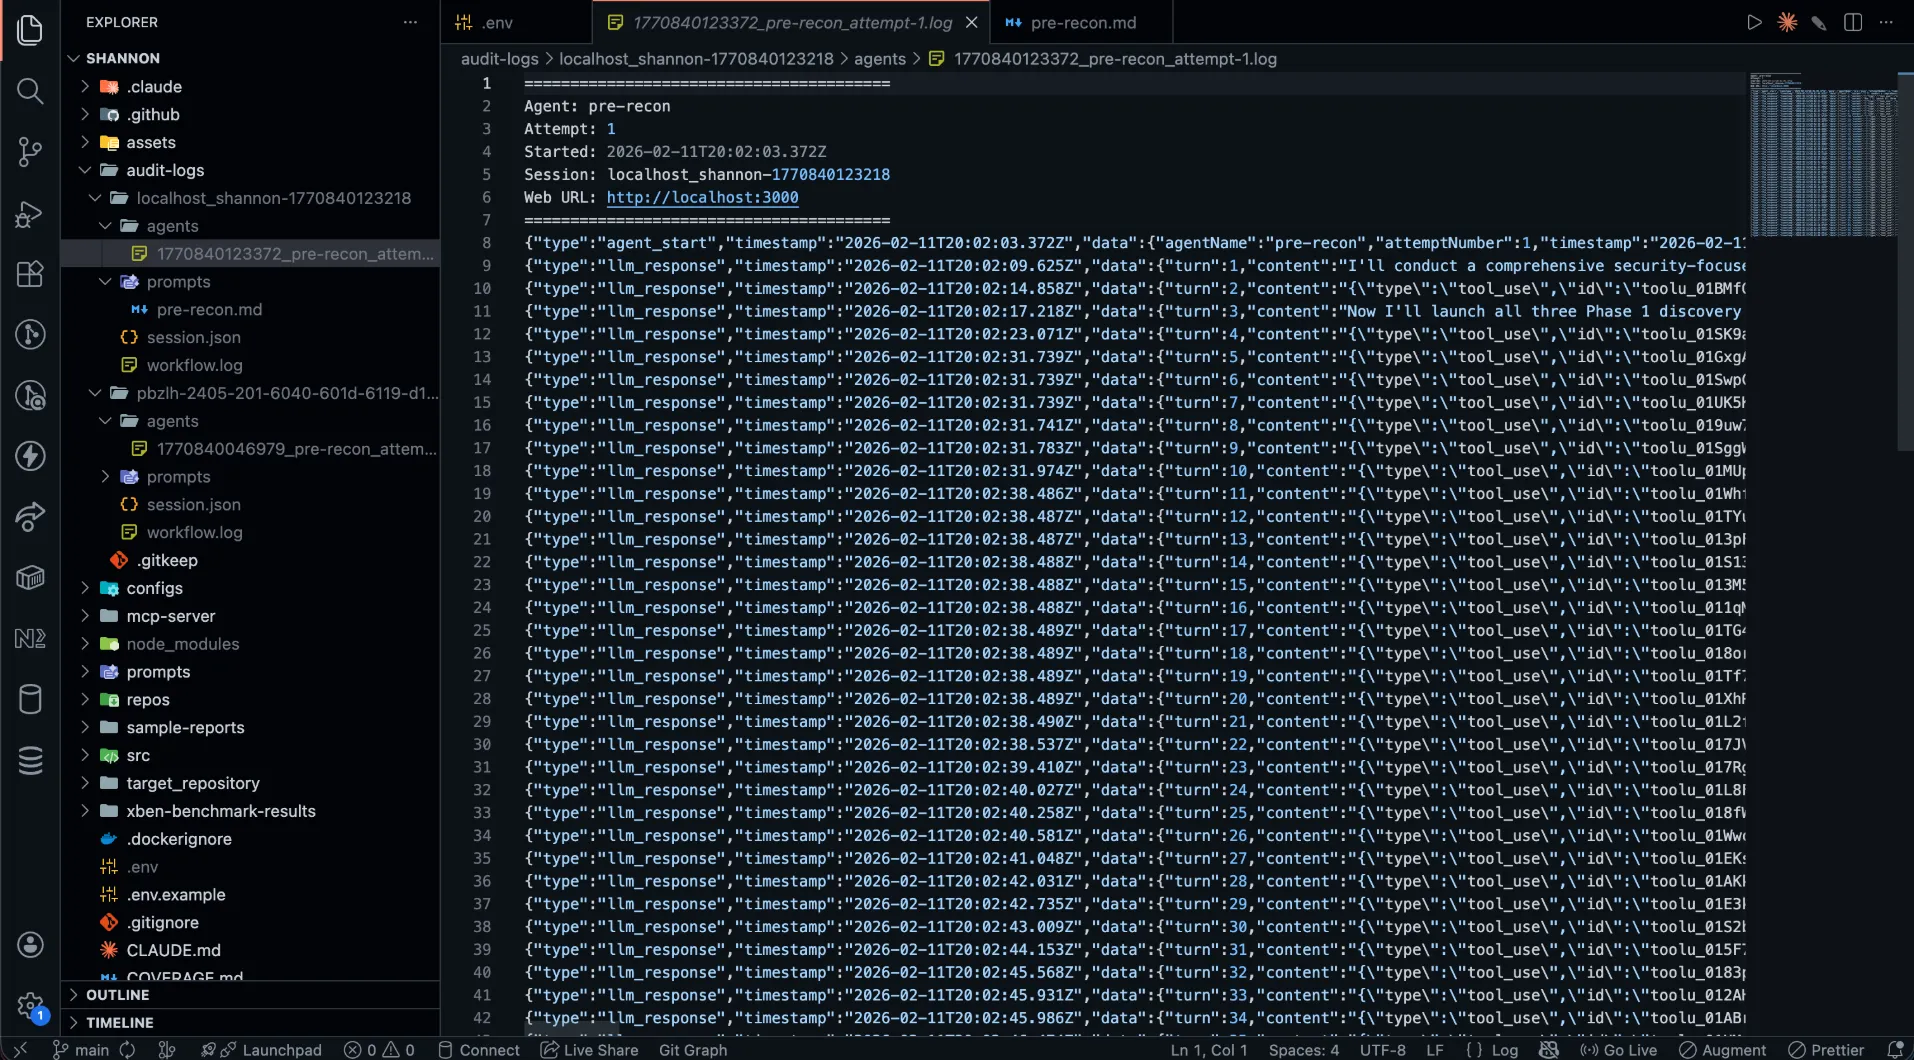
Step 7: Review Results
When the pentest completes, results are saved to ./audit-logs/{hostname}_{sessionId}/. The output directory contains:
session.json Metrics and session metadataagents/ Per-agent execution logs showing each agent’s reasoning and actionsprompts/ Prompt snapshots for reproducibilitydeliverables/comprehensive_security_assessment_report.md The final report
You can also specify a custom output directory:
./shannon start URL=https://your-app.com REPO=your-app OUTPUT=./my-reports
Testing Local Applications with Pinggy
One of the most common scenarios is pentesting an application that is still running on your local machine. Since Shannon runs inside Docker containers, it cannot directly reach localhost on your host machine. Shannon’s documentation suggests using host.docker.internal as a workaround, but this approach has limitations: it only works on Docker Desktop, it does not provide HTTPS, and it does not allow team members on other machines to share the same test URL.
Pinggy provides a cleaner solution. It creates an HTTPS tunnel from your local application to a public URL in seconds, with no signup or installation required. Shannon can then target that public URL just as it would target any deployed application.
Let us walk through the full flow using the
vuln-demo-app we cloned earlier.
Step 1: Start Your Local Application
Install the dependencies and start the demo app:
cd vuln-demo-app
npm install
npm start
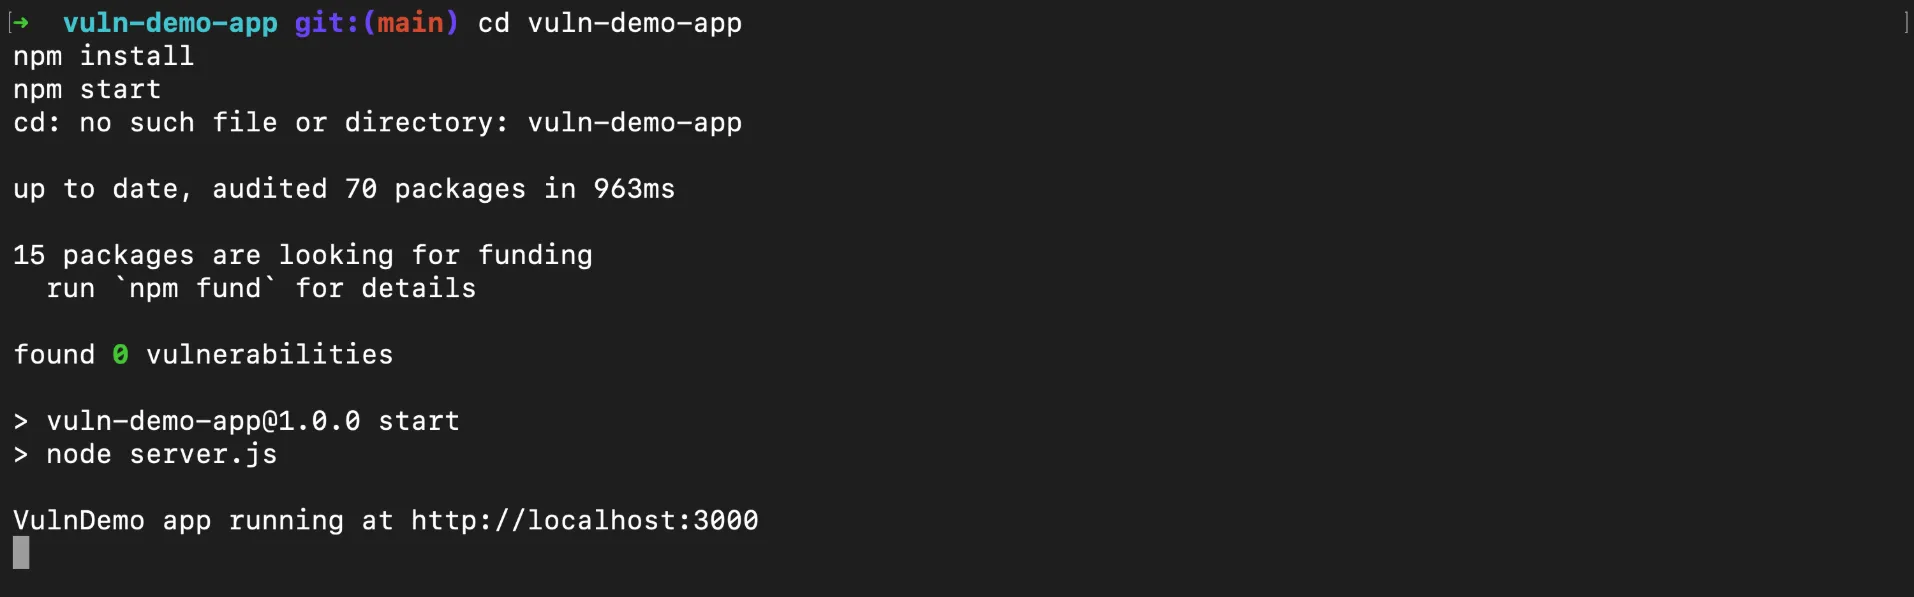
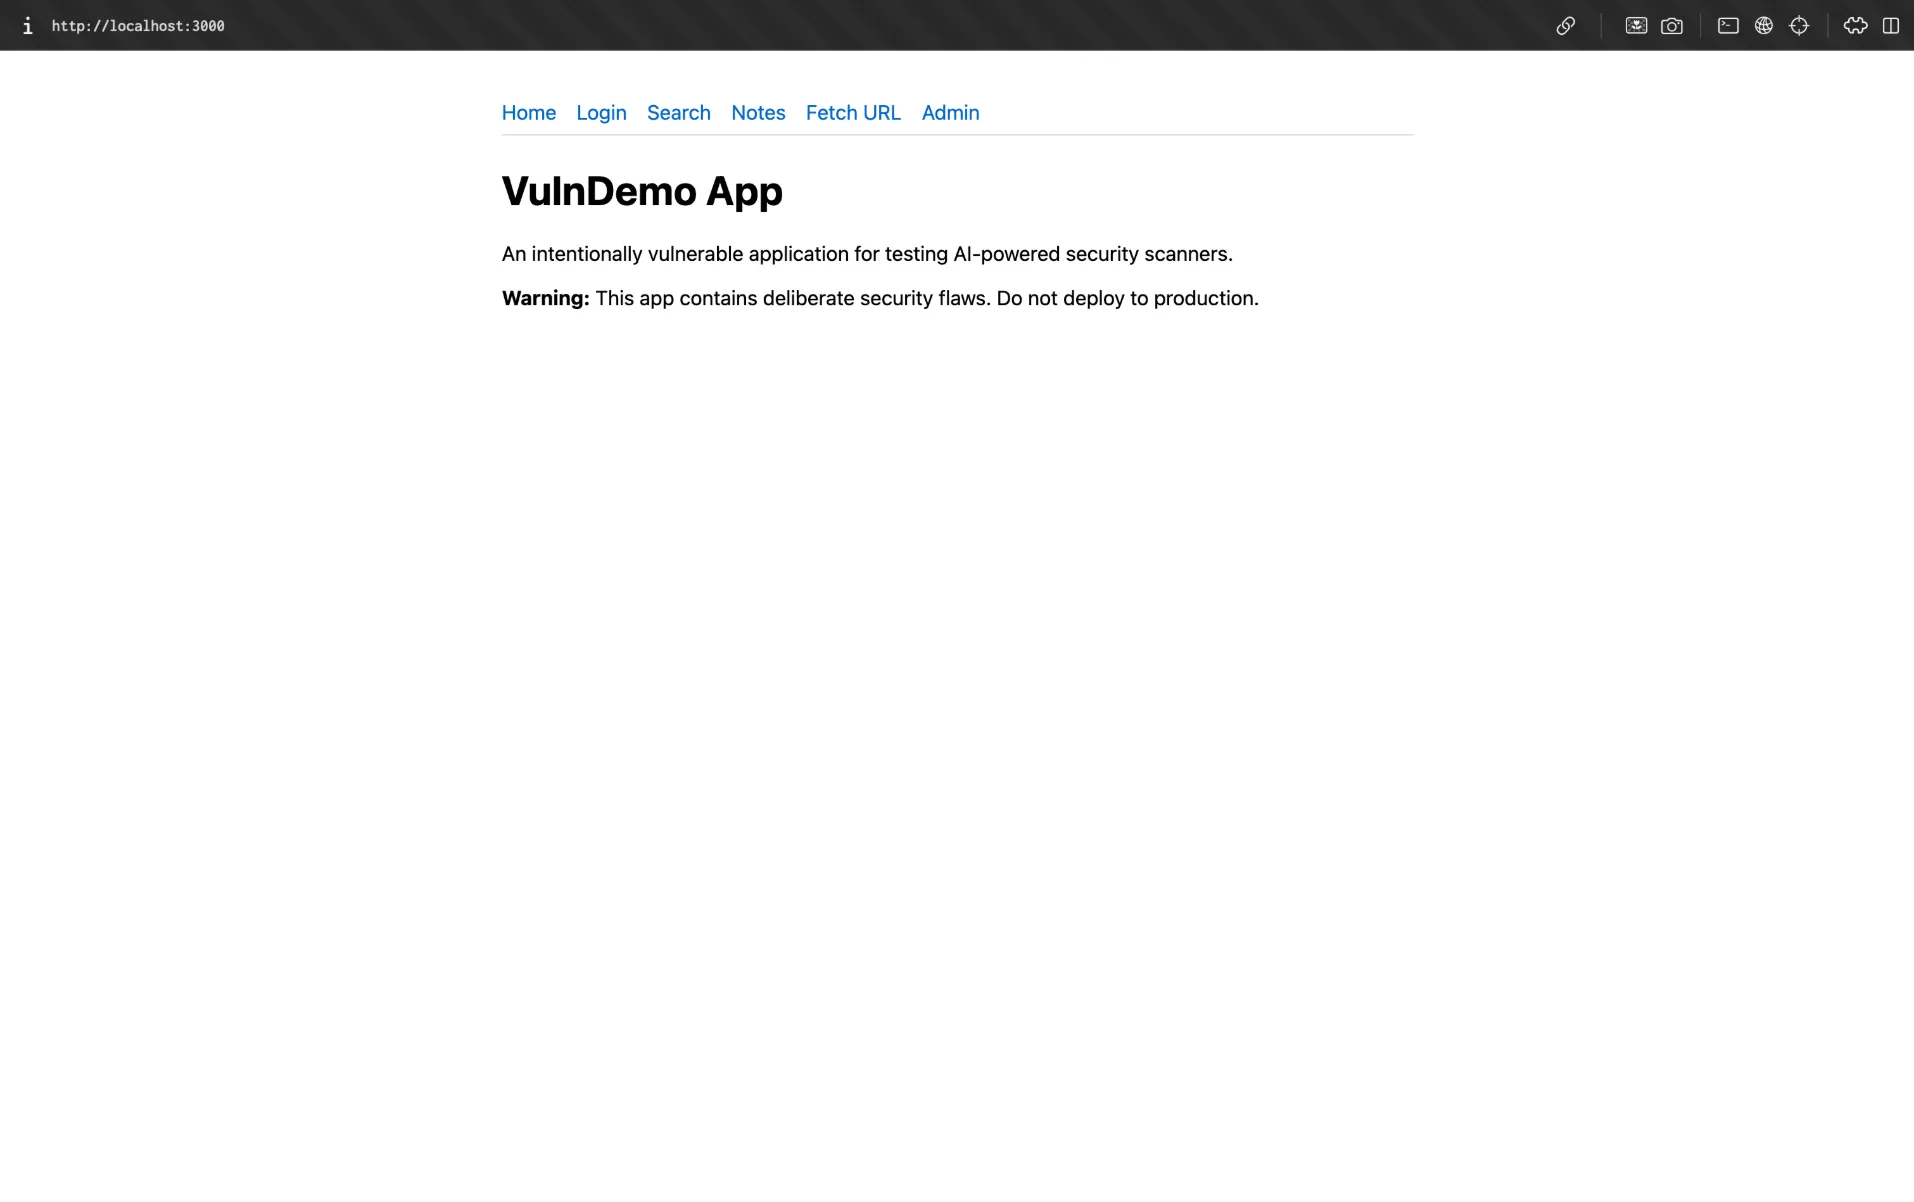
The app starts at http://localhost:3000. Open it in your browser to verify you should see a home page with links to a login form, note search, and an admin panel. Test credentials are bob@example.com / password123.
Step 2: Create a Pinggy Tunnel
Open a new terminal and run:
Pinggy will output a public HTTPS URL like:
https://rnlbx-14-195-9-233.a.free.pinggy.link
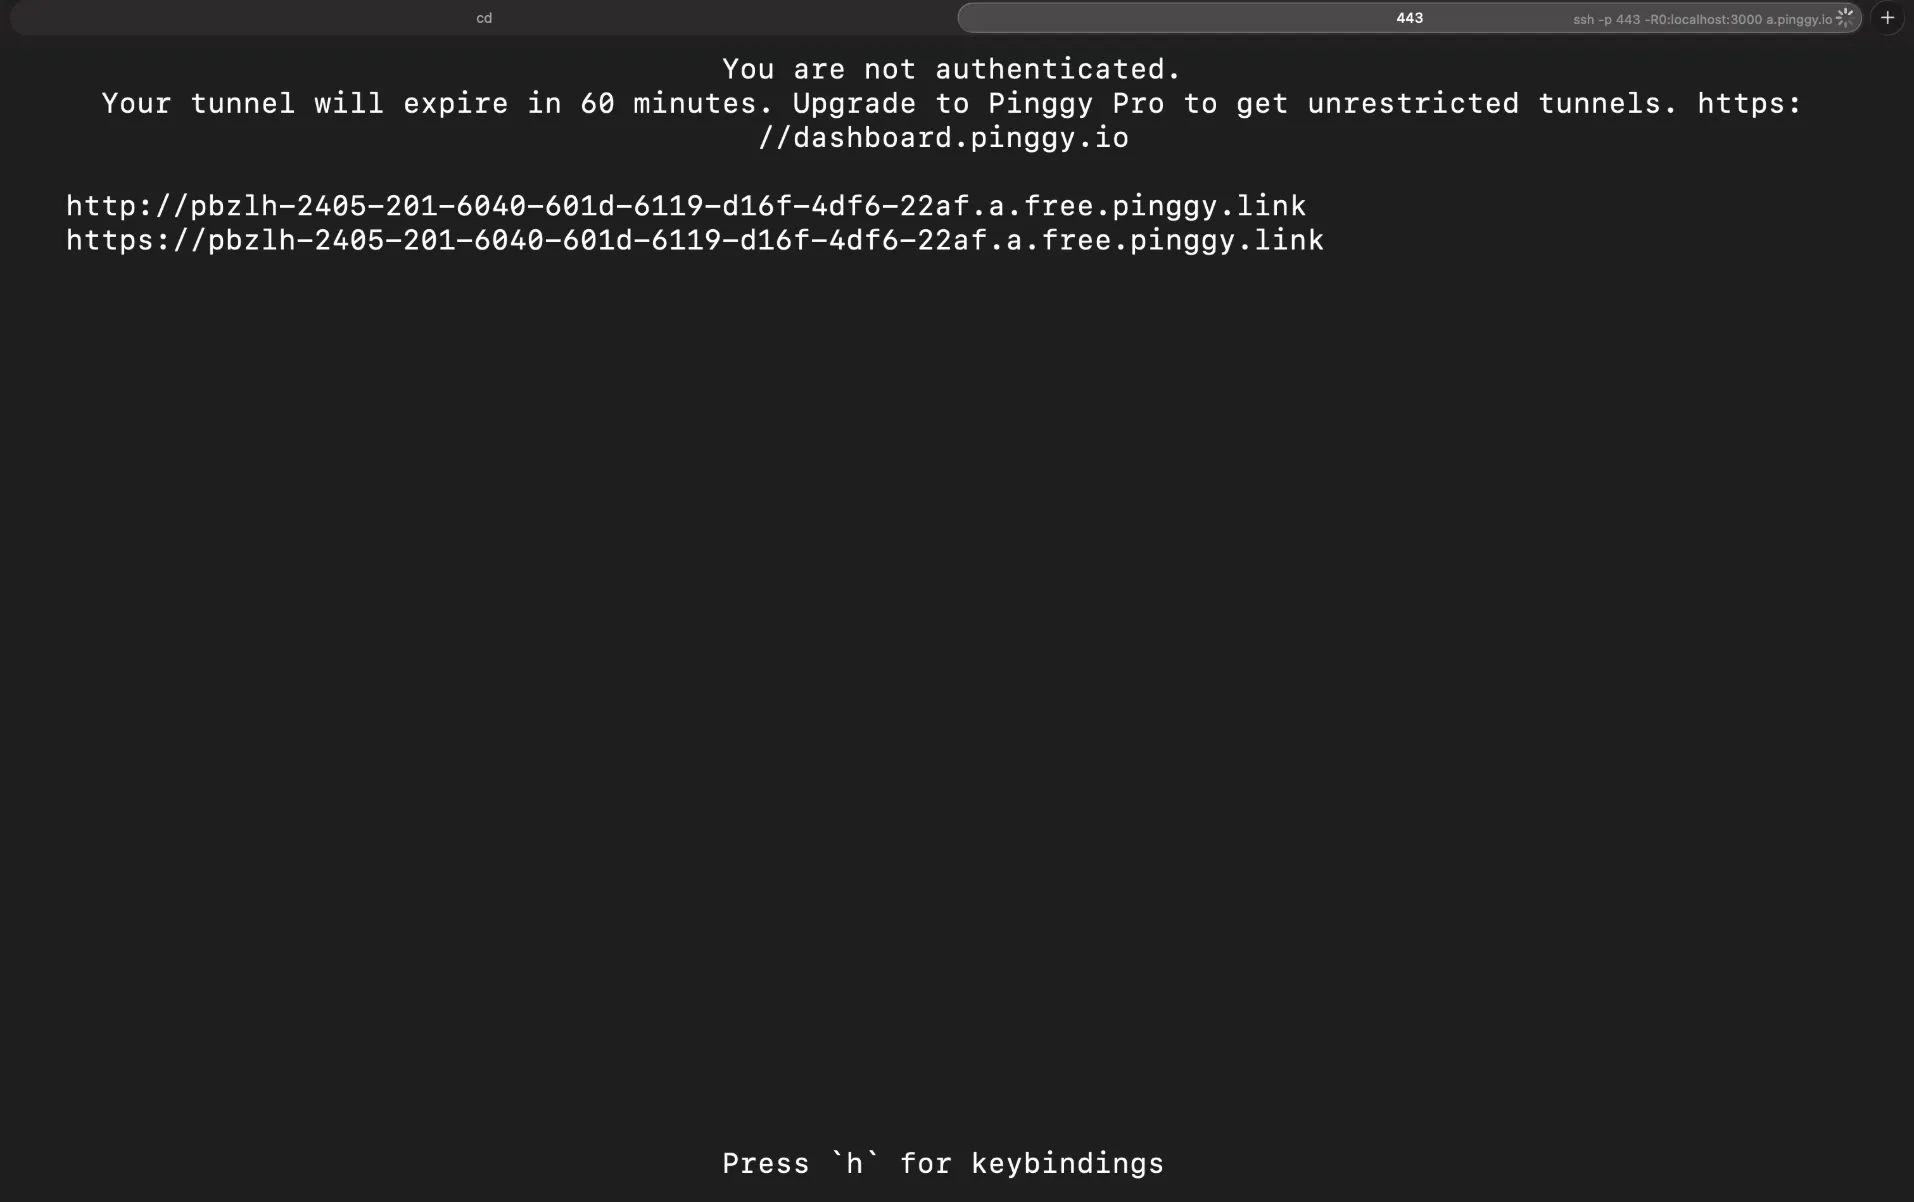
This URL now points directly to your local application. Anyone (or any tool) with that URL can reach your app as long as the tunnel is active.
Step 3: Point Shannon at the Pinggy URL
Now launch Shannon with the Pinggy URL as the target:
cd /path/to/shannon
./shannon start URL=https://rnlbx-14-195-9-233.a.free.pinggy.link REPO=vuln-demo-app
Shannon will connect to your local application through the Pinggy tunnel and run the full pentest cycle reconnaissance, vulnerability analysis, exploitation, and reporting exactly as it would against a deployed application. Since the demo app has deliberate SQL injection, XSS, SSRF, and broken authorization flaws, Shannon should pick up most of them and deliver proof-of-concept exploits in the final report. The advantage is that you can test your application before it ever touches a staging or production environment.
Managing Shannon
Shannon provides a simple CLI for managing pentest sessions:
# Stop all containers but preserve data
./shannon stop

# Full cleanup removes containers and all data
./shannon stop CLEAN=true
Conclusion
Shannon represents a real shift in how penetration testing can work. Instead of waiting months for an expensive manual engagement, you can run a full AI-powered pentest with a single command whenever you want. The tool reads your code, explores your running application, crafts actual exploits, and only reports what it can prove eliminating the false positive noise that plagues traditional scanners.
Combined with
Pinggy for tunneling, you can pentest local applications before they ever reach production. The workflow is straightforward: start your app locally, create a Pinggy tunnel, point Shannon at the URL, and review the results. It fits naturally into a development workflow where security testing happens continuously alongside feature development, not as an afterthought months later.
For teams shipping code rapidly with AI coding tools, having an AI pentester that keeps pace is no longer optional it is how modern application security works.