Virgin Media Hub Port Forwarding
Updated on Jul 10, 2025 · 5 mins read
Summary
Access Virgin Media Hub admin panel at
192.168.0.1(or IP printed on router).Navigate to Advanced Settings > Security > Port Forwarding or Virtual Servers.
Create a port forwarding rule with:
- Service name (e.g., Web Server)
- Internal IP address of your device
- Internal and external ports
- Protocol (TCP/UDP/Both)
If port forwarding is blocked or not working, use Pinggy as a workaround:
ssh -p 443 -R0:localhost:80 tcp@free.pinggy.io(Replace
80with the port you want to forward)After running the tunneling command, you’ll receive a public URL to access your service from anywhere.
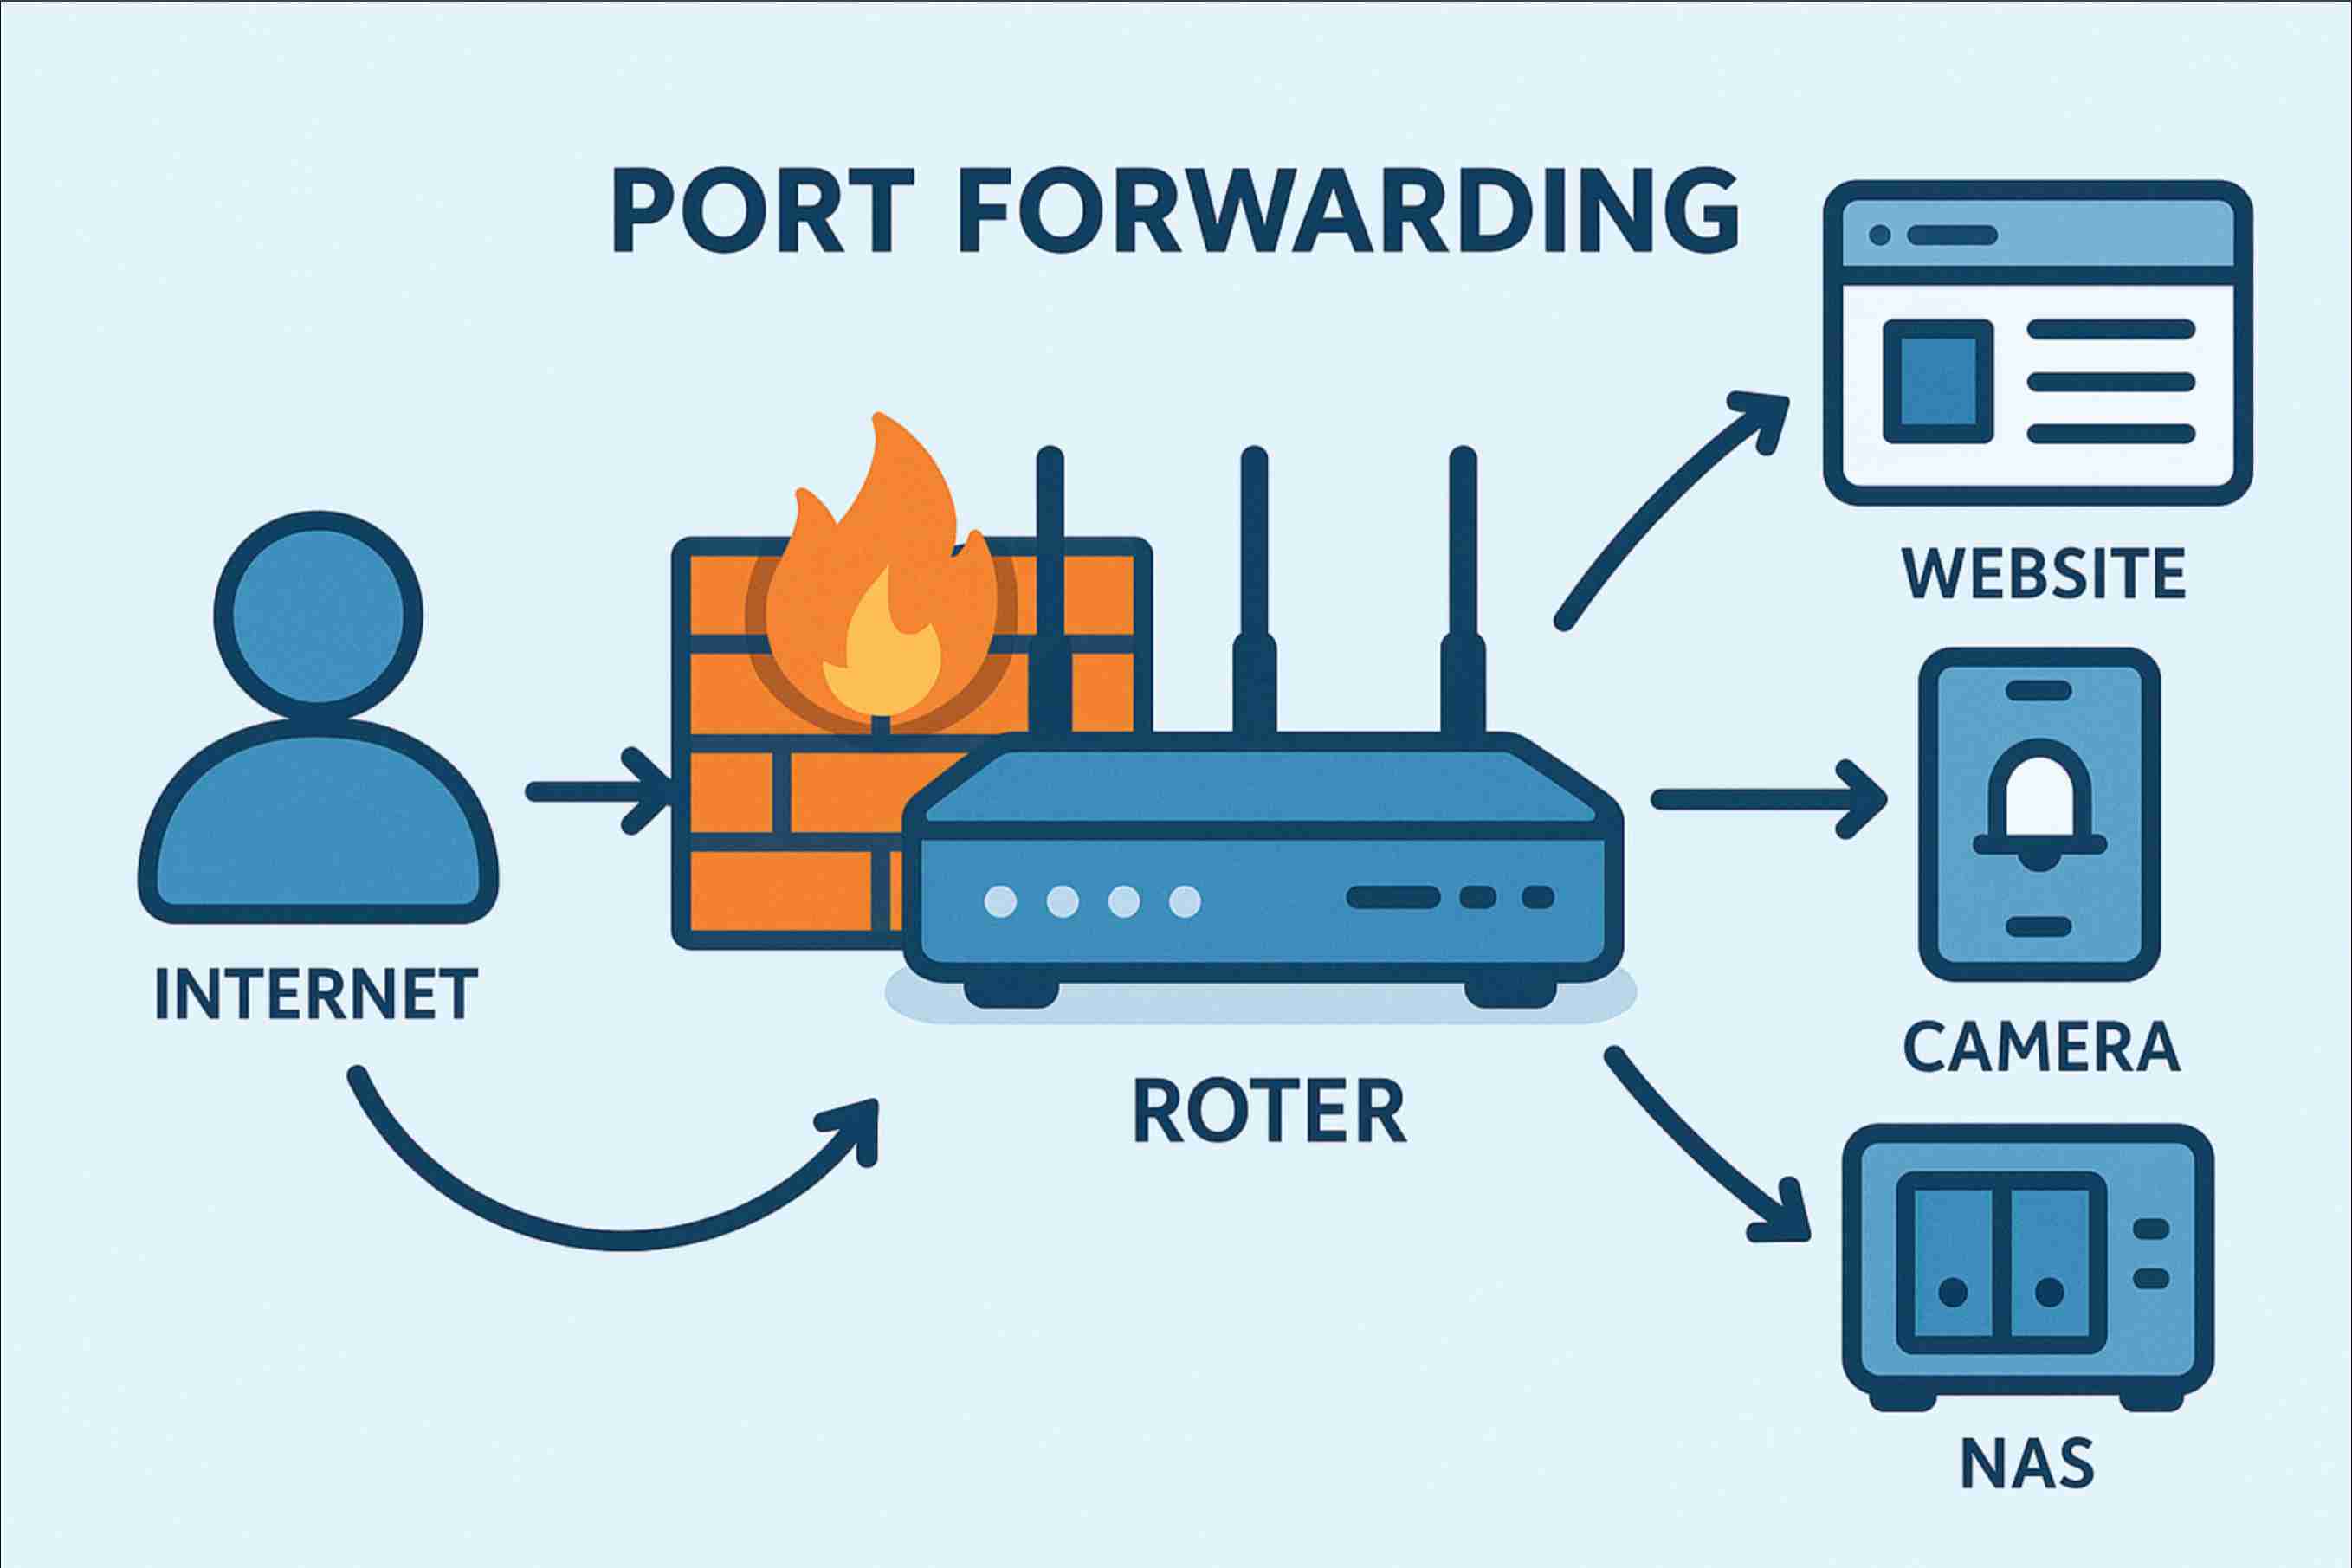
What is Port Forwarding?
Port forwarding is a networking technique that redirects incoming internet traffic from specific ports to devices on your local network. It allows external users to access services running on your local machines by creating a pathway through your router’s firewall.
For developers, port forwarding is crucial for:
- Testing web applications with external tools
- Hosting game servers
- Setting up remote access to home devices
- Receiving webhooks from third-party services
- Sharing local development environments with clients or team members
Virgin Media Hub Port Forwarding Challenges
Virgin Media customers often face several challenges when trying to set up port forwarding:
Dynamic IP Addresses: Virgin Media typically assigns dynamic IP addresses that change periodically, making it difficult to maintain consistent external access.
Port Restrictions: Virgin Media blocks certain ports for security reasons, particularly common ports like 25 (SMTP), 80 (HTTP), and 443 (HTTPS).
Hub Limitations: Different Virgin Media Hub models (Hub 3.0, Hub 4.0, Hub 5.0) have varying interfaces and capabilities for port forwarding.
CG-NAT Implementation: In some areas, Virgin Media uses Carrier-Grade NAT (CG-NAT), which can prevent traditional port forwarding from working at all.
Standard Port Forwarding on Virgin Media Hub
If your Virgin Media connection provides a public IP address (not behind CG-NAT), you can set up port forwarding through your router’s admin panel:
Step 1: Access Your Virgin Media Hub Admin Panel
- Open a web browser and navigate to
192.168.0.1(or the IP address printed on your router). - Log in using your admin credentials (usually printed on the router label).
Step 2: Navigate to Port Forwarding Settings
Depending on your Hub model:
- Hub 3.0: Advanced Settings > Port Forwarding
- Hub 4.0/5.0: Advanced Settings > Security > Port Forwarding
Step 3: Create a Port Forwarding Rule
- Click “Add New” or “Add Rule”
- Enter the following details:
- Service Name: A descriptive name (e.g., “Web Server”)
- Protocol: Select TCP, UDP, or Both
- External Port: The port external users will connect to
- Internal IP: Your device’s local IP address
- Internal Port: The port your service is running on locally
- Save the rule and apply changes
Step 4: Test Your Port Forwarding
To test if your port forwarding is working:
- Find your public IP address by searching “what is my IP” on Google
- Try accessing your service from outside your network using
http://[your-public-ip]:[external-port]
Using Pinggy When Port Forwarding Doesn’t Work
If you encounter any of the following issues:
- Virgin Media is blocking the ports you need
- Your connection is behind CG-NAT
- You have a dynamic IP address that changes frequently
- Your router settings don’t allow port forwarding
You can use Pinggy as a reliable workaround.
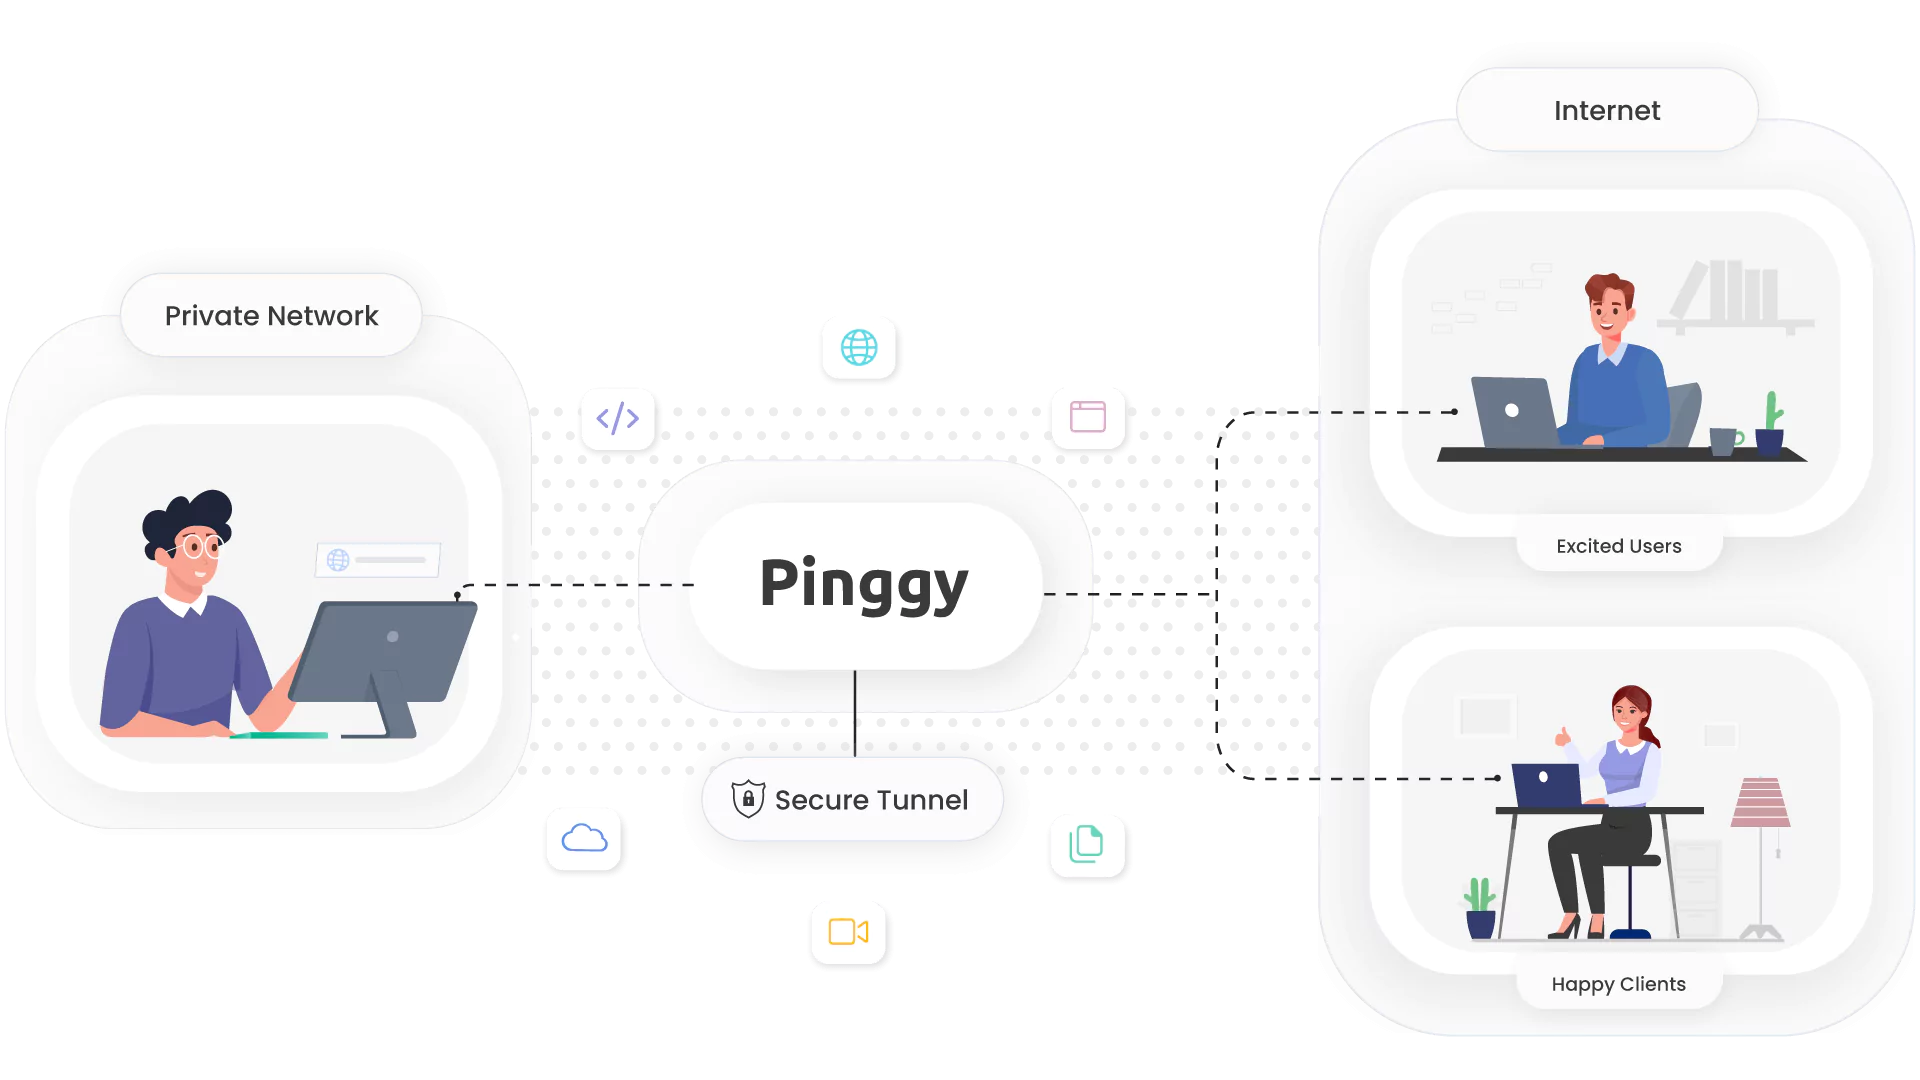
How Pinggy Helps Overcome Virgin Media Limitations
Pinggy creates secure tunnels that bypass the restrictions imposed by Virgin Media. It works by:
- Establishing an outbound connection from your device to Pinggy’s servers
- Creating a public endpoint that forwards traffic to your local service
- Maintaining this connection regardless of NAT, firewalls, or port restrictions
This approach works even if your Virgin Media connection uses CG-NAT or blocks specific ports.
Steps for Port Forwarding Using Pinggy
For HTTP Services (Web Servers, APIs, etc.):
Open terminal or command prompt.
Run the following command (replace
8000with your local port):ssh -p 443 -R0:localhost:8000 qr@free.pinggy.ioPinggy will generate a public URL that you can share with others.
For TCP Services (Game Servers, SSH, etc.):
Open terminal or command prompt.
Run the following command (replace
22with your local port):ssh -p 443 -R0:localhost:22 tcp@free.pinggy.ioPinggy will provide a TCP address in the format: tcp://random-id.a.pinggy.link:12345
For persistent URLs and ports, sign in to https://dashboard.pinggy.io
Conclusion
Virgin Media Hub port forwarding can be challenging due to various restrictions, but you have options. For straightforward scenarios, the built-in port forwarding features of your Virgin Media Hub may suffice. However, when faced with CG-NAT, dynamic IPs, or port restrictions, Pinggy offers a developer-friendly solution that bypasses these limitations.
With Pinggy, you can easily expose your local services to the internet regardless of Virgin Media’s network configuration, allowing you to focus on development rather than networking hurdles.
Whether you’re hosting development environments, game servers, or IoT devices, this approach ensures reliable external access to your local services without complex network configurations or hardware requirements.