Self-Hosting Node-RED
Updated on Jan 30, 2026 · 6 mins read
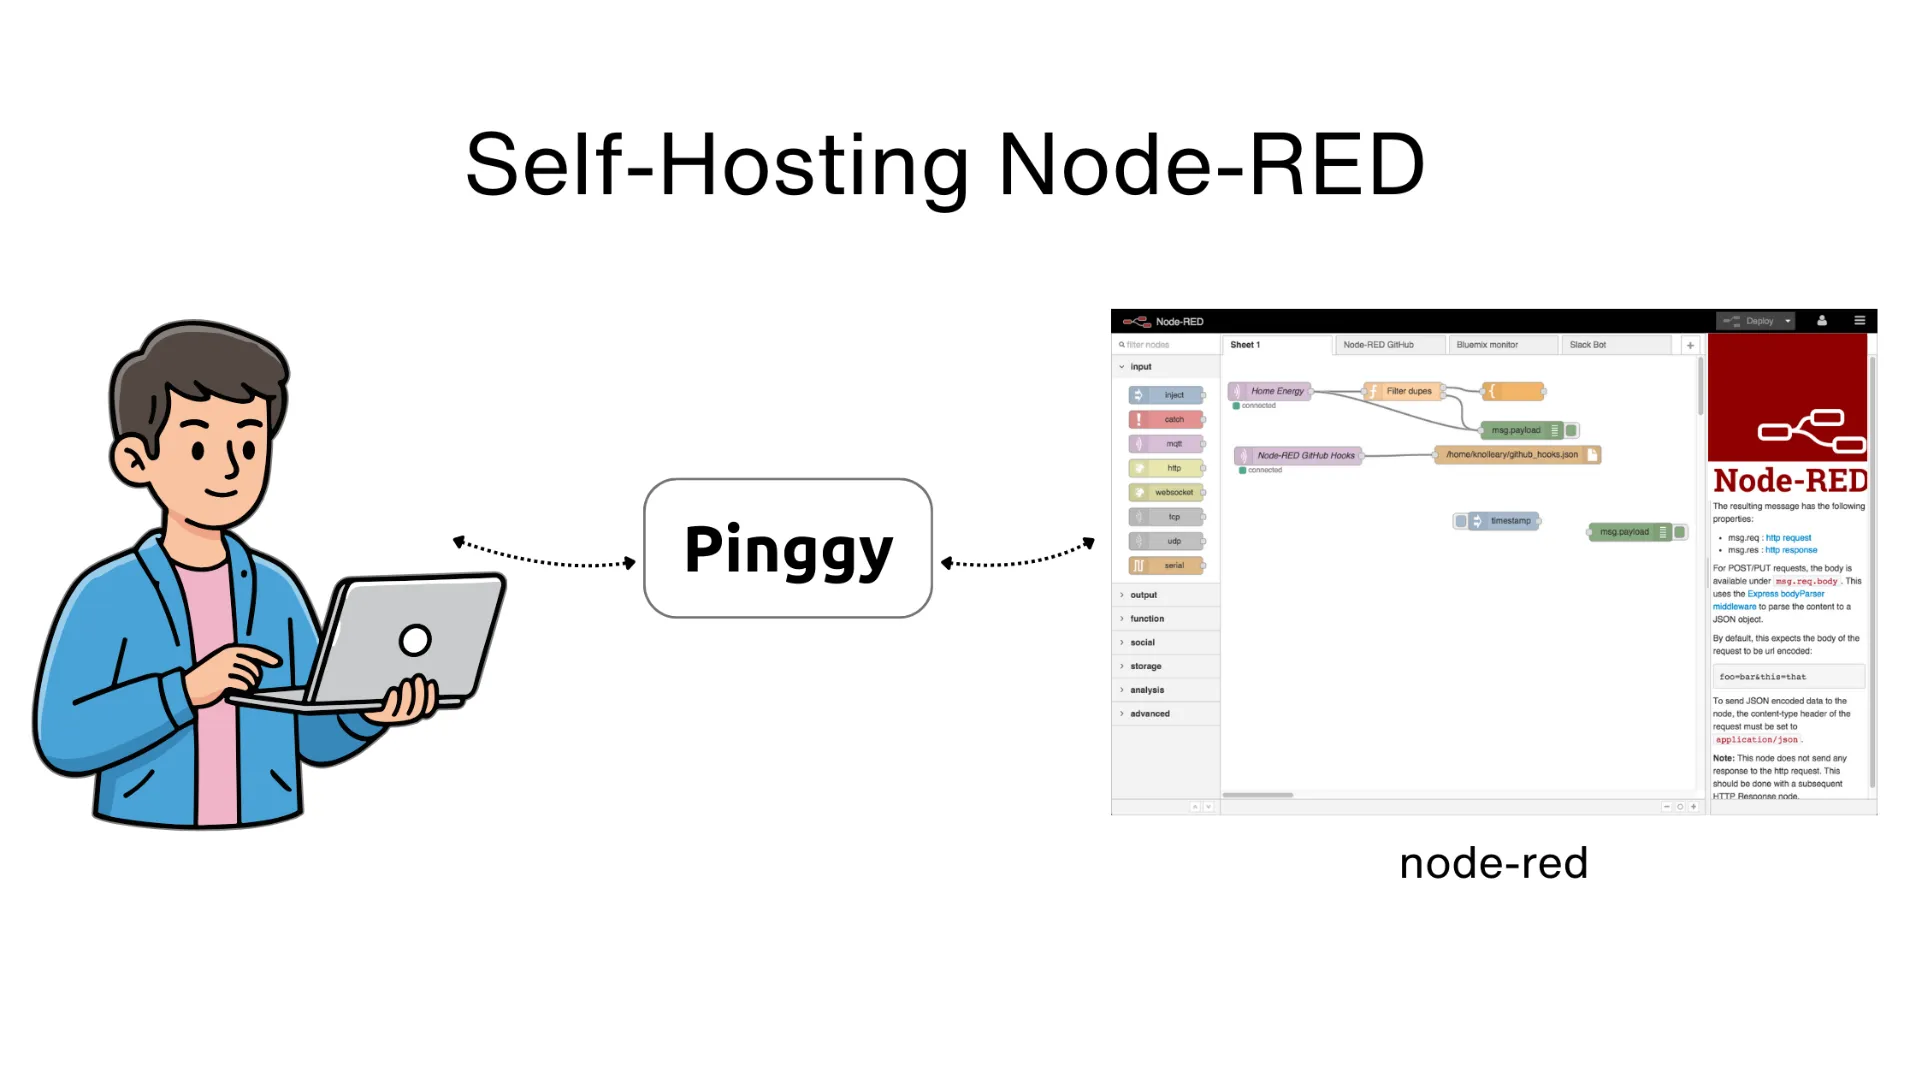
Node-RED is a powerful flow-based programming tool that makes wiring together hardware devices, APIs, and online services remarkably simple. Whether you’re building IoT projects, automating workflows, or creating integrations between services, Node-RED provides a browser-based visual editor that lets you connect nodes with just a few clicks.
In this guide, we’ll walk through installing Node-RED locally and then use Pinggy to make it accessible from anywhere on the internet. This setup is perfect for developers, IoT builders, automation engineers, and anyone who wants to access their Node-RED flows remotely or receive webhooks from external services.
Summary
What You’ll Build:
- Self-hosted Node-RED instance for flow-based programming and automation
- Local installation with simple npm commands
- Pinggy tunnel for secure remote access from any device
- Public URL for webhooks, integrations, and sharing workflows
Quick Setup:
- Install Node-RED globally:
npm install -g --unsafe-perm node-red - Run Node-RED:
node-red - Access locally at
http://localhost:1880 - Create a Pinggy tunnel for remote access:
ssh -p 443 -R0:localhost:1880 qr@free.pinggy.io - Use the public URL to access Node-RED from anywhere
Resources:
- Node-RED Documentation
- Node-RED Flow Library
- Pinggy for tunneling
Why Self-Host Node-RED?
Node-RED has become an essential tool for anyone working with IoT, home automation, or workflow integration. While cloud-hosted options exist, self-hosting gives you complete control over your automation flows, data privacy, and the ability to integrate directly with local hardware and services.
Running Node-RED on your own machine means your automation logic stays private, you can connect to local devices and databases without exposing them to third parties, and you have zero recurring costs. Combined with Pinggy for remote access, you get the best of both worlds: local control with cloud-like accessibility.
Self-hosting is particularly valuable when you need to:
- Receive webhooks from external services like GitHub, Slack, or payment processors
- Control IoT devices on your local network remotely
- Share your automation dashboards with team members
- Test and develop integrations without deploying to production servers
What is Node-RED?
Node-RED is an open-source, flow-based development tool originally created by IBM for wiring together hardware devices, APIs, and online services. It provides a browser-based editor that makes it easy to wire together flows using a wide range of nodes that can be deployed with a single click.
The visual approach means you can build complex integrations without writing extensive code. Simply drag nodes onto the canvas, connect them with wires, and deploy your flow. Node-RED handles the underlying messaging and execution.
Key Features:
- Visual Flow Editor: Drag-and-drop interface for building automation workflows
- Extensive Node Library: Thousands of community-contributed nodes for every service imaginable
- Built-in Dashboard: Create interactive UI dashboards for monitoring and control
- JavaScript Function Nodes: Write custom logic when visual nodes aren’t enough
- Import/Export Flows: Share workflows as JSON files with the community
- Lightweight Runtime: Runs efficiently on everything from Raspberry Pi to enterprise servers
Prerequisites
Before starting, ensure you have the following installed on your system:
Node.js v18 or higher: Node-RED requires a modern version of Node.js. Check your version with:
node --version

If you need to install or update Node.js:
Windows/macOS: Download from nodejs.org (LTS version recommended)
Linux (Ubuntu/Debian):
curl -fsSL https://deb.nodesource.com/setup_20.x | sudo -E bash -
sudo apt-get install -y nodejs
npm: Comes bundled with Node.js. Verify with:
npm --version

Step 1: Install Node-RED
With Node.js ready, installing Node-RED is a single command. Open your terminal and run:
# Global installation (recommended)
npm install -g --unsafe-perm node-red

# OR local installation (if you prefer not to install globally)
mkdir node-red
cd node-red
npm init -y
npm install --unsafe-perm node-red
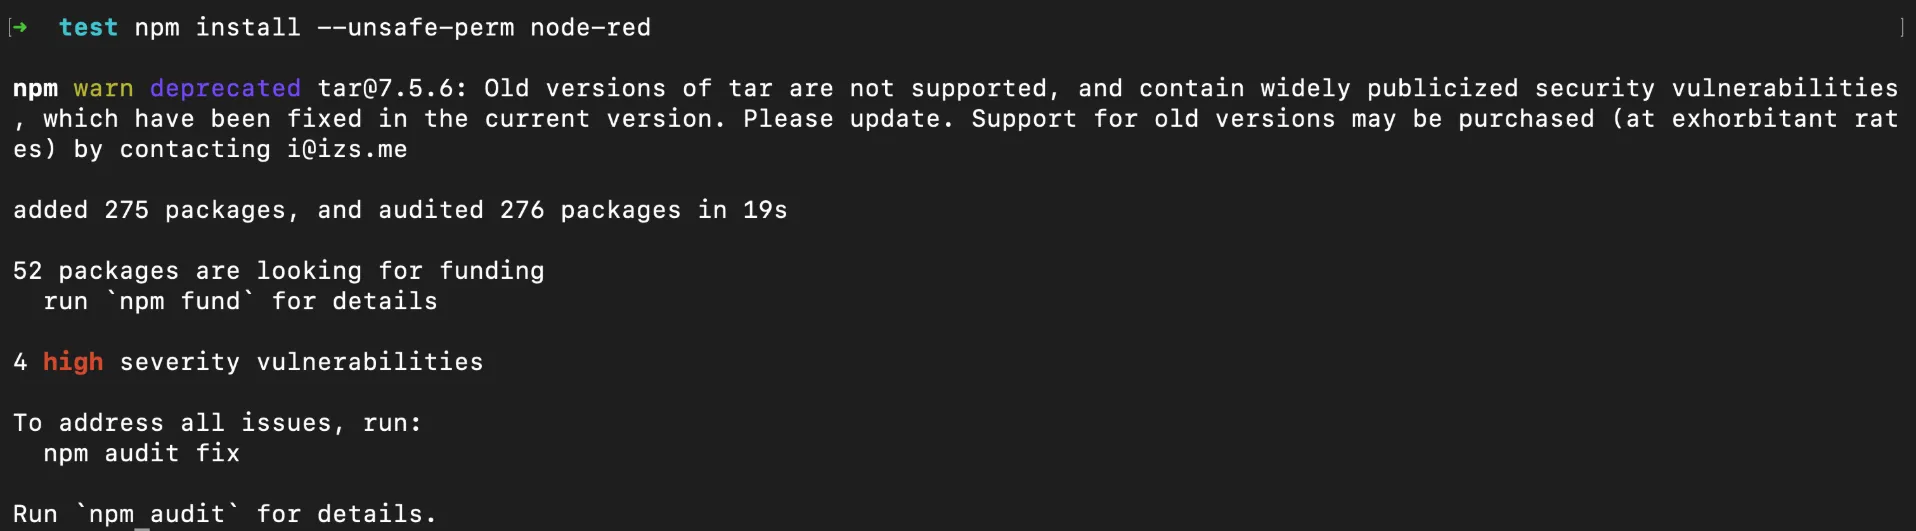
For global installation, use npm install -g which makes Node-RED available system-wide. If you prefer local installation, omit the -g flag and Node-RED will be installed in your current project directory. The --unsafe-perm flag is required on some systems to allow native module compilation.
The installation downloads Node-RED and its dependencies. Once complete, verify the installation:
# If installed globally
node-red --version

# If installed locally
npx node-red --version
You should see output like v4.0.5 (or newer), confirming Node-RED is installed correctly.

Step 2: Run Node-RED
Starting Node-RED is straightforward. Run:
# If installed globally
node-red
# If installed locally
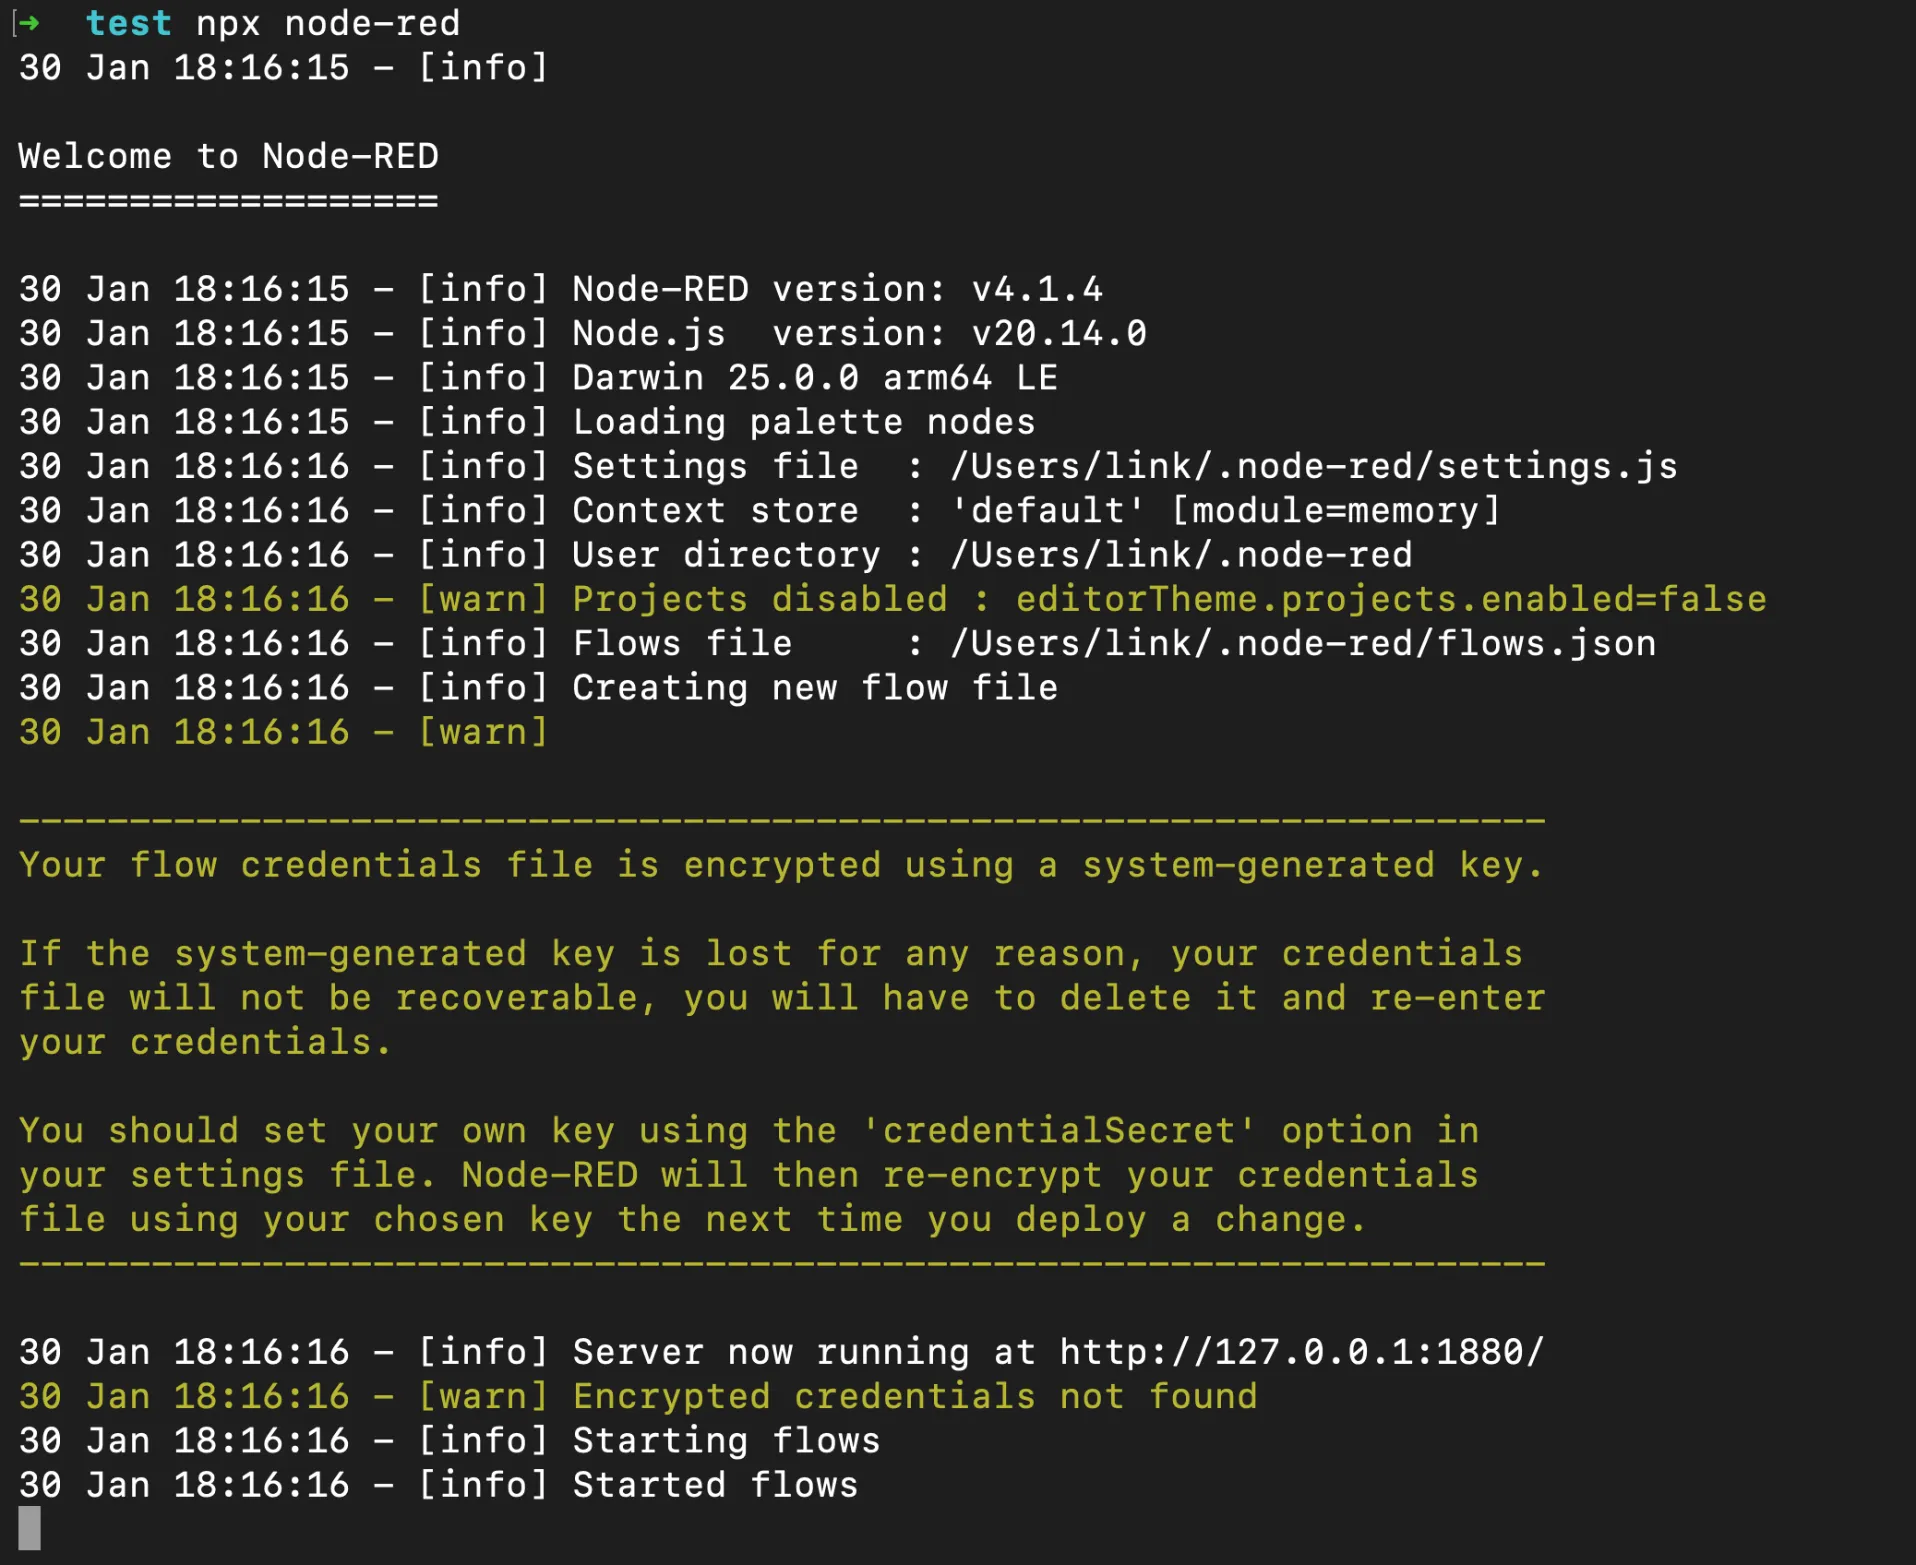
npx node-red
You’ll see startup messages as Node-RED initializes:
Welcome to Node-RED
===================

30 Jan 12:00:00 - [info] Node-RED version: v4.0.5
30 Jan 12:00:00 - [info] Node.js  version: v20.10.0
30 Jan 12:00:00 - [info] Server now running at http://127.0.0.1:1880/
Node-RED is now running on localhost:1880. Open your browser and navigate to http://localhost:1880 to see the flow editor.
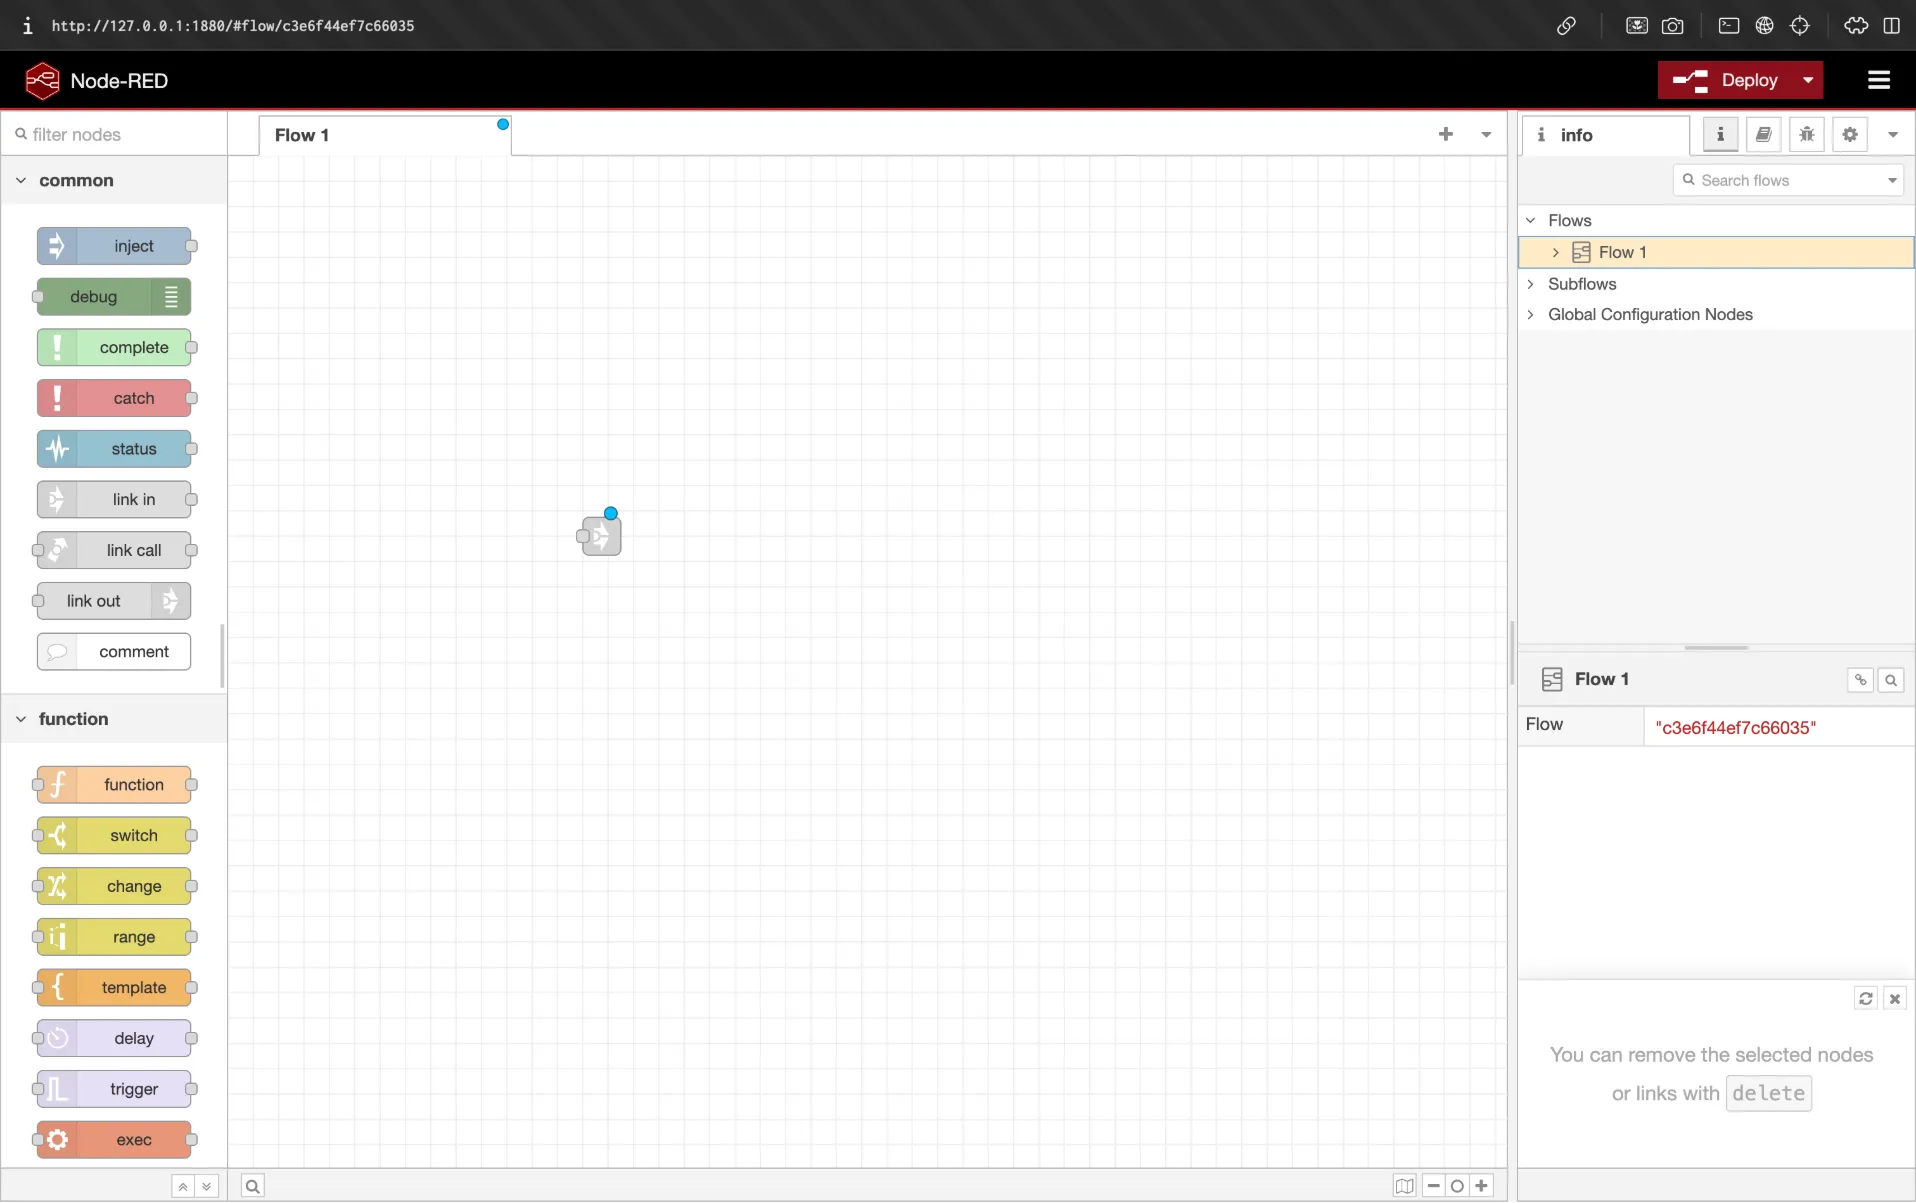
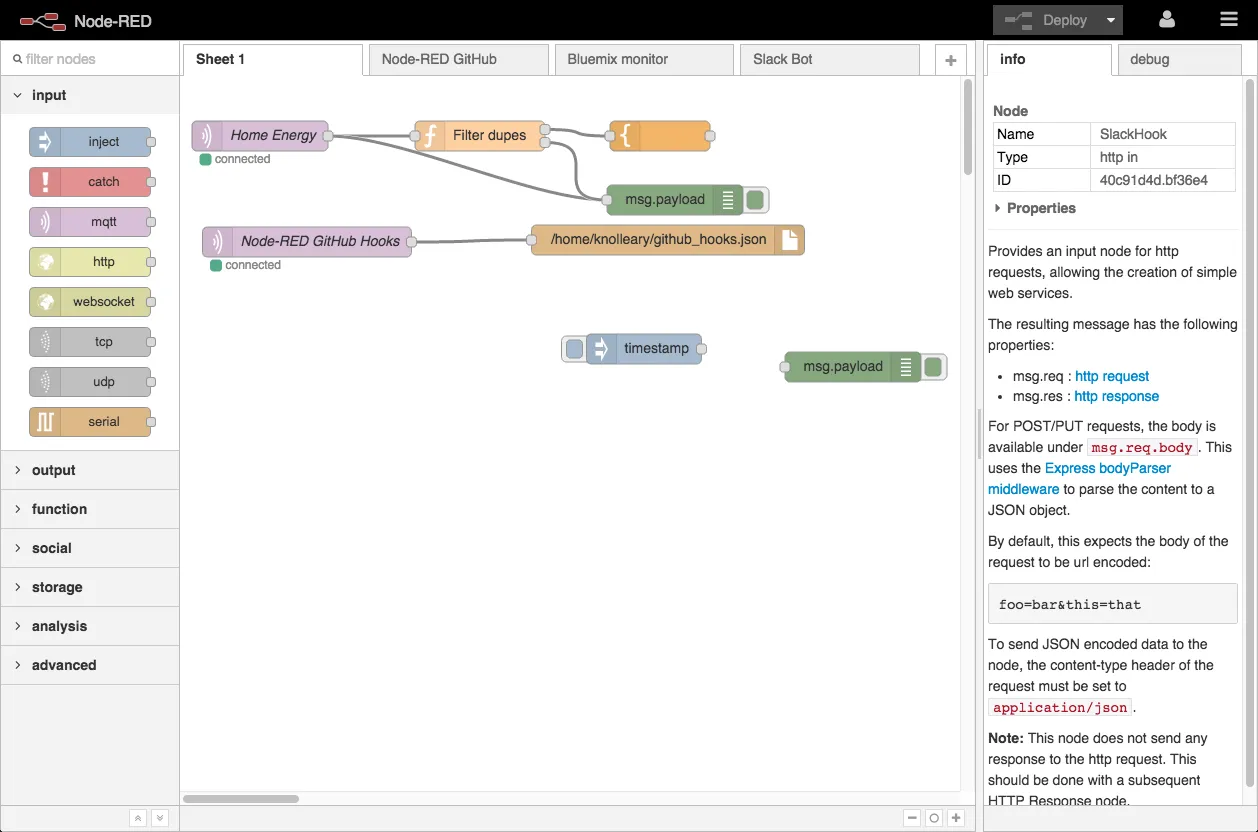
Exploring the Interface
The Node-RED editor has three main areas:
- Node Palette (left): Contains all available nodes organized by category
- Flow Canvas (center): Where you build your flows by connecting nodes
- Info/Debug Panel (right): Shows node information and debug output
Try creating a simple flow:
- Drag an inject node from the palette to the canvas
- Drag a debug node next to it
- Connect them by dragging from the inject node’s output to the debug node’s input
- Click Deploy in the top right
- Click the inject button to trigger the flow and see output in the debug panel
Step 3: Access Node-RED from Anywhere with Pinggy
Running Node-RED locally is useful, but the real power comes from accessing it remotely. Whether you need to receive webhooks, monitor IoT devices while away, or share dashboards with colleagues, Pinggy makes it simple.
Pinggy creates a secure tunnel from your local machine to the internet without any software installation. It works directly through SSH.
Creating the Tunnel
Open a new terminal window (keep Node-RED running in the first one) and execute:
ssh -p 443 -R0:localhost:1880 qr@free.pinggy.io
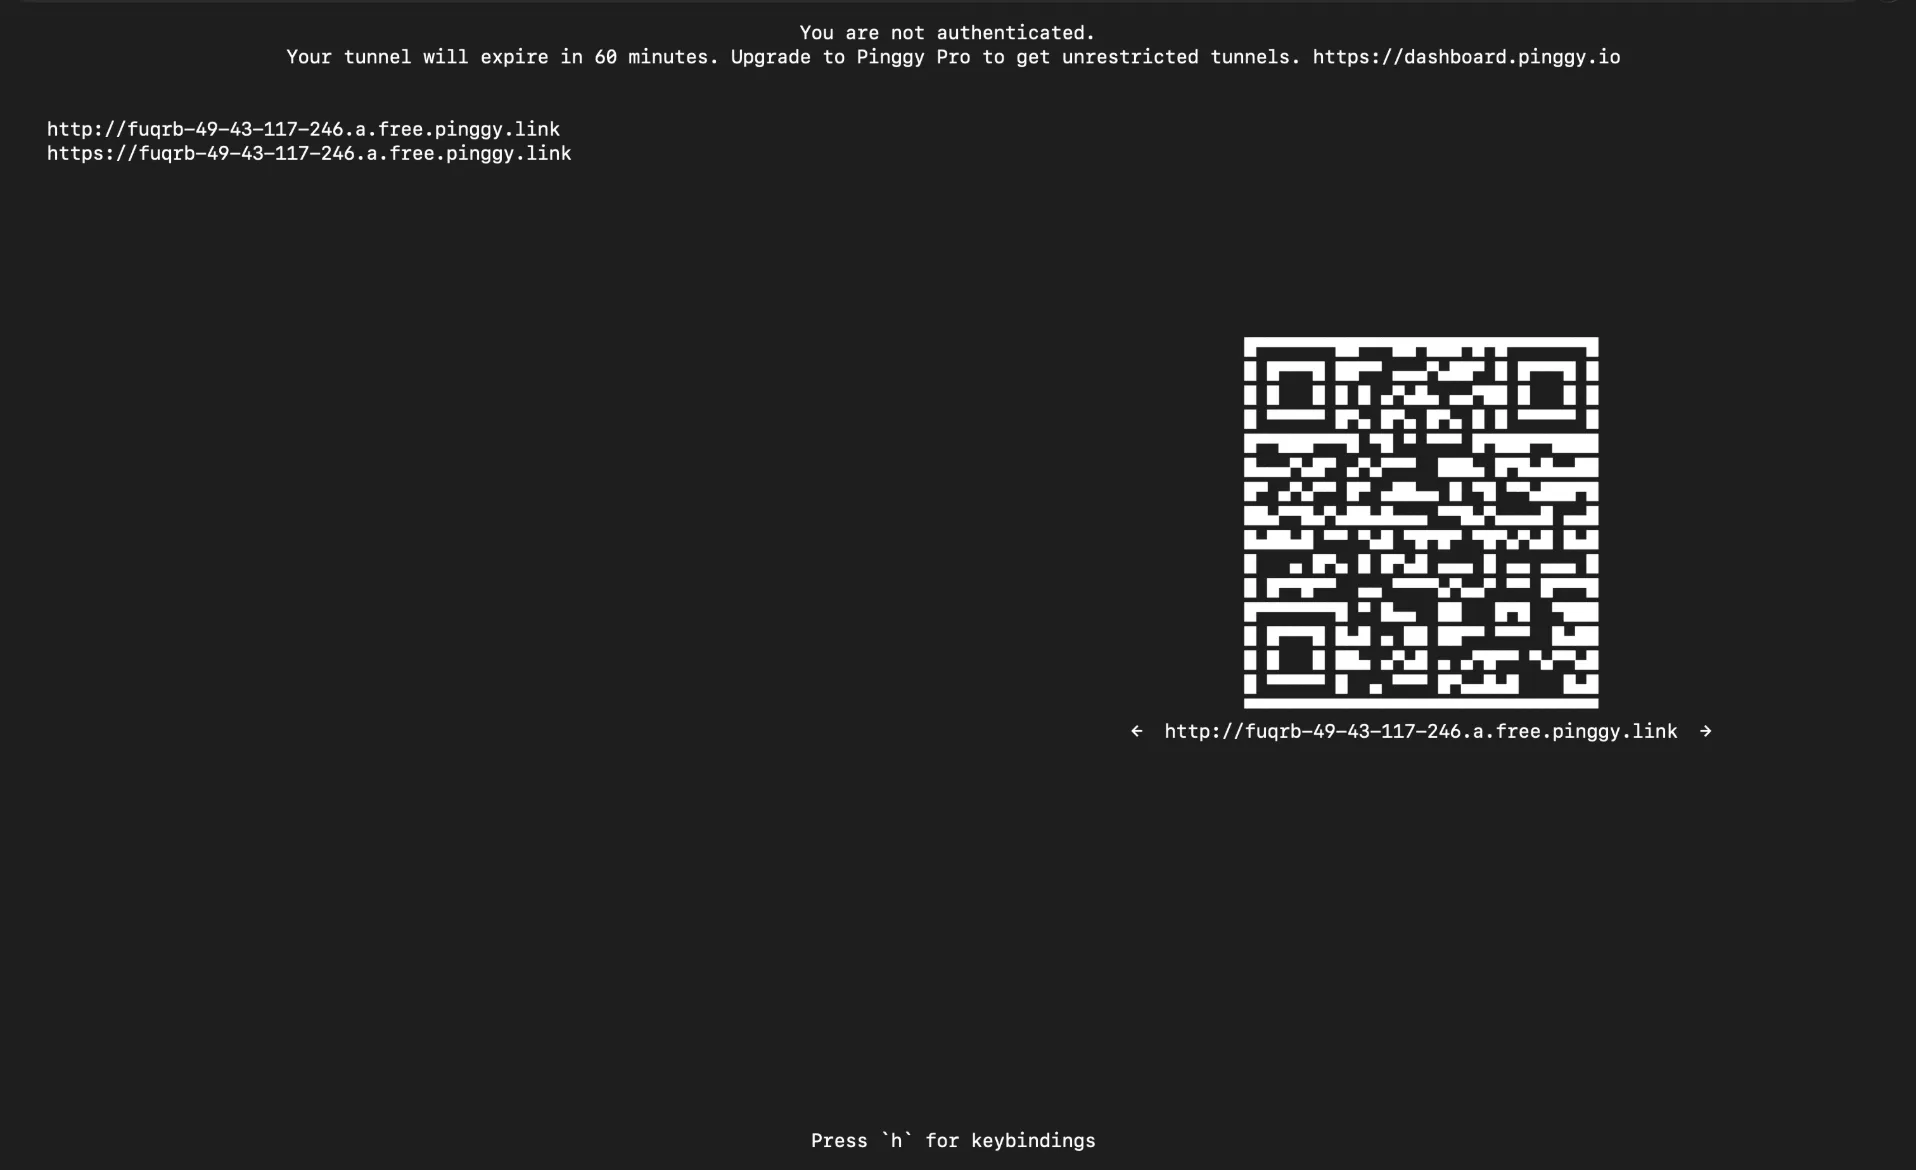
Pinggy will establish a tunnel and provide you with public URLs:
You can access local server via following URL(s):
https://randomstring.a.pinggy.link
The qr@ prefix also displays a QR code in your terminal, making it easy to open the URL on your phone by simply scanning it.
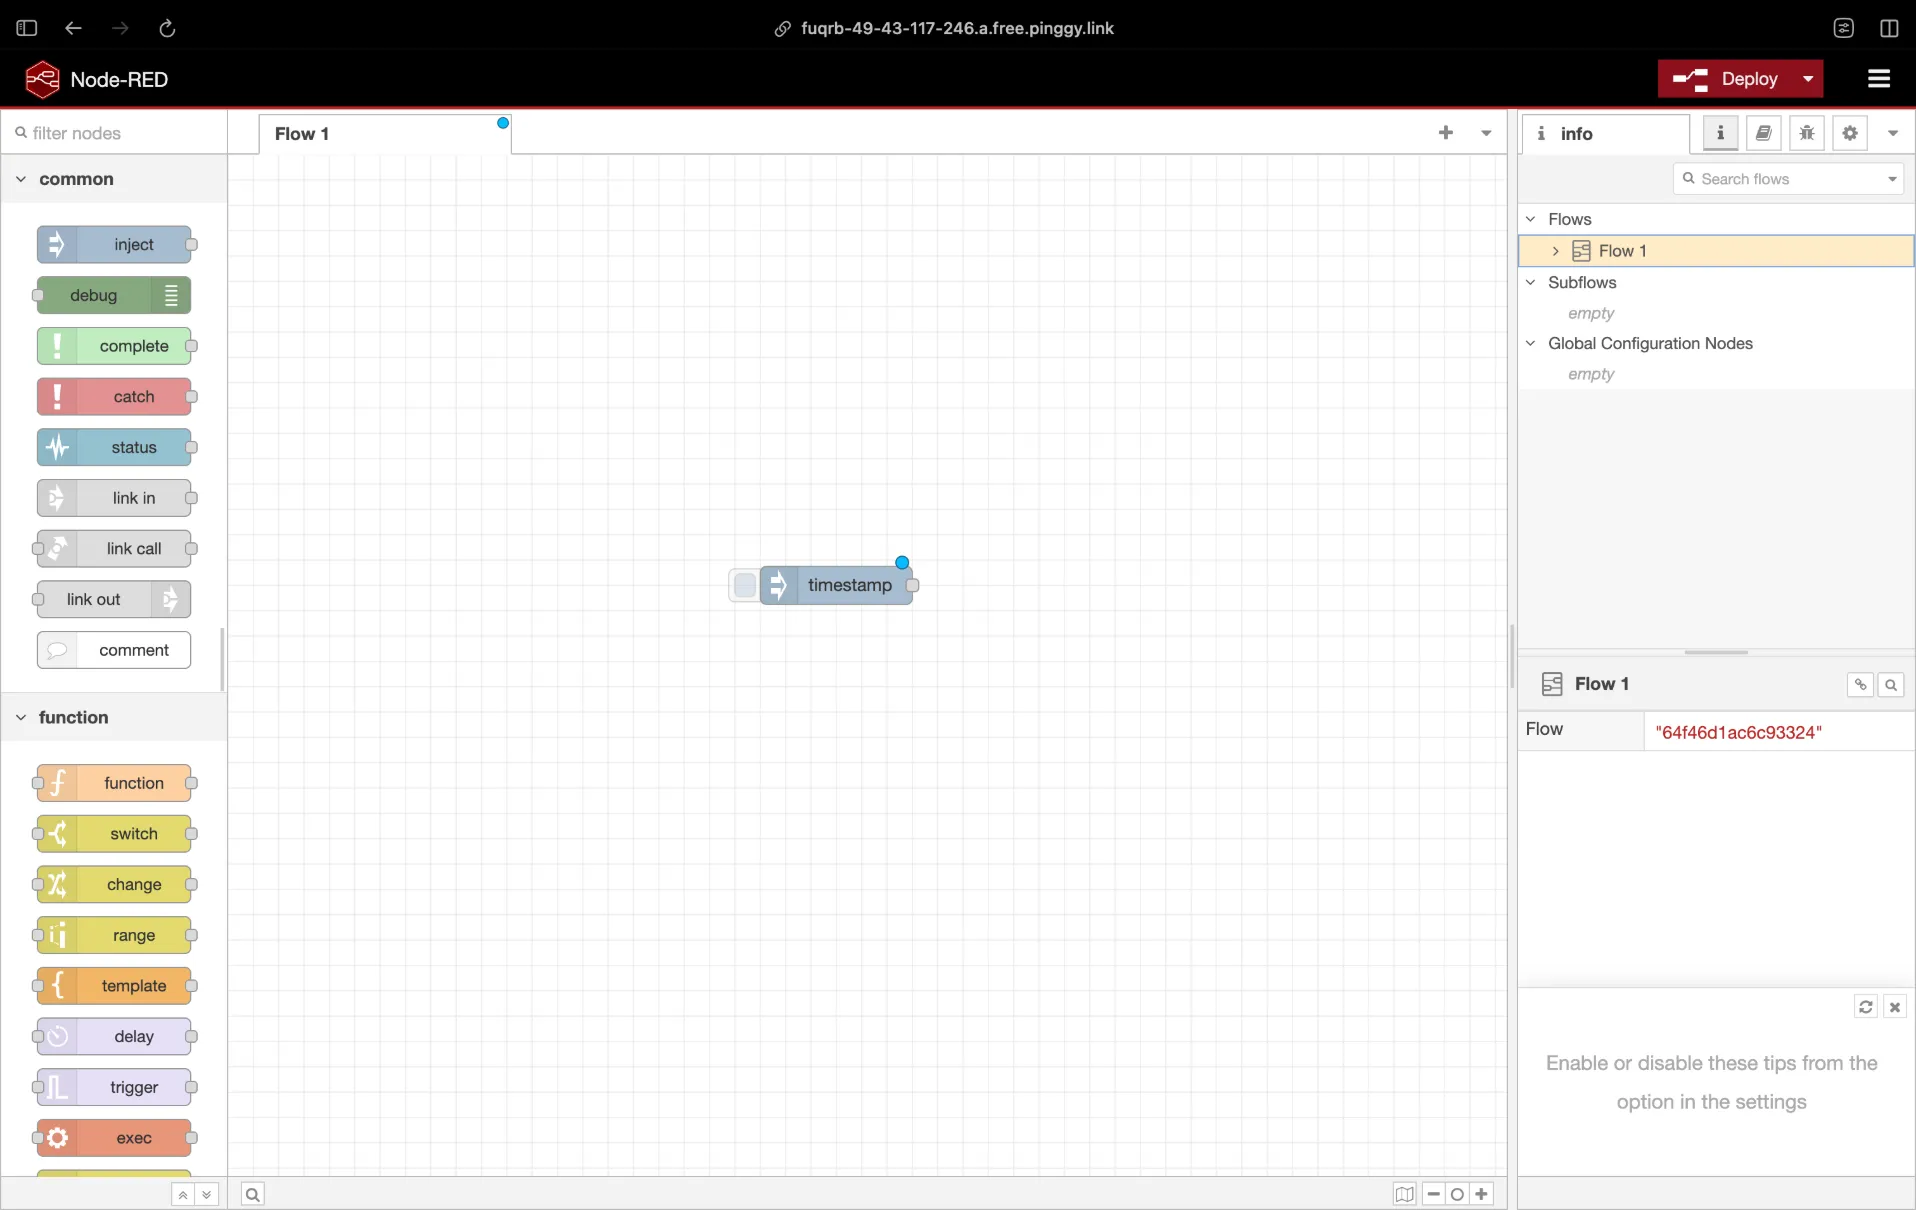
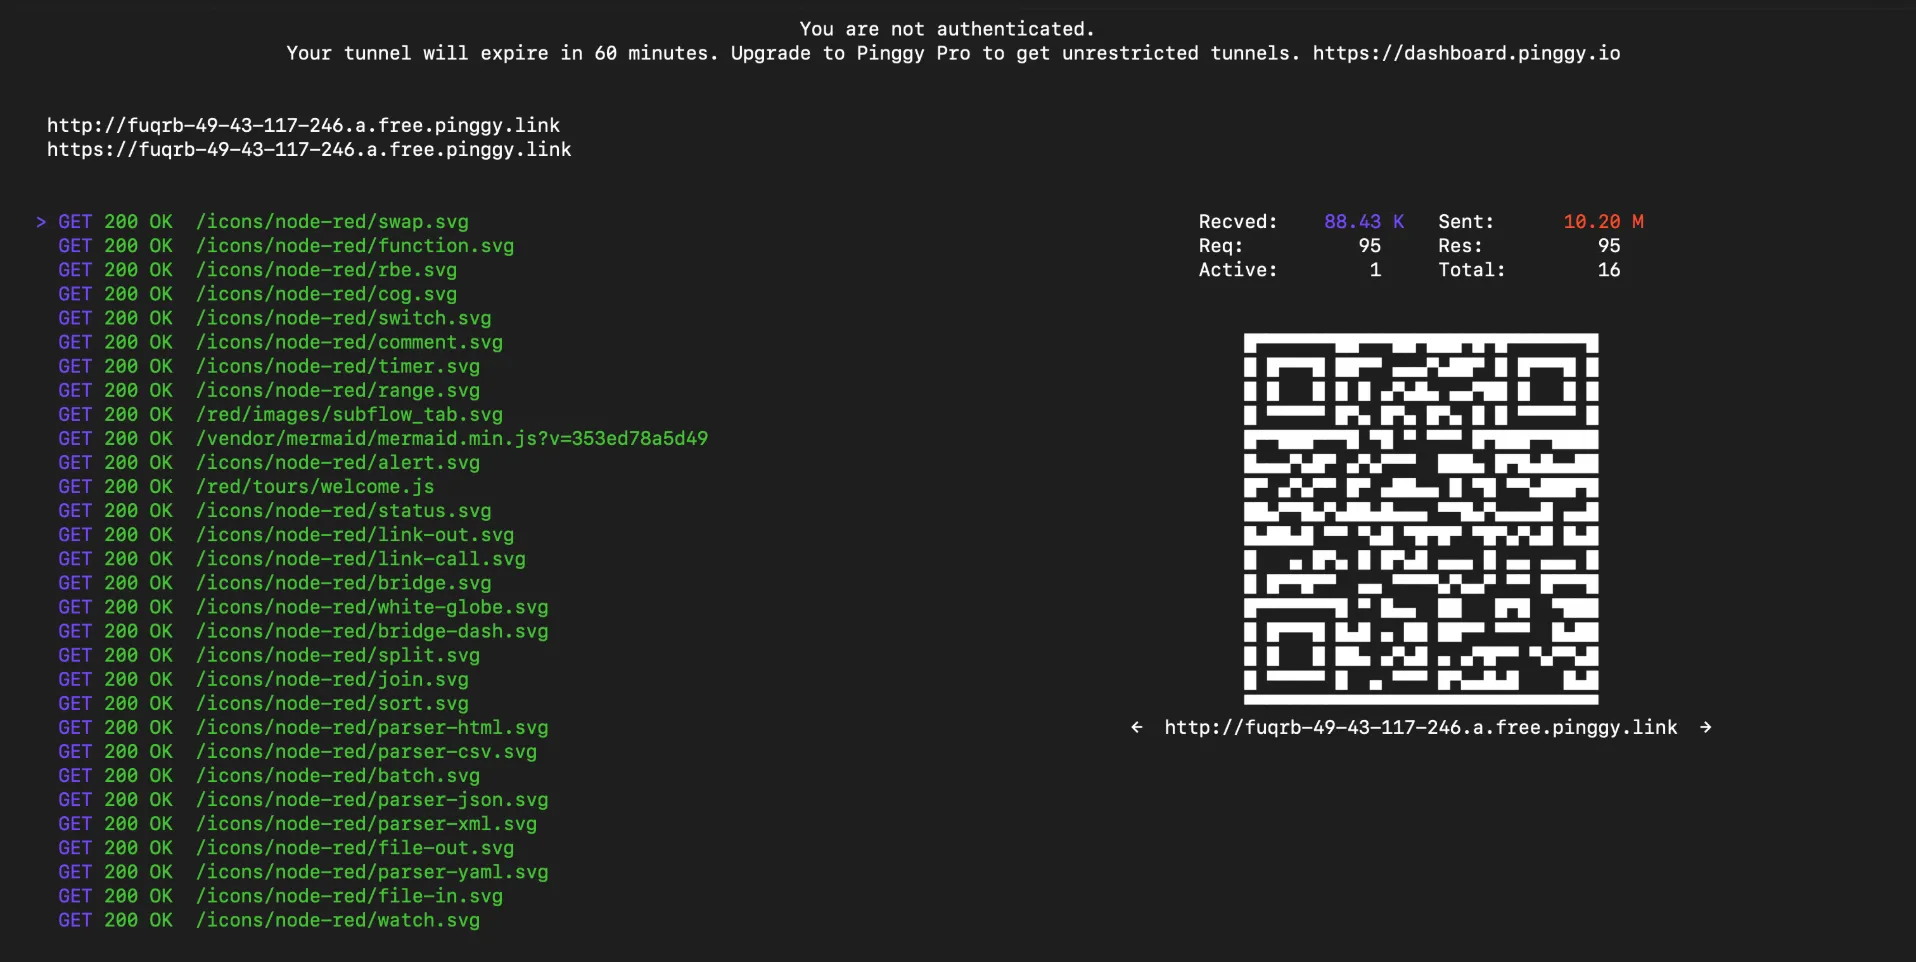
Copy the HTTPS URL and open it in any browser or on any device. You’ll see your Node-RED editor, fully accessible from anywhere in the world. The terminal shows live connection logs so you can monitor activity in real time.
Persistent URLs with Pinggy Pro
The free Pinggy tier provides random URLs that change on reconnection. For consistent access, Pinggy Pro offers persistent subdomains so your Node-RED instance stays at the same URL.
What You Can Do Next
With Node-RED publicly accessible, you unlock powerful capabilities:
Receive Webhooks: Set up HTTP input nodes to receive callbacks from services like GitHub, Stripe, Twilio, or any API that supports webhooks. Your flows can process incoming data instantly.
Remote IoT Control: Monitor and control IoT devices on your local network from anywhere. Check sensor readings, toggle switches, and receive alerts on your phone.
Share Dashboards: Build interactive dashboards with Node-RED Dashboard nodes and share them with team members or clients using your Pinggy URL.
Test Integrations: Develop and test webhook integrations locally without deploying to staging servers. Iterate quickly with live data.
Automate Workflows: Create automations that connect your local services with cloud APIs, all while maintaining control over your data.
Conclusion
Self-hosting Node-RED gives you a powerful automation platform that runs entirely on your own hardware. Combined with Pinggy for instant public access, you get cloud-like convenience without sacrificing privacy or control.
The setup takes just minutes: install Node-RED with npm, start the server, and create a Pinggy tunnel. From there, you can build sophisticated automation flows, receive webhooks from any service, and access your dashboards from anywhere in the world.
Whether you’re an IoT enthusiast, a developer building integrations, or someone who wants to automate repetitive tasks, Node-RED with Pinggy provides a flexible, free, and powerful solution. Your automations, your data, your control.