Running Ollama on Google Colab Through Pinggy
Updated on Sep 27, 2025 · 6 mins read
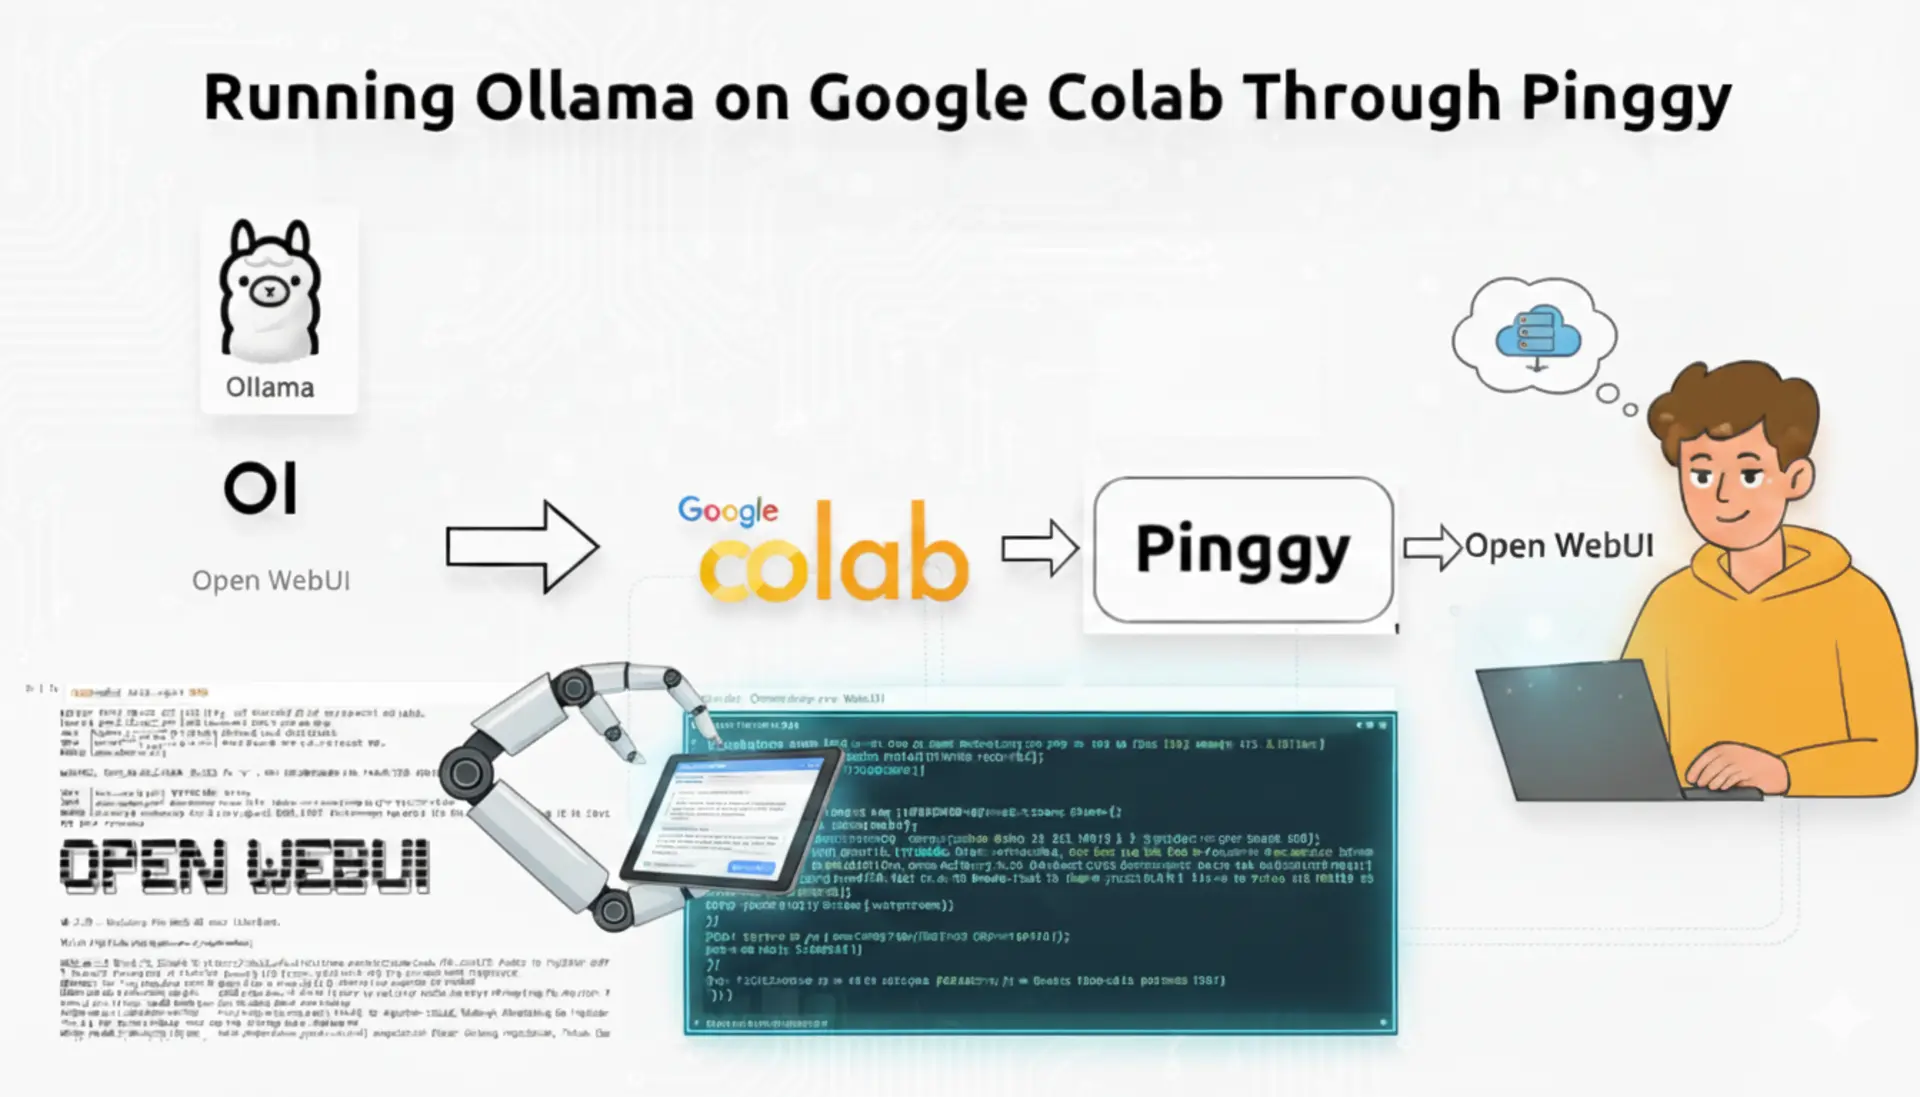
Running large language models locally can be expensive and resource-intensive. If you’re tired of paying premium prices for GPU access or dealing with complex local setups, there’s a better way. Google Colab provides free GPU resources, and when combined with Pinggy's tunneling service, you can run Ollama models accessible from anywhere on the internet.
This comprehensive guide will show you exactly how to set up Ollama on Google Colab and use Pinggy’s Python SDK to create secure tunnels that make your models accessible through public URLs. We’ll also cover installing OpenWebUI for a user-friendly ChatGPT-like interface to interact with your models.
Summary
Setup Google Colab Environment
- Create new notebook with GPU runtime enabled
- Install Ollama:
!curl -fsSL https://ollama.com/install.sh | sh
Install Pinggy Python SDK
- Install package:
!pip install pinggy - Create tunnel:
pinggy.start_tunnel(forwardto="localhost:11434" headermodification=["u:Host:localhost:11434"])
- Install package:
Setup OpenWebUI Interface
- Install:
!pip install open-webui - Create separate tunnel for port 8080
- Install:
Access Your Models Remotely
- Use generated Pinggy URLs to access Ollama API and WebUI from anywhere
- Complete notebook available on GitHub
Why is running Ollama on Colab useful?
Google Colab provides free access to powerful GPU resources that would otherwise cost hundreds of dollars per month. This makes it an ideal platform for running resource-intensive AI models like those available through Ollama. Instead of investing in expensive hardware or paying premium cloud computing fees, you can leverage Colab’s free T4 GPUs to run models like Llama, Mistral, and CodeLlama.
The combination is particularly powerful for developers, researchers, and students who want to experiment with large language models without financial barriers. Colab’s environment comes pre-configured with CUDA drivers and machine learning libraries, eliminating the complex setup process typically required for GPU-accelerated AI workloads.
Beyond the cost savings, this setup offers incredible flexibility. You can quickly spin up different model configurations, test various prompting strategies, or even run multiple models simultaneously. The ephemeral nature of Colab instances also means you can experiment freely without worrying about cluttering your local system or managing complex dependencies.
Setting Up Your Google Colab Environment
Before we dive into the Ollama setup, you’ll need to prepare your Colab environment. Start by creating a new notebook and we strongly recommend using a GPU runtime. Go to Runtime > Change runtime type and select GPU as your hardware accelerator.
While it’s technically possible to run very small models like Gemma 2:2B on CPU, GPU acceleration is essential for any practical use. The performance difference is dramatic - what might take minutes on CPU can complete in seconds on GPU. For models larger than 2-3 billion parameters, GPU is practically mandatory due to memory and processing requirements.
The first step is installing Ollama on your Colab instance. Ollama provides a convenient installation script that works perfectly in Colab environments. Run the following command to download and install Ollama:
!sudo apt-get install -y pciutils
!curl https://ollama.ai/install.sh | sh
This script will download the Ollama binary and set up the necessary environment. The installation process typically takes a few minutes, depending on your connection speed and the current load on Colab’s servers.
Once Ollama is installed, you’ll need to start the Ollama service. In a Colab environment, you’ll want to run this as a background process so it doesn’t block your notebook execution:
import subprocess
def start_ollama_server():
    subprocess.Popen(['ollama', 'serve'])
    print("🚀 Ollama server launched successfully!")
start_ollama_server()
Installing and Configuring Pinggy
Now comes the exciting part - setting up Pinggy to create a tunnel to your Ollama instance. Pinggy’s Python SDK makes this incredibly straightforward. First, install the Pinggy package:
!pip install pinggy
The installation is quick and doesn’t require any additional dependencies beyond what’s already available in Colab. Once installed, you can create a tunnel with just a few lines of Python code:
import pinggy

# Create a tunnel to your local Ollama server
tunnel = pinggy.start_tunnel(
    forwardto="localhost:11434",
    headermodification=["u:Host:localhost:11434"]
)

print(f"Tunnel started - URLs: {tunnel.urls}")

This simple code creates both HTTP and HTTPS endpoints that forward traffic to your local Ollama server running on port 11434. The URLs will look something like https://randomstring.a.pinggy.link, and they’ll remain active for the duration of your Colab session.
What makes this particularly powerful is that these URLs are accessible from anywhere on the internet. You can share them with team members, use them in other applications, or access them from your mobile device.
Downloading and Running Your First Model
With Ollama running and your tunnel established, you can now download and run models. Ollama supports a wide variety of models, from lightweight options like Llama 3.2 1B to more powerful models like Llama 3.1 8B. For Colab’s free tier, smaller models work best due to memory constraints.
Let’s download and run a model:
!ollama pull llama3.2:1b
Once the model is downloaded, you can start it:
!ollama run llama3.2:1b
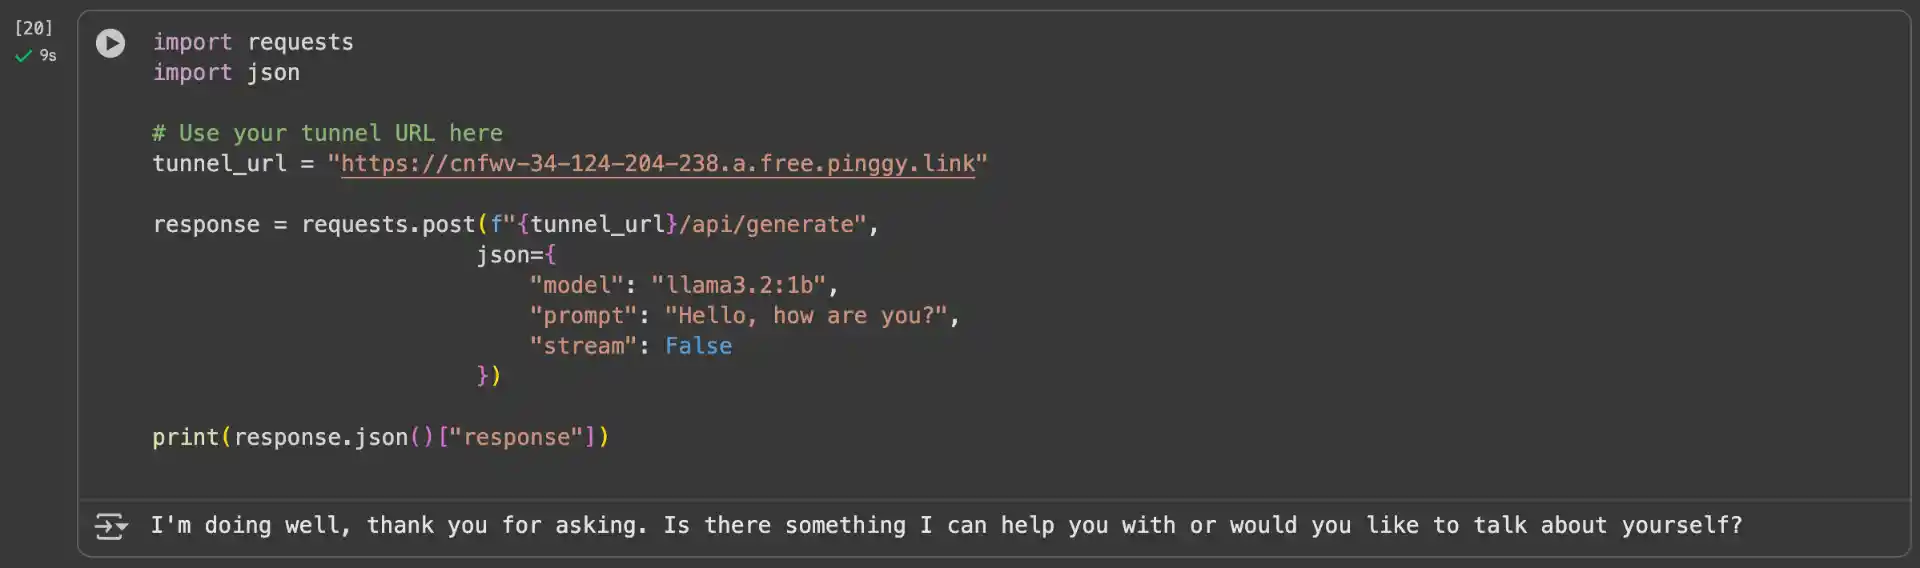
The model will be available through your Ollama API, which is now accessible via your Pinggy tunnel URLs. You can test this by making a simple API call:
import requests
import json

# Use your tunnel URL here
tunnel_url = "https://your-tunnel-url.a.pinggy.link"

response = requests.post(f"{tunnel_url}/api/generate",
                        json={
                            "model": "llama3.2:1b",
                            "prompt": "Hello, how are you?",
                            "stream": False
                        })

print(response.json()["response"])
While the API access is great for programmatic use, you might want a more user-friendly interface. OpenWebUI provides an excellent web interface for interacting with Ollama models. Installing it in Colab is straightforward:
!pip install open-webui
After installation, we first create a tunnel that runs in the background. Then, we launch Open WebUI, which continuously displays logs in the foreground.
import pinggy
tunnel1 = pinggy.start_tunnel(
    forwardto="localhost:8000",
)

print(f"Tunnel1 started - URLs: {tunnel1.urls}")
!open-webui serve --port 8000

Now you’ll have a beautiful web interface accessible through your second Pinggy tunnel. OpenWebUI automatically detects your Ollama installation and provides a ChatGPT-like interface for interacting with your models.
GitHub Repository
You can find the complete Colab notebook with all the code examples and additional configurations in our GitHub repository: Running Ollama on Google Colab Through Pinggy. The repository includes examples for different model sizes, advanced Pinggy configurations, and troubleshooting guides.
Conclusion
Running Ollama on Google Colab through Pinggy tunnels provides an excellent way to access powerful language models without the cost and complexity of local GPU setups. The combination of Colab’s free resources and Pinggy’s simple tunneling service creates a powerful development environment that’s accessible from anywhere.
This setup is particularly valuable for developers who want to experiment with different models, build applications that integrate with language models, or provide temporary access to models for team members or clients. The persistent URLs and easy Python integration make it a robust solution for both development and production use cases.
Remember to monitor your usage and respect Colab’s terms of service. While this setup provides excellent value, it’s important to use resources responsibly and consider upgrading to Colab Pro if you need extended usage or more powerful hardware.