Run and Share ComfyUI on Google Colab for Free
Updated on Oct 14, 2025 · 7 mins read

Creating stunning AI-generated images shouldn’t require expensive hardware or complex local setups. If you’re looking to experiment with ComfyUI without breaking the bank, there’s a fantastic solution. Google Colab provides free GPU access, and when combined with Pinggy's tunneling service, you can run ComfyUI and share it with anyone on the internet.
This comprehensive guide will walk you through setting up ComfyUI on Google Colab with GPU acceleration and creating public URLs using Pinggy’s Python SDK. You’ll learn how to overcome the common pitfalls and get your AI image generation workflow running smoothly in the cloud.
Summary
Enable GPU Runtime in Colab
- Create new notebook and select GPU hardware accelerator
- Critical: GPU is required for ComfyUI to work properly
Install ComfyUI and Dependencies
- Clone repo:
!git clone https://github.com/comfyanonymous/ComfyUI.git - Install requirements:
!pip install -r requirements.txt
- Clone repo:
Setup Pinggy Tunnel
- Install:
!pip install pinggy - Create tunnel:
pinggy.start_tunnel(forwardto="localhost:8188")
- Install:
Launch ComfyUI Server
- Run:
!python main.py --listen 0.0.0.0 - Access via generated Pinggy URLs from anywhere
- Run:
Complete Setup: Find the ready-to-use Colab notebook at GitHub repository
Note: Free GPU may take 5-10 minutes to load UI. Consider Colab Pro for faster performance.
Why Run ComfyUI on Google Colab?
ComfyUI is one of the most powerful node-based interfaces for Stable Diffusion and other AI image generation models. However, running it locally requires significant computational resources, especially a capable GPU with sufficient VRAM. This is where Google Colab becomes a game-changer.
Colab provides free access to Tesla T4 GPUs with 15GB of VRAM, which is more than enough to run most ComfyUI workflows. Instead of investing thousands of dollars in hardware or paying premium prices for cloud GPU instances, you can leverage Colab’s generous free tier to experiment with advanced AI image generation techniques.
The combination is particularly valuable for artists, developers, and researchers who want to explore ComfyUI’s advanced features like custom nodes, complex workflows, and model fine-tuning without the overhead of managing local installations or dealing with CUDA driver issues.
Essential Requirement: GPU Acceleration
Before diving into the setup, there’s one critical requirement you absolutely cannot skip: enabling GPU acceleration in Google Colab. ComfyUI is designed to work with GPU acceleration, and while it might technically run on CPU, the performance will be so poor that it’s practically unusable.
To enable GPU support, go to Runtime > Change runtime type and select GPU as your hardware accelerator. This step is mandatory - ComfyUI simply won’t work properly without it. The GPU provides the computational power needed for loading and running Stable Diffusion models, processing images, and handling the complex mathematical operations involved in AI image generation.
Without GPU acceleration, you’ll encounter extremely slow loading times, timeouts, and potentially out-of-memory errors. The free T4 GPU provided by Colab is perfectly capable of running ComfyUI workflows, making this setup both practical and powerful.
Setting Up Your Colab Environment
Start by creating a new Google Colab notebook and ensuring you have GPU runtime enabled. The first step is preparing your environment with the necessary system packages and tools that ComfyUI requires.
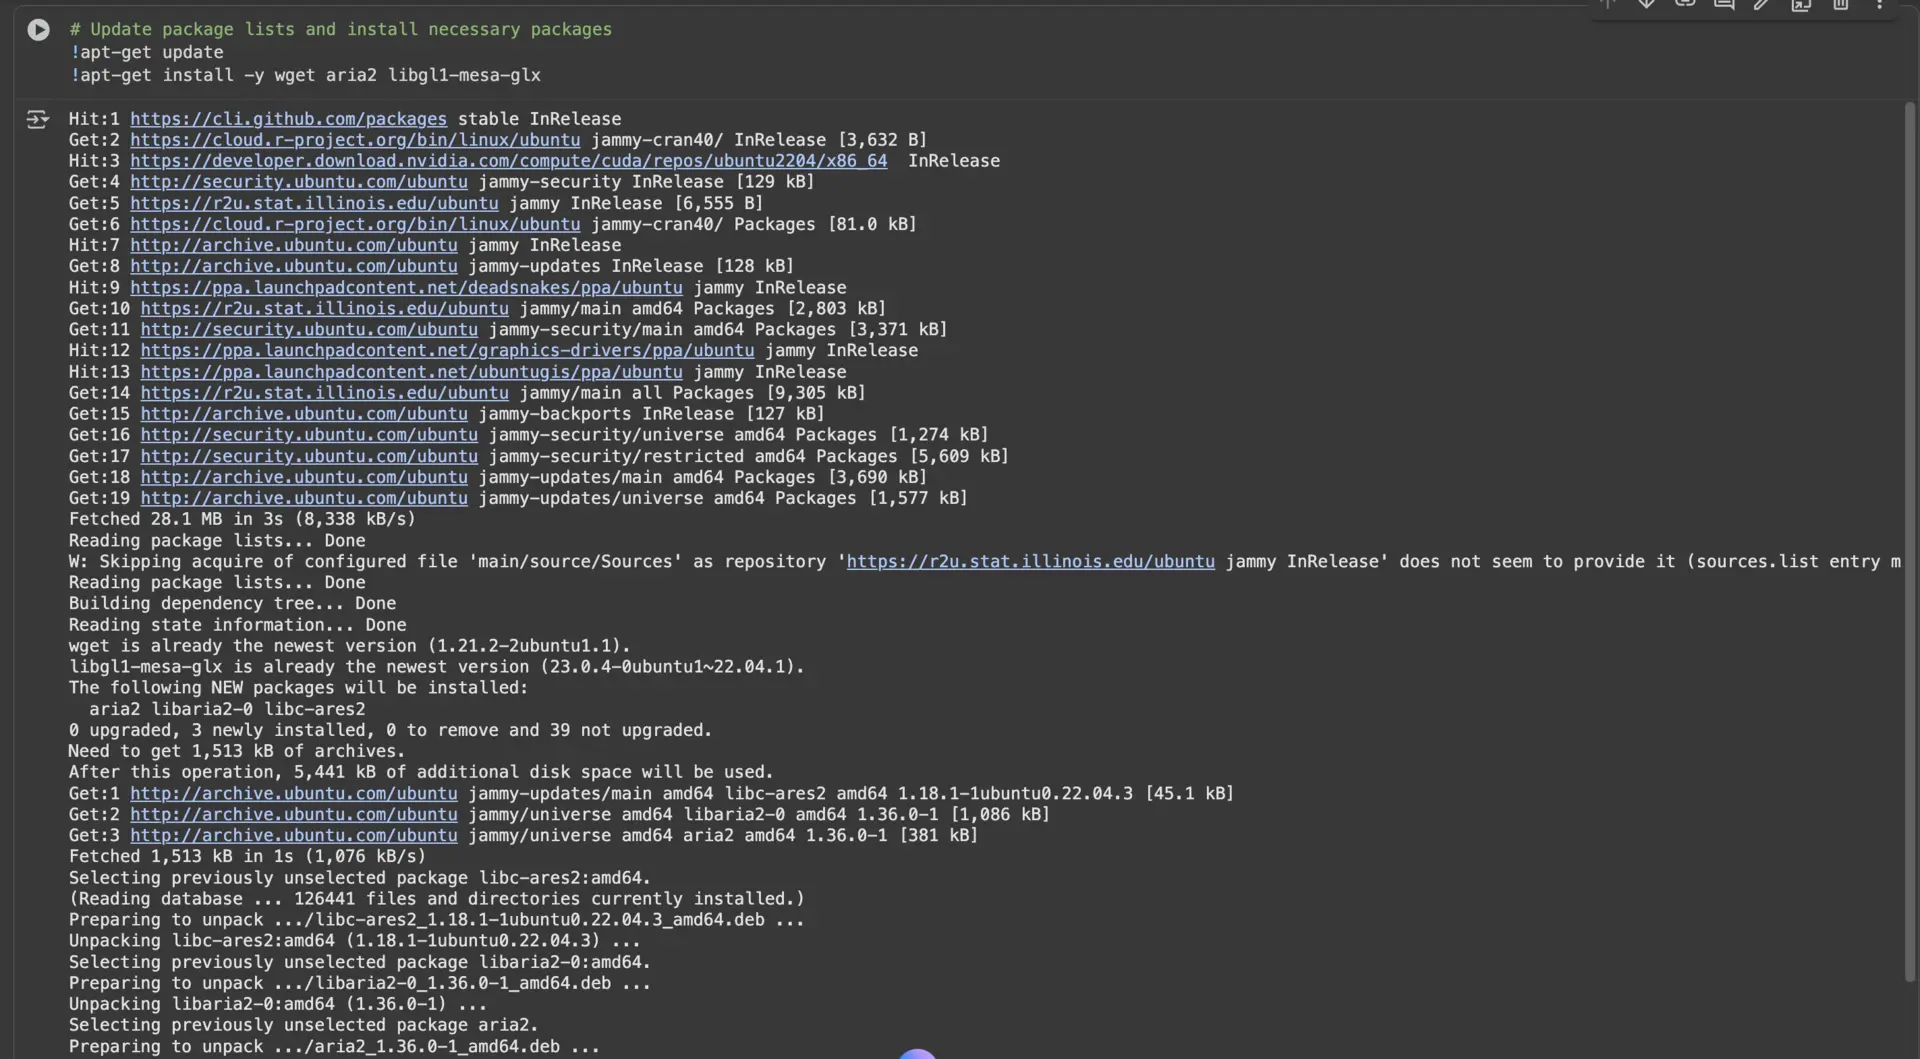
!apt-get update
!apt-get install -y wget aria2 libgl1-mesa-glx
These packages provide essential utilities for downloading files and handling graphics libraries that ComfyUI depends on. The installation process typically takes a few minutes, and you’ll see various system packages being updated and installed.
Next, clone the official ComfyUI repository from GitHub. This gives you access to the latest version with all the recent improvements and bug fixes:
!git clone https://github.com/comfyanonymous/ComfyUI.git

Once the repository is cloned, navigate to the ComfyUI directory and install all the required Python dependencies:
%cd ComfyUI
!pip install -r requirements.txt
This installation process can take several minutes as it downloads and installs numerous packages including PyTorch, Transformers, and other machine learning libraries. The requirements.txt file ensures you get all the exact versions that ComfyUI has been tested with.

Creating Public Access with Pinggy
The magic of making your ComfyUI instance accessible from anywhere comes from Pinggy’s tunneling service. First, install the Pinggy Python package:
!pip install pinggy

Now create a tunnel that forwards traffic from a public URL to your local ComfyUI server:
import pinggy

tunnel1 = pinggy.start_tunnel(
    forwardto="localhost:8188",
)

print(f"Tunnel1 started - URLs: {tunnel1.urls}")
This simple code creates both HTTP and HTTPS endpoints that anyone can access. The URLs will look something like https://randomstring.a.free.pinggy.link and remain active for the duration of your Colab session. What makes this particularly powerful is that these URLs work from any device, anywhere in the world.

Launching ComfyUI Server
With your tunnel established, you can now start the ComfyUI server. The key parameter here is --listen 0.0.0.0, which allows the server to accept connections from any IP address, not just localhost:
!python main.py --listen 0.0.0.0
When the server starts successfully, you’ll see output indicating that ComfyUI is running and ready to accept connections. The server will display information about your GPU, available VRAM, and the web interface URL.
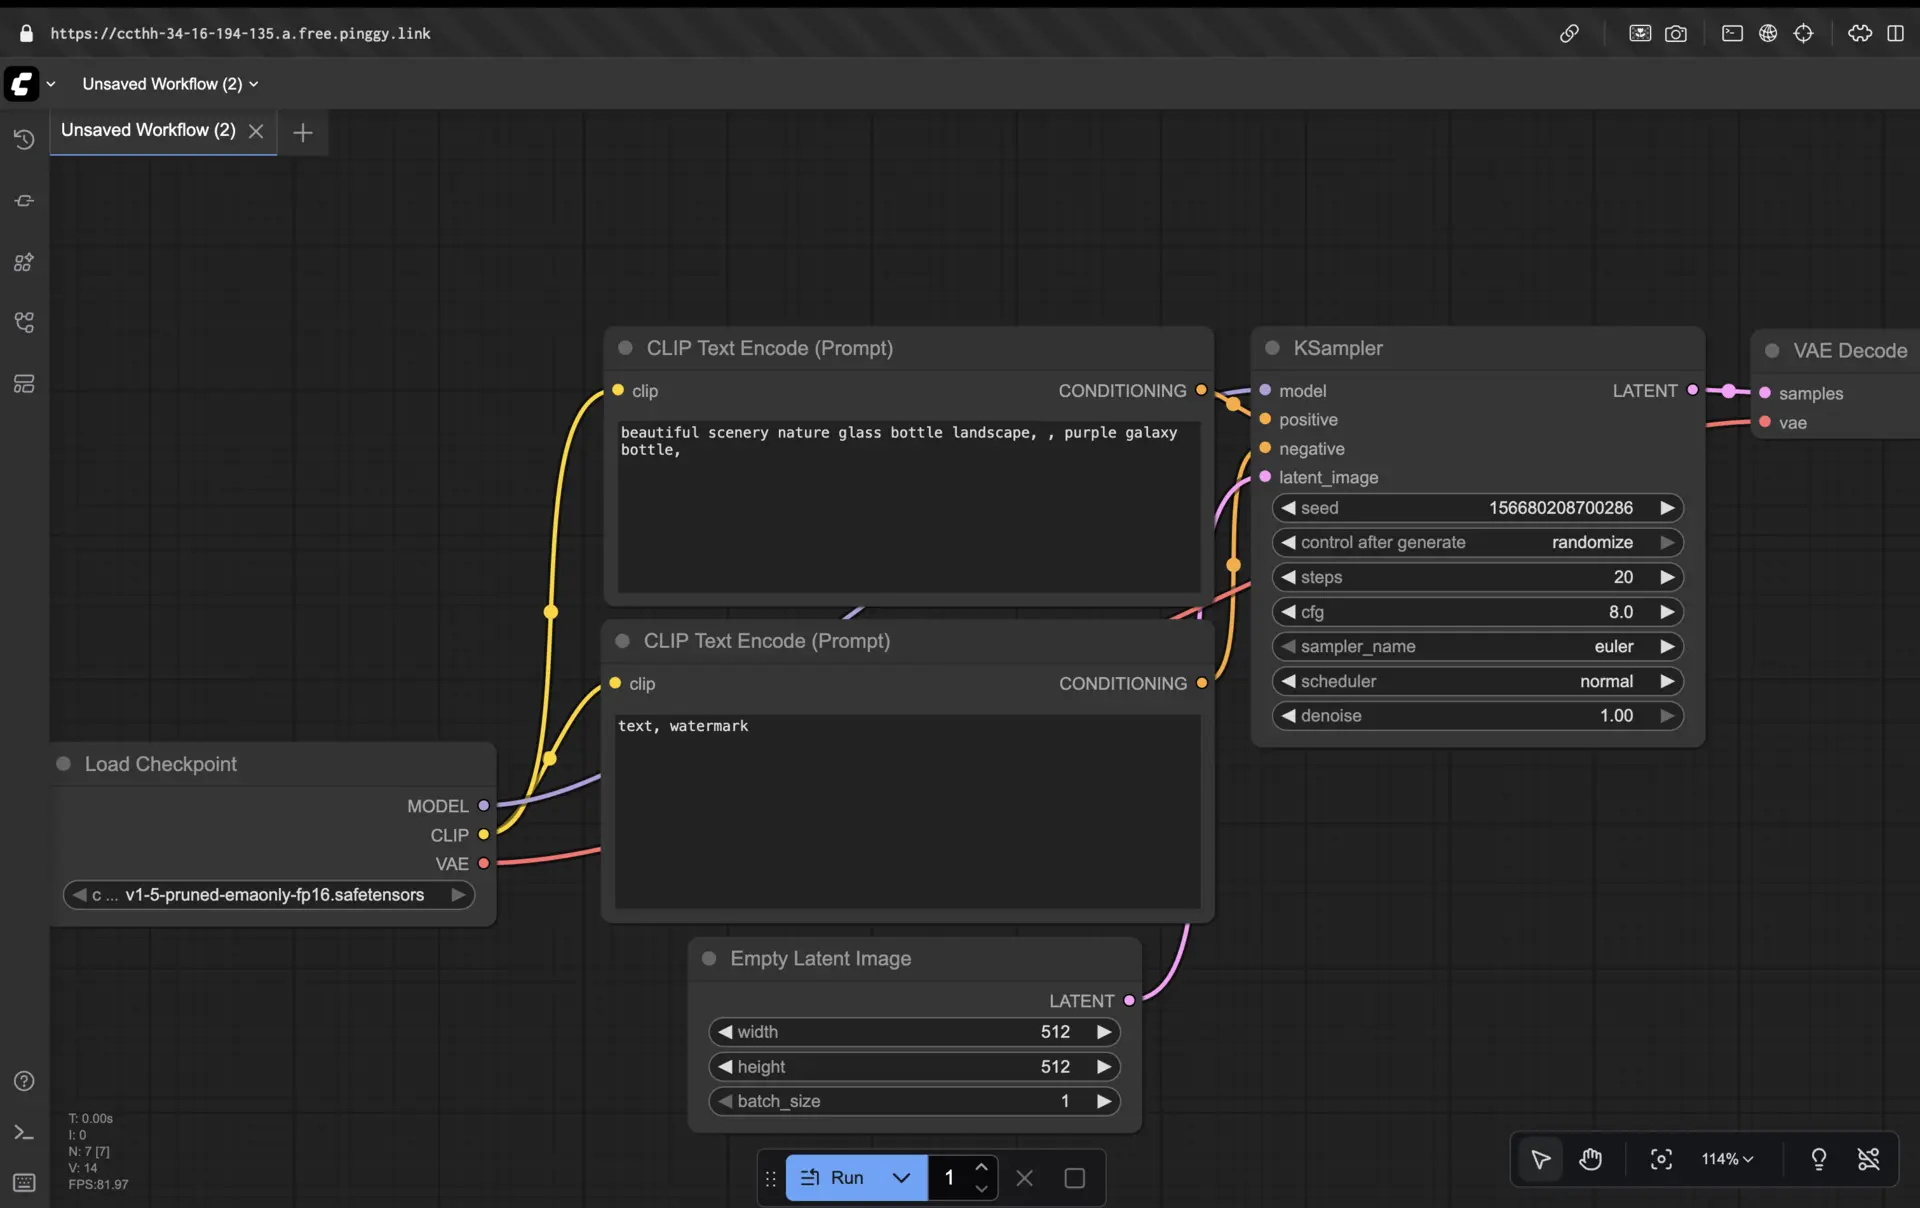
Access ComfyUI using Pinggy URL
After launching the ComfyUI server, you can access the ComfyUI interface using the Pinggy public URL that was generated earlier. Simply copy the HTTPS URL from the tunnel output and paste it into your browser. This URL allows you to access your ComfyUI instance from anywhere in the world, making it perfect for sharing with collaborators or accessing your workspace from different devices.
Performance Expectations and Limitations
It’s important to set realistic expectations when using Google Colab’s free tier. The free GPU resources come with certain limitations that affect your ComfyUI experience.
Loading Times: On the free tier, ComfyUI can take 5-10 minutes to fully load and become responsive. This includes downloading models, initializing the GPU, and setting up the web interface. This is significantly slower than local installations or paid cloud instances.
Session Limits: Free Colab sessions have usage limits and may disconnect after periods of inactivity. Your work will be lost when the session ends, so save any important workflows or generated images.
Performance: While the T4 GPU is capable, image generation will be slower compared to more powerful GPUs like RTX 4090 or A100. Simple workflows work well, but complex multi-step processes may take considerable time.
Upgrade Recommendation: If you plan to use ComfyUI regularly or need faster performance, consider upgrading to Colab Pro. The paid plans offer faster GPUs, longer session times, and priority access to resources.
Troubleshooting Common Issues
Several issues commonly arise when running ComfyUI on Colab. Here are the most frequent problems and their solutions:
GPU Not Detected: If ComfyUI shows CPU-only mode, double-check that you’ve enabled GPU runtime and restart your session. Sometimes it takes a few attempts to get GPU allocation on the free tier.
Out of Memory Errors: The T4 GPU has 15GB of VRAM, which should handle most workflows. If you encounter memory issues, try using smaller models or reducing batch sizes in your workflows.
Slow Loading: The initial load time is normal on free tier. Be patient and avoid refreshing the page while ComfyUI is starting up. The interface will become responsive once all components are loaded.
Tunnel Connection Issues: If your Pinggy URL isn’t working, check that the tunnel is still active and that ComfyUI is running on the correct port (8188). Restart the tunnel if necessary.
GitHub Repository
You can find the complete Colab notebook with all the code examples and setup instructions in our GitHub repository: Run and Share ComfyUI on Google Colab. The repository includes the ready-to-use notebook, troubleshooting guides, and additional tips for optimizing your ComfyUI workflows on Colab. Here’s a shorter version of your conclusion while keeping the key points:
Conclusion
Running ComfyUI on Google Colab with Pinggy tunnels makes AI image generation accessible without costly GPU setups. Though the free tier has limits and longer load times, it’s enough to explore ComfyUI’s powerful features, experiment with AI art, and test integrations.
This setup is great for beginners, artists, and developers, while Colab Pro offers faster GPUs and smoother sessions for serious use. Pinggy’s public URLs also make sharing and remote access simple, adding flexibility beyond local installations.