How to Set Up and Test Discord Bot Webhook
Updated on Jun 30, 2025 · 8 mins read
Want your Discord bot to respond instantly to events on your server? That’s where webhooks come in. Webhooks allow applications to send real-time notifications about events to your server, enabling you to build powerful integrations. In this guide, you’ll learn how to set up and test Discord bot webhooks using Pinggy, a simple tool that gives your local server a public URL with just one command. No complex setup, no headaches.
Summary
Discord Bot Webhooks Explained
- Allow applications to send real-time updates to your Discord server
- Enable automated notifications for various events
- More efficient than polling Discord’s API for updates
Quick Setup Guide
- Create a Discord server and channel for webhook messages
- Create Discord application and bot with proper permissions
- Create webhook using Discord API:
curl -X POST "https://discordapp.com/api/channels/<CHANNEL_ID>/webhooks" \
     -H "Authorization: Bot <BOT_TOKEN>" \
     -H "Content-Type: application/json" \
     -d '{"name": "My Webhook"}'
- Create webhook server (Python/Flask) to send messages
- Expose locally with Pinggy:
ssh -p 443 -R0:localhost:8000 qr@a.pinggy.io
- Test by sending messages to your webhook URL
Why Use Webhooks?
- Send messages without constant API authentication
- Appear as customizable bot users in your server
- Integrate with third-party services easily
- Lower rate limits than regular bot accounts
Understanding Discord Bot Webhooks
Discord webhooks are special URLs that allow external applications to send messages to a specific channel in your Discord server. They act as a simple way to get automatic notifications and updates from various services without complex bot programming.
Webhooks in Discord offer several advantages:
- Simple integration: External services can post messages without OAuth flows
- Customizable appearance: Webhooks can set custom names and avatars for each message
- No authentication overhead: Once created, the webhook URL is all you need
- Higher rate limits: Webhooks have separate rate limits from bot accounts
For developers, webhooks provide a straightforward way to push notifications to Discord channels from your applications, making them perfect for monitoring systems, alerts, and integrations with other platforms.
Step 1: Create a Discord Server and Channel
First, you need a Discord server with a channel where webhook messages will be sent:
- Open Discord and click the “+” button on the left sidebar
 2. Select “Create My Own” and then “For me and my friends”
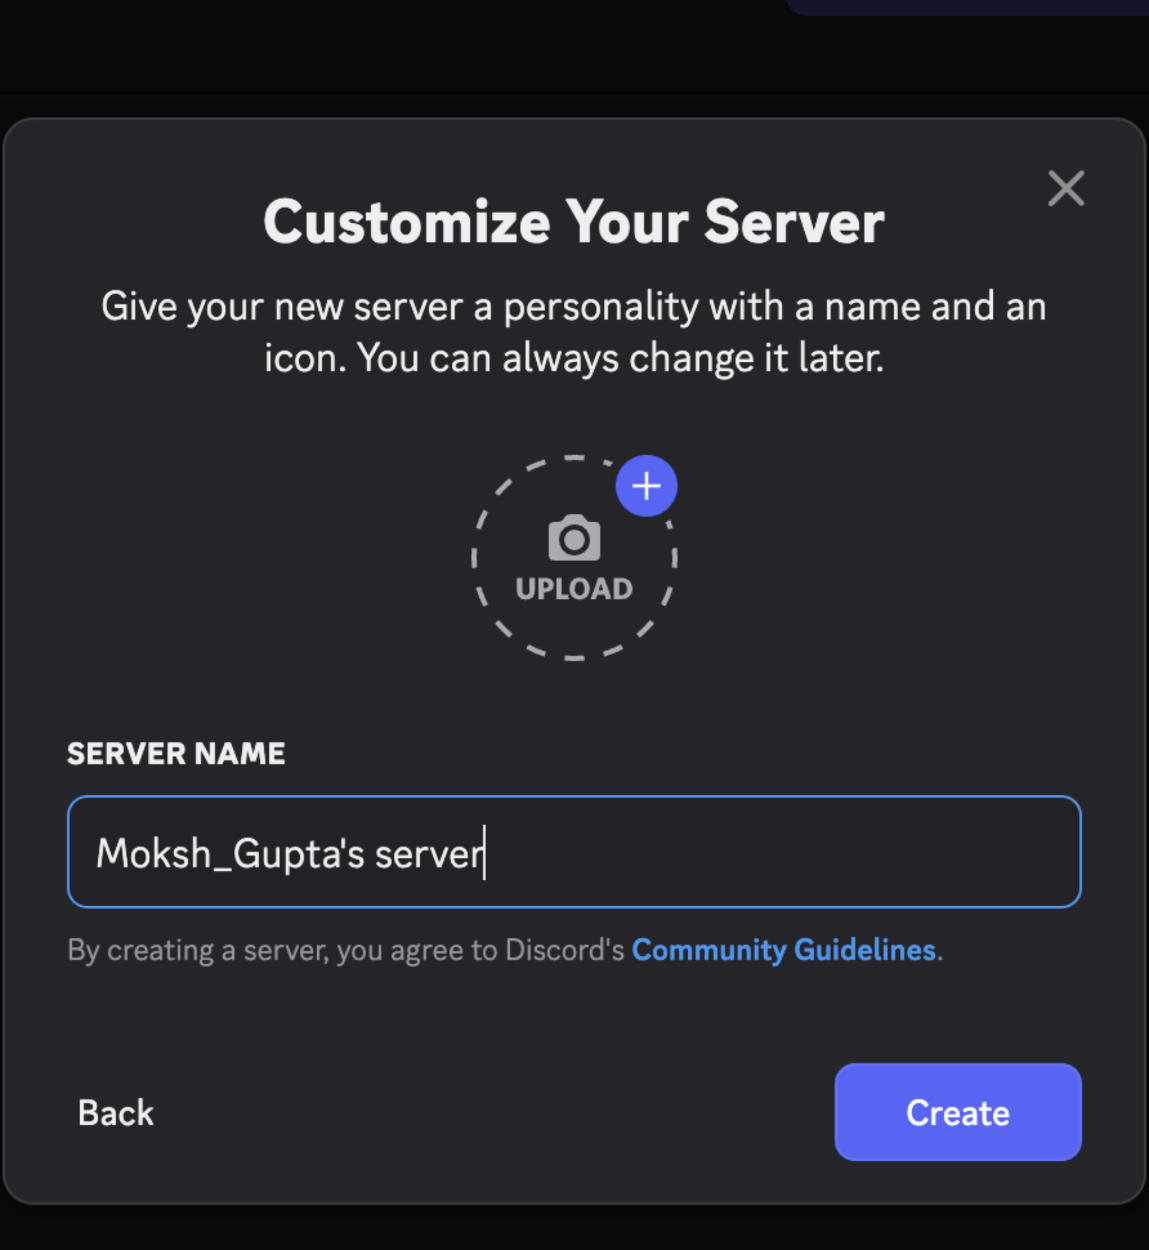
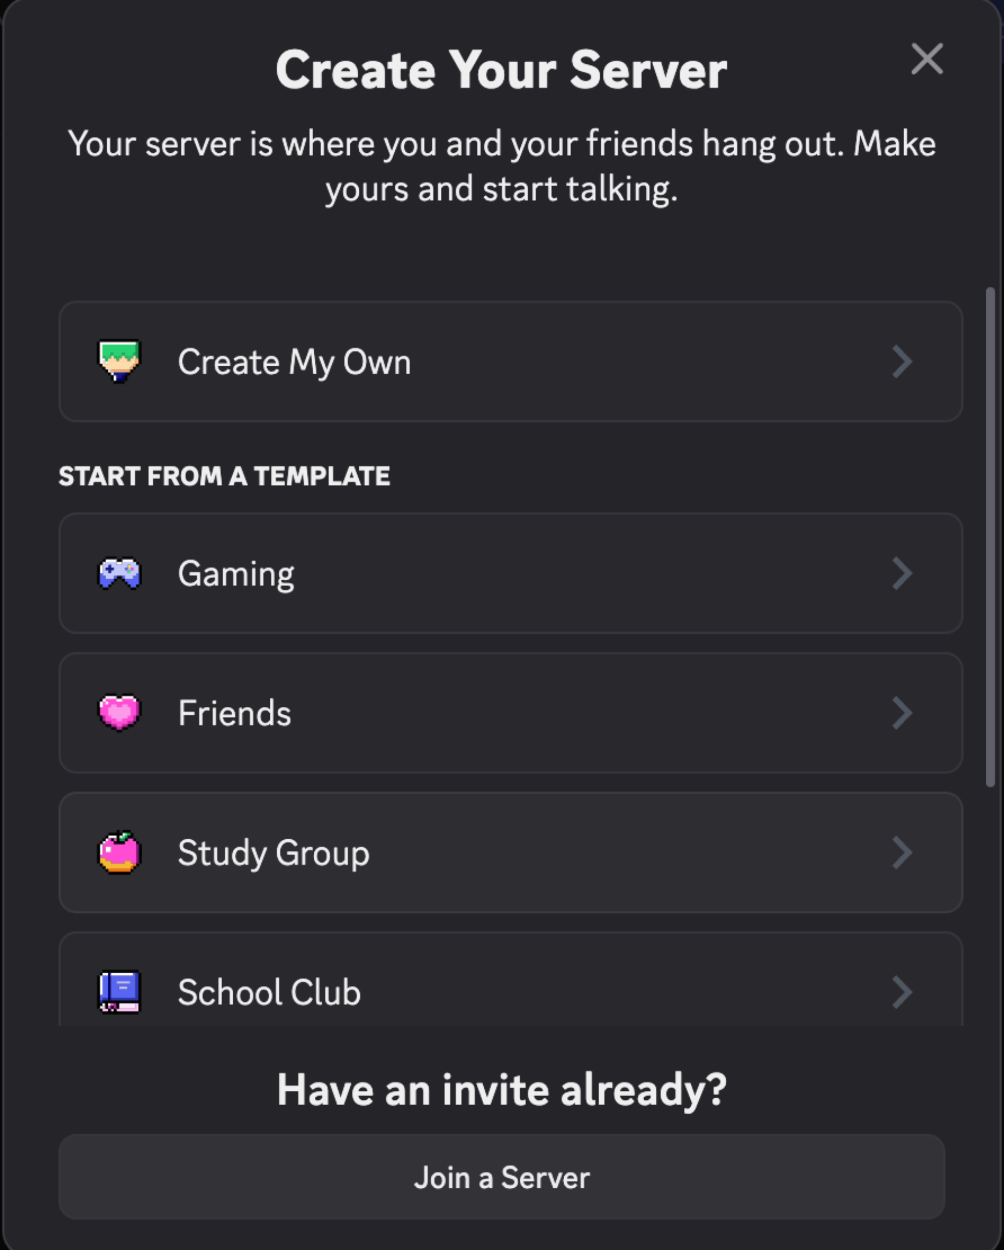
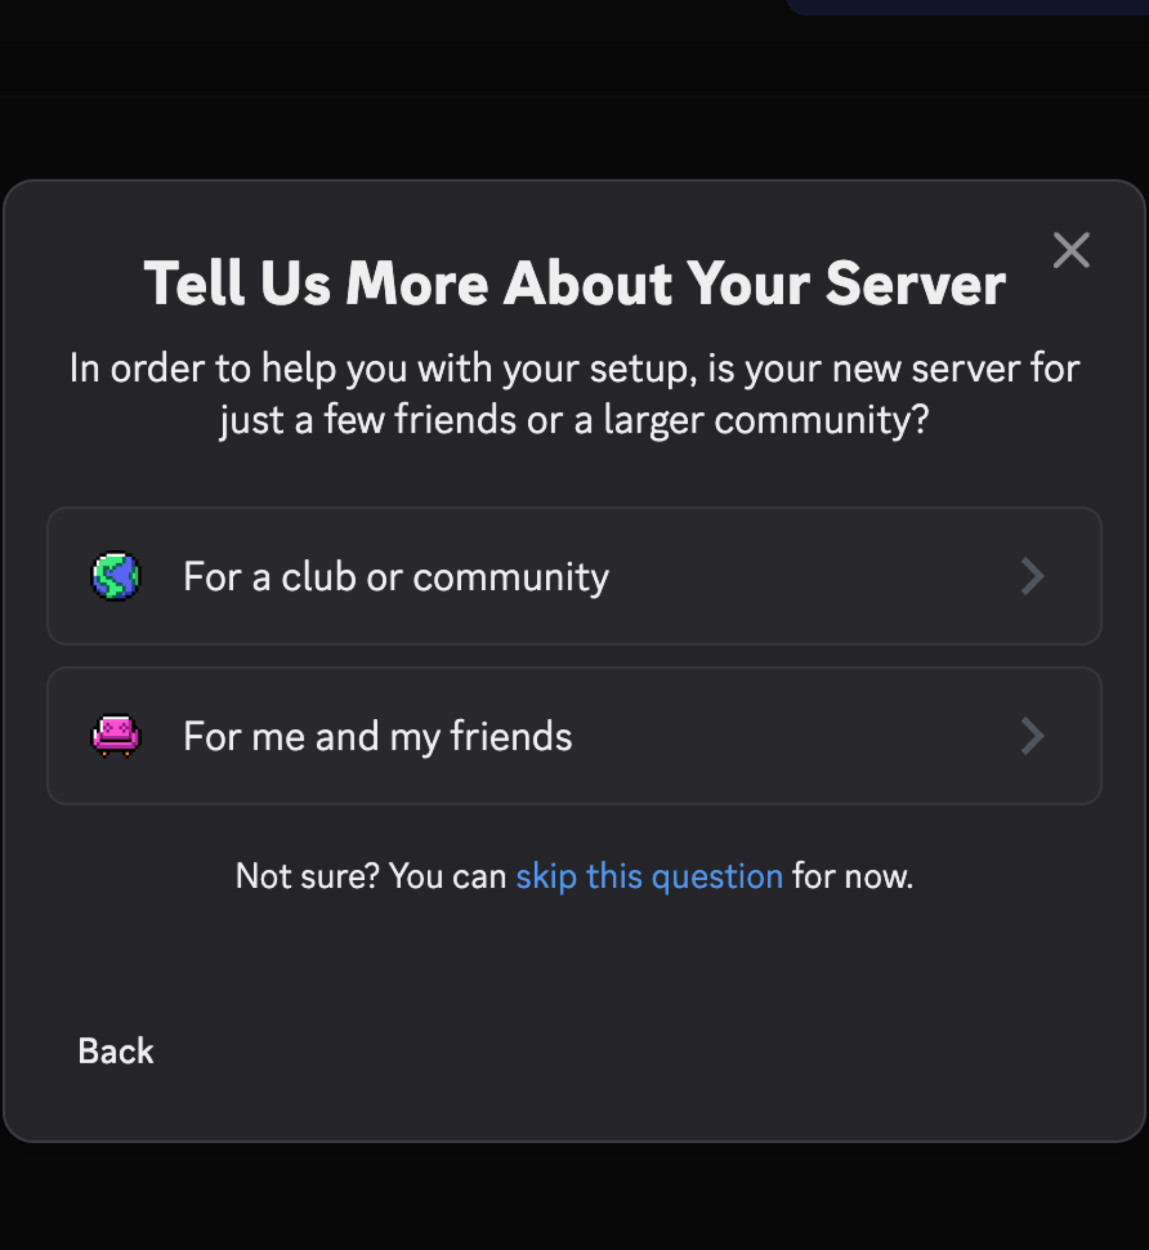
- Give your server a name and click “Create”
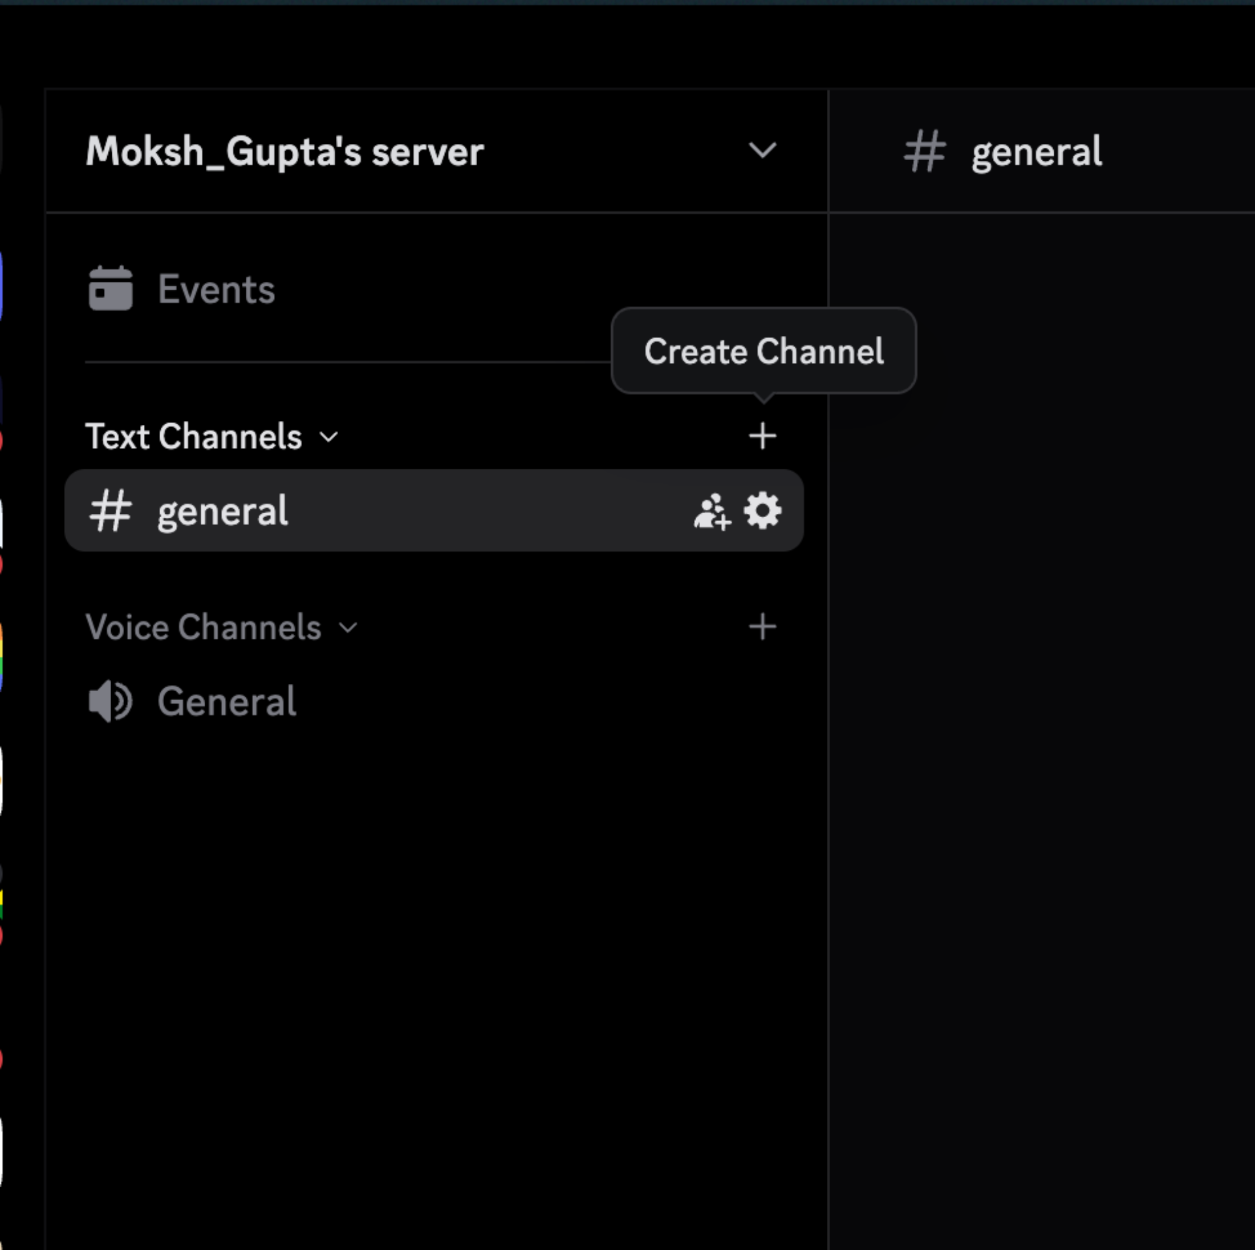
- Create a new channel by clicking the “+” icon next to “TEXT CHANNELS”
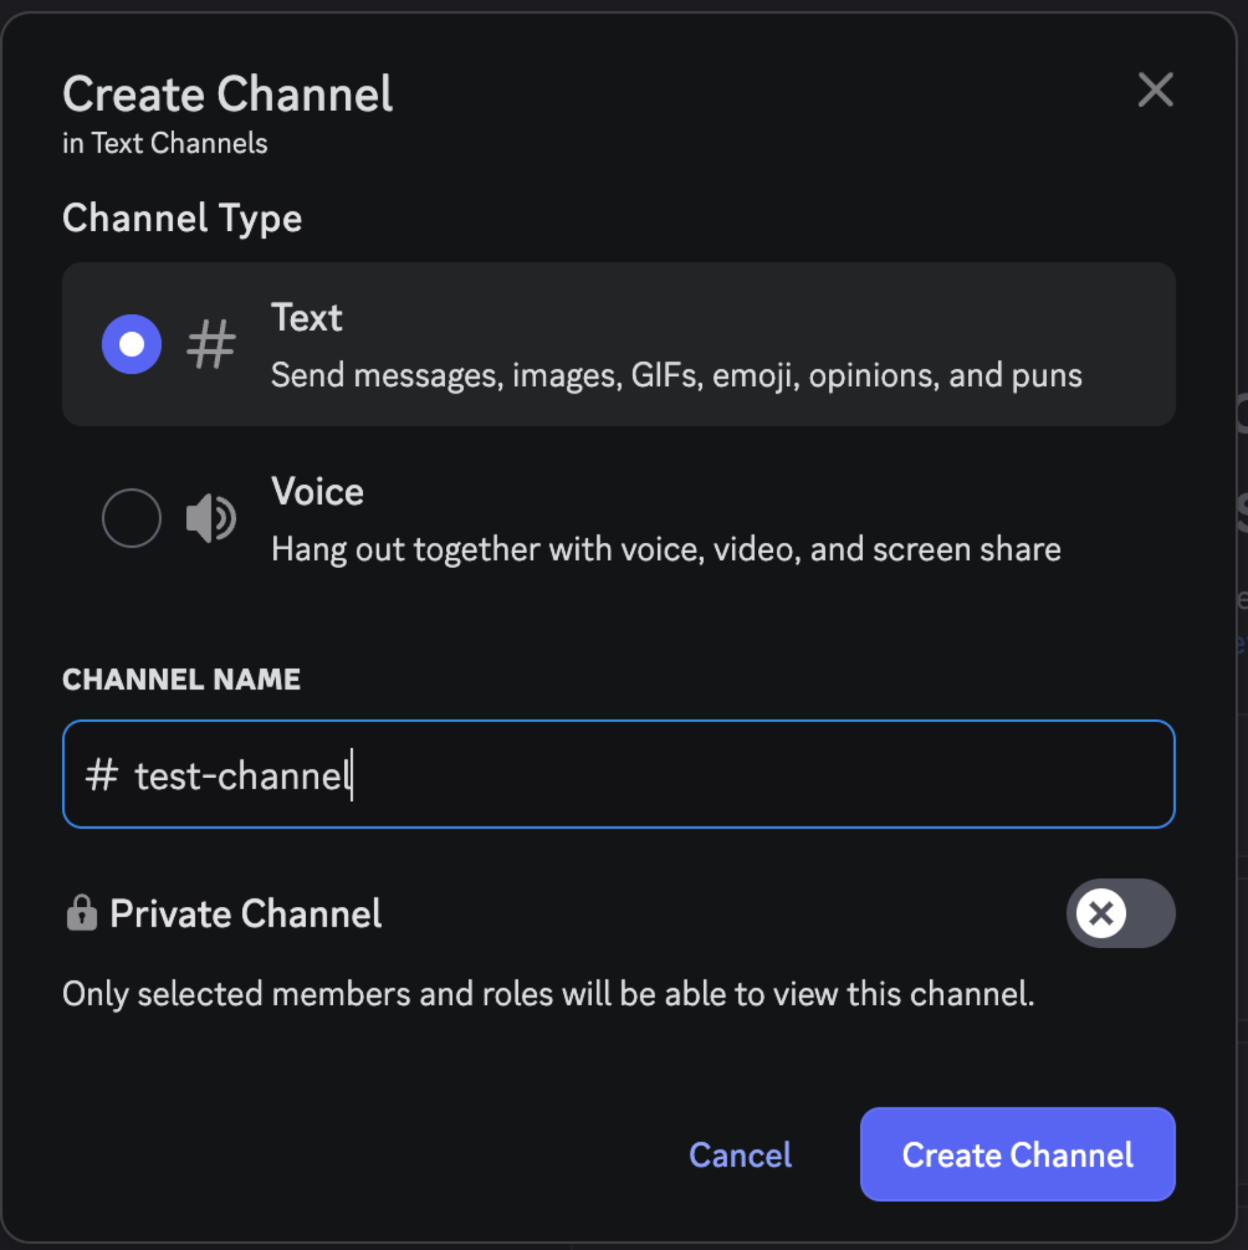
- Name your channel (e.g., “webhooks-channel”) and click “Create Channel”
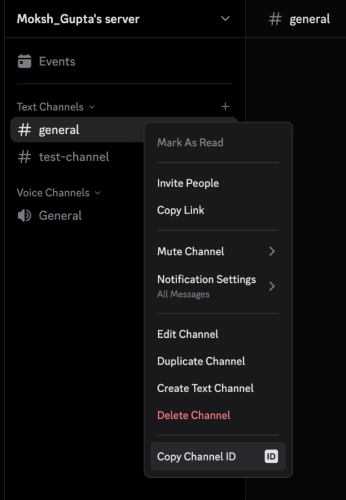
With developer mode enabled, you can easily copy your channel ID for later use:
- Go to User Settings (gear icon) → Advanced
- Enable “Developer Mode”
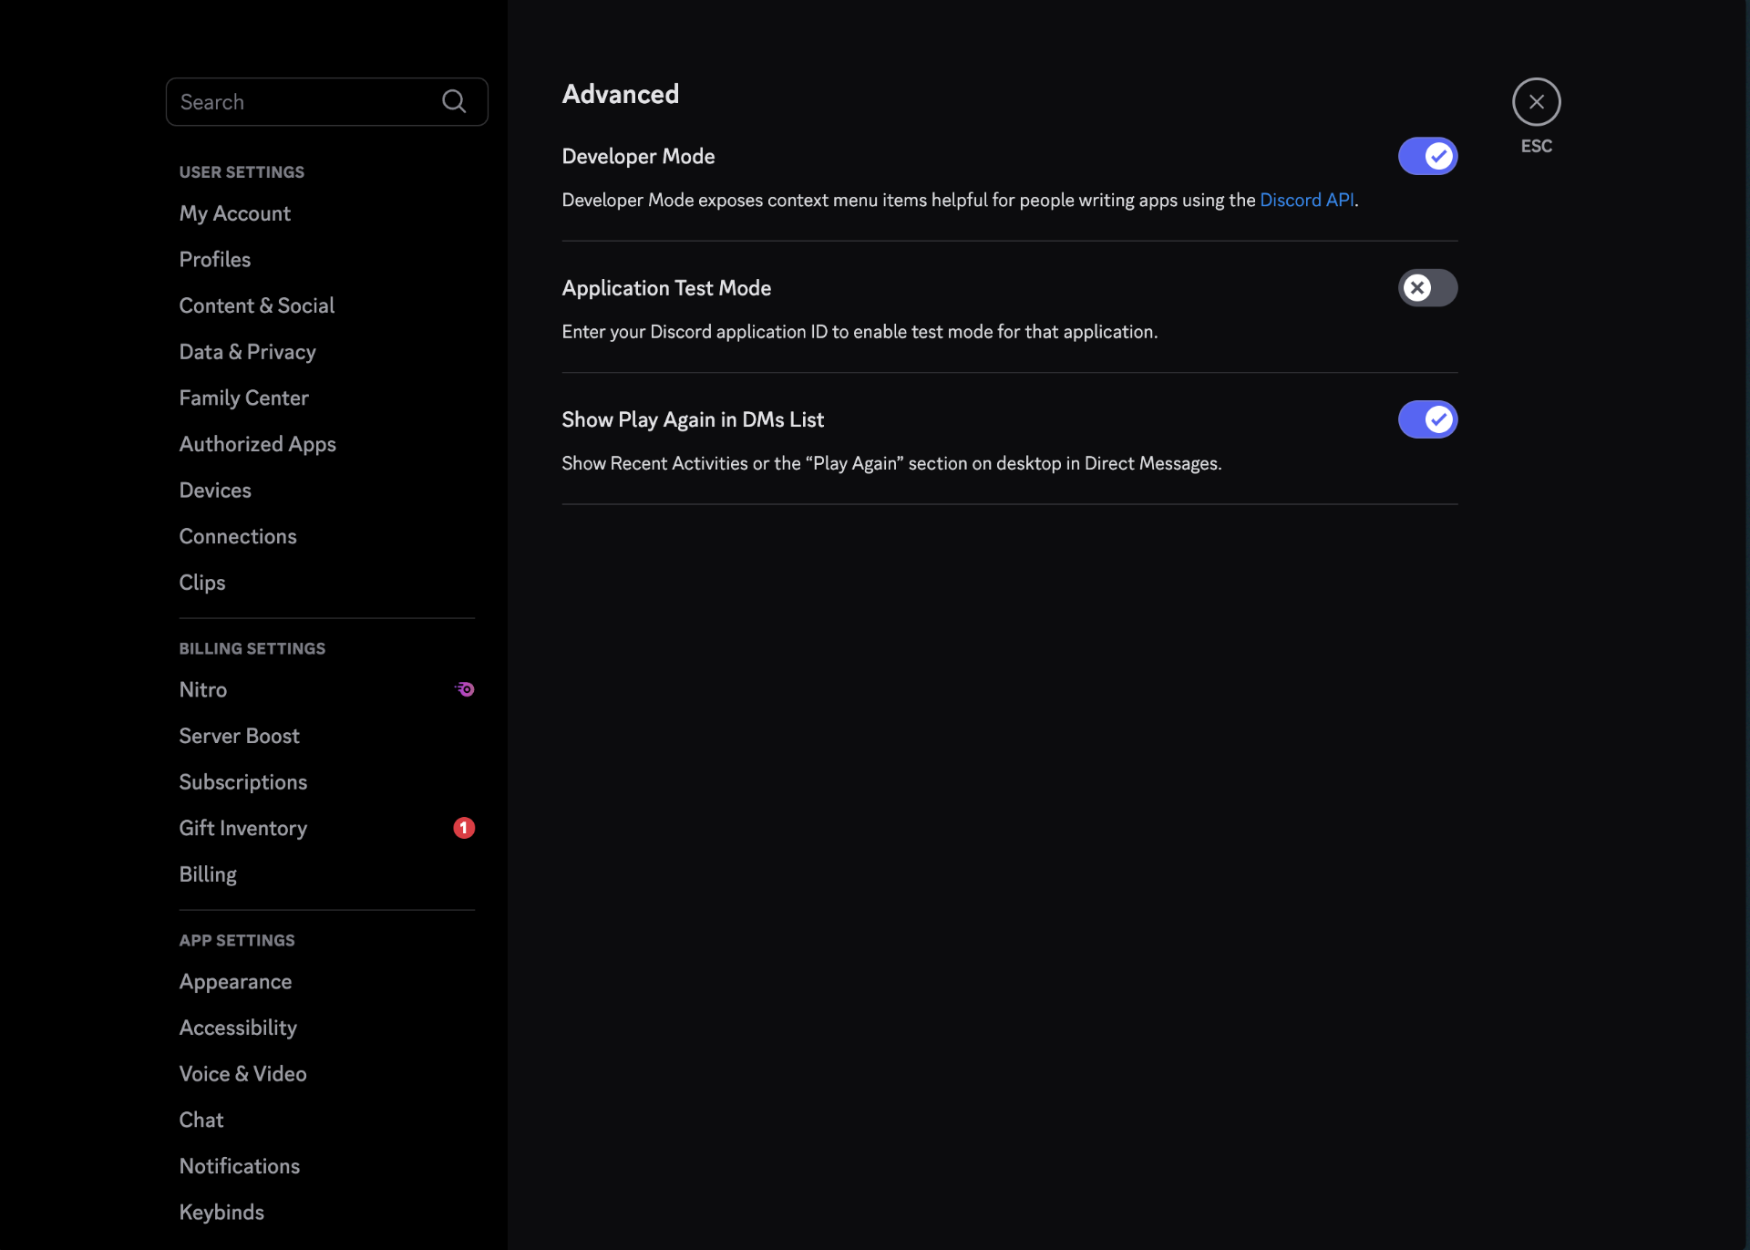
- Right-click on your channel and select “Copy ID”
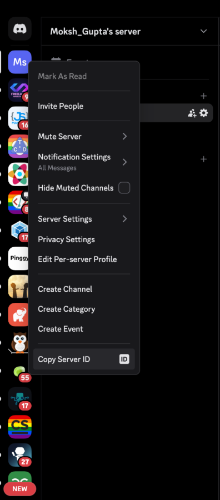
You’ll also need your server ID:
Step 2: Create a Discord Application and Bot
Next, you need to create a Discord application and add a bot to it:
Go to the Discord Developer Portal
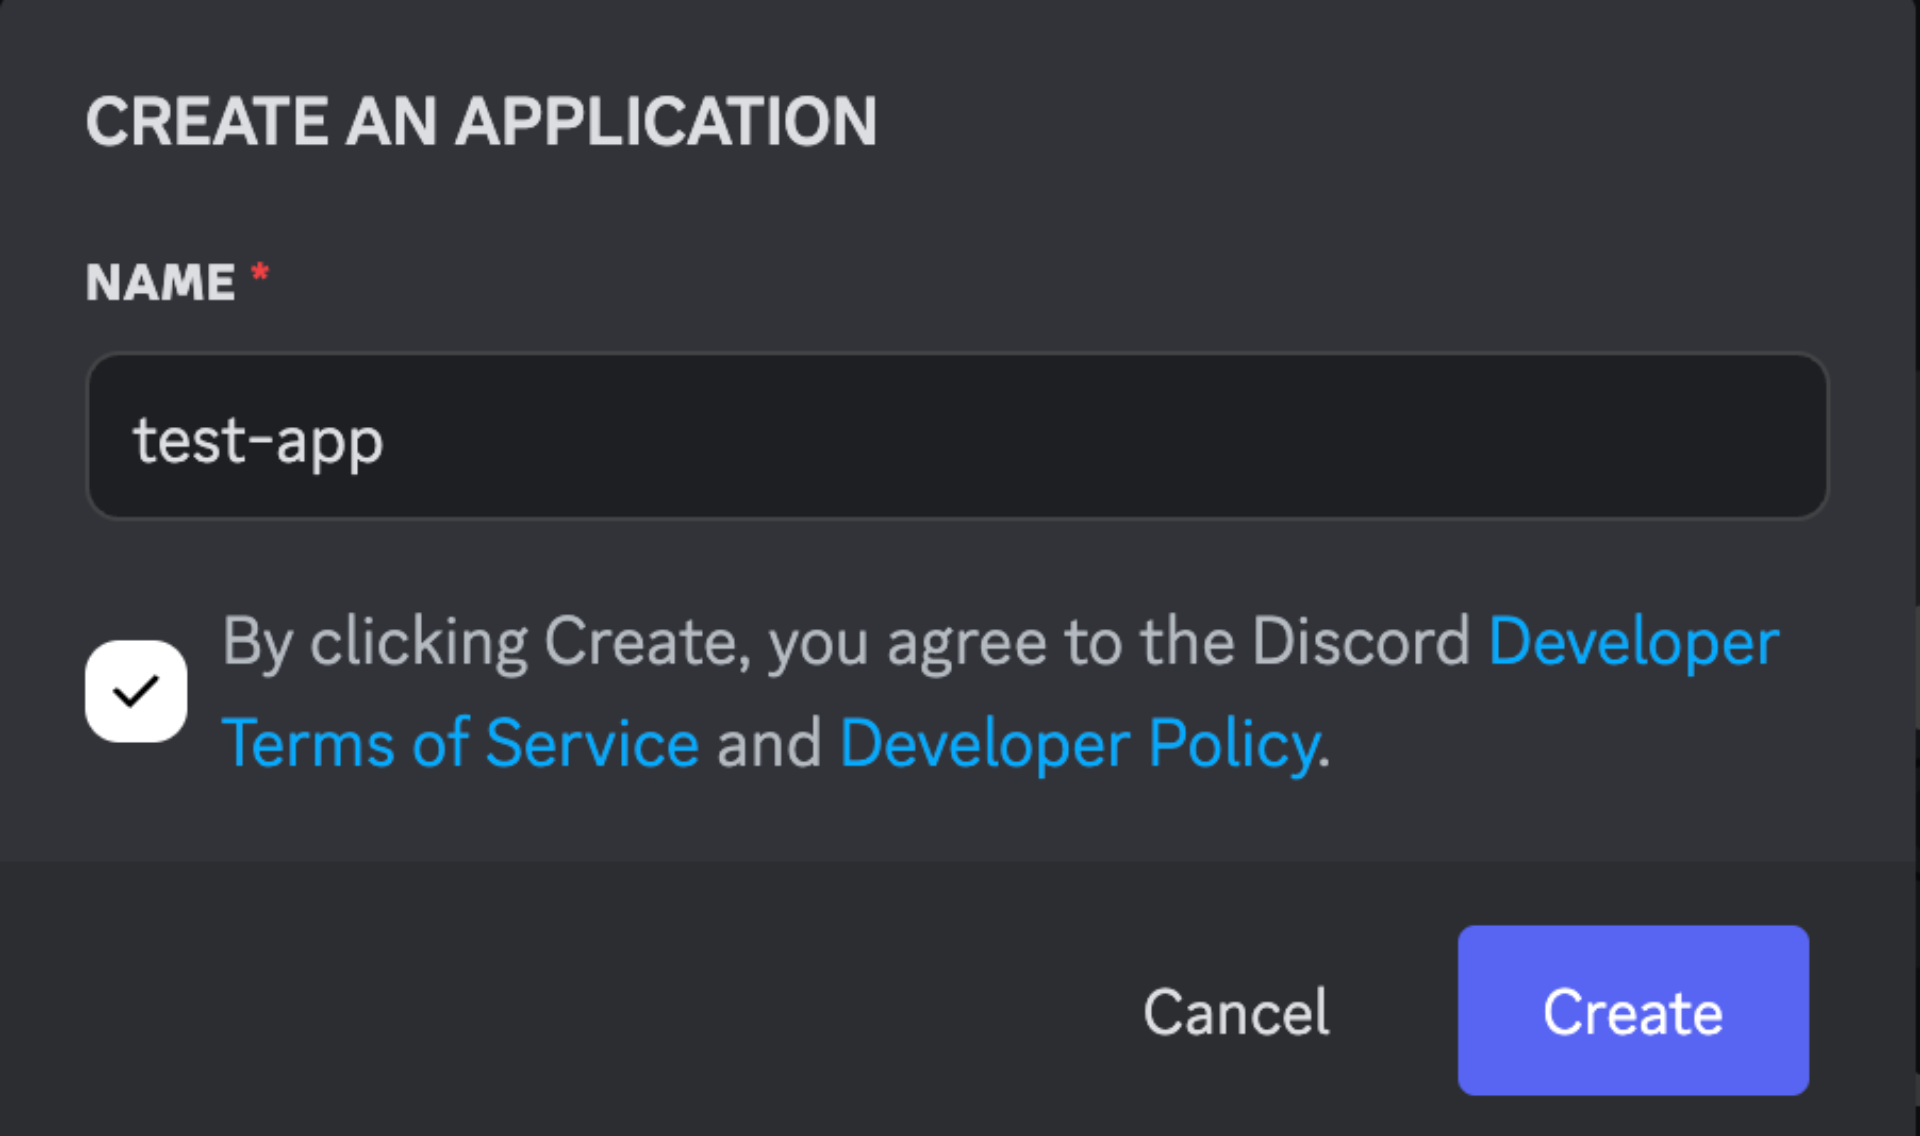
Click “New Application” and name your app
- Go to the “Bot” tab and click “Add Bot” (confirm with “Yes, do it!”)
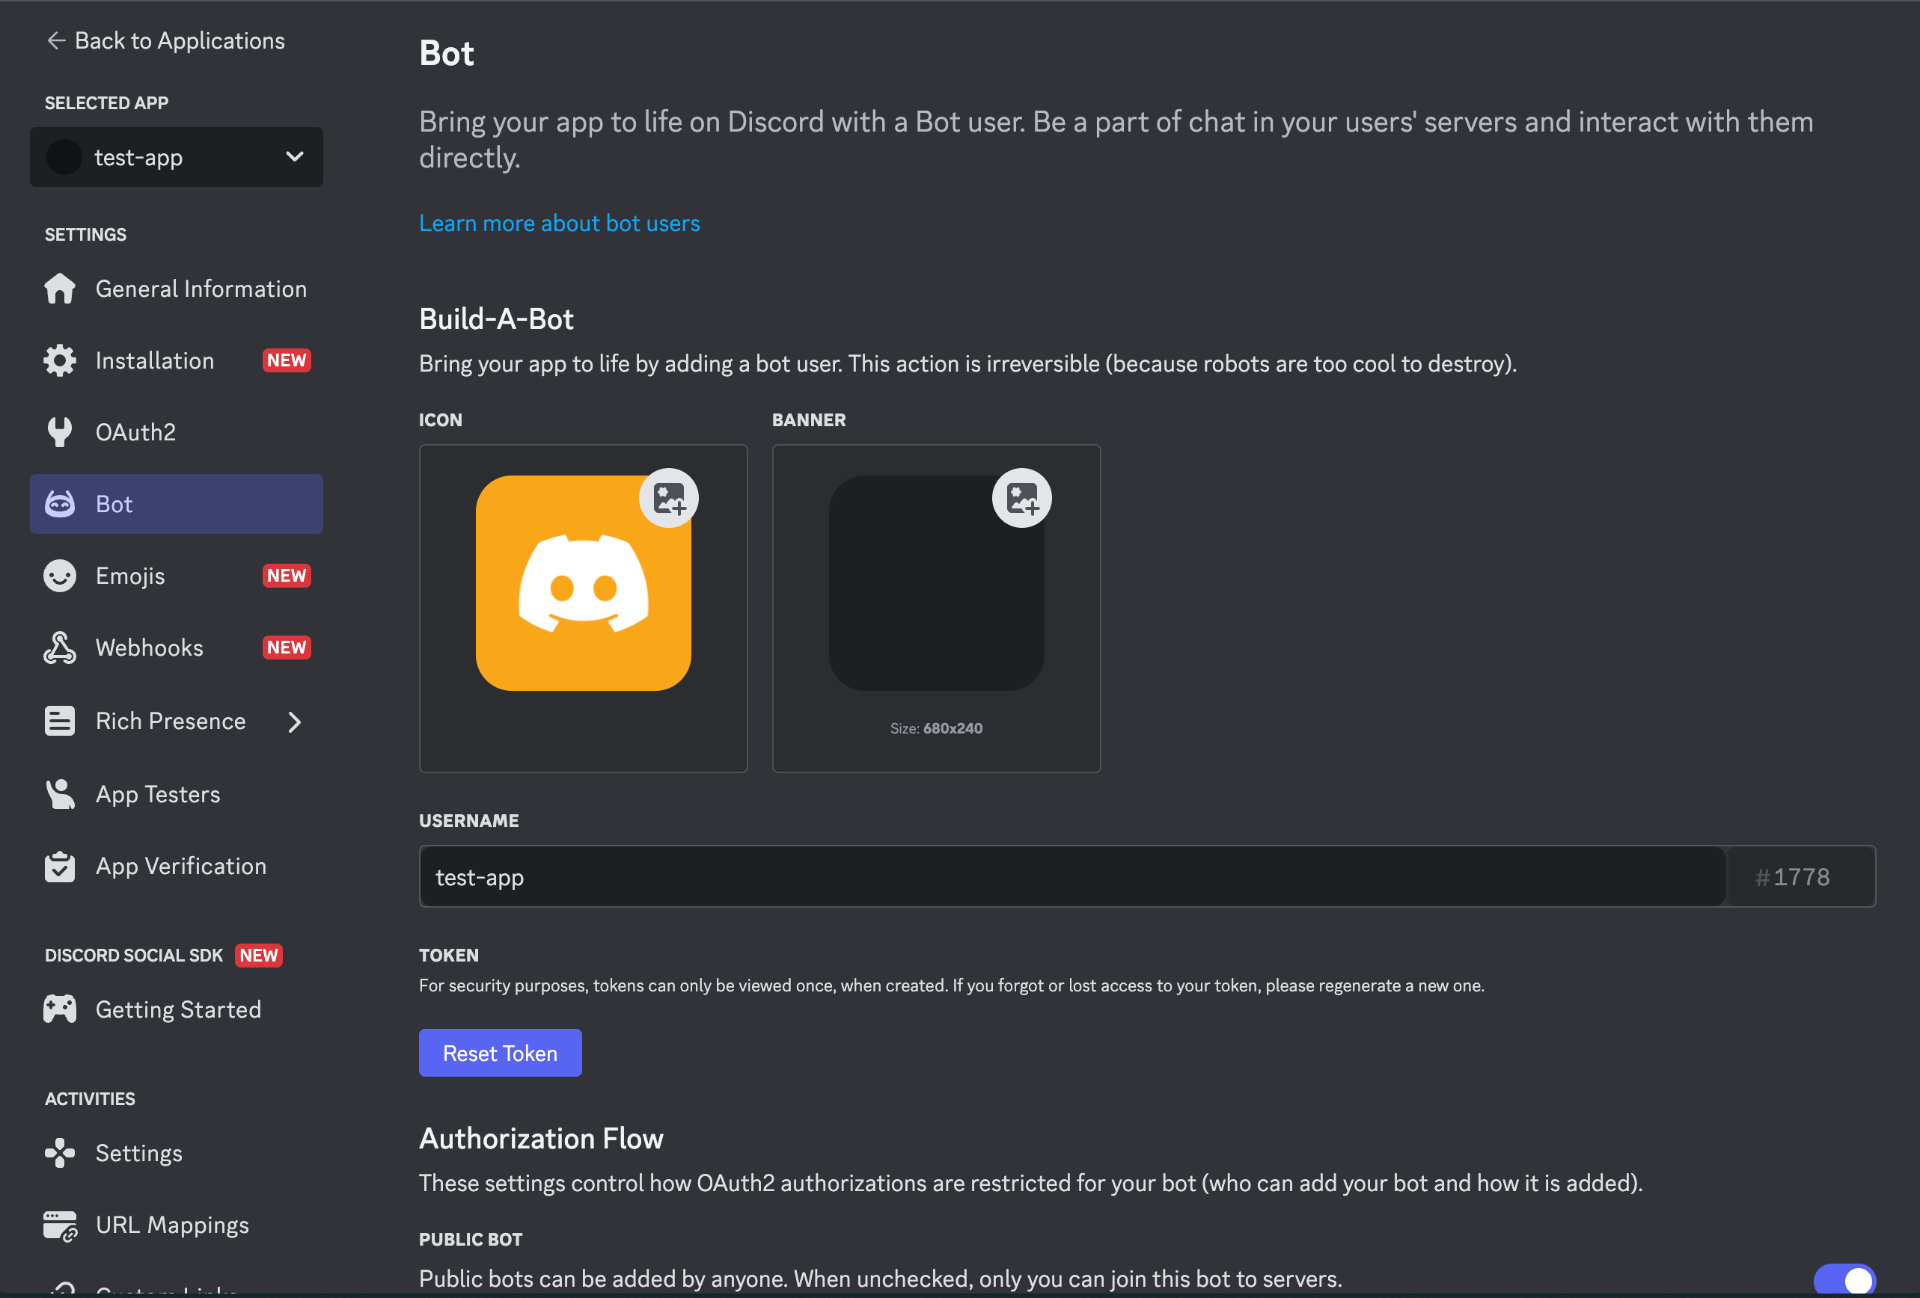
- Under the “Token” section, click “Copy” to save your bot token securely

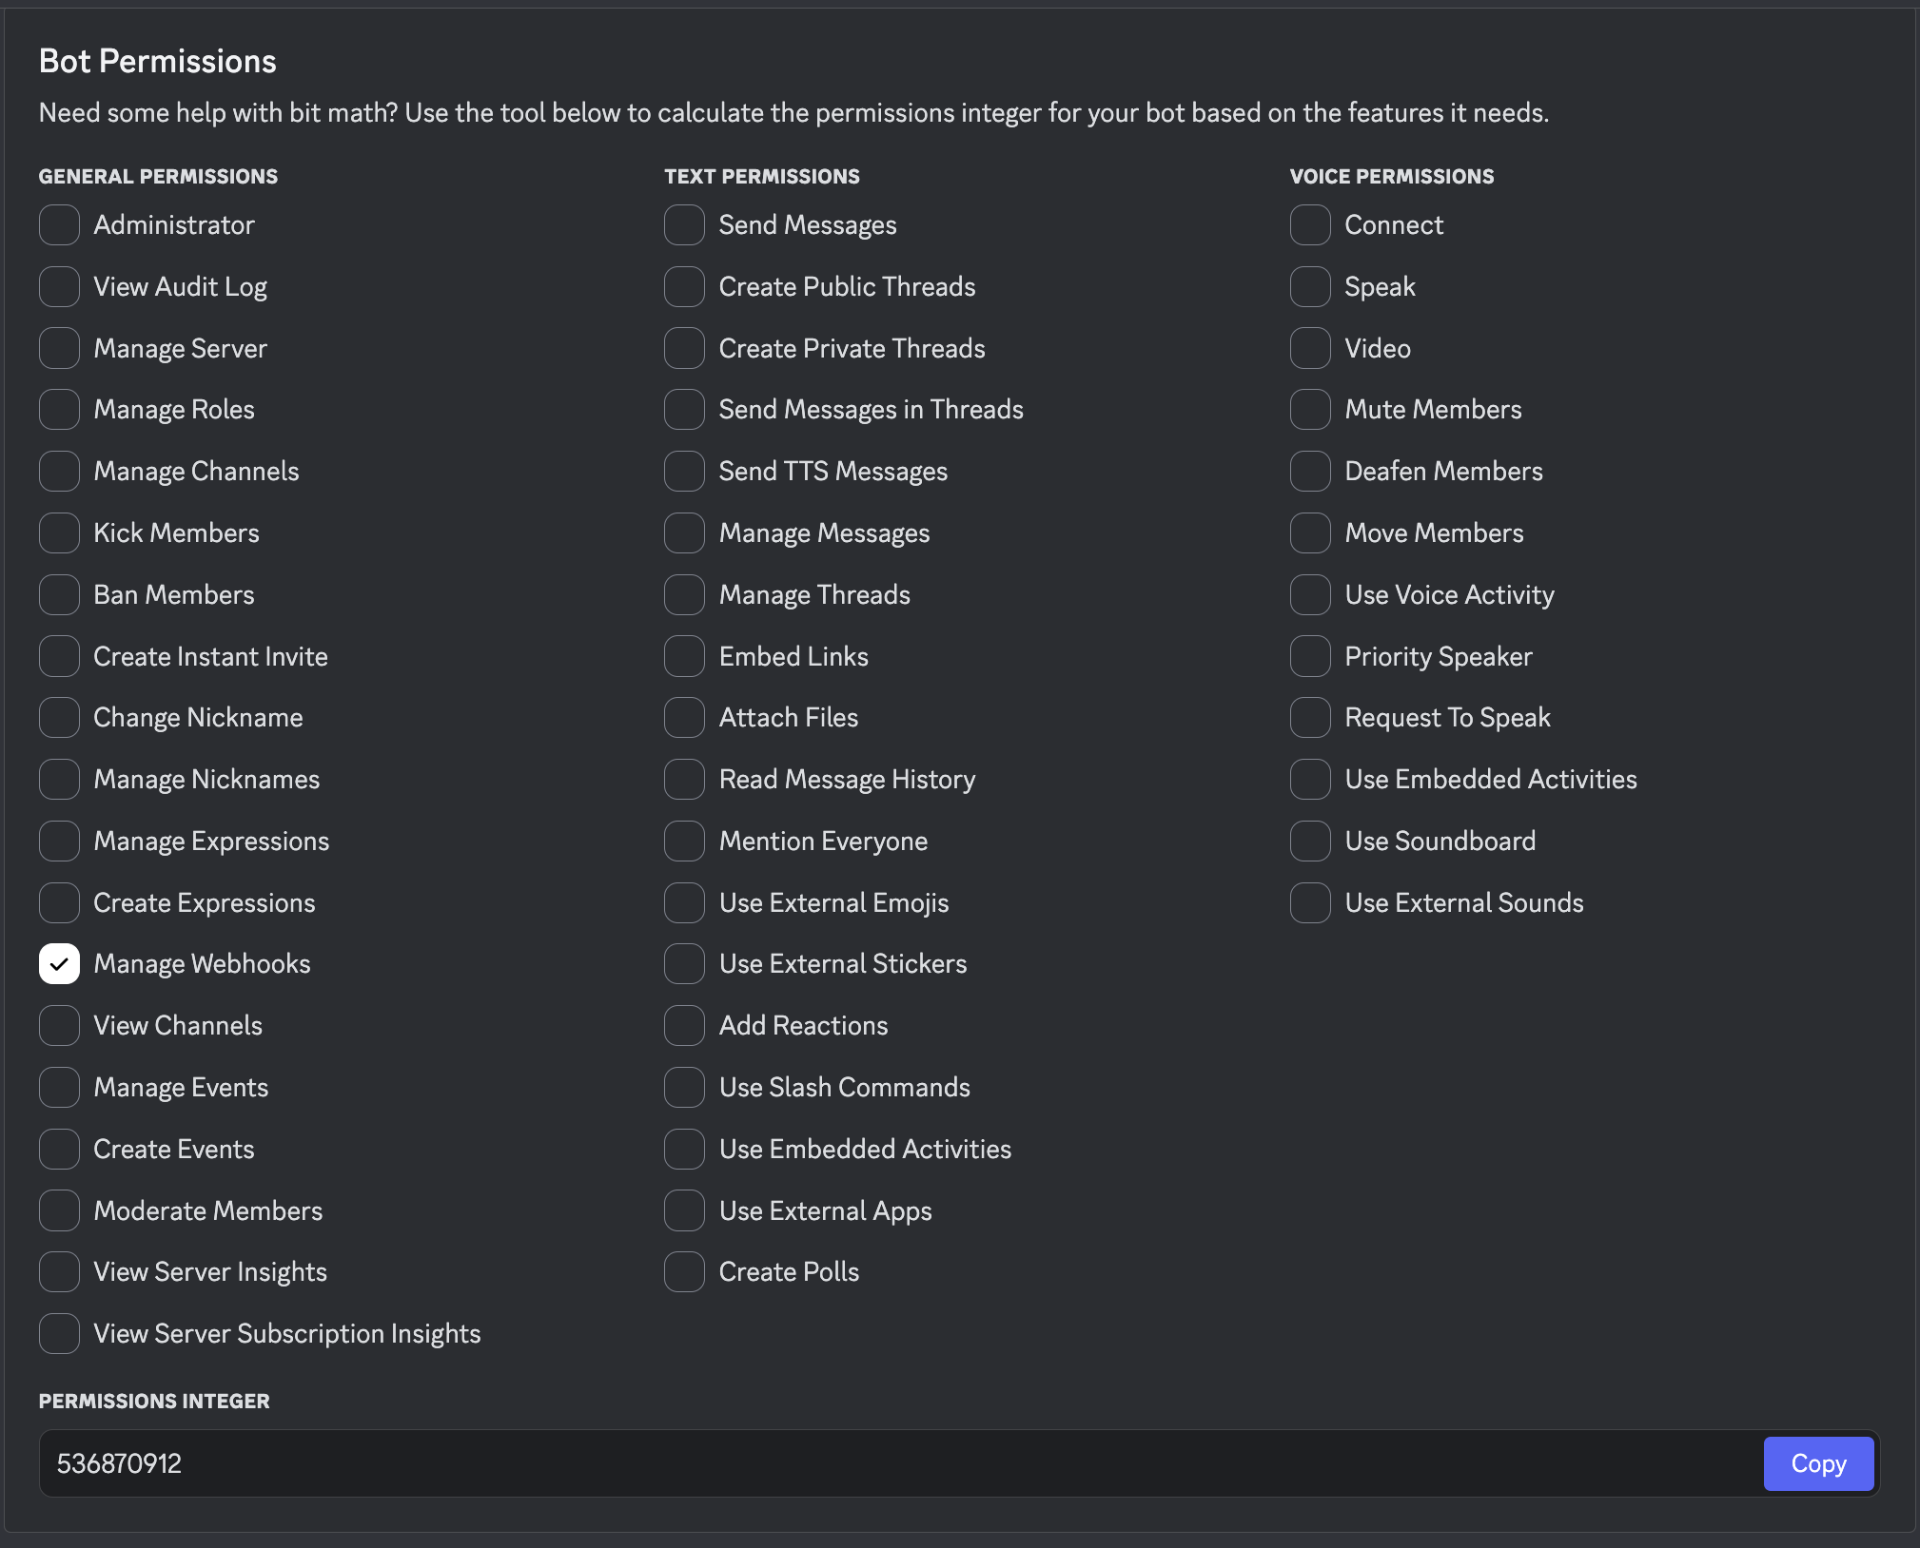
- Scroll down to “Bot Permissions” and select “Manage Webhooks”
- Go to “OAuth2” → “Client information”, copy the Client Id
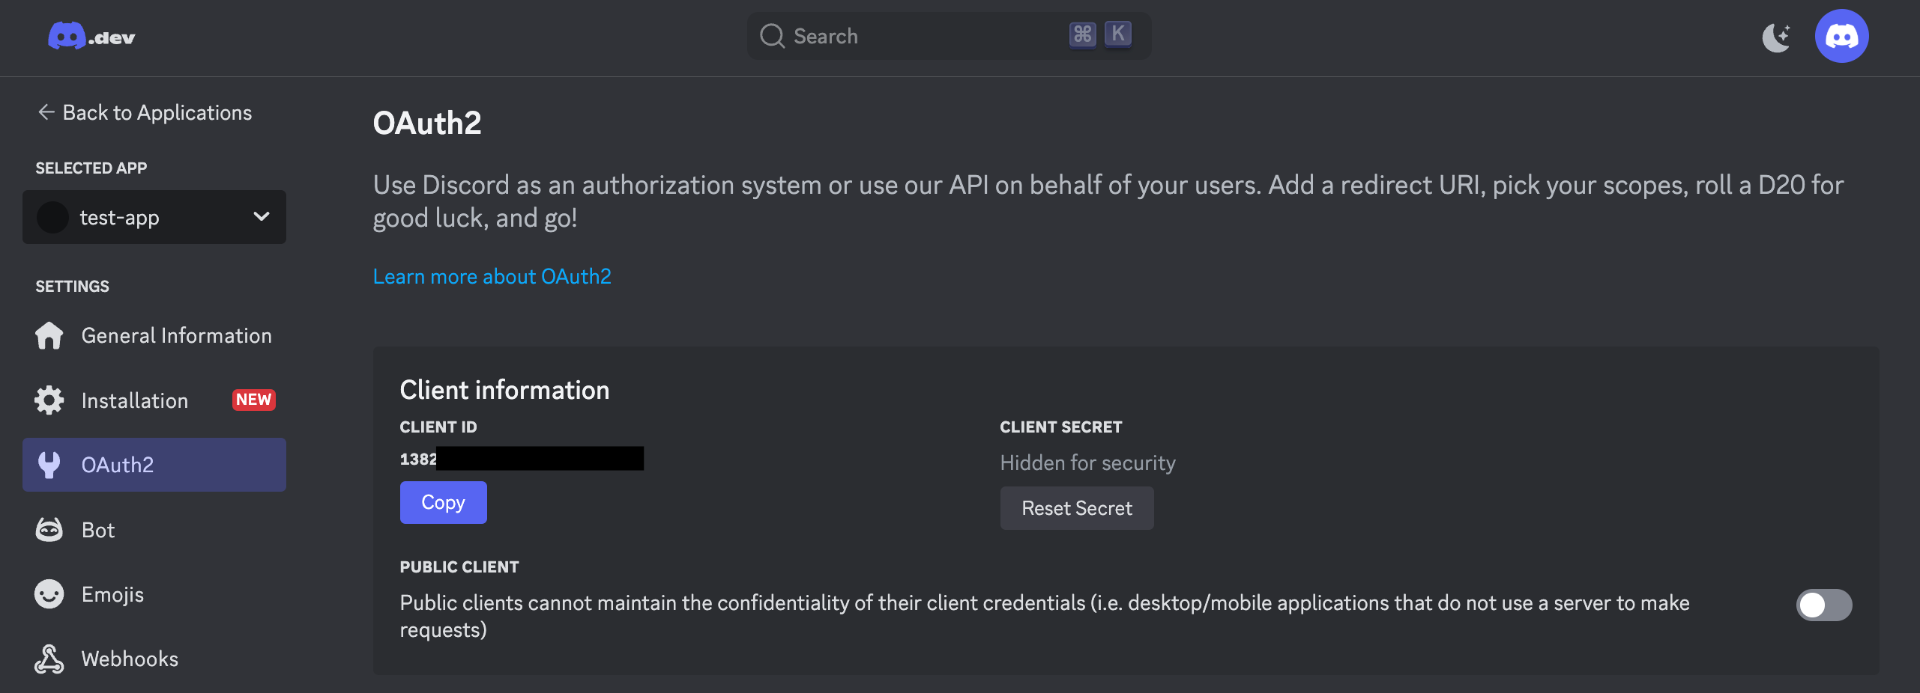 7. Copy the permissions integer shown at the bottom
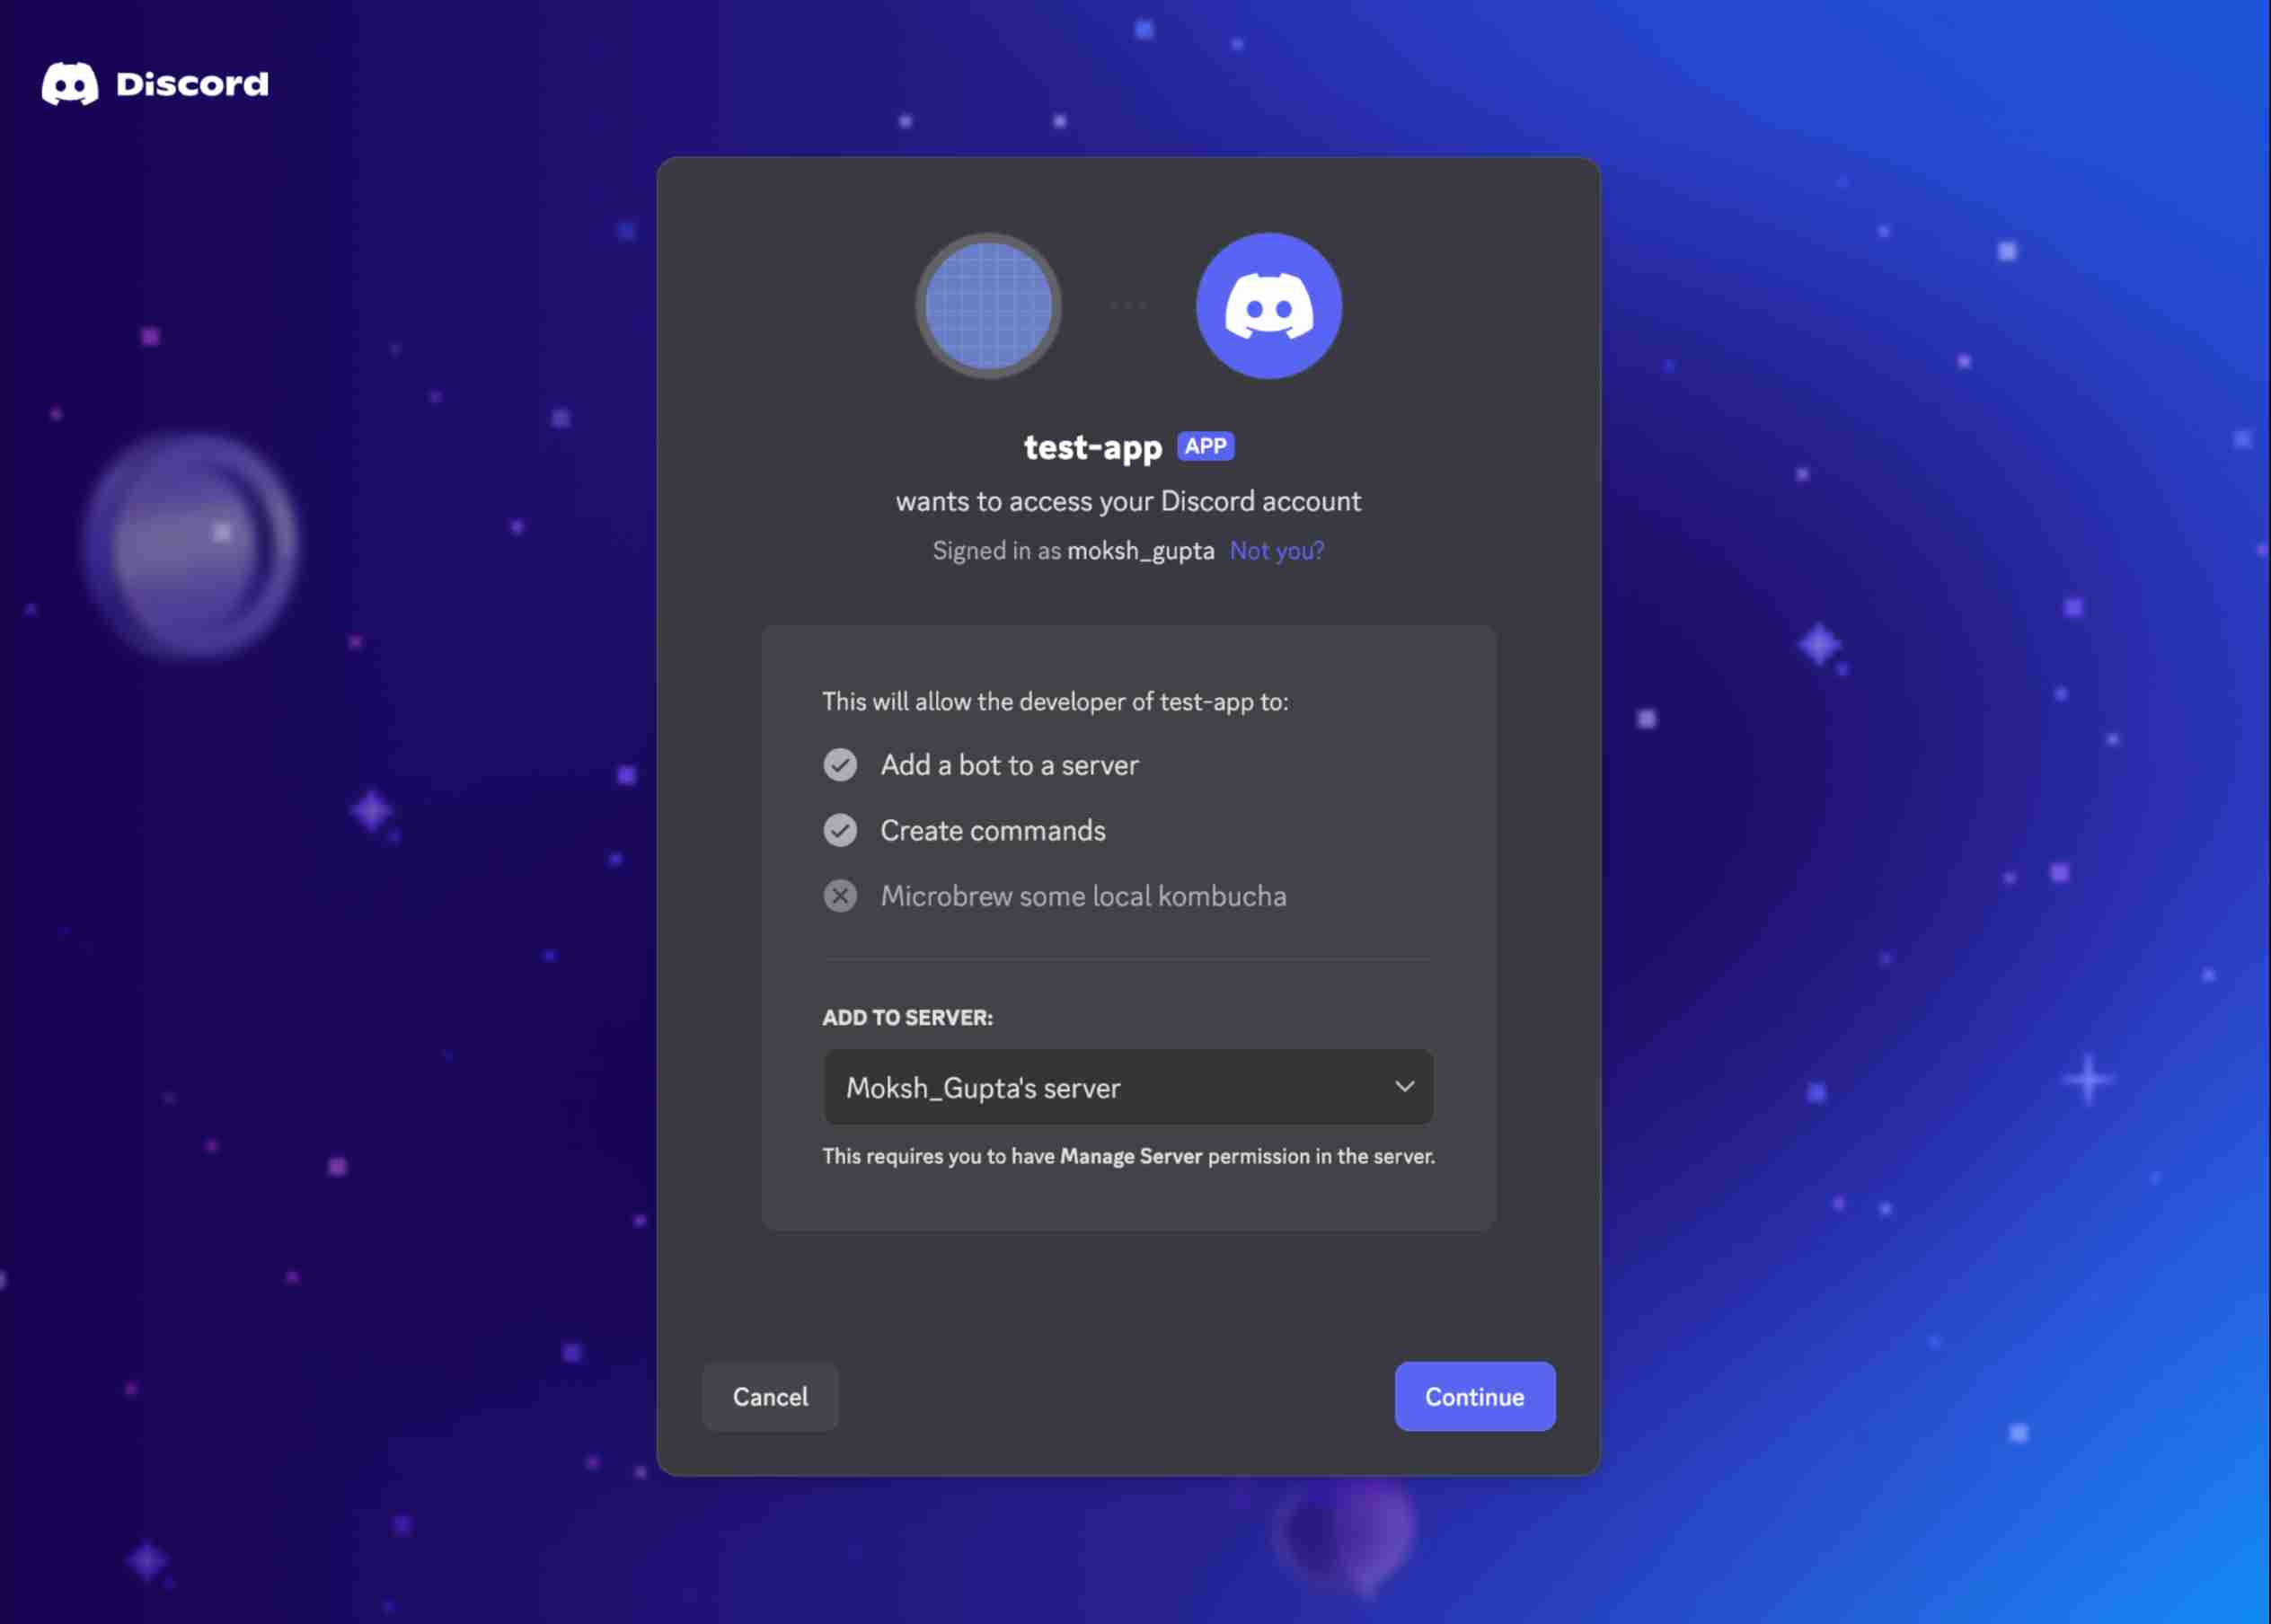
To authorize the bot to your server, enter the following URL in your browser (replace the placeholders with your values):
7. Copy the permissions integer shown at the bottom
To authorize the bot to your server, enter the following URL in your browser (replace the placeholders with your values):
https://discord.com/api/oauth2/authorize?client_id=YOUR_CLIENT_ID&scope=bot&permissions=YOUR_PERMISSIONS_INTEGER
Select your server from the dropdown and authorize the bot. This gives your bot the necessary permissions to create webhooks in your server.
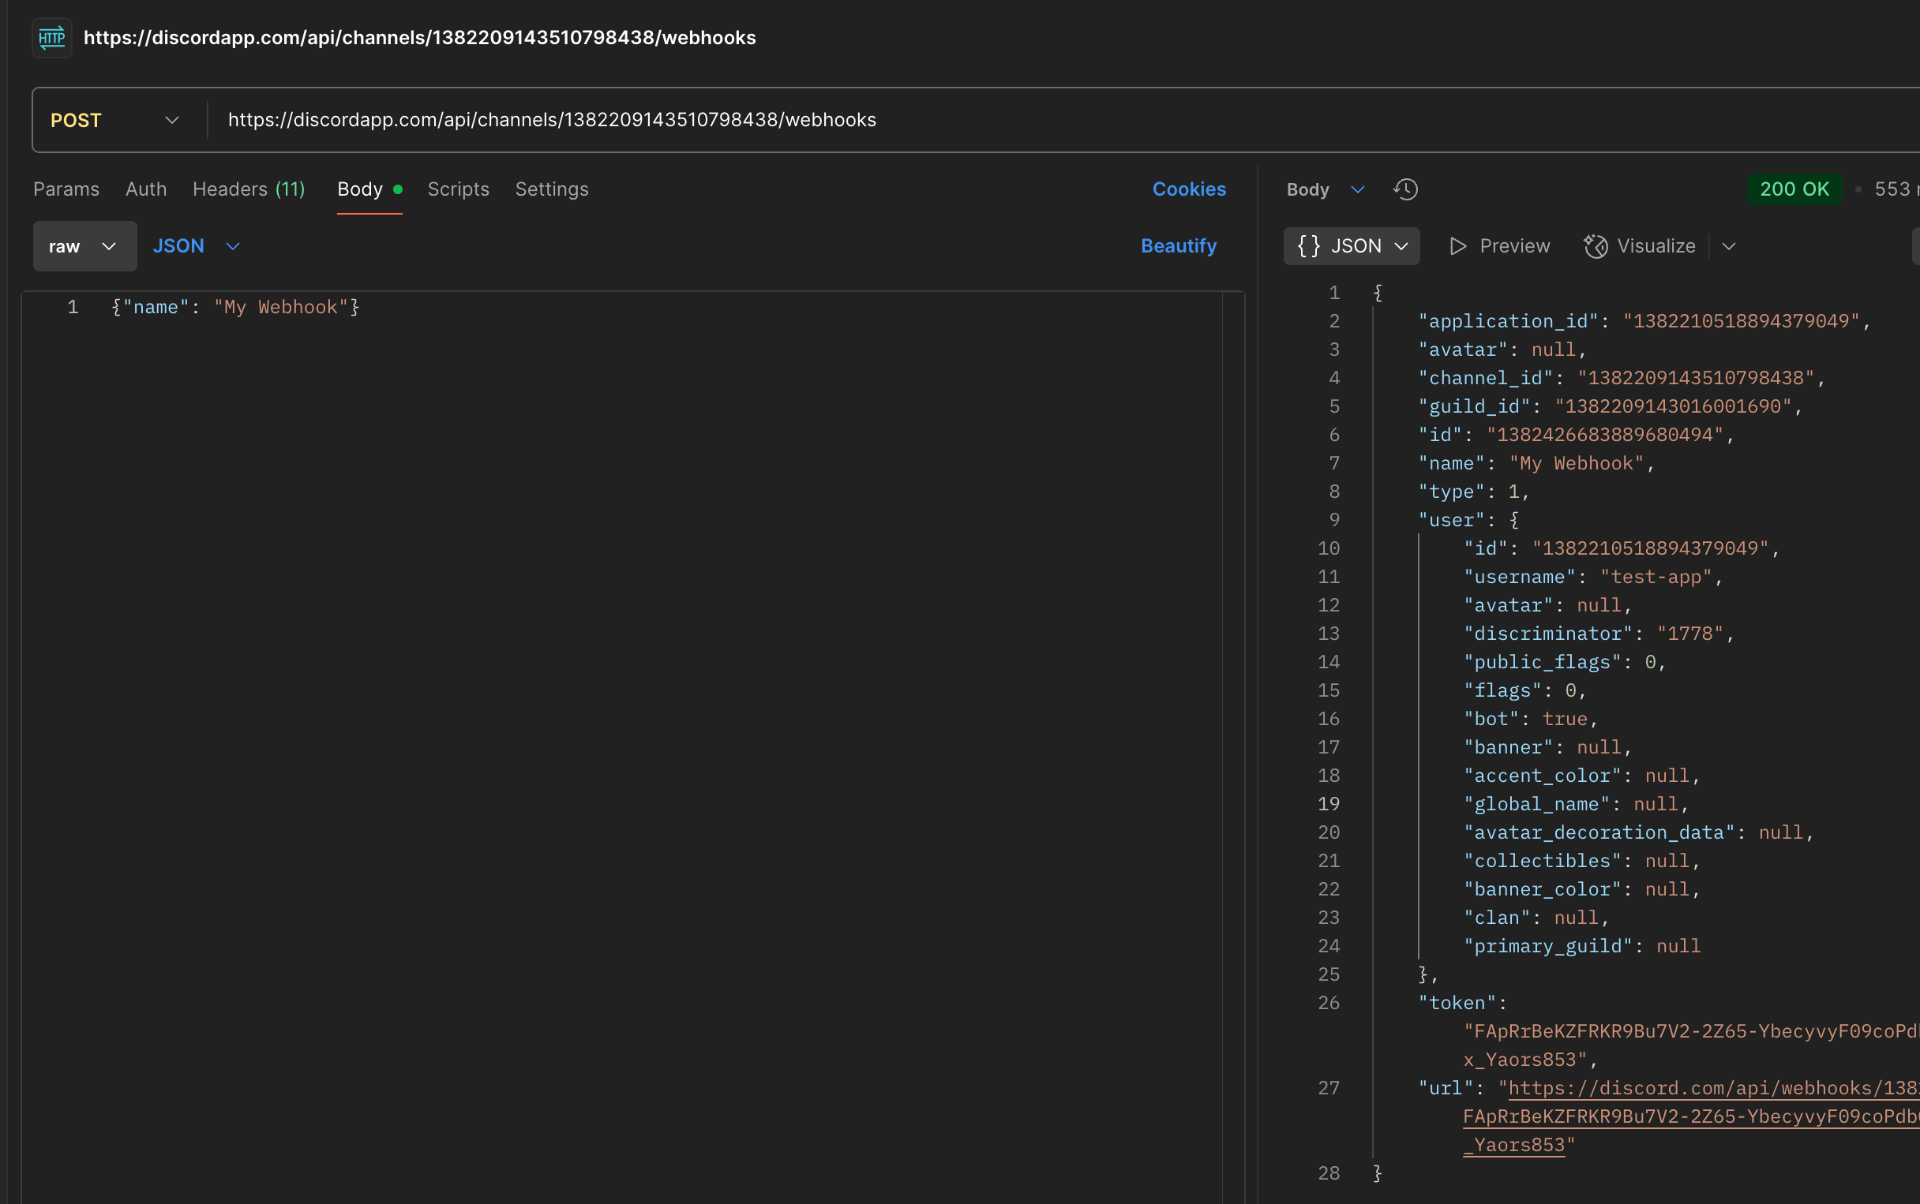
Step 3: Create a Discord Webhook Using the API
Now that your bot is set up with the right permissions, you can create a webhook using the Discord API:
Using cURL:
curl -X POST "https://discordapp.com/api/channels/<CHANNEL_ID>/webhooks" \
     -H "Authorization: Bot <BOT_TOKEN>" \
     -H "Content-Type: application/json" \
     -d '{"name": "My Webhook"}'
Replace <CHANNEL_ID> with your channel ID and <BOT_TOKEN> with your bot token.
The response will include important information about your webhook:
{
  "id": "1234567890123456789",
  "type": 1,
  "guild_id": "9876543210987654321",
  "channel_id": "9876543210987654321",
  "user": {...},
  "name": "My Webhook",
  "avatar": null,
  "token": "abcdefghijklmnopqrstuvwxyz",
  "application_id": null
}
From this response, you can construct your webhook URL using the format:
https://discord.com/api/webhooks/<webhook_id>/<webhook_token>
For example:
https://discord.com/api/webhooks/1234567890123456789/abcdefghijklmnopqrstuvwxyz
Save this URL as you’ll need it to send messages to your Discord channel.
Step 4: Create a Local Webhook Server
Next, you’ll need a server that can send webhook messages to Discord. Here’s a simple example using Python and Flask:
from flask import Flask, request, jsonify
import requests
import logging

app = Flask(__name__)
logging.basicConfig(level=logging.INFO)

# Your Discord webhook URL
WEBHOOK_URL = "https://discord.com/api/webhooks/1234567890123456789/abcdefghijklmnopqrstuvwxyz"

@app.route('/send', methods=['POST'])
def send_message():
    data = request.get_json()

    if not data or 'content' not in data:
        return jsonify({'error': 'Missing content'}), 400

    # Prepare webhook payload
    payload = {
        "content": data['content'],
        "username": data.get('username', 'Webhook Bot'),
        "avatar_url": data.get('avatar_url', '')
    }

    # Send to Discord
    response = requests.post(WEBHOOK_URL, json=payload)
    logging.info(f"Sent message to Discord. Response: {response.status_code}")

    if response.status_code == 204:
        return jsonify({'status': 'success'})
    else:
        return jsonify({'status': 'error', 'discord_response': response.text}), 500

@app.route('/health', methods=['GET'])
def health_check():
    return jsonify({'status': 'ok'})

if __name__ == '__main__':
    app.run(host='0.0.0.0', port=8000)
Save this code as discord_webhook.py and install the required packages:
pip install flask requests
Run the server with:
python discord_webhook.py
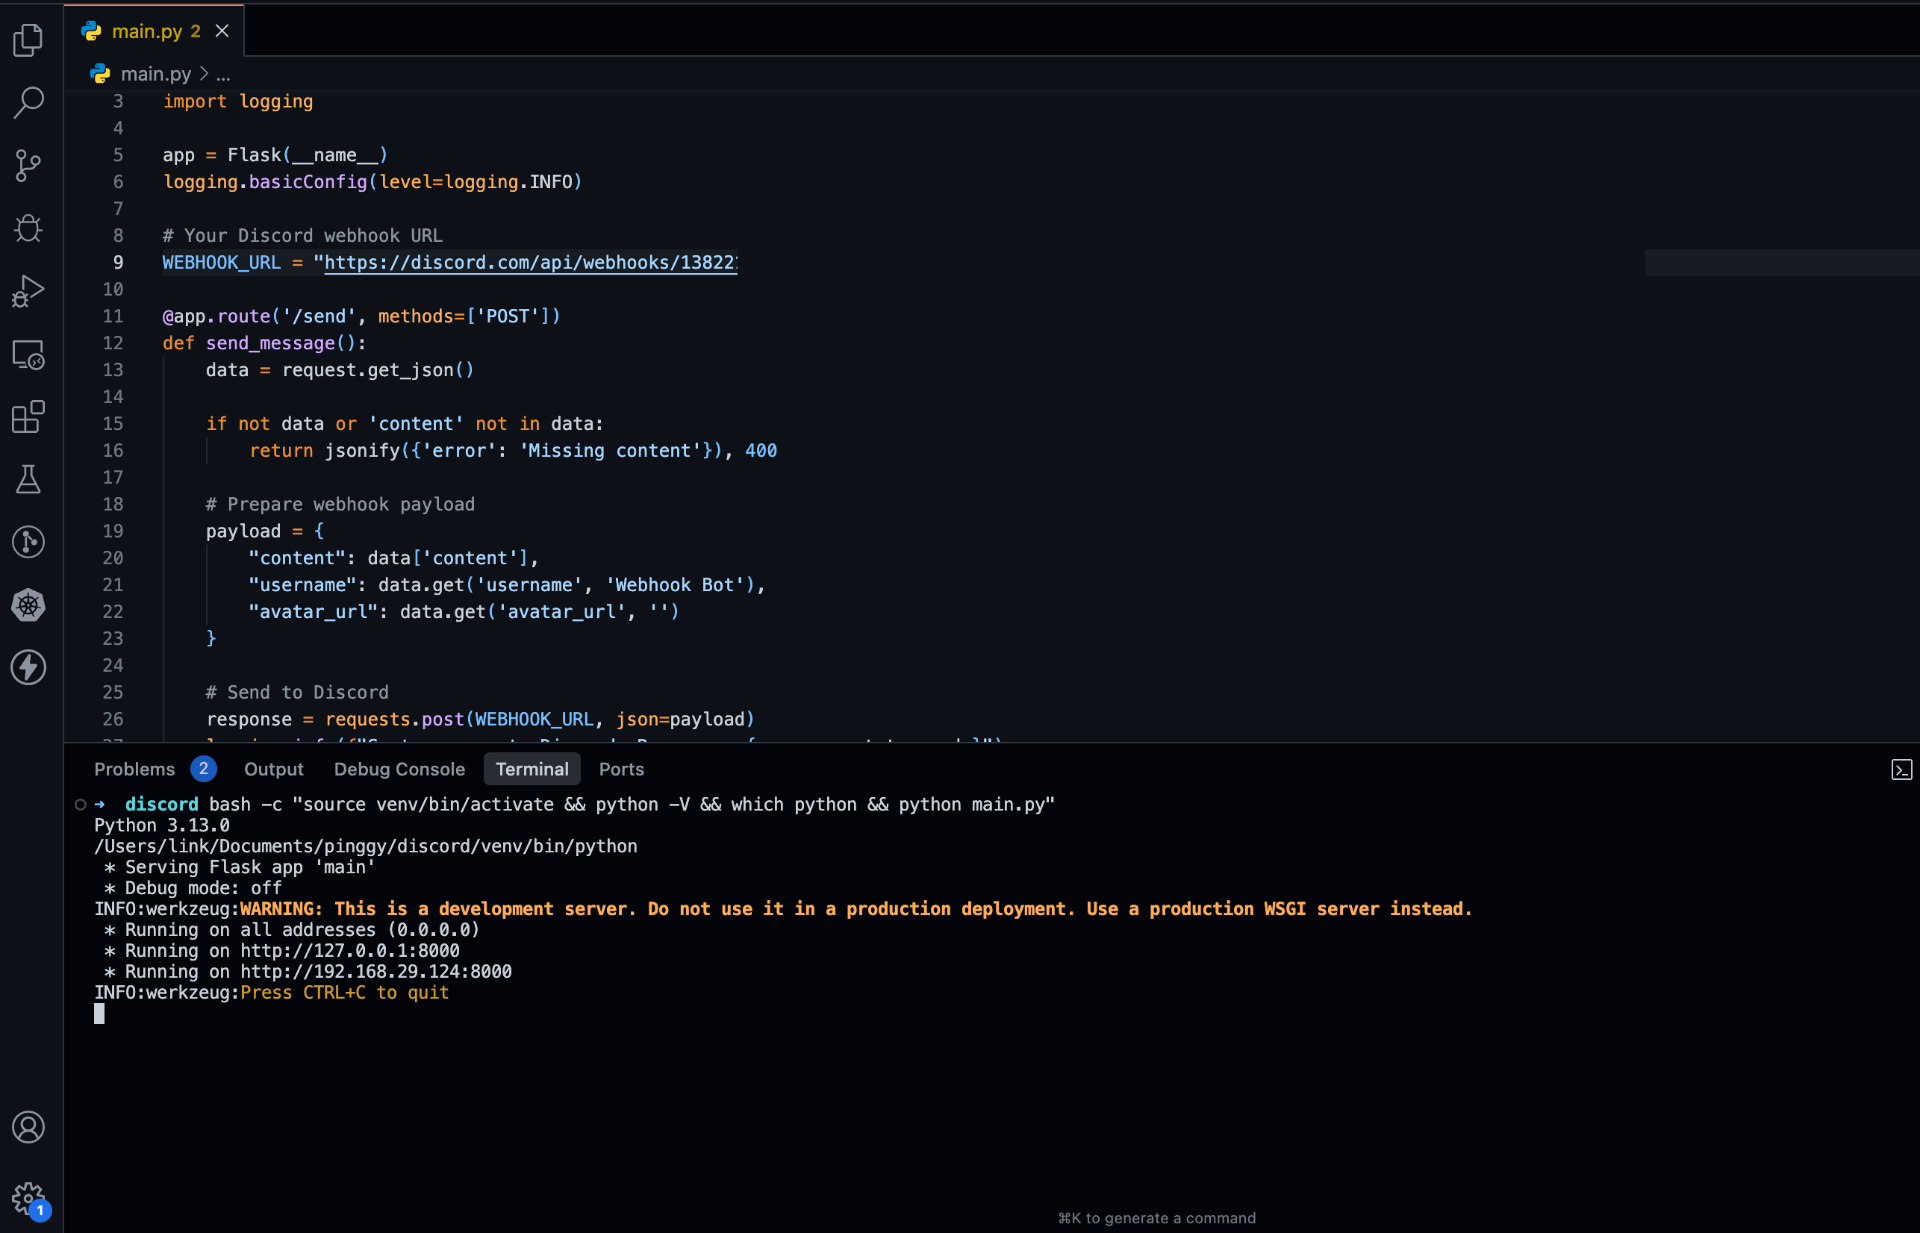
This creates a simple endpoint at http://localhost:8000/send that can receive POST requests and forward them to your Discord webhook.
Step 5: Expose Your Localhost with Pinggy
For testing your webhook server, you need a public URL. Pinggy makes this incredibly easy:
Open your terminal and run:
ssh -p 443 -R0:localhost:8000 qr@a.pinggy.iossh -p 443 -R0:localhost:8000 a.pinggy.io
Pinggy will provide you with a public URL like:
https://abcdefghij.a.pinggy.link
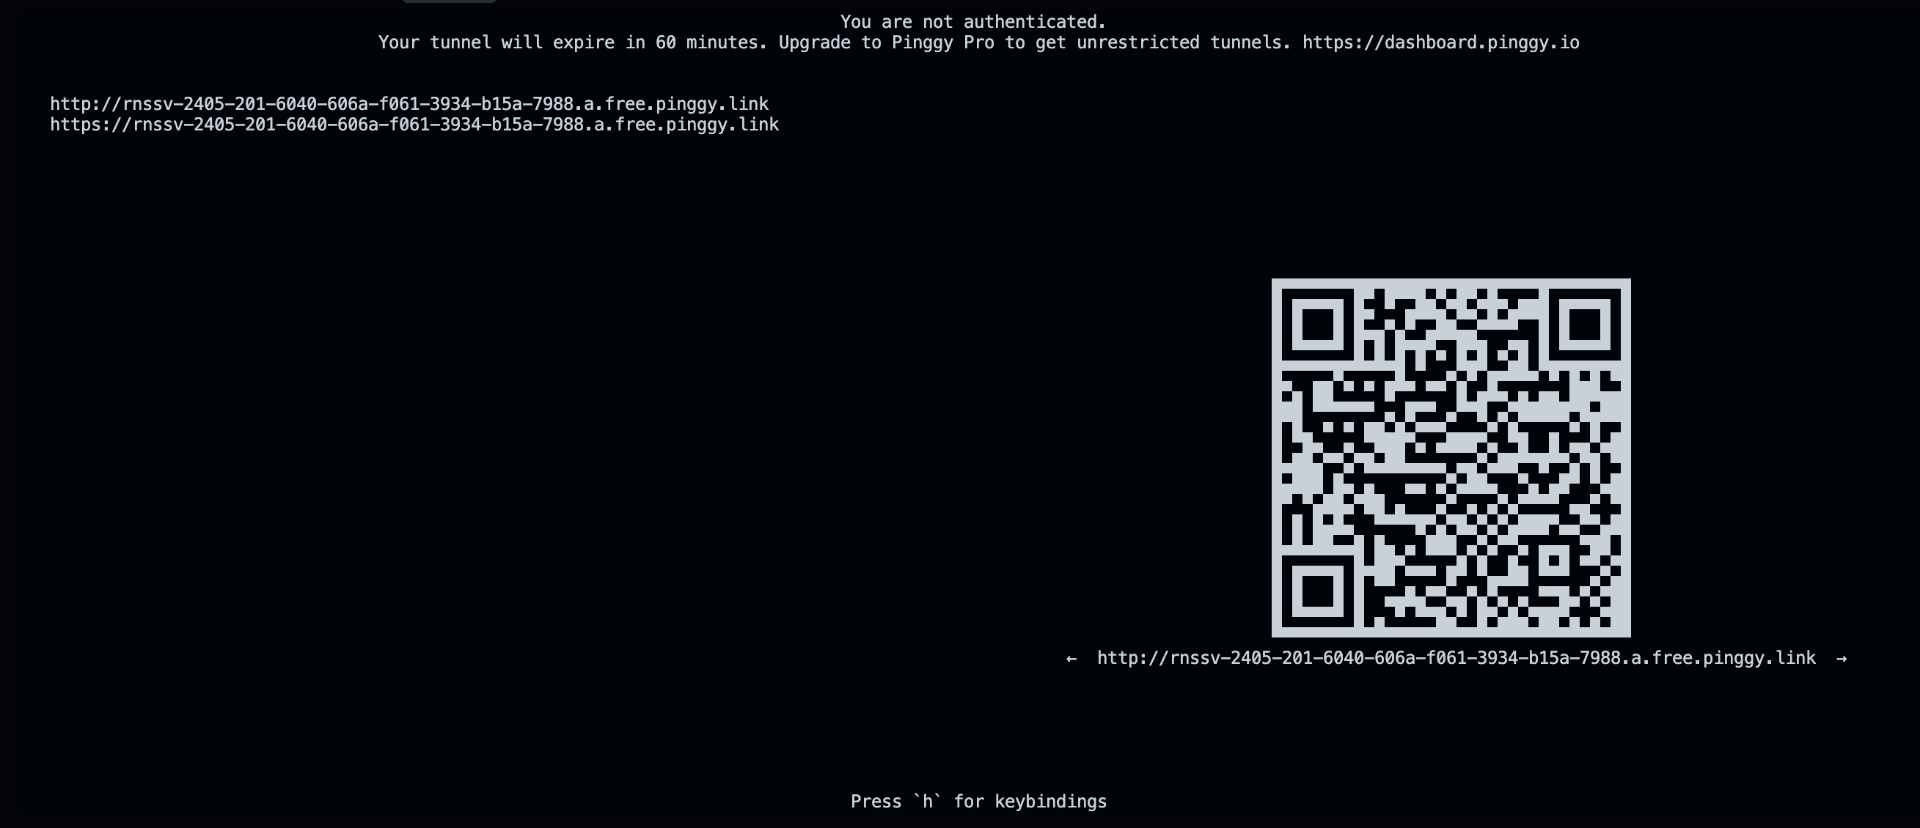
This URL now points to your local webhook server and can be accessed from anywhere on the internet.
Step 6: Test Your Webhook Integration
Now it’s time to test if your webhook is working properly:
- Send a test message to your webhook server using cURL or Postman:
curl -X POST "https://abcdefghij.a.pinggy.link/send" \
     -H "Content-Type: application/json" \
     -d '{"content": "Hello from my webhook!", "username": "Test Bot"}'
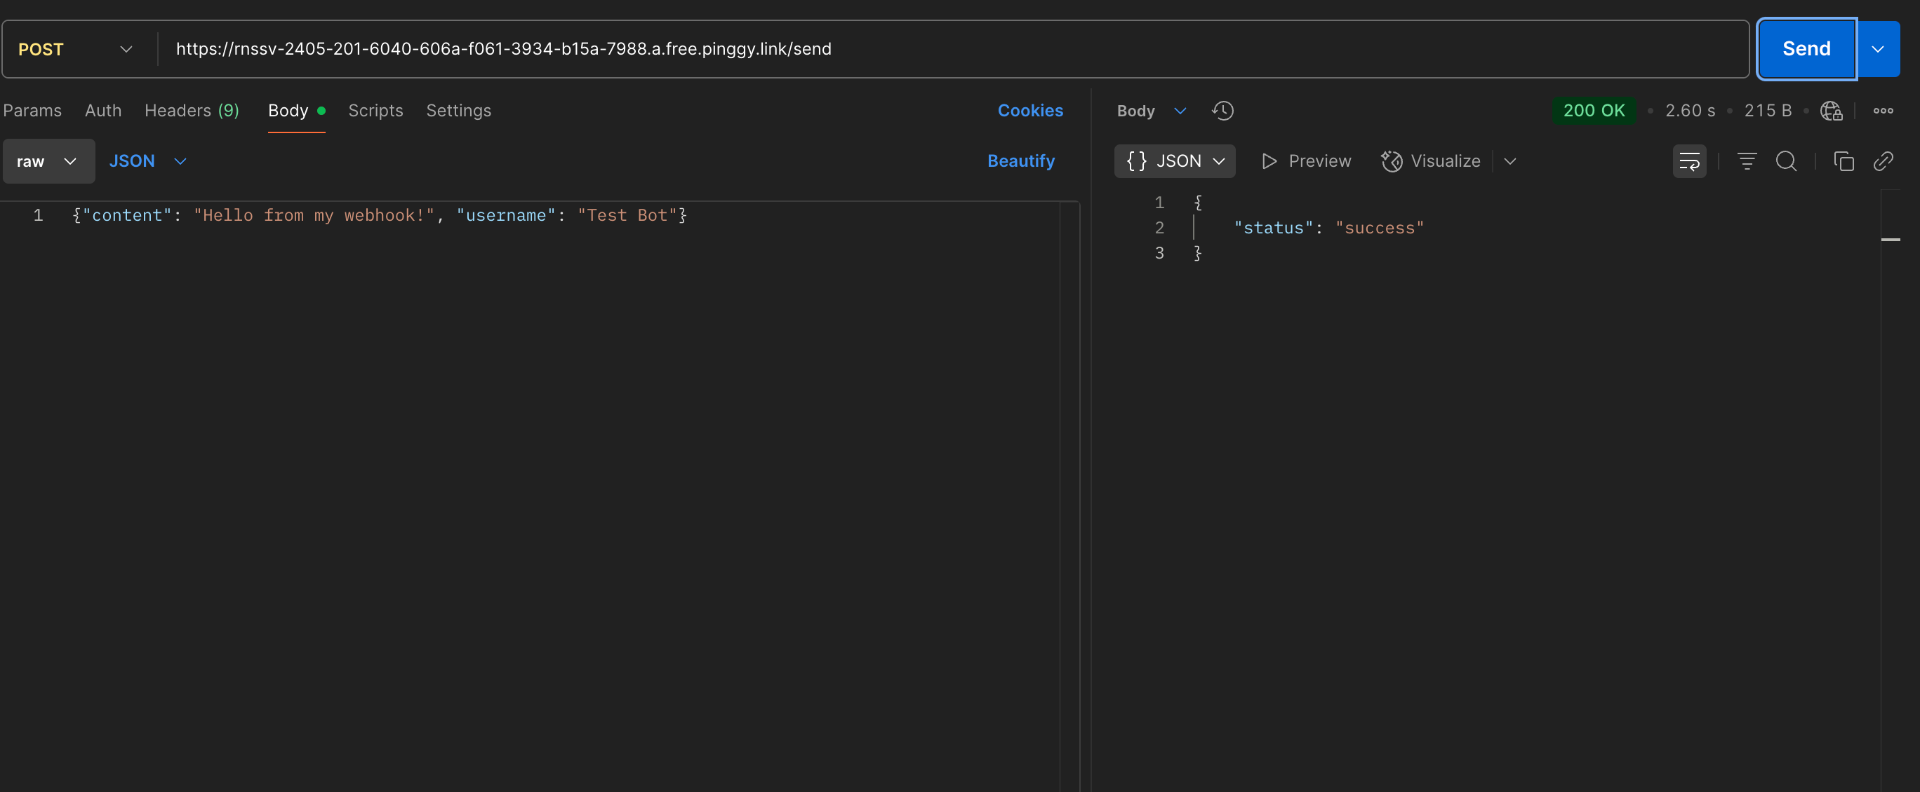
- Check your Discord channel to see if the message appears
 3. Verify that your local server logs show a successful response
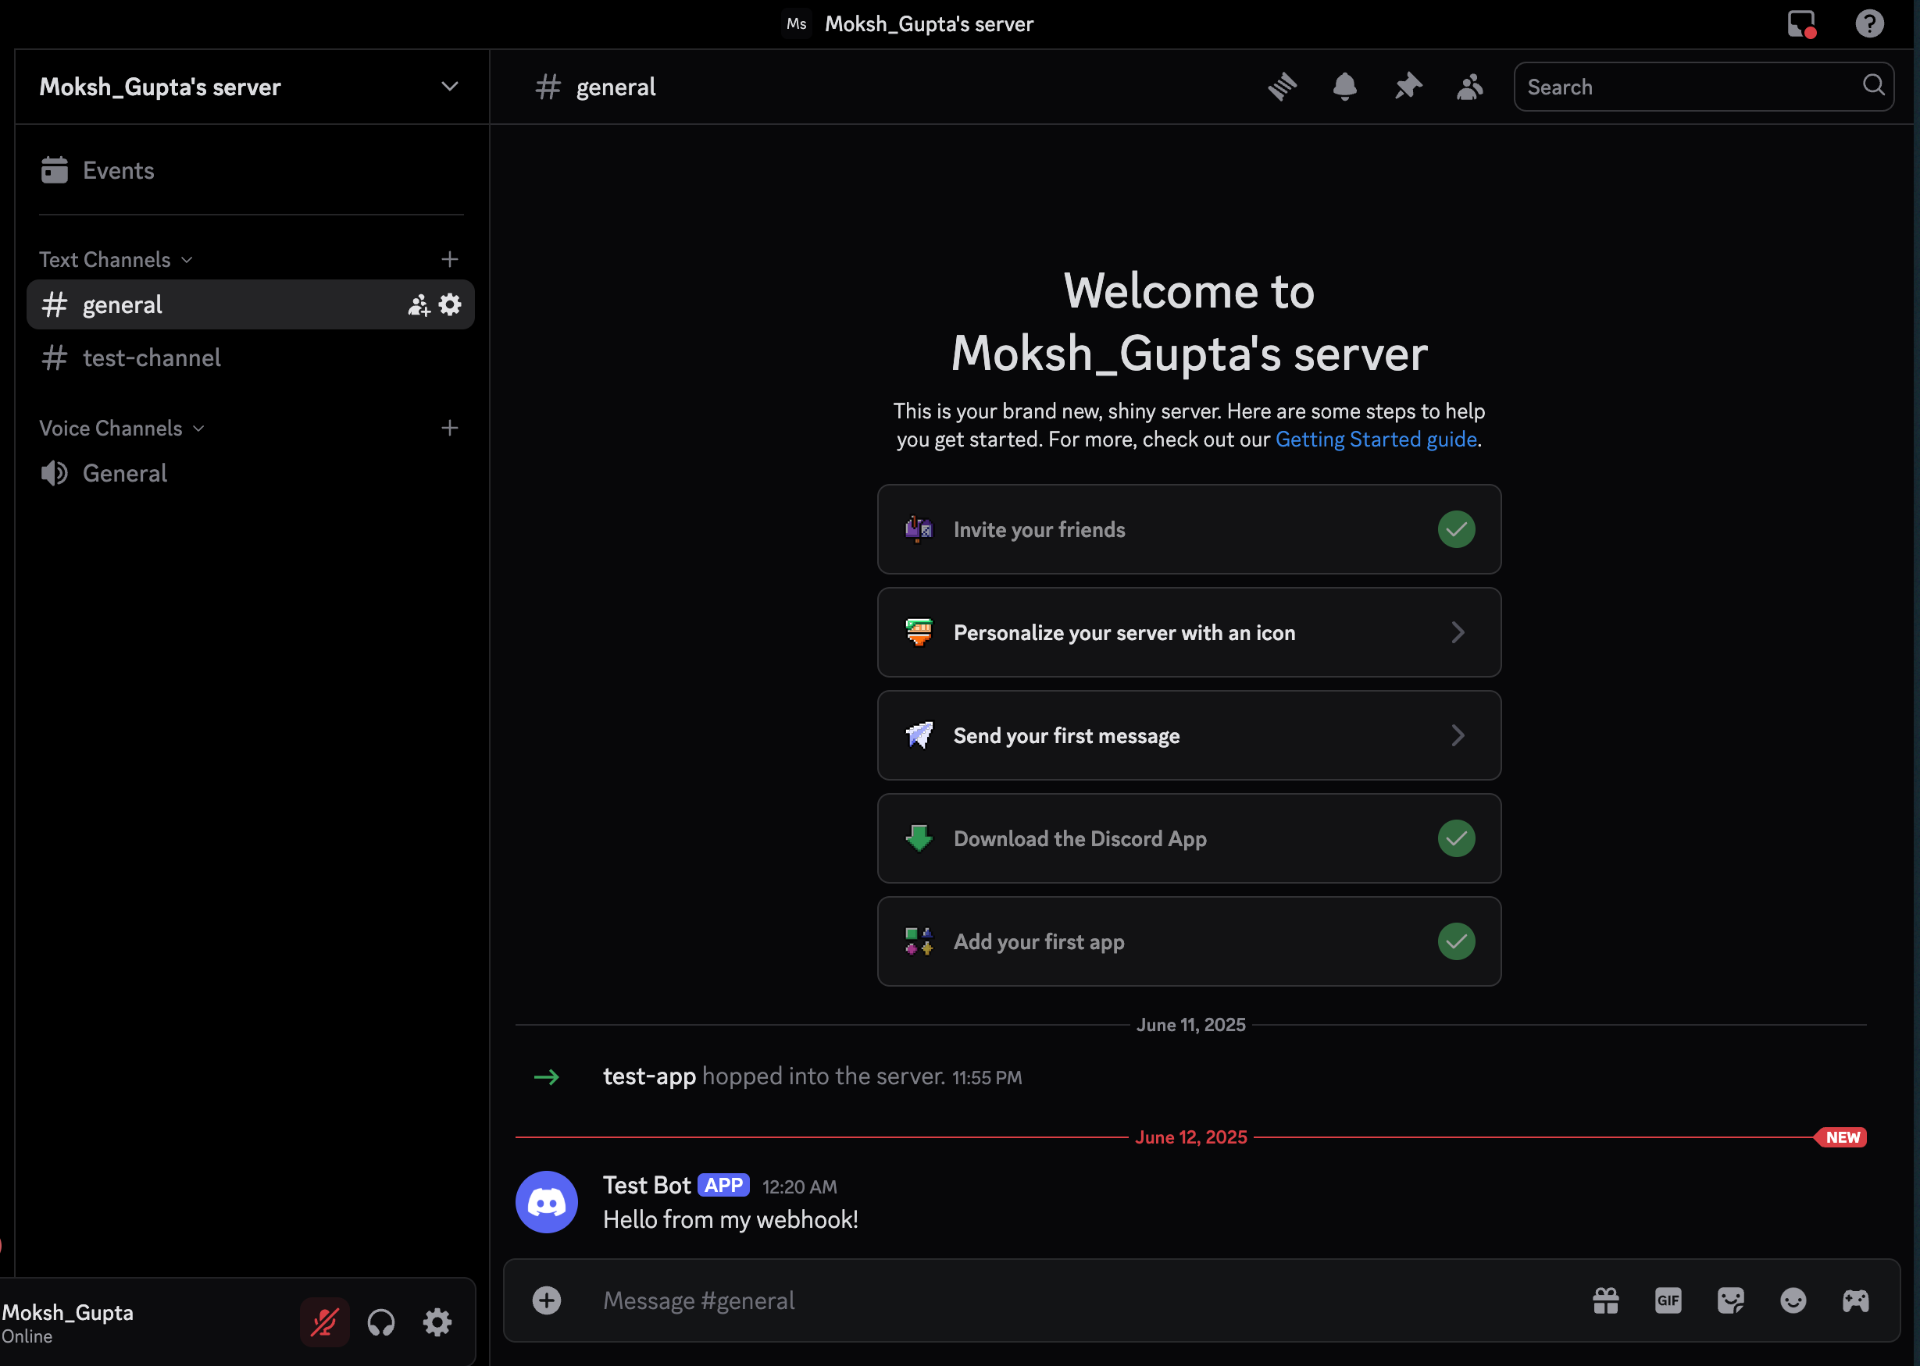
If you see the message in your Discord channel, congratulations! Your webhook is working correctly.
Discord Outgoing Webhooks
While the previous sections covered how to send messages to Discord using webhooks (incoming webhooks), Discord also supports outgoing webhooks - where Discord sends HTTP requests to your server when certain events occur. This is particularly useful for building interactive applications that respond to user actions in real-time.
Understanding Discord Outgoing Webhooks
Discord can send webhook events to your server for various interactions:
- Interaction Events: When users interact with your application’s commands or components
- Guild Events: When server-related changes occur
- Message Events: When messages are created, updated, or deleted
These outgoing webhooks allow your application to respond to Discord events without maintaining a persistent connection, making them ideal for serverless architectures and microservices.
Setting Up an Outgoing Webhook Endpoint
To receive webhook events from Discord, you need to:
- Create an endpoint in your server to receive POST requests
- Configure your Discord application to send events to this endpoint
- Implement proper verification to ensure requests are genuinely from Discord
Here’s a simple Flask endpoint to receive Discord interaction events:
@app.route('/discord-interactions', methods=['POST'])
def discord_interactions():
    # Get the request data
    data = request.get_json()

    # Log the incoming event
    logging.info(f"Received Discord event: {data.get('type')}")

    # Handle different interaction types
    if data.get('type') == 1:  # PING
        return jsonify({
            "type": 1  # Respond with PONG
        })
    elif data.get('type') == 2:  # APPLICATION_COMMAND
        # Handle slash command
        command_name = data.get('data', {}).get('name')

        # Respond to the command
        return jsonify({
            "type": 4,  # CHANNEL_MESSAGE_WITH_SOURCE
            "data": {
                "content": f"You used the /{command_name} command!"
            }
        })

    # Default response
    return jsonify({"error": "Unknown interaction type"}), 400
Configuring Your Discord Application
To enable outgoing webhooks from Discord to your server:
- Go to your application in the Discord Developer Portal
- Navigate to the “General Information” tab
- Set the “Interactions Endpoint URL” to your public endpoint (e.g.,
https://abcdefghij.a.pinggy.link/discord-interactions)
Discord will send a test request to verify your endpoint is working correctly. Your endpoint must respond to this test request with a proper response.
Why Pinggy is Essential for Testing
Testing Discord’s outgoing webhooks presents a unique challenge: Discord needs to send HTTP requests to your server, which means your server must be publicly accessible. This is where Pinggy becomes invaluable:
- Public URL for Local Development: Pinggy gives your localhost a public URL that Discord can reach
- No Deployment Needed: Test webhook functionality without deploying to a production server
- Real-time Debugging: See incoming requests in real-time as Discord sends them
- Secure Testing: Test with your actual Discord application credentials in a controlled environment
Without a tool like Pinggy, you would need to deploy your code to a public server for every test, making the development process slow and cumbersome.
Implementing Webhook Security
When receiving webhooks from Discord, it’s crucial to verify that the requests are genuinely from Discord:
import nacl.signing
from nacl.exceptions import BadSignatureError

@app.route('/discord-interactions', methods=['POST'])
def discord_interactions():
    # Get the signature and timestamp from the headers
    signature = request.headers.get('X-Signature-Ed25519')
    timestamp = request.headers.get('X-Signature-Timestamp')

    # Get the raw request body
    body = request.data.decode('utf-8')

    # Verify the signature
    PUBLIC_KEY = "your_discord_application_public_key"
    verify_key = nacl.signing.VerifyKey(bytes.fromhex(PUBLIC_KEY))

    try:
        verify_key.verify(f"{timestamp}{body}".encode(), bytes.fromhex(signature))
    except BadSignatureError:
        return jsonify({"error": "Invalid request signature"}), 401

    # Process the verified request
    data = request.get_json()

    # Handle interaction types as before...
This verification ensures that only legitimate requests from Discord are processed by your application.
Conclusion
Setting up Discord bot webhooks allows you to create powerful integrations between Discord and other services. By using Pinggy to expose your local development environment, you can easily test and debug your webhook implementation before deploying to production.
Webhooks are particularly valuable for sending notifications, alerts, and updates to your Discord server without the complexity of maintaining a full bot connection. With the approach outlined in this guide, you can develop and test your Discord webhook locally, then deploy the same code to your production environment.
For more advanced use cases, consider exploring the Discord API documentation to leverage features like embedded messages, file uploads, and thread creation to create rich, interactive notifications in your Discord server.